Jul 18 10
With a Little Help From My Friends
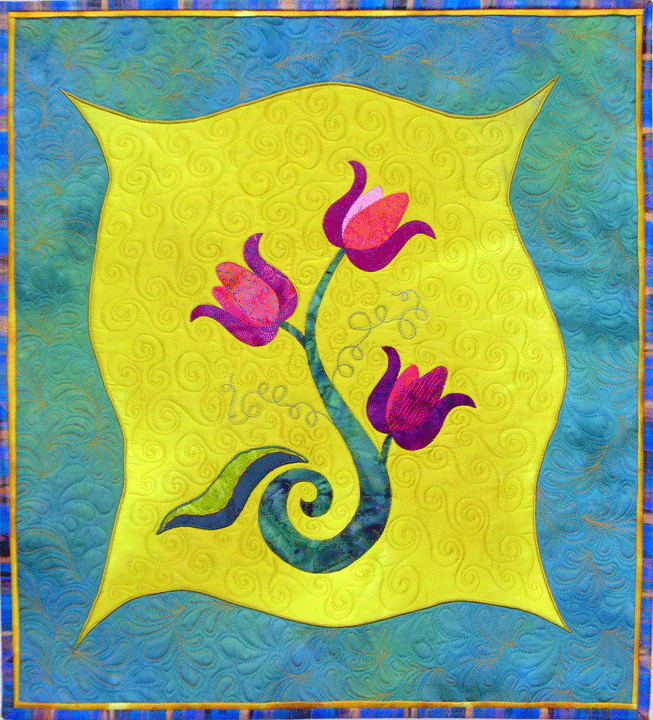
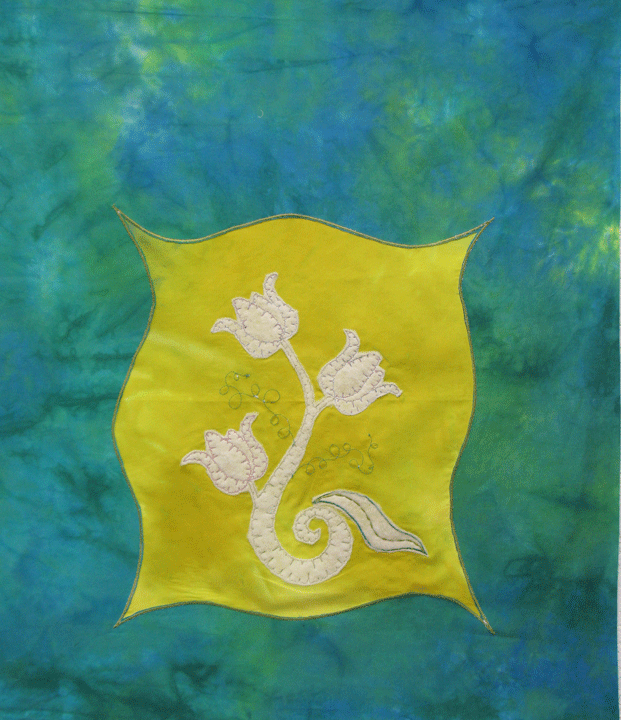 This is the trapuntoed backside of a top I made many months ago. I’m not a yellow person and that center was SO yellow that it really bothered me, so I ended up setting this wall hanging aside for a few months. I finally hacked off large chunks of the background blue/green fabric, (which kind of killed me because I really liked THAT fabric, but the proportions of the wall hanging really called for it.) Anyway, I quilted the center portion and then that yellow center really started getting under my skin again. I couldn’t come up with any idea of how to salvage this piece, so I took it to my fiber arts mini-group. All of our husbands refer to this group as something along the lines of “that fiber junkie renegade splinter group,” or “that fiber freaks group,”(I’m not sure why all of them come up with these names, but we’re really just a group of women who love to play around with fiber.) Anyway, they gave me really good advice. First, Judy Simmons and Mary Stori told me that I should find a way to carry some of that yellow color into the quilting in the outer background fabric. Then Mary thought about it some more and told me I should carry that yellow around the outer perimeter. Wow, what golden advice! I didn’t get to finishing it until a few months later, but I really like the effects:
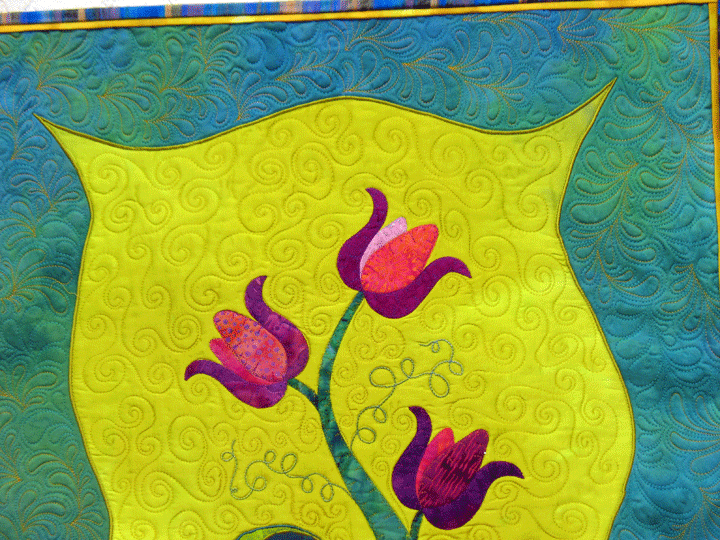
 Here’s a closeup of some of that outer border quilting. It’s a plume-based background fill design I call “improvisational pluming” and I went back in and did some selective hyperquilting with a solid gold rayon thread. These photos don’t quite capture the colors, but it’s really cool looking in person:
 Adding the yellow around the edges was pure genius-Thank you, Mary! I had only used that technique in children’s quilts to add another dimension for them to play with, (you can run your finger underneath that border edge), but I just love how it came out on this quilt! If you’ve never tried it, it’s pretty quick and easy. You cut a 1-inch wide strip for each of the 4 sides, then press them in half lengthwise. Next, stitch them to 2 parallel sides with the folded side facing toward the center of the quilt, as shown below:
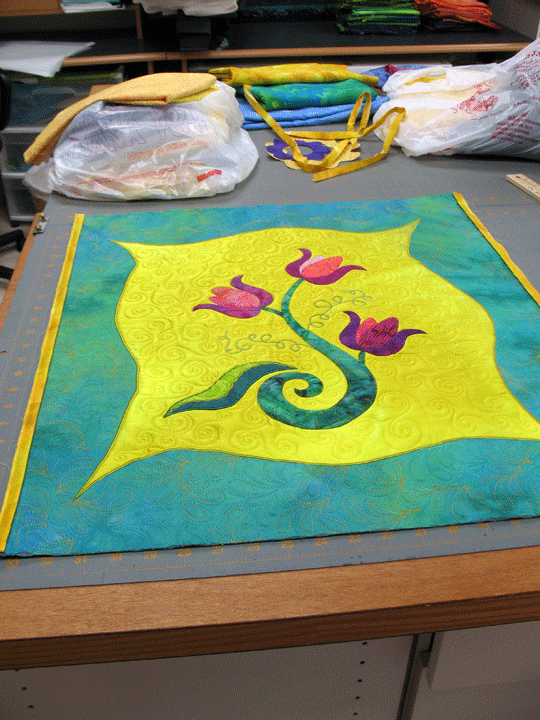 Next, you stitch the strips to the remaining 2 sides as below:
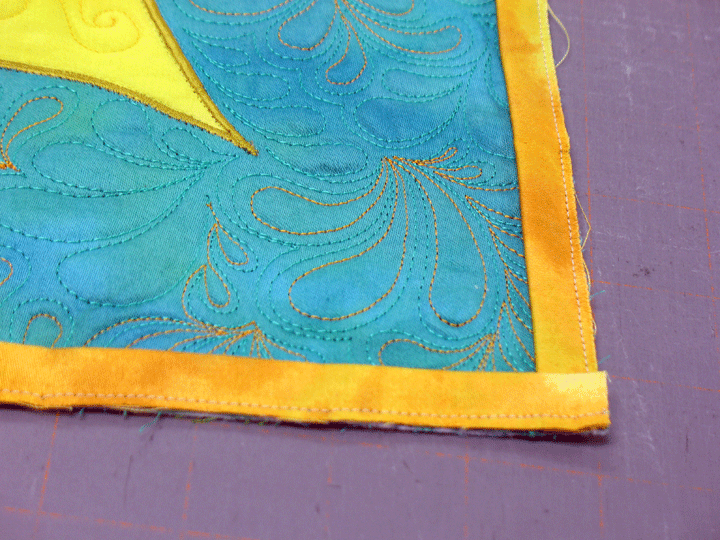 …and then you add your binding, just as you normally would. Here is a closeup of a corner once the binding was added and then pinned onto the backside:


I like how the quilt turned out and the yellow stitching and border.
I’m making a Hawaiian quilt using the same color combination similar to yours. I think using the yellow thread will be a good idea for me also.
Yellow is my least favourite colour too! You have turned a stumbling block into a “happy flower” quilt!
:o)
I am going to have to try that edging!
Wow! What a great finished product. For me sometimes it’s hard to admit I required advice from others on how to tackle/improve/whatever some project I’m stumped on. Anyway, your “freaky” group sure came through with great ideas and, again, your quilting is wonderful.
I really like the finished quilt. I know what you mean about being stuck and not liking the feel so you set it aside. I did that recently with a wallhanging. I did the same thing around the outside but I used small piping…actually round shoelaces for the piping…and then just bound the wallhaning in the background color. I like the feel much better than boarders etc.
Everyone needs some freaky friends to hang with and toss ideas around….I’m guessing he secretly wants to go to the freaky friends group too….LOL
Smiles,
Kelly
When I looked at the first picture, I was wondering where you were going with this. Then I read more and saw the front of your work and it looks amazing. I love the quilting and the yellow really does add that zing to it.
Yum. What a great rescue!
I just did that inner border on a quilt I was unsure of and it made a big difference. And I like the little bird, but maybe because it IS a little bird. Bigger in this case might not be better. thanks. peggy
I’ve been using this technique for a while. We call it a popper in our group (Australia). It can really just give you a little pop where needed. One quilt I used it on was a stack and slash quilt. It was using black & white fabrics. I put sashing between the blocks and repeated that fabric as the border. One of the fabrics I used in the blocks had a splash of a tomato red in it. So I used the tomato red popper around each block. The effect was stunning.
I love that binding trick – so much easier than piping! Thank you!
I love the colours in this wall hanging…sometimes our friends can toss ideas around and help you get out of a bind in the most wonderful way. I think the darker blue at the binding edge has saved this nicely.
I belong to a quilters group who love nothing more than a ‘puzzle’ once in a while. The old saying two minds are better than one is sometimes true! Nice job on the hyperquilting as well.
Dorothy