Oct 25 11
Back to the Swirly Flower Quilt
I haven’t had much time for any sewing lately, but I’ve gotten a fair amount of work done on the swirly flower quilt top. I’d started on this flower below, but wasn’t happy with the outlining I did for the center:
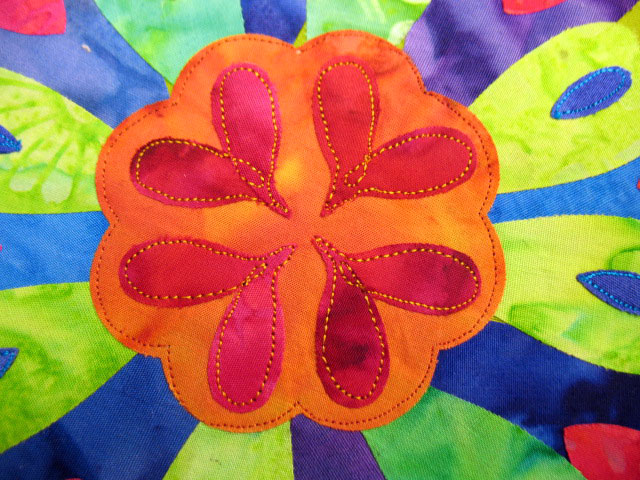
In this close-up shot, you can see how boring the inlining thread line is, and you can also tell that I need to do something to tack down the edges of the mirror image teardrop shapes that make the 4 “heart-like” shapes in the center:
This is still just a quilt top, so what I did here was free motion machine embroidery, and the stitching will be prominent once it’s in the final quilt sandwich. I used a solid gold rayon thread (“24 Karat Gold” by Robison Anton) to outline the red teardrops and have them “loop” in the center of the heartshapes:
…and here’s what the backside looked like at this point:
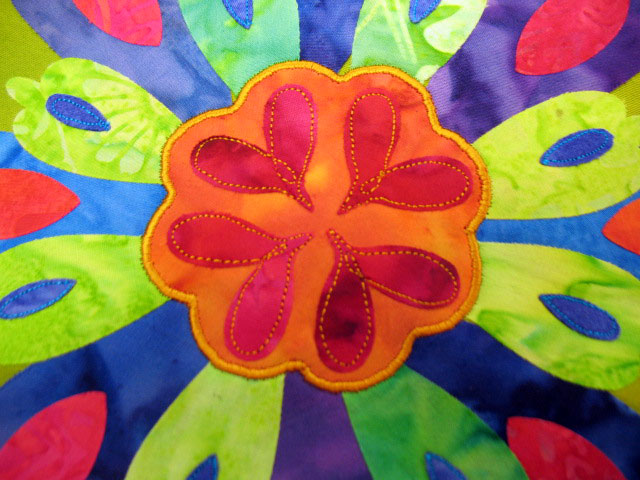
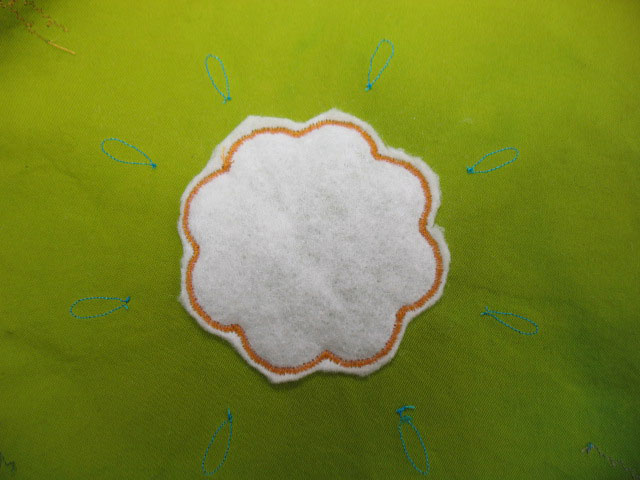
(I still get a thrill knowing I can get away with giant knots like that, since no one will ever see them or feel them!) I wanted the center as a whole to be protruberant, so I threw a piece of scrap batting behind it and finished the edge of that center with a gold satin stitch that was wide enough to cover my original inlining:
…and here’s what the backside looks like at this point:
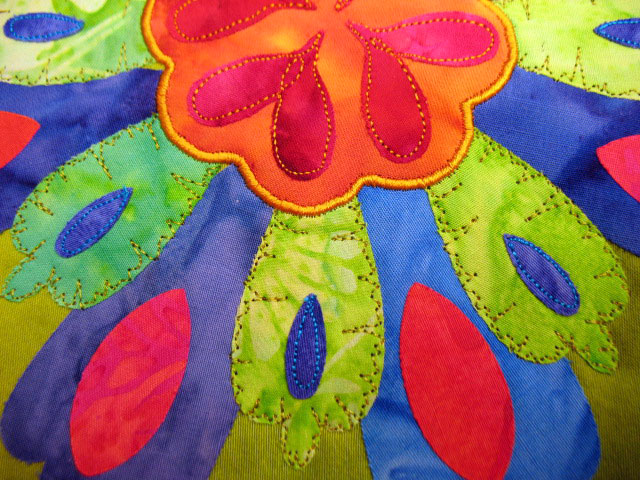
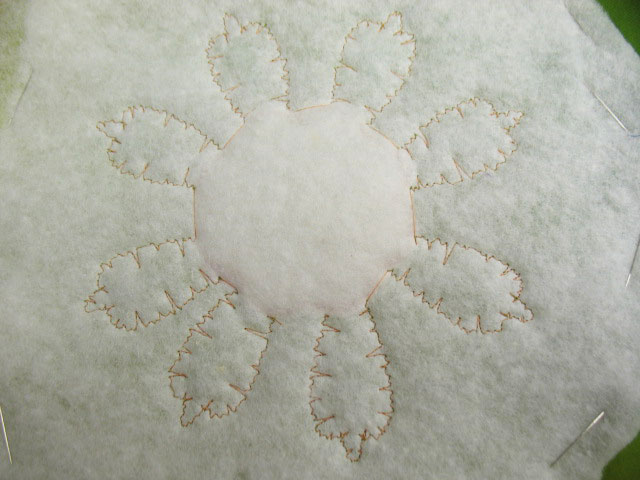
Next, I placed a layer of scrap batting behind the entire flower. This means that once the quilt is finished, the center will have 3 layers of batting and the rest of the flower will have two layers. I did the EKG edge finishing design in the row of green petals:
Here’s a closeup of some of the green petals that shows the stitching better:
…and here’s what the backside looks like at this point:
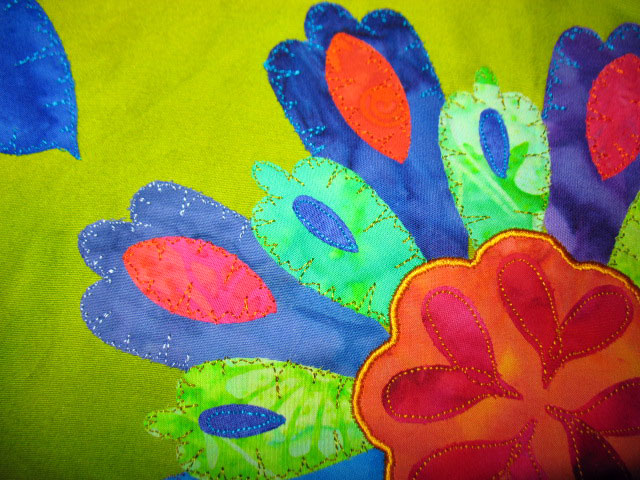
The last thing I did was to finish the edges of the red shapes and then the outermost petals:
…and here’s what the backside looks like at this point:
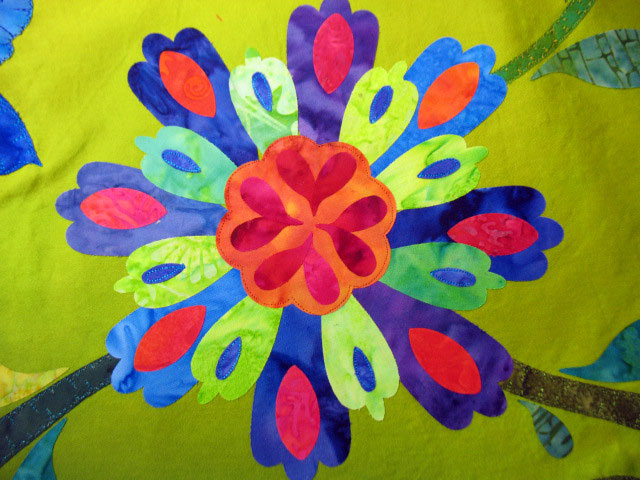
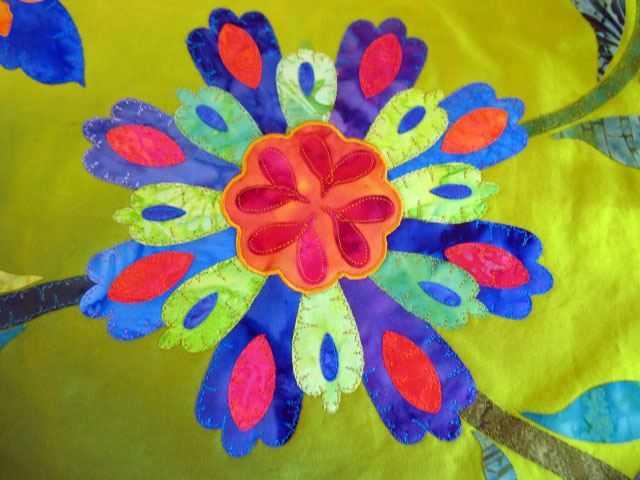
And here’s the final flower:
I’ve only got one more big flower to go on this top. I’m still on the fence about how to handle this top. A part of me wants to attach it to a larger background piece and another part of me wants to place it into a quilt sandwich once the embroidery and traputo are done. Which side will win out? Stay tuned!






Loving this piece! Curious to see how you’ll finish it. Question–you do a lot of kind of zigzaggy outlining around your pieces. How do you keep your shoulders/neck relaxed so you don’t ache for days afterwards. TIA, Sally
thanks for walking us through your steps, it’s really helpful to me!
Thanks Sally and Linda!
The only time that I get aching/soreness in my neck/shoulder area is when I do stitch in the ditch quilting. I can free motion anything for hours and hours and never get sore. I think it comes down to the fact that I am only putting a very slight pressure on my quilt top when I free motion quilt. By using the Machingers gloves, spraying my machine bed with silicone spray, and “pooling” a lot of quilt slack around all 4 sides of my extension table, I am only lightly touching my quilt top to get things moving to create the design. I believe the soreness comes because of ongoing contractions/tension in the muscles of the shoulders and neck, and those areas are very relaxed for me when I FMQ.
Patsy
Thanks so much Patsy for this great up close tutorial. I love that you show the back each time. You are the most precise and detailed teacher I have seen on line. I always know exactly what you did and how you did it. Plus – I always learn something. Thanks again for sharing your time and talents!! I always look forward to what you post next and tell my friends to check you out. I even told an owner of a Pfaff store to check out your tip for the free motion foot without the ankle.
Wow, that’s quite a process. I’ll just bet it comes out great when the whole quilt is finished.
Everytime I read this blog, I’m just amazed! Each time there is something new that is unique and beautiful.
Don’t know where to start! I am a beginner quilter and have learned so much from your youtube videos. I just made a gorgeous king sized bedspread and Spray Basted it. The thought of all those pins – WOW! I had to still do mine horizontal though. Laid lots of sheets out on my garage floor & taped them to the floor. Down went the backing & a little tape – spray, down went the 100% cotton batting (smoothe & spray), folded the quilt top in fourths & tip-toed more to the center & placed the top(smoothe). It came out fantastic! What will I ever do the all the pins I had just bought! Lol That’s another art project!
Loved the effect of the three layers on the flower…it looks great.
I look forward to your posts…I learn something new every time. Thanks.
Dorothy