

May 29 14
Beginning a New Wall Hanging
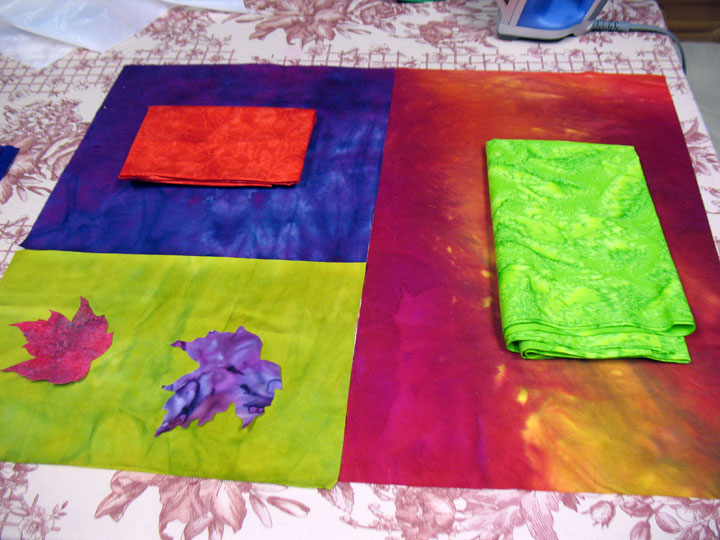
First comes the auditioning of fabrics…I settled on these: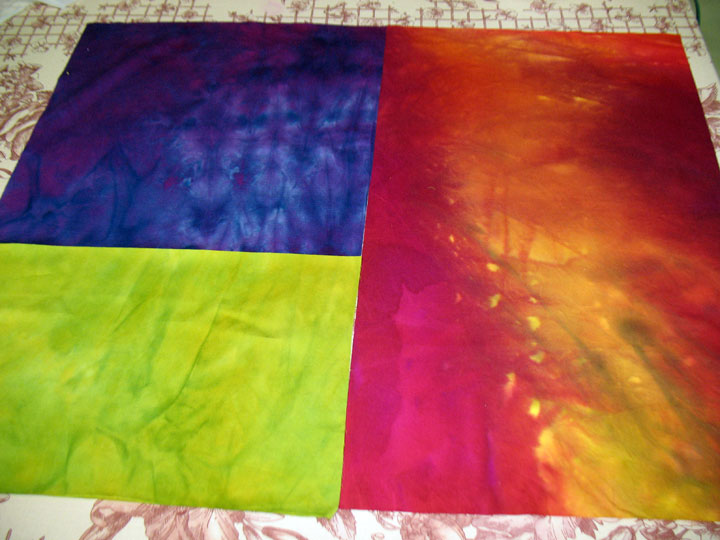 …and then I had to audition the fabrics for the applique shapes that would lay on top of the background fabrics:
 Once the appliques had been cut and fused into place, the decorative free motion embroidery took place on each block:
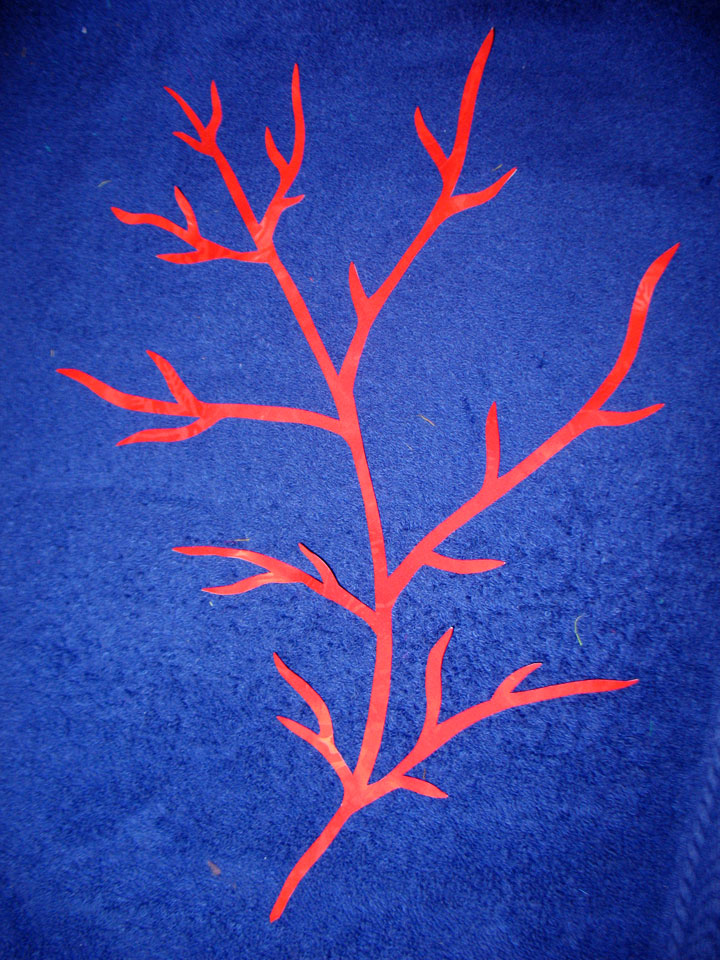
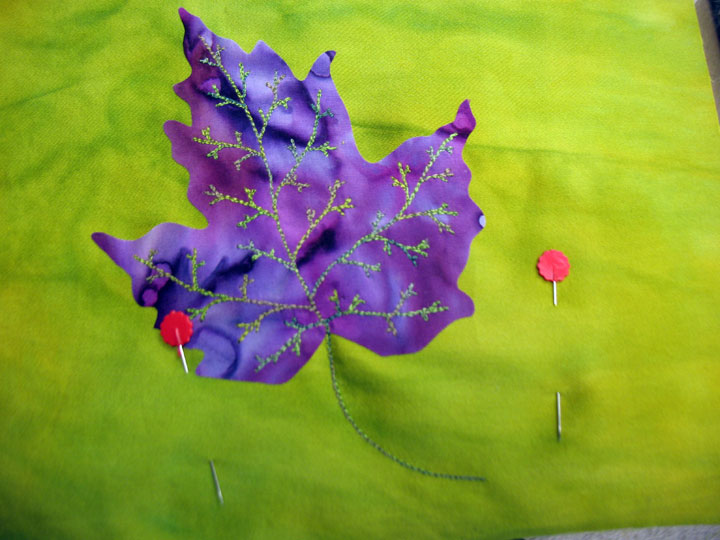 Do you see those pins near the base of that leaf? They’re holding a pice of temporary stabilizer in place to stabilize the fabric where the stem is being stitched. There’s no need for any stabilizer under the leaf itself since the fusible web acts as a stabilizer. Here’s a shot of the large oak leaf after I’d cut out the stylized veining. It takes awhile to get this piece laid out just right:
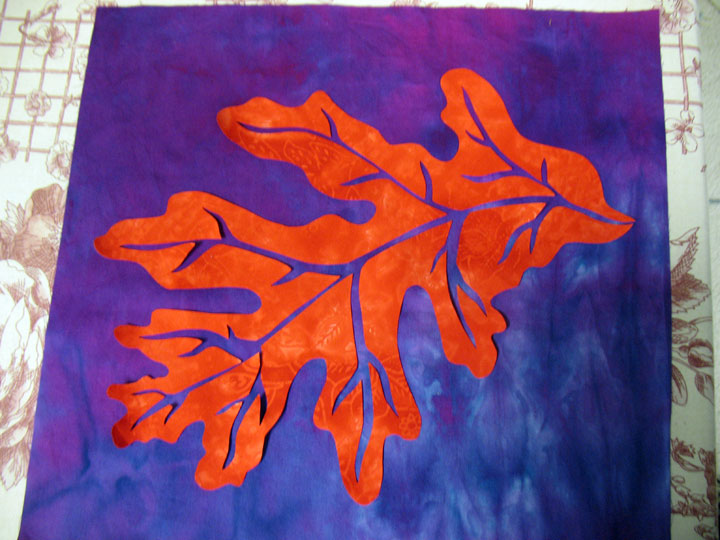 …and here you can see how nice the negative space looks once it’s been fused into place:
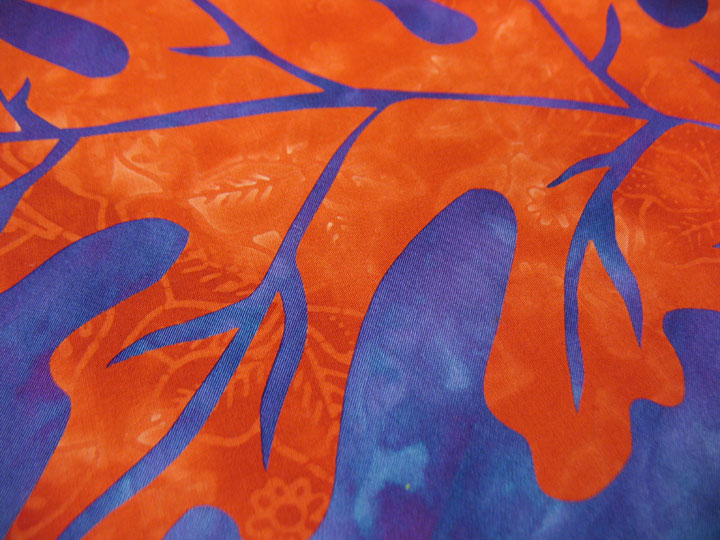 The nice part of creating this negative space is you are left with a wonderful set of veins that can also be used as a separate applique. Here’s the piece I just cut away lying ona towel for later use:
 See what I mean…the beginnings of another quilt! Here’s a shot of the large fern as it was just being decorated with free motion machine embroidery (remember, this is still in the stage of working on 3 blocks):
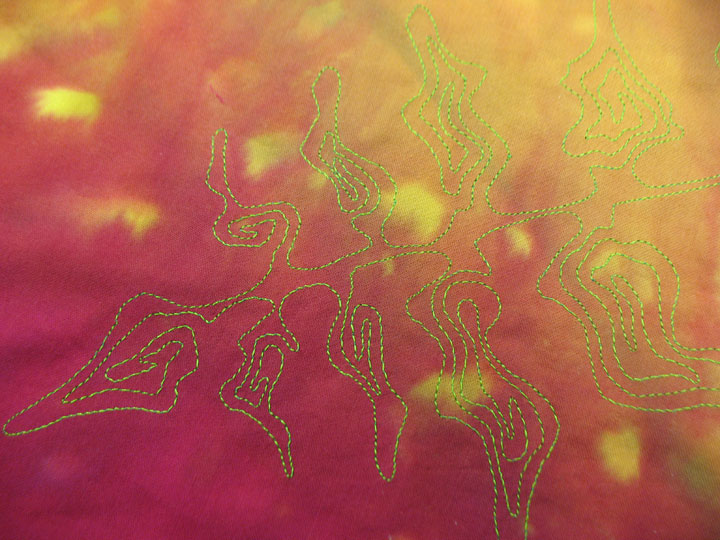
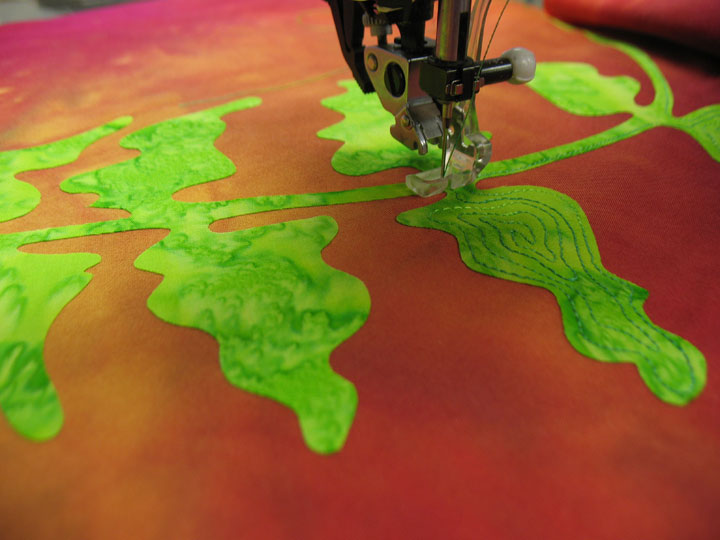 Again, because that fern is appliqued using fusible web, no stabilizer is needed as it’s being embroidered here. if you don’t believe me, here’s a
shot of the backside of the block:
Again, because that fern is appliqued using fusible web, no stabilizer is needed as it’s being embroidered here. if you don’t believe me, here’s a
shot of the backside of the block:
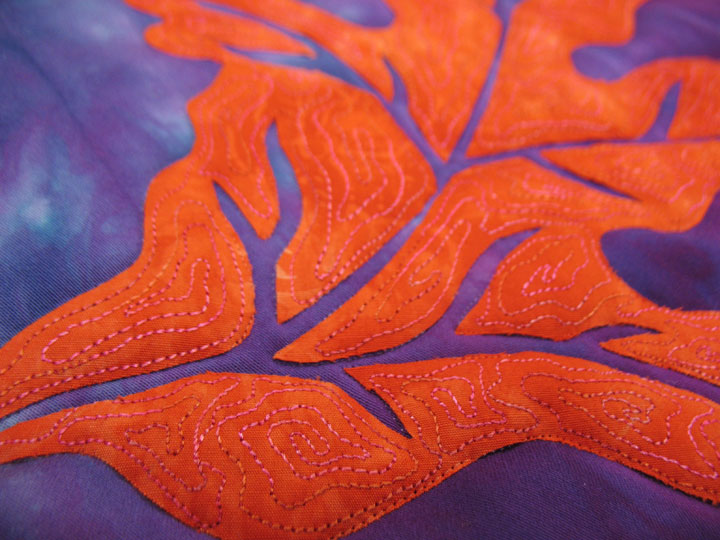
 And here’s a shot of that large oak leaf as it is being decorated:
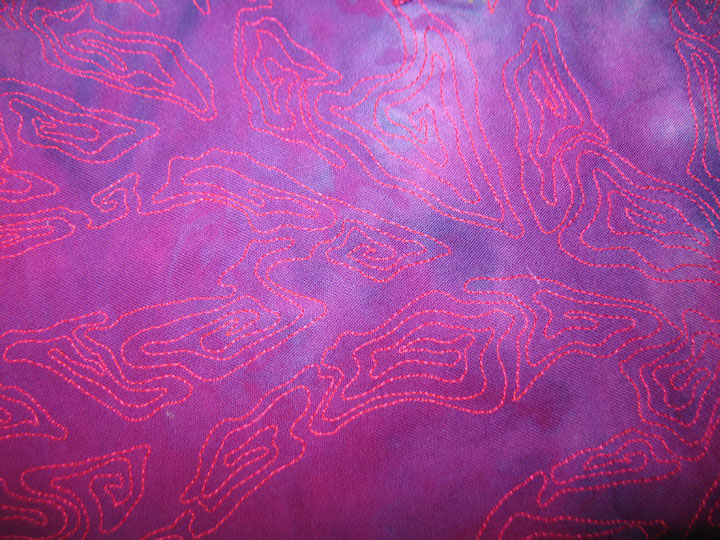
 and here’s a shot of the backside of this block:
 Once all 3 blocks have been pieced together, it’s ready to be quilted:
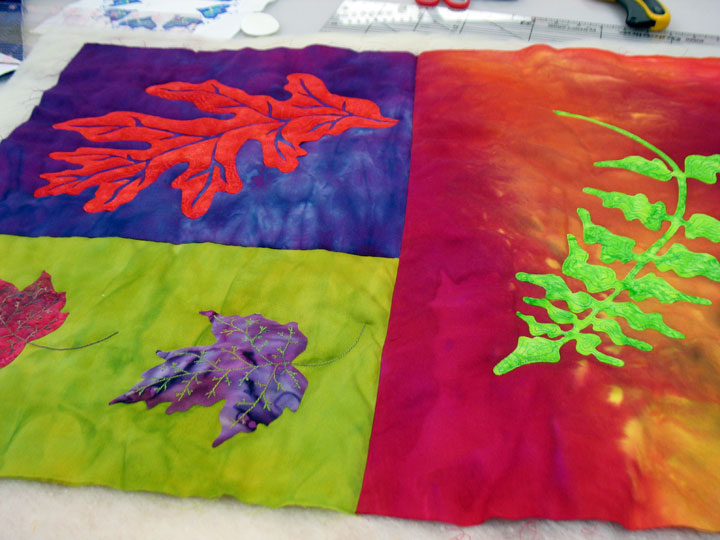 I love working with rich, saturated colors like this…makes my heart flutter!
Very pretty! I assume those are hand dyed fabrics. They look great.