

Sep 16 14
Lessons in Free Motion Quilting: Focal Hyperquilting
 I said I would be blogging about some of the things that made the “My Thistle Garden” quilt special and one of those special touches was using focal hyperquilting to add a new level of interest to one of the border zones. So, that begs the question, “what is focal hyperquilting?“
Focal hyperquilting is a variant of hyperquilting where certain areas of a background fill design are hyperquilted, whereas other portions of that same background fill design are not. It is a way of making a design richer and more complex and best of all, it is completely unexpected. When you can surprise the viewer like that, it is always a very good thing. I say that because it will always make them take a second look, a closer look, because they think there might be more unexpected surprises. Remember, when you’re creating your quilt, the goal is always to seduce the viewer or draw them in for a closer inspection of your work. Let me show you what I mean. What you see below is a shot of the background fill design in the water lily border section of “My Thistle Garden:”
I said I would be blogging about some of the things that made the “My Thistle Garden” quilt special and one of those special touches was using focal hyperquilting to add a new level of interest to one of the border zones. So, that begs the question, “what is focal hyperquilting?“
Focal hyperquilting is a variant of hyperquilting where certain areas of a background fill design are hyperquilted, whereas other portions of that same background fill design are not. It is a way of making a design richer and more complex and best of all, it is completely unexpected. When you can surprise the viewer like that, it is always a very good thing. I say that because it will always make them take a second look, a closer look, because they think there might be more unexpected surprises. Remember, when you’re creating your quilt, the goal is always to seduce the viewer or draw them in for a closer inspection of your work. Let me show you what I mean. What you see below is a shot of the background fill design in the water lily border section of “My Thistle Garden:”
 …and this shot will give you a little longer expanse of it between applique shapes:
 This background fill design is the rudimentary version of the “Plumify It” quilting design. (That design, as well as several plume-based related designs, are all taught in our DVD called Fast and Free Volume 3 which you can find by clicking here.) That background fill design is beautiful, but I do it all the time, so it’s kind of boring in its present form. By hyperquilting it in a very high contrast thread (in this case, “24 karat gold” rayon thread by Robison Anton), it’s possible to draw a little more attention to it and add a bit of a “celebratory” kind of look to it. Here’s that same border after the focal hyperquilting has been added:
 When you hyperquilt this particular background fill design, you are starting a new thread line (and stopping that same thread line) each time that you work on a new plume unit. This is the “dark side” of focal hyperquilting! To say that this is very tedious work would be an understatement. It creates a nightmare of thread tails that will need to be carried to the backside of the quilt, knotted, and then buried in the batting layer. Here is a shot of just one small section of the “threadtail nightmare” that this kind of work creates:
 AAARRGGGHHHHH!!!!!! This part of the technique is the real challenge of one’s patience, but you just have to write it off as the price of doing detailed work. In the end, this border zone of the quilt was my favorite part because it just looked so cool:
 You would follow all the same rules of regular hyperquilting (i.e. avoid any hint of overcrowding and choose solid color threads with a nice sheen to them), but in this case, you are being selective about which parts of the background fill design you actually hyperquilt. Could you hyperquilt the entire thing? Yes, but I don’t think you’d want to. It would be too showy, too “in-your-face” and it would compete with the intricate thread work in the machine embroidery applique. For this particular background fill design, it would also create a messy look in the outlining around the plume units. If you’re new to the concept of hyperquilting and want to learn more about it, I have a Craftsy class that teaches both hyperquilting and trapunto:
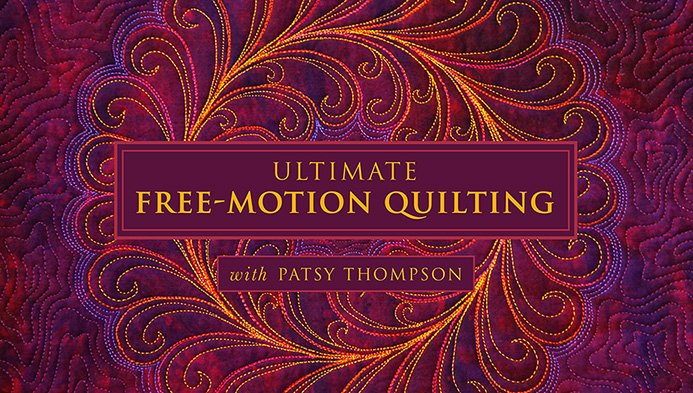 …and you can find it at an incredible price by clicking here.
Awesome applies here. brava
Very cool!