

Feb 10 16
Ruler Work to Create Fancy Frame Designs
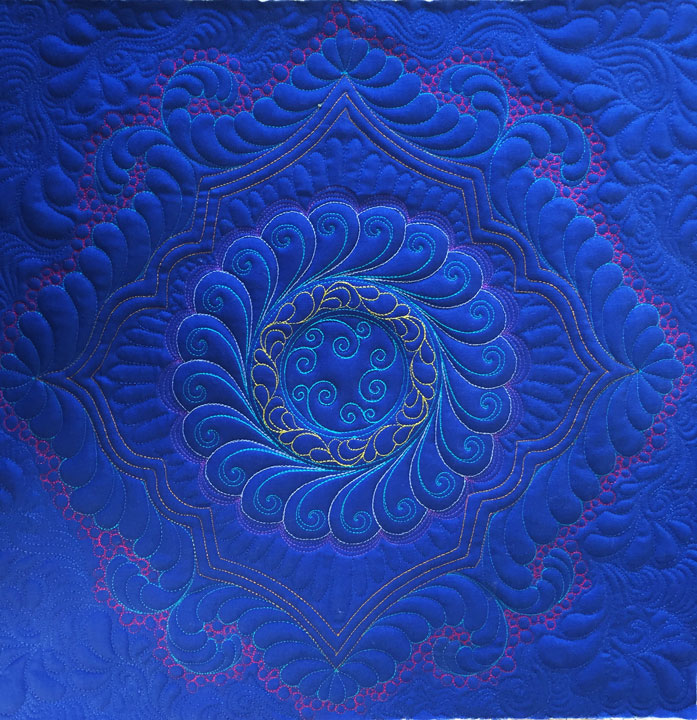
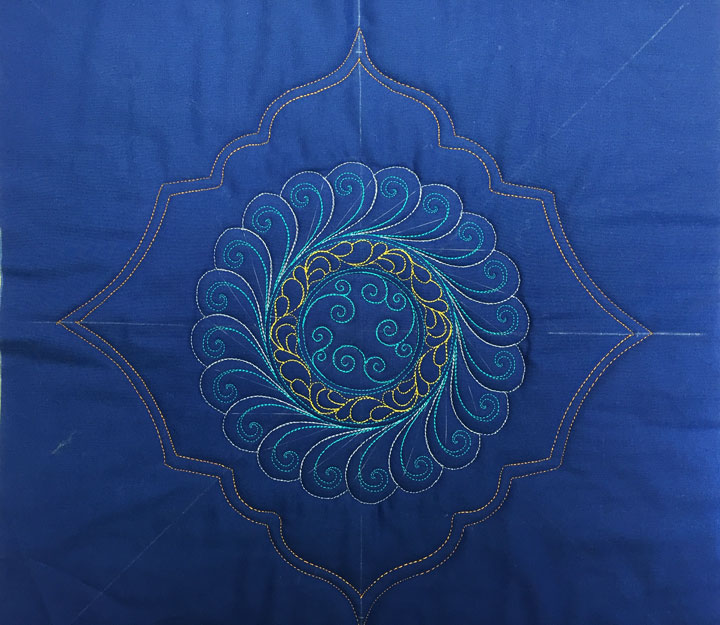
 I’ve done previous blog posts about creating fancy frame designs but this one is a bit different. In this case, I created a curvy/wurvy frame using ruler work, and then I embellished it heavily with plumes. My photos did not come out so great, but they are all that I have to illustrate the process, so we’re going to need to make do. This is the final piece:
 To make a fancy frame for the feathered wreath, I started with the Turrets 3 ruler. I’ll be blogging more about turret rulers, but they are basically a family of rulers that were designed primarily to create really beautiful swag border types of designs, but they also work great for creating fancy frames. Here is a shot of what the Turrets 3 ruler that I used for this design looks like:
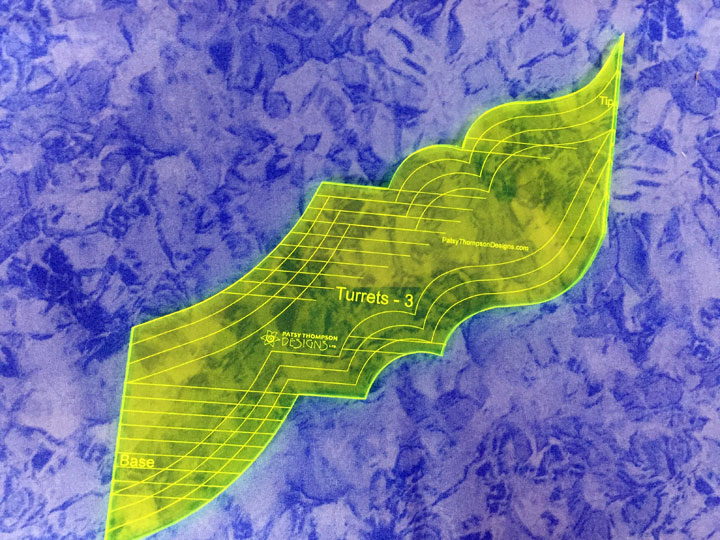 (I’m hoping to have these available in the store in the next week or so, but we’ve gotten kind of distracted by some family emergencies, so we’ll see.) The left and right sides of the ruler are essentially “positive” and “negative” cutouts of the same shape. The ruler has etched lines so you can create a series of channels and there are other series of lines that allow you to accurately “keep your place” when you move the ruler to stitch the opposite side of the swag or frame. Anyway, this next photo shows the most basic “bones” of the frame stitched around the wreath:
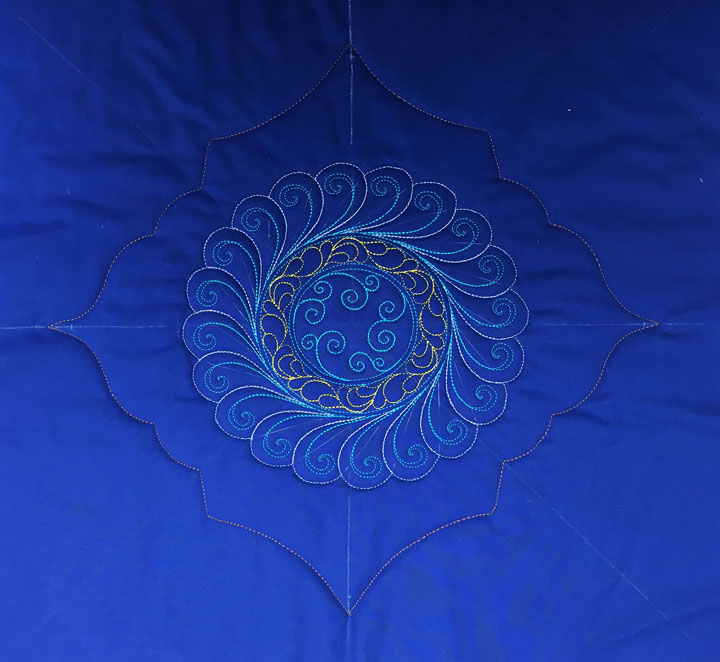 Not really much to write home about yet, is there? (Notice also that I have my famous soap lines dividing up the block. I pretty much always have all of them there, even though I may not use all of them. It just helps me keep my options option.) Next up is the frame once I’ve stitched an echo line to create the first channel:
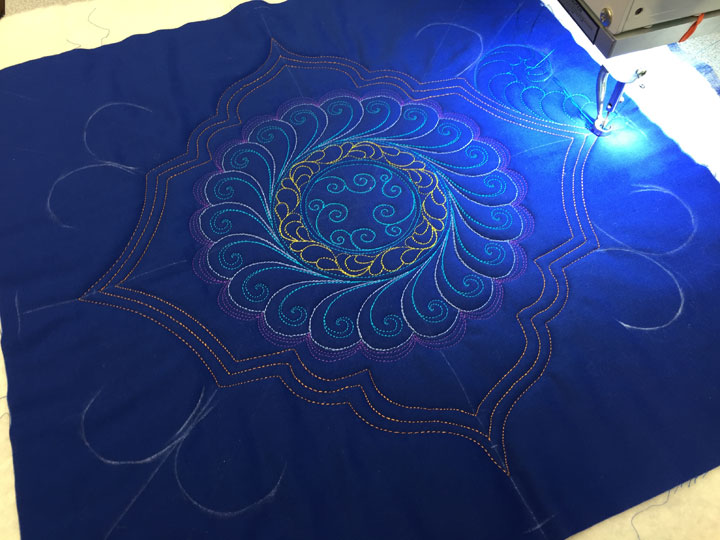
 Now she’s starting to look a bit more interesting, and THAT is the power of channels! Remember my mantra, more channels=more intricacy=more interesting! Anyway, in this next shot, I’ve stitched another channel and begun to add some plumes around it. This is where my challenge came. This frame is symmetric from top to bottom as well as from 1 side to the other, but it is not 100% symmetric in all 4 quadrants. I needed to find a way to add my plumes in a flowing design that would maintain my “half-symmetry” state! As you look at the next shot, notice the new curved soap lines that flow in mirror image pairs from the frame. Creating curves like this, that can be followed as the plumes are added, is the secret here:
 …and here is a closeup shot of the base frame once the plumes have been added to each side:
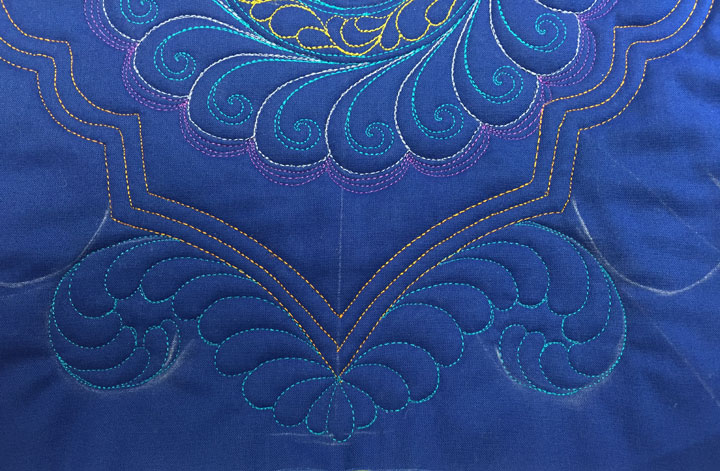 (You can see that I didn’t do a very good job of stitching those plumes as mirror images of one another from one side to the other, yet this will still come out looking pretty cool by the end!) And here is the frame once all plumes have been added:
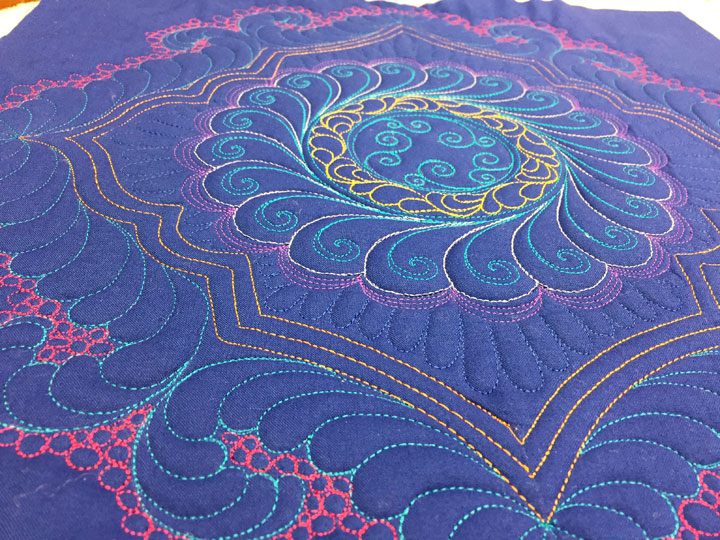
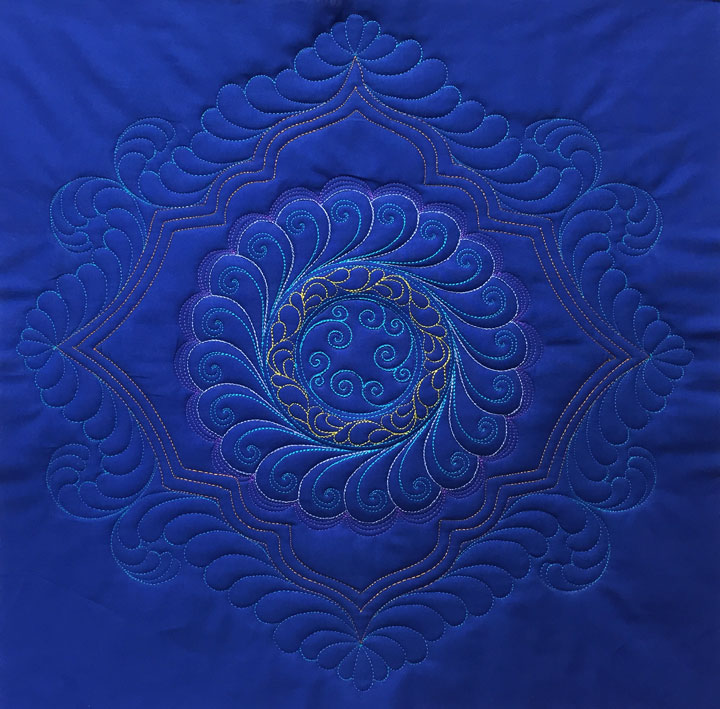 I felt like I needed to accentuate the edges of the frame so I added pebbles around the edge in a highly contrasting color:
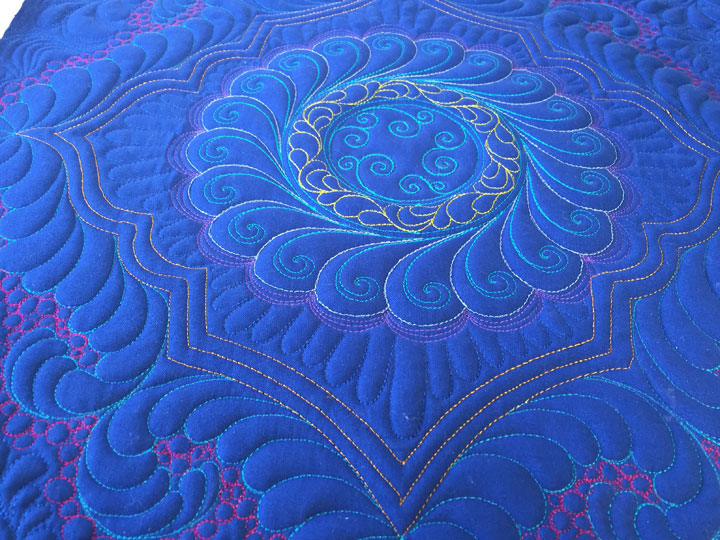
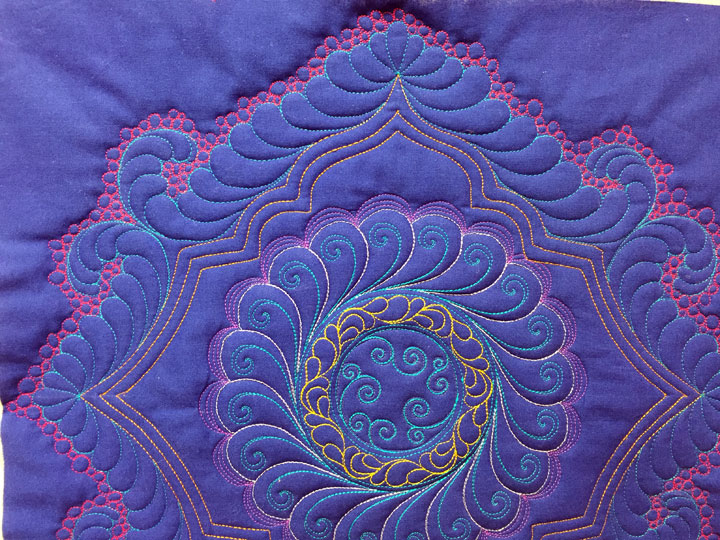 …and in the end, I added the fingertips design to fill the center zone by the wreath, and then added some doodly-quilting for the very outside:
 I’m linking up to Amy Johnson’s “Ruler Work Rocks Link-Up,” so get over there and link up your own post as well!!
Amazing! Looks trapuntoed. Love the contrasting thread. Thanks!
WOW. I am thinking I need that ruler!
Me, too. Let us know when you get it in the shop. This is a fabulous design, Patsy.
I really appreciate your step by step photos. It is very helpful and inspiring.
Would! Just beautiful love it, will have to give it a try. Thanks!
Again, you just keep those creative juices flowing right along. Another beauty. I definitely want that ruler.
Patsy,
Love the new ruler! Way cool. As always like what you’re doing. Thanks for sharing.
Patsy, This is a beautiful design. I definitely want that ruler. I especially like the addition of the pebbles. Makes the design look like it is floating. Thank you for this tutorial.
I love this post. I can’t wait to buy this ruler. Thank you for your wonderful blog.
Amazing as always! Love the change in thread color. Got to take a look at your store. I submitted my first ever little (and not complete) ruler work table runner over on Amy’s link-up.
That is beautiful. I too love the effect of channels but I wish I could do feathers, plumes and pebbles like you.