

Nov 17 16
Configuring Ruler Work Designs to Fill Specific Spaces
 Because almost every quilt I’ve made in the last few years has been a MEA quilt, my challenge in designing ruler work quilted designs always breaks down to creating designs to custom fit the spaces between applique shapes. This is very easy to do if you have a quilt top applique design that is symmetric, as you simply chose landmarks on the applique design to “play off.” This will always ensure a symmetric ruler work design since these same landmarks are used repetitiously and symmetrically in this type of applique designwork. The shot above is an example of a ruler work design that custom fills that oddly shaped space formed by pairs of swirls coming together. There are always multiple ways to fill this space, and if we look at a shot of an earlier wall hanging using this same applique design, you’ll see that this same space was filled differently:
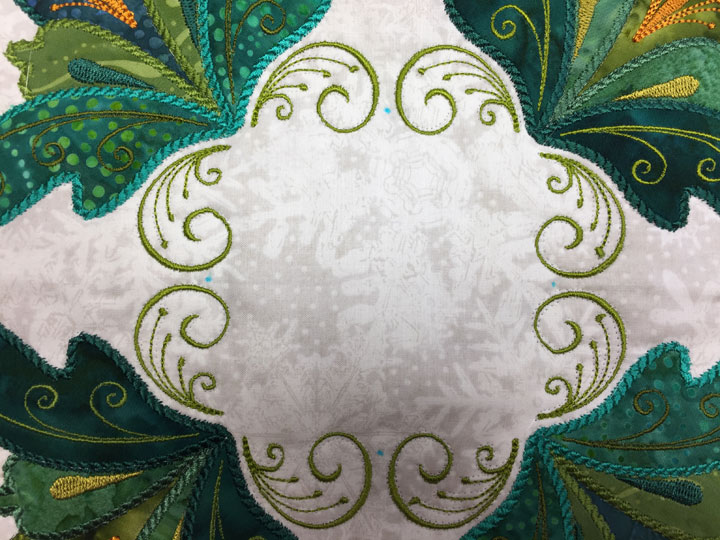
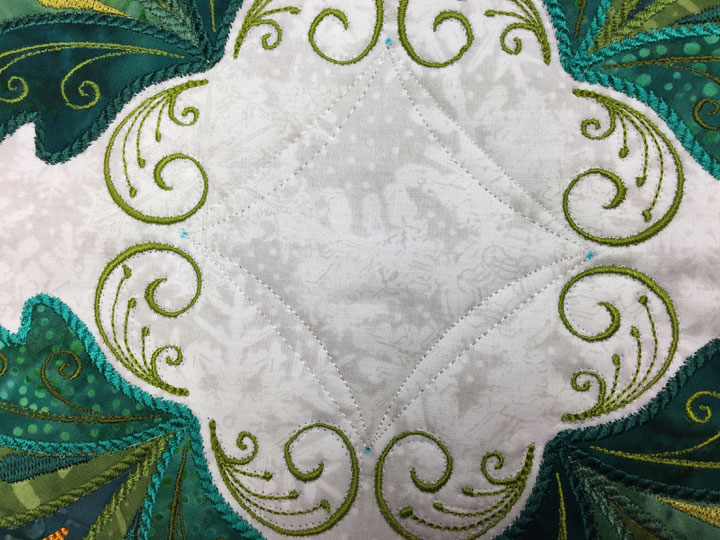
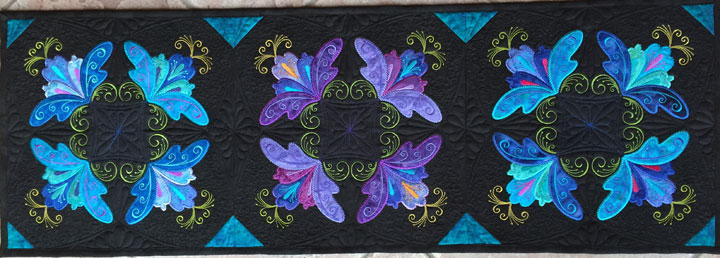 In the black wall hanging, I used the base of each flower as my starting/ending point for arc ruler work, but in the Christmas wall hanging, I’ve used the space between swirls as my starting/ending points for arc ruler work. They each yield a different center space to fill with a featherette, and they each yield different “outer spaces.” The Christmas version left me with enough room to add 4 additional featherettes. Let me show you how easy this is to do from the beginning. This next shot zooms in on the space we need to fill. Notice that there is a tiny blue dot between each pair of swirls. These are temporary marks that denote the starting and ending points for my ruler work:
 I used an oval ruler to create my first round of swags. Why’d I use an oval ruler instead of an arc ruler? Good question! An oval ruler will give me more plunge, and I needed to add more depth/plunge than an arc ruler would give me. When you use an oval ruler, you need to take care to center it each time you place it or the plunge will be off center:
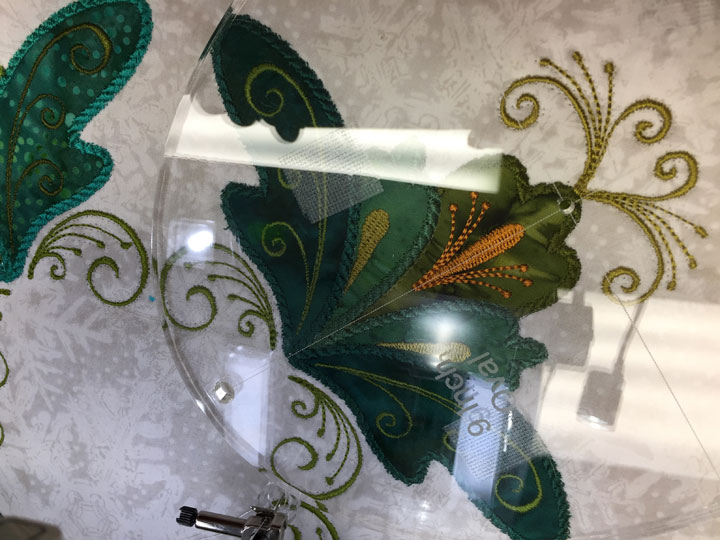 (Can you see that I was trying to line up the center line of the oval with the center of that flower?) Here’s what the center design looked like once the first round was stitched:
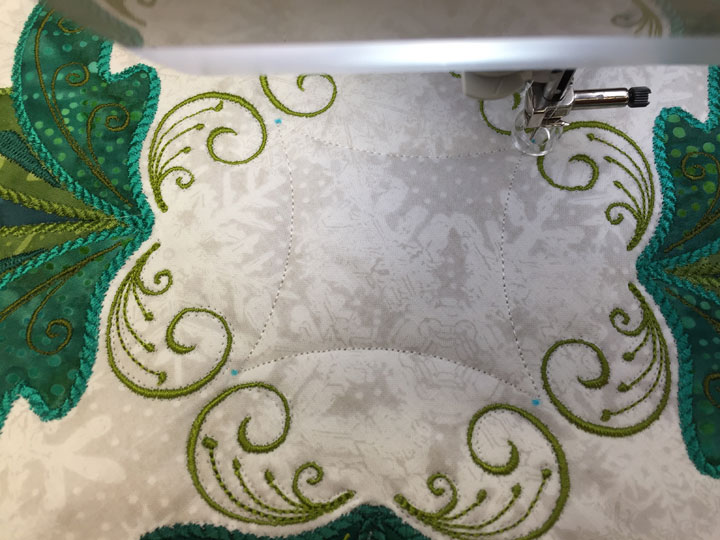 Remember that rule #1 in ruler work is you always want at least 1 channel, so I took a very shallow arc ruler and used it to create a tapered channel:
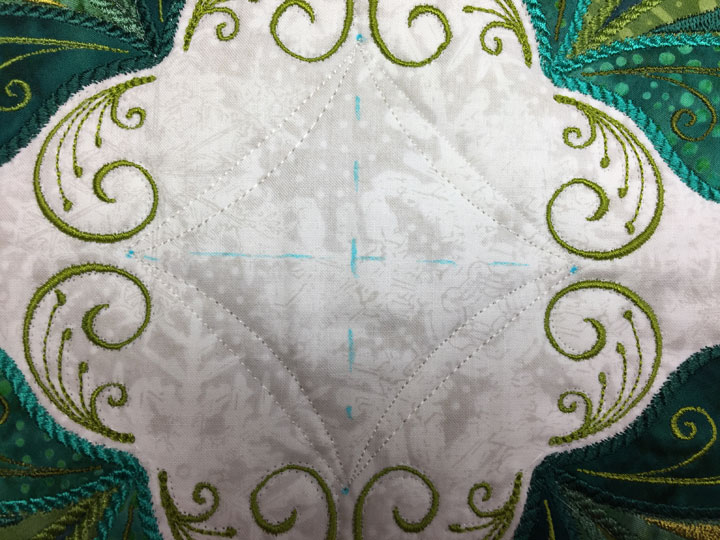
 Adding a channel always makes the design more interesting. Next, I made some temporary marks to divide up the interior into quadrants that could guide my freehand stitching of 2 featherettes:
 …and once I’d filled the center with 2 featherettes, I went back and filled the blank space below each pair of swirls with another featherette:
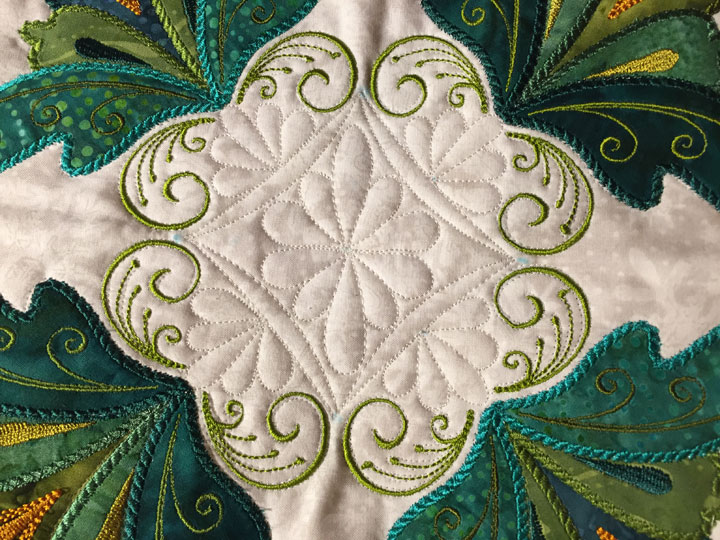 When you see a complex-appearing design like this, always try to break it down into component parts and then you’ll see how easy it is to construct symmetric designs like this. Here’s wishing you hours of fun playing with rulers!
Wow. Absolutely gorgeous Great tutorial too. Thank you. #CreativeGoodness
QuiltShopGal
http://www.quiltshopgal.com
Wonderful tutorial and beautiful results.
Patsy – i love this floral design you are using on your table runner. Is the applique design or the whole table runner pattern for sale in your shop? Thanks, Claudia W