Mar 31 17
Trapunto + Ruler Work Quilting = Incredible Texture
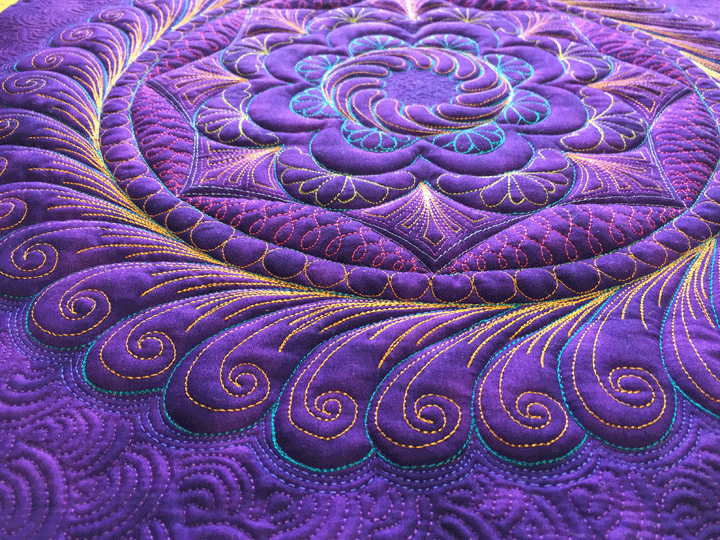 You can trapunto ruler work quilting just as you can trapunto any quilting or applique, so I used trapunto to highlight the various “zones” within my recent ruler work feathered wreath. You can see in the shot above that this allowed me to dramatize the wreath as a whole, but it also allows me to have the viewer appreciate the multitude of “design zones” that comprise the wreath. This is pretty easy to do and I’ll outline my steps below. By laying it out in this way, I’m hoping you will see the power of trapunto evolve literally before your eyes.
Step #1: Pin a piece of scrap batting behind your block, then quilt whatever design you want to trapunto. In my case, I pinned a piece of scrap Hobbs Tuscany Silk/Cotton Blend batting, mainly because I have a ton of this stuff and I’m trying to use it up. I quilted my ruler work frame work (as described in the last post), then did all my fill-in FMQing and hyperquilting. Once done, I trimmed away all the excess batting that felloutside the ruler work design. Here is what the back of my project looked like at this point:
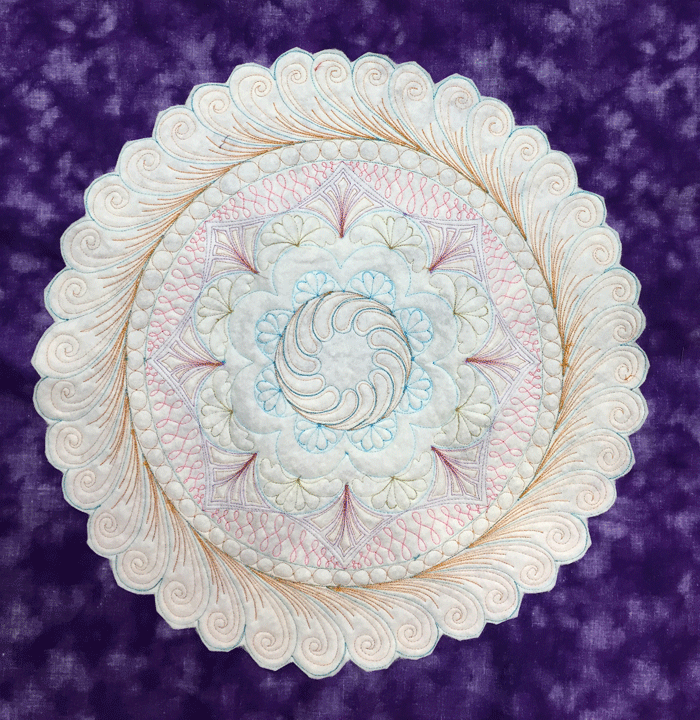 I wanted to crank things up another notch, so I added a second layer of extra batting underneath the center circle, aka everything except the outermost plumes. I used the thinnest loft of Quilters Dream Polyester batting for this additional zone, and here’s what the back side looked like at this point:
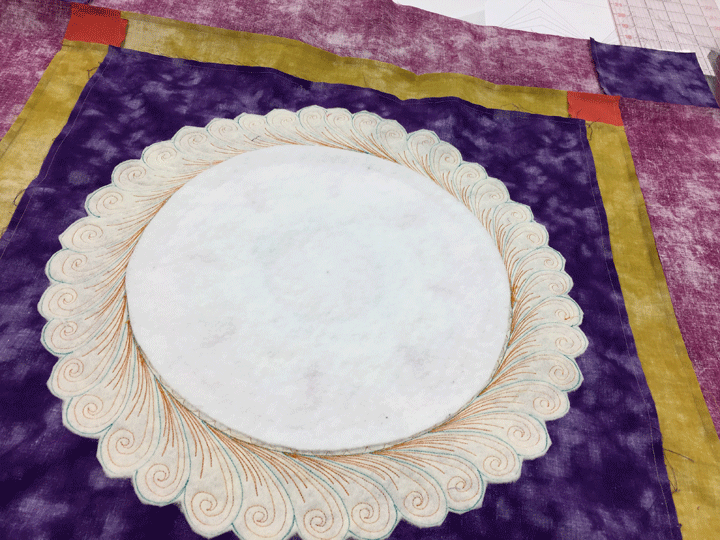 (That extra circle of batting was easily added by a few strokes of a glue stick.)
Step 2: I basted the 3 layers of my quilt sandwich together, and here’s how that purple center block appeared before I started quilting. You can see that there’s a little fullness behind the center circle, but that’s about it. You can’t even tell there’s a trapunto layer behind those outer plumes:
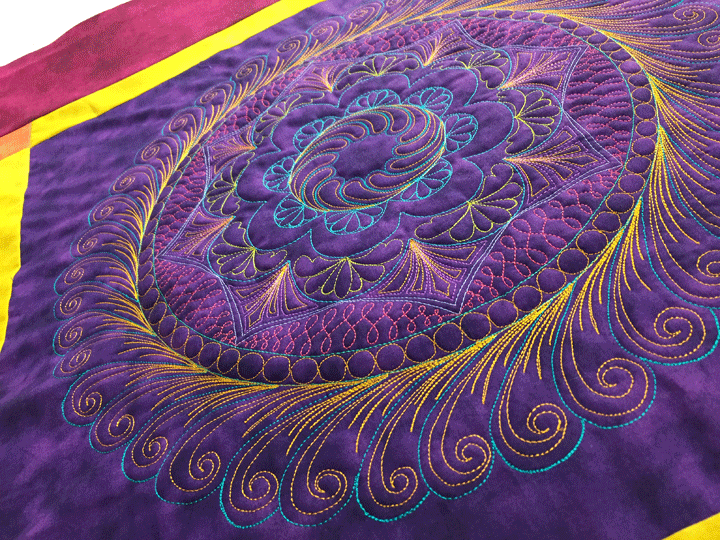 Step 3: I put invisible thread in my top needle and outlined all the various “zones” of the wreath, then outlined each plume. Know that I did not enter any plume or zone that had been hyperquilted, and this is important as it would have flattened those plumes or zones. I outlined the outermost plumes with 3 rows of echo quilting and did some dense stippling in the dead center of the wreath. This adds more relief to the design and accentuates the trapunto. The shot below is what the center block looked like at this point. All that puckering around the edge shows you how much contraction the trapunto and dense quilting causes:
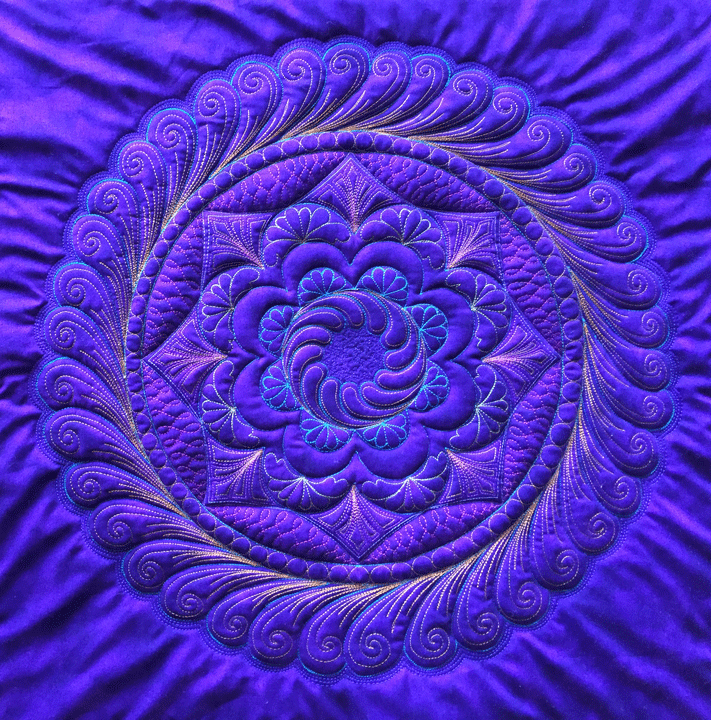 Hopefully, your heart is starting to race a bit now! I am usually starting to get excited at this stage because there is so much texture, but also having a bit of internal panic about all the puckering from contraction. Because the center block did not leave me much room outside the wreath, there was a limit as to what I could do to frame the wreath. This, coupled with the fact that there was so much thread detail in the wreath and I wanted it to be the “star of the show,” led me to frame the wreath in more subtle ways. I began by using my Quilted Pineapple arc ruler to create some arc channels in the 4 corners. Here’s what it looked like before any fill in work had occurred:
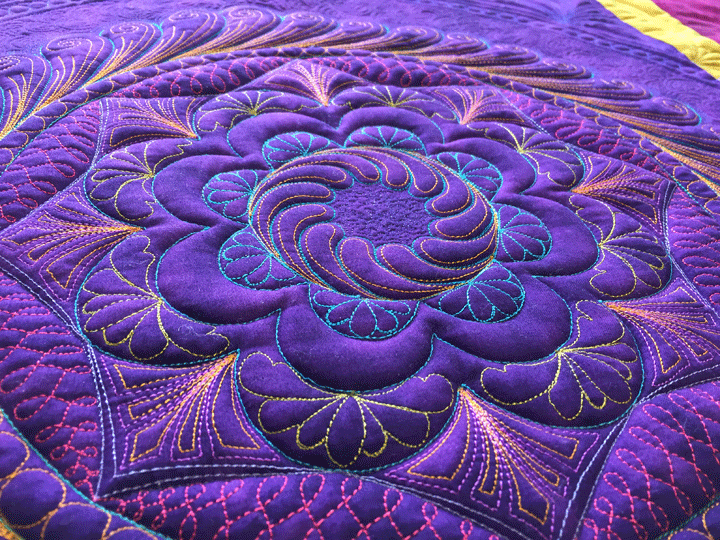
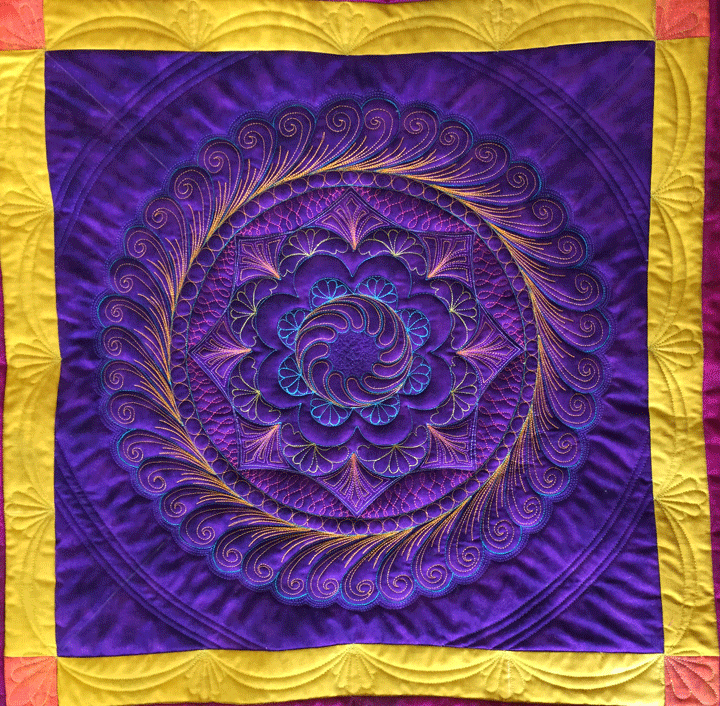 In these next shots, all the fill in work has happened. I added some “Aztec featherettes” in the 4 corners and used the igloos design for my background fill around the wreath. Adding all that dense quilting surrounding the wreath again accentuates the trapunto:
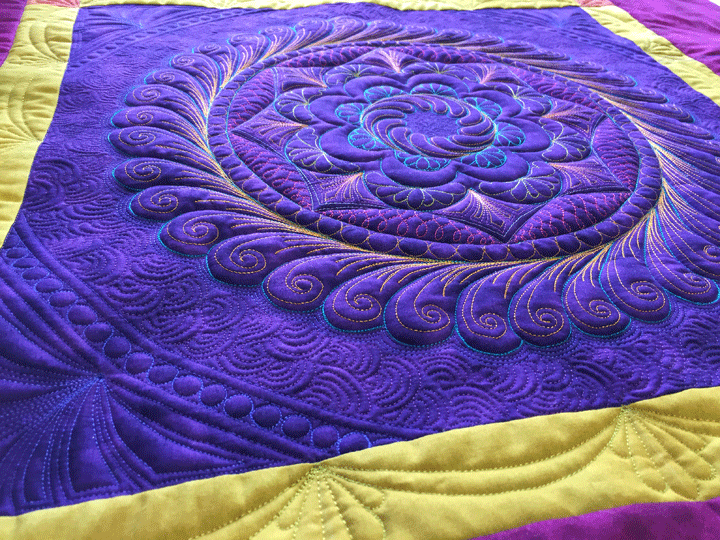 and more:
 I’ll post more once my outer border has been quilted… It might be awhile.

Totally drooling. I hope I didn’t get your spectacular quilting wet. Total #CreativeGoodness. I sure hope you enter this piece in a quilt show. Looks like an award winning quilt to me. At a minimum, it receives a #BestQuiltAward by QuiltShopGal
QuiltShopGal
http://www.quiltshopgal.com
It’s amazing how your fill work outside of the wreath eliminates all of that puckering. I would have freaked out when I saw that happen. Thanks for showing how it can be done