April 13th, 2018
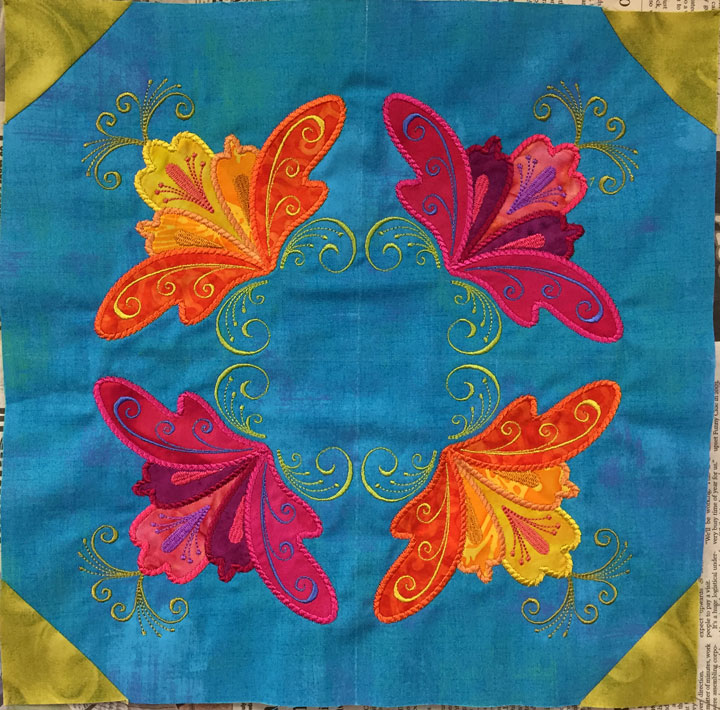
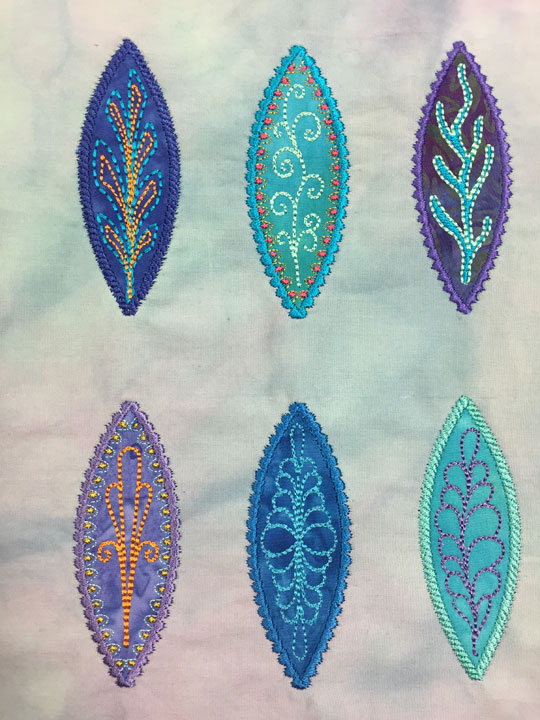
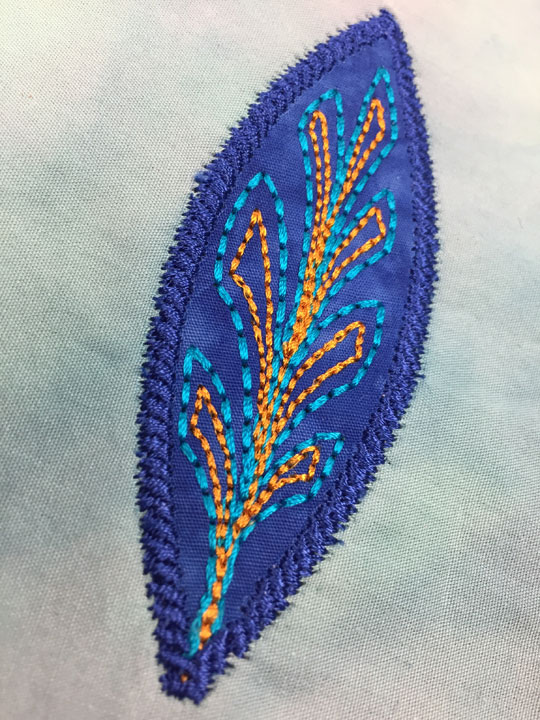
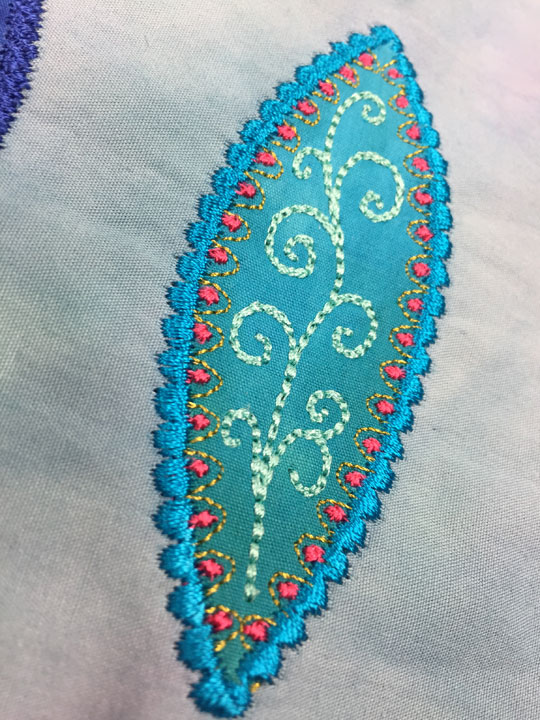
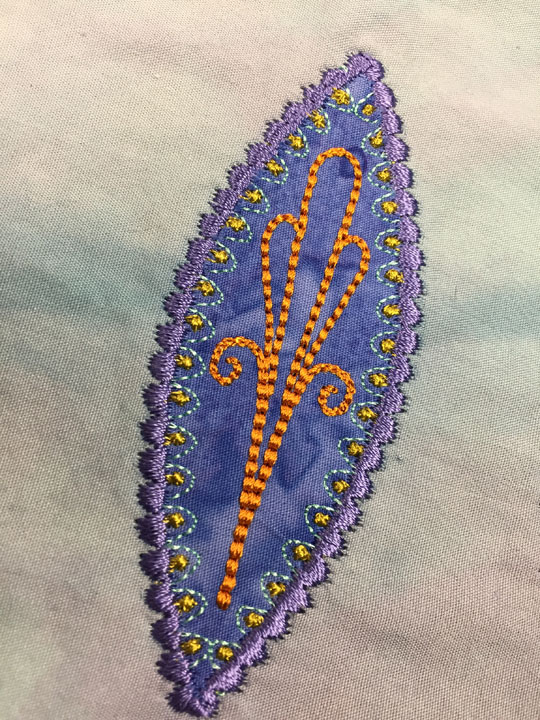
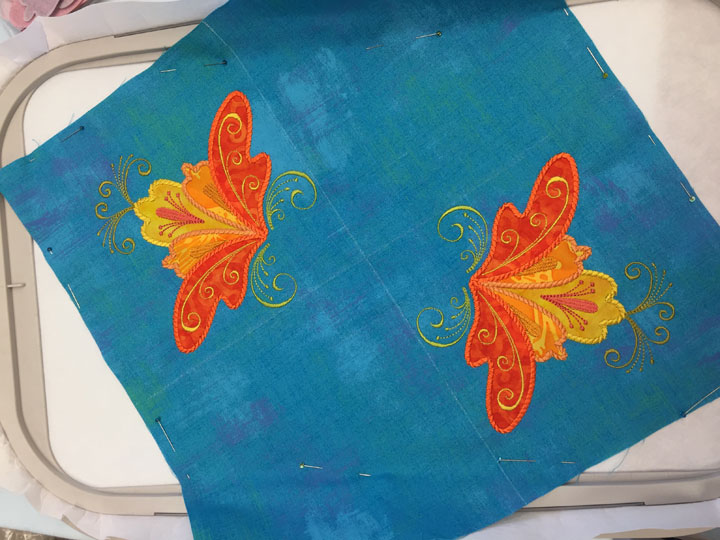
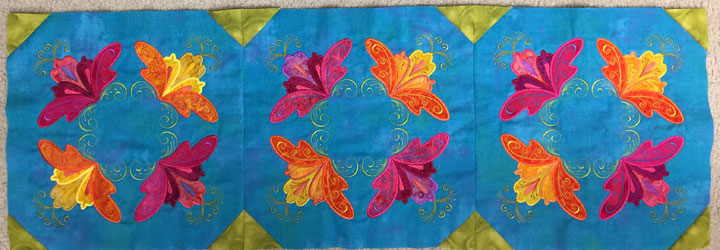
A million apologies for the silence on this blog. My 2+ months of craziness has morphed into 4+ months of craziness and my life is no longer my own. I’ve somehow managed to complete a few small projects during this time and will try to post about them over the next week or two. First up is another table runner made from the Swirly Floral Quartet Pattern that you can find by clicking here. Here is a shot of the block being stitched as a 2-part split design, just after the first half has been appliqued/embroidered:
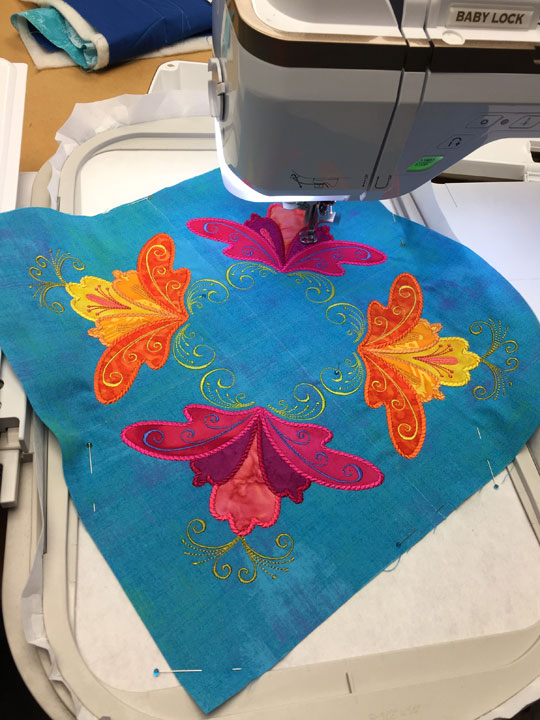
…and here it is as that second side is being appliqued/embroidered:
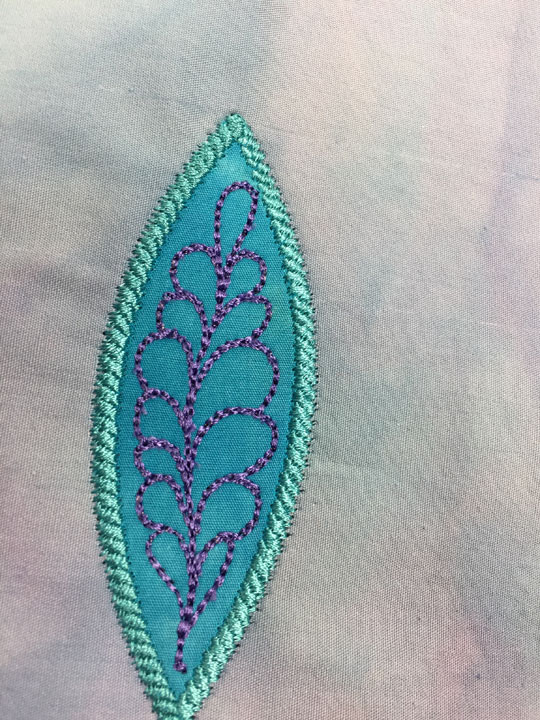
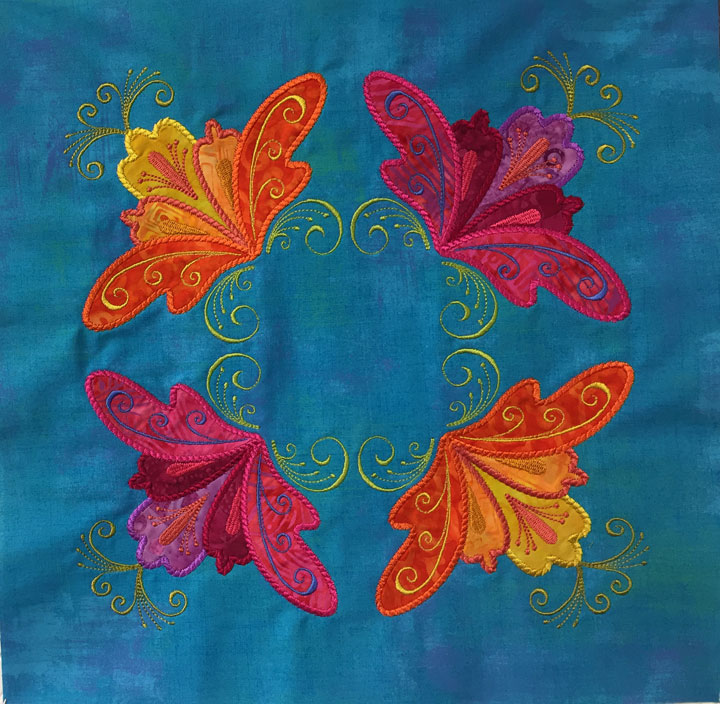
…and here is that block once removed from the hoop:
Four squares were pinned to each corner, then attached by stitching along the diagonal to create a half square triangle in each corner:
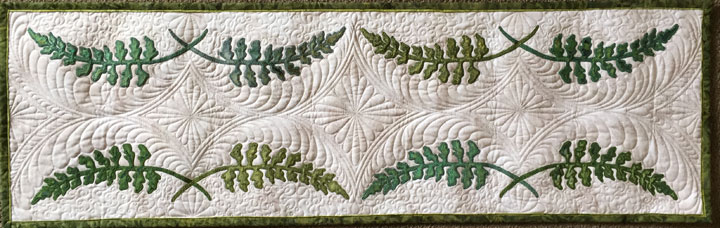
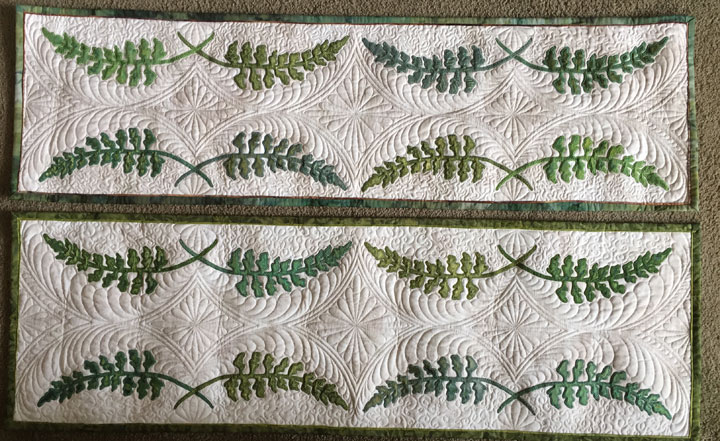
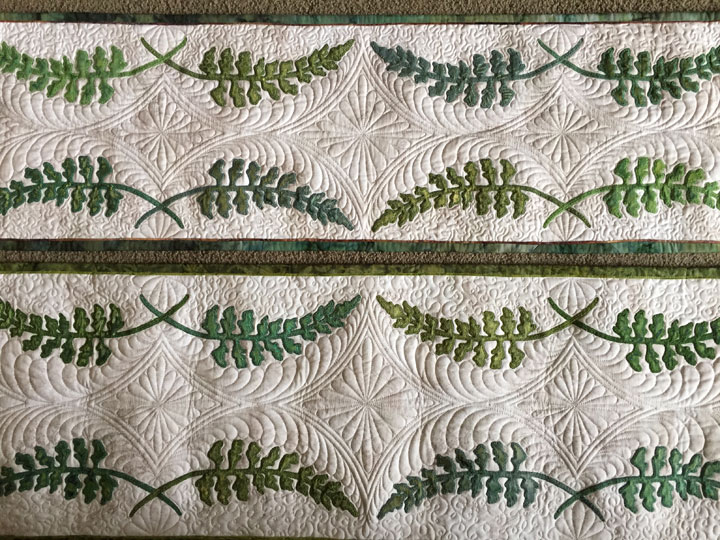
…and here is the table runner once all 3 blocks have been pieced together:
Filed under
Machine Embroidered Applique.
December 9th, 2017
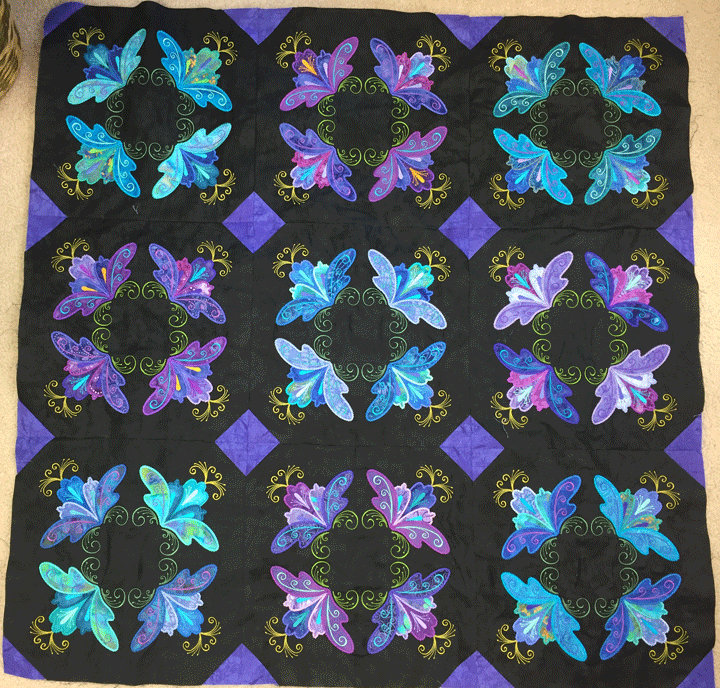
Remember this quilt top center? I am going on almost 1 1/2 years since I first started making blocks for the center section of this quilt. This past summer, I appliqued/embroidered the first border area and I finally added them on last week. Here is what the top looked like at the end of last weekend:
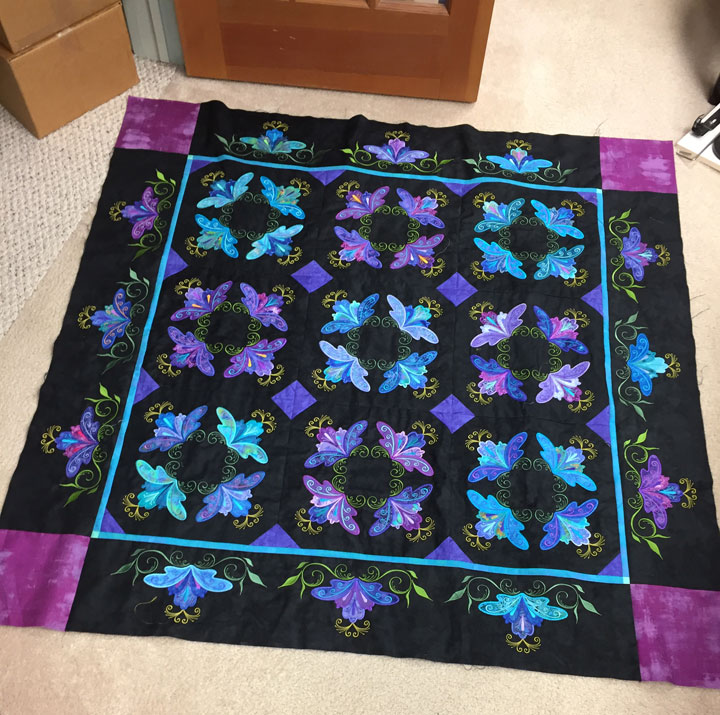
Ooh-la-la!! I am simultaneously excited and scared as I am moving ahead on this project. Excited because the drama of these appliques against the stark black fabric backdrop makes my heart flutter. Scared because I think I should quilt it with black thread and I know this will be a nightmare for me vision-wise! My vision is actually pretty good for someone my age, but seeing tiny stitches of black thread on black fabric will be really, really, tough for these old eyes. I am plodding ahead, though, and am now working on the next applique border section. This shot below is the first of the 4 outermost border sections:

I need to add another dark blue border before the final applique border, but the end is in sight!
Filed under
Machine Embroidered Applique.
December 4th, 2017
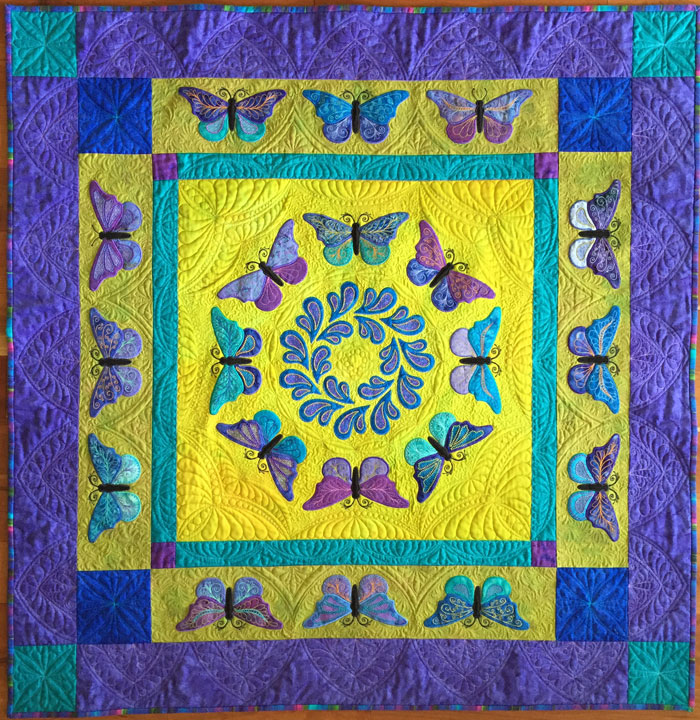
The photo above is of the original “Kissed by a Butterfly” quilt. I love how it came out and I think a big part of what makes the quilt nice is the striking colors of the hand dyed fabric in the center block. Shortly after I made it, I started a second version of the same quilt, but it’s made in commercial fabrics with more “pastel-ish” colors. I am not a fan of pastels, so working on this quilt became quite a chore. I pieced the top except for that last border and then set it aside. It sat, waiting to be completed, for several months, and I finally picked it up again last month. Here is a shot of it on my basing wall:
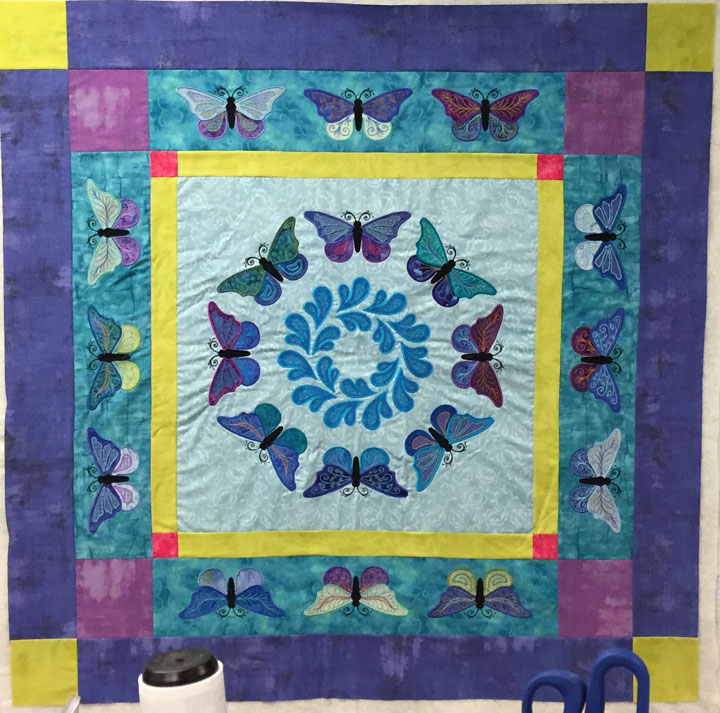
I like the embroidered details on the butterfly applique shapes, but that’s kind of the end of what I like about the quilt top:

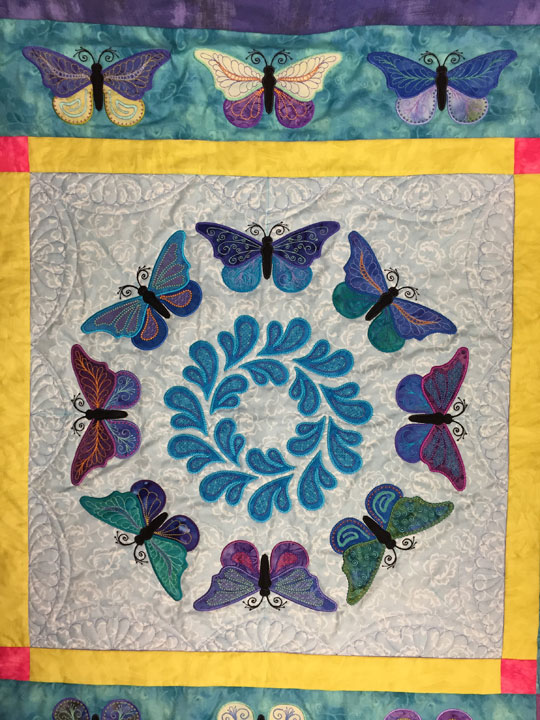
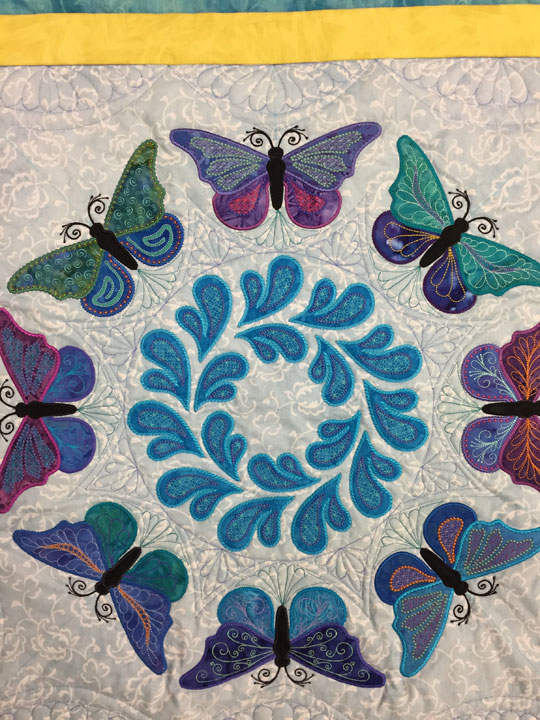
I started quilting this center block. I began by adding a ruler work framework along the seam line. In this shot, the first row of the framework is in and I’ve filled in 4 of the spaces underneath the framework:
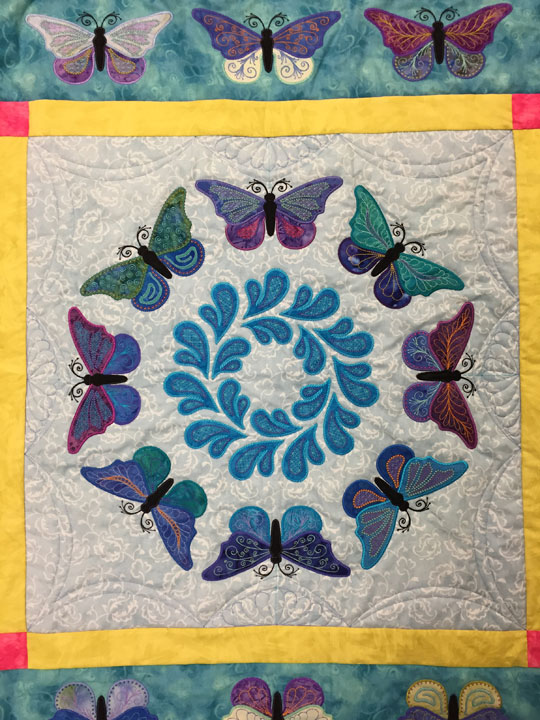
…and in this next shot, the remaining spaces have also been filled in with a featherette inside each:
I added a circular ruler work framework that rotates around the center applique wreath, then filled each triangle with a small featherette. This left a small adjacent space that I filled with a different featherette. I used 2 different thread colors to differentiate them better:
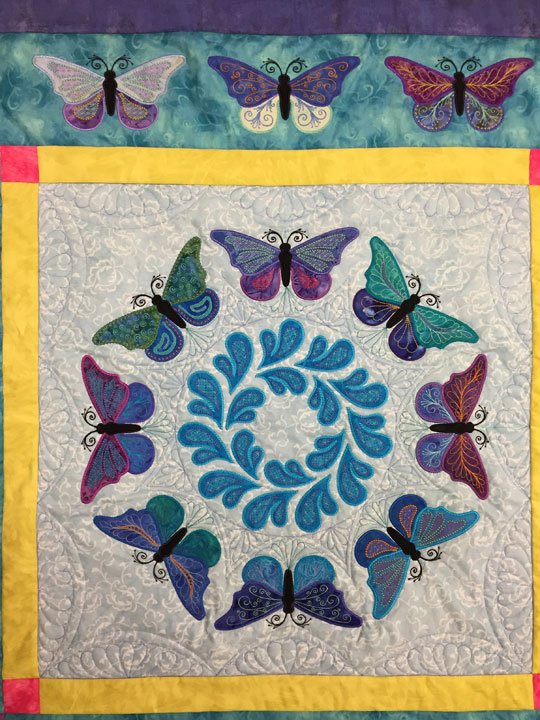
This close-up shot is a better illustration of what I was trying to do:
Then I got bored and moved to a different part of the quilt! More on this later…
Filed under
Free Motion Quilting, George Sitdown Quilting Machine, Machine Embroidered Applique.