Free Motion Embroidering a Block and Some Beautiful Quilting!

February 28th, 2011

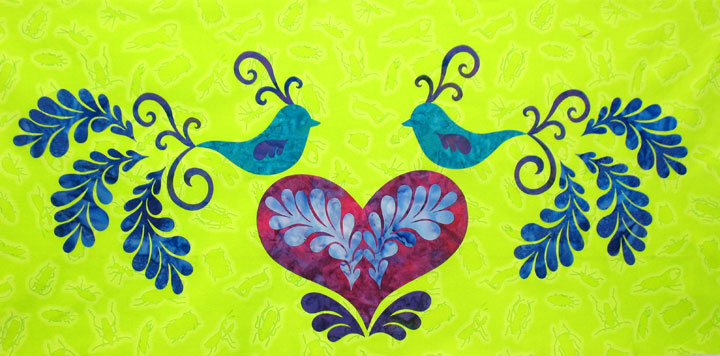
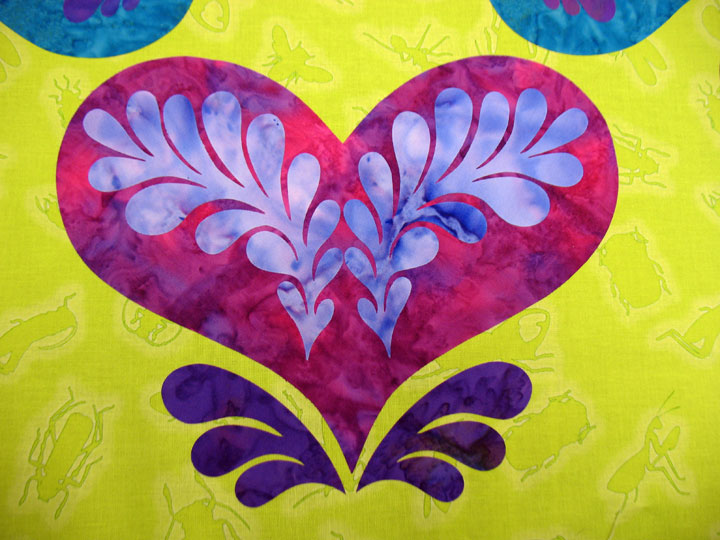
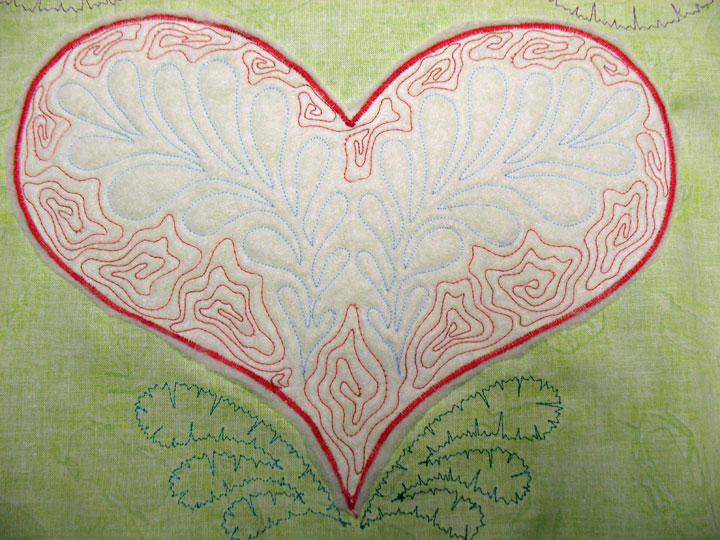
This large block will be part of a sampler type of quilt but I haven’t completely decided about the other blocks yet. So, I figured the best way to move this project forward would be to whittle away at this block. Parts of it will be trapuntoed and parts will be free motion embroidered before the top is pieced together, so I began by adding a trapunto layer behind the heart:

I satin stitched the heart’s edging with a solid rayon thread, then used Bottom Line Thread to stitch just inside the perimeter of the feathers:

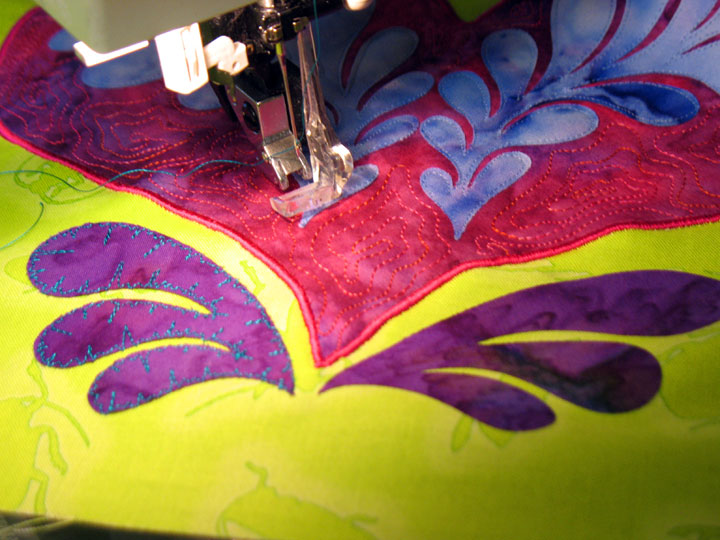
I did an irregular swirl background fill design to finish off the rest of the heart and then I moved to the short one-sided feathers that splay open at the base of the heart. Those seemed kind of ho-hum to me, so I decided to finish off the edges with the EKG edge finishing design and I picked a bright turquoise rayon thread since it would be pretty “showy:”

Here’s what the back of the project looks like:

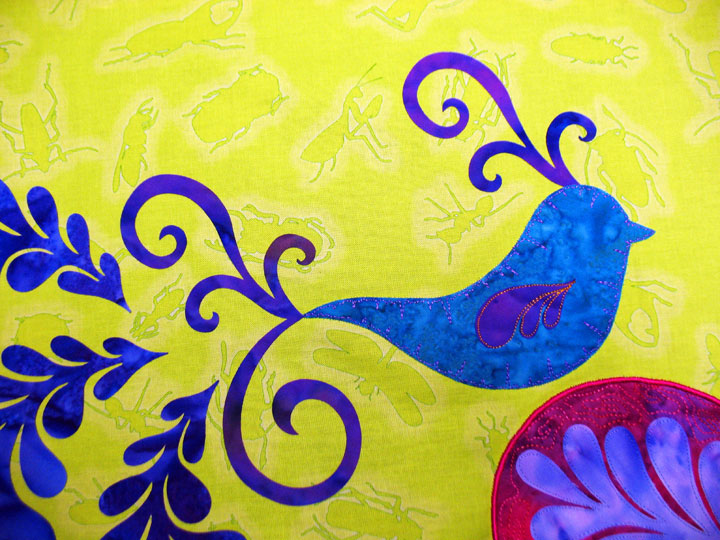
Then I moved up to those birds near the top. I did the EKG edge finishing but I used a thread that wasn’t too contrasty…I wanted to save the big bang for the wings! I stitched the plumes inside the internal wings with solid gold rayon thread and I really like how it came out:

…and then my heart skipped a beat. I realized that I’d intended to place a lightweight trapunto layer behind the birds but I forgot to do that before I did all that embroidery. Drat! I went back in and added that lightweight batting using invisible thread in my top needle. Thank goodness there is almost always a way to salvage a mistake like that!

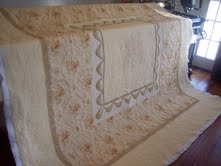
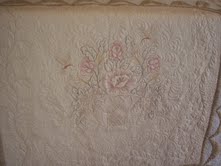
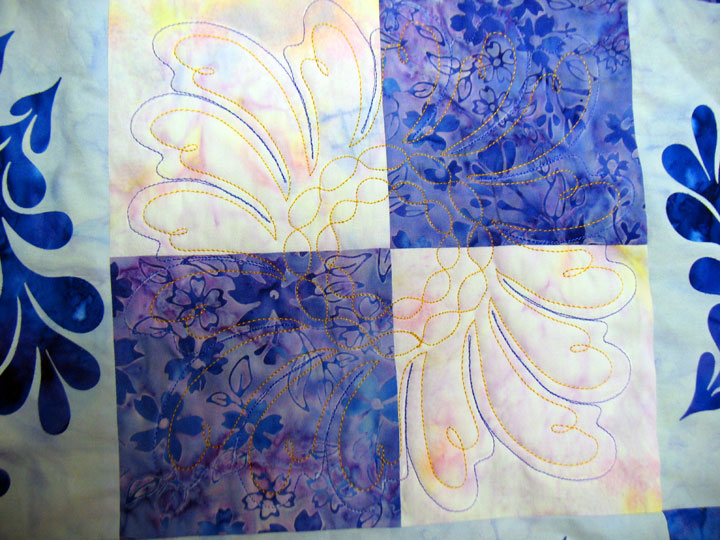
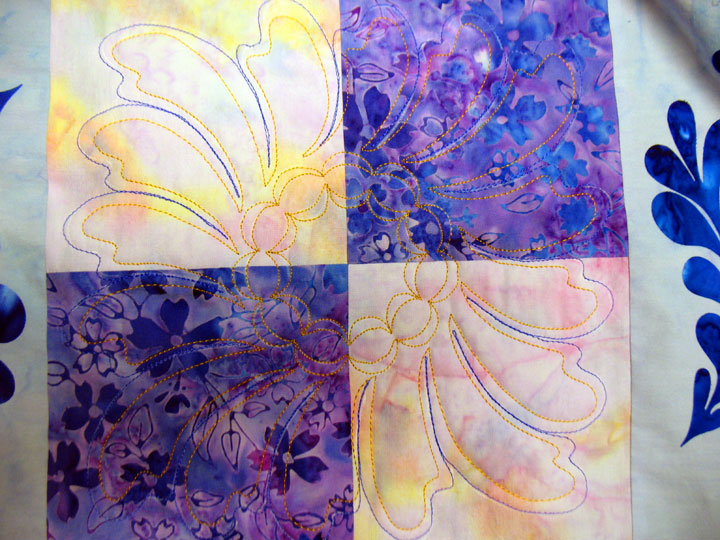
And now, I want to show you some photos of really incredible quilting that were sent to me by Lisa Burmann of Burmann Studios. Just look at these photos of a quilt she’s working on:

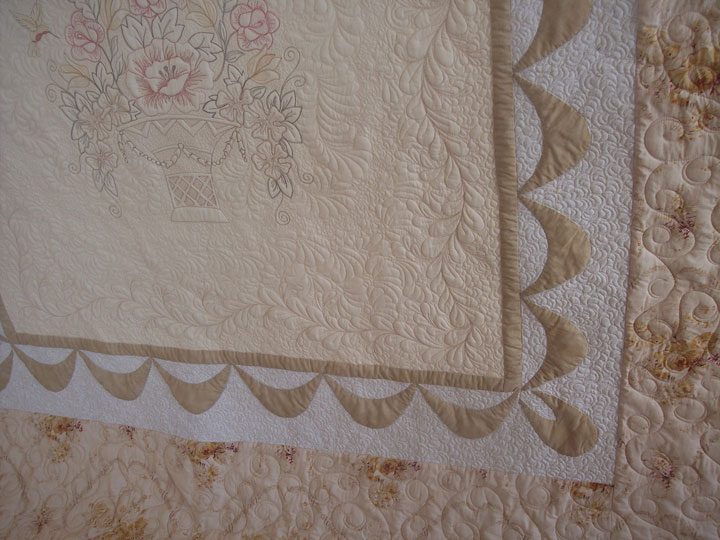
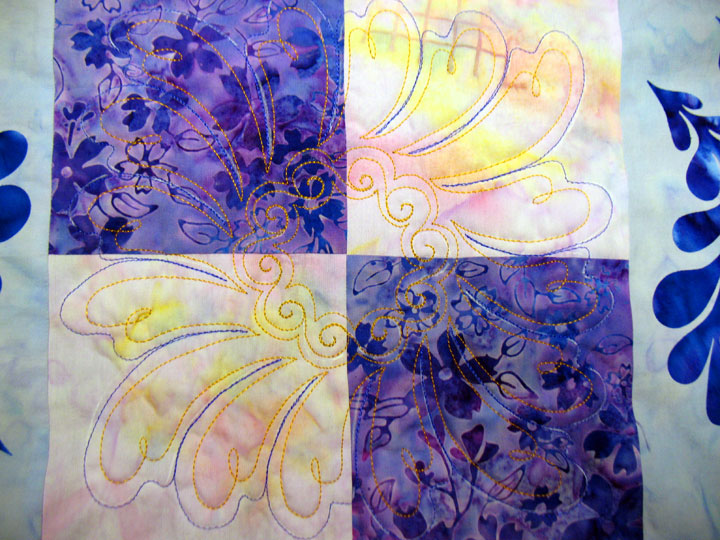
This next one is my favorite…look at the beautiful way she has handled the corners. Your eye is just drawn to follow all the luscious curves of those feathers:

Notice how her dense quilting sets off the swags and gives them almost a trapunto-like effect:

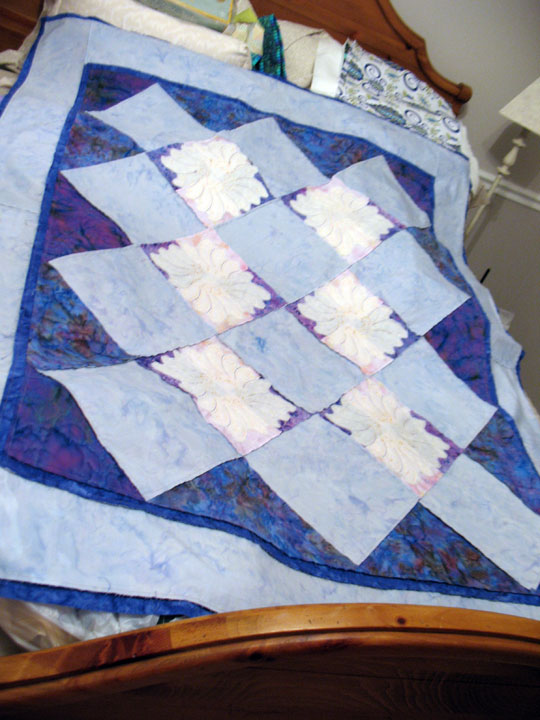
and last but not least, a shot of the backside:

Lisa is a longarm quilter who obviously does a fantastic job! To check out more of her work, visit her web site here. Take the time to scroll through her different galleries; there are all kinds of quilts but they all are beautifully quilted!

Slow Progress

February 23rd, 2011

I haven’t gotten much quilting done in the last few days, but I finished the trapuntoed blocks on a new top. I quilted 3 different feathered wreaths in the 6 blocks:

and in the next block, there’s a little different center to the wreath and the hyperquilting is a different design:

and in the 3rd pair of blocks, the center is a bit different again:

These blocks seem pretty boring to me, but I feel like I can’t do anything very showy on this quilt. Here’s a shot of the backside with the trapuntoed layers all in. It’s now ready to be put into a quilt sandwich and quilted:

I am thinking of doing something with this quilt that Ive never done before. I have so many quilts to quilt before spring quilt market that I’m thinking of having someone else quilt this top for me. This is a whole new world and I know nothing about this process; I just know that I don’t have enough time to finish all the work I need to do between now and then! One good thing happened with doing these trapuntoed blocks…I used up 3 more skimpy bobbins! It’s a good thing because I’ve still got WAY too many partially wound bobbins:

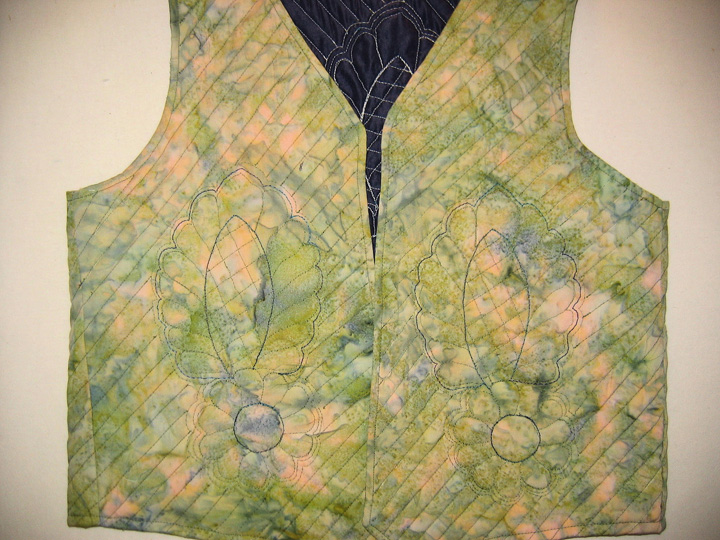
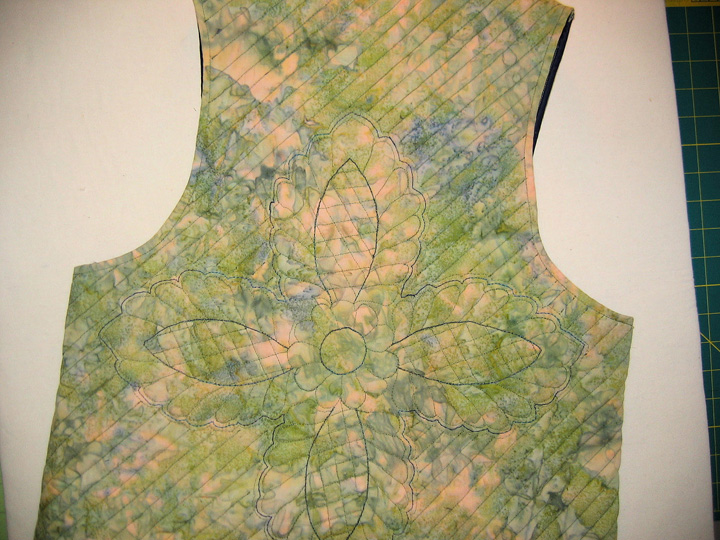
And here’s a treat…Carole Corn sent me these photos of a vest she recently made and quilted herself:

Didn’t she do just a fabulous job with the quilting?! Way to go, Carole, and thanks for sharing!

Give-Away Winner, What’s on the Machine, & Fabric Dyeing

February 19th, 2011

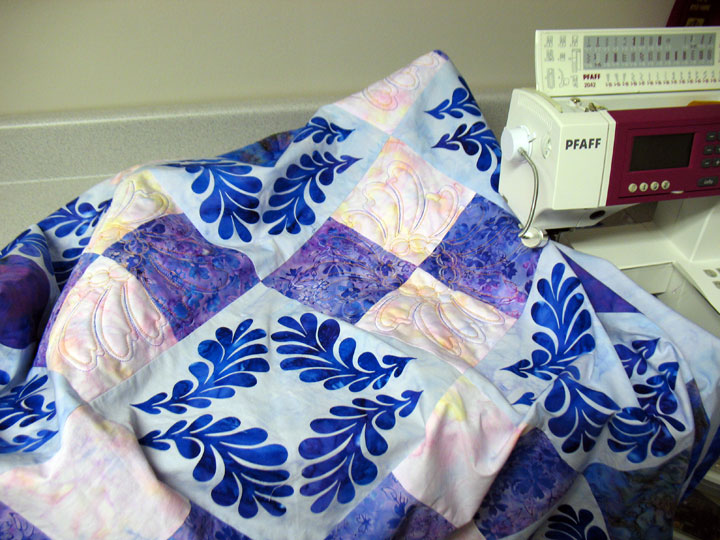
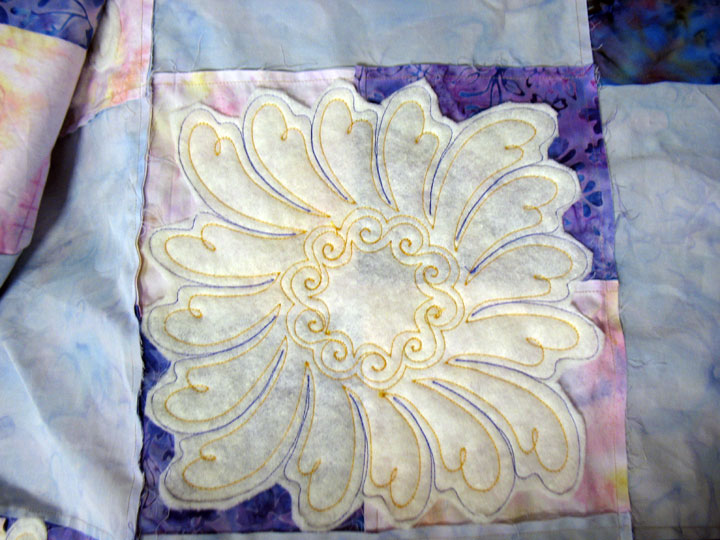
This quilt top is what’s on my machine bed today. It’s fully pieced but I’m adding a trapunto layer to the four patch blocks that are interspersed with the applique blocks. I usually do this before I even piece the blocks together, but I’m adding trapuntoed feathered wreaths that come so close to the edges of the blocks that it makes piecing difficult when that’s done after the trapunto layer is added. Here’s a shot of the backside showing one of the trapuntoed blocks:

Only 2 more blocks to trapunto and then the whole thing will be ready to be quilted!

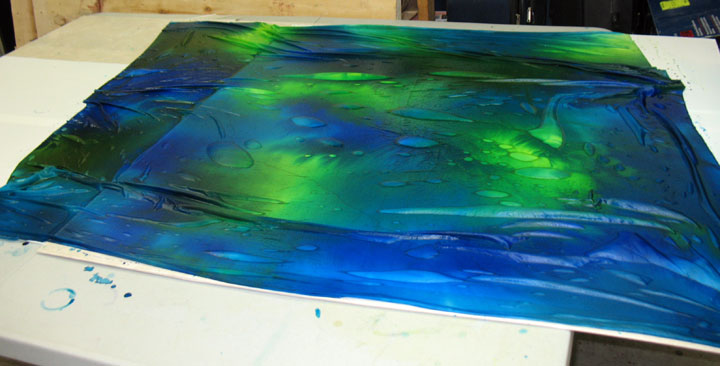
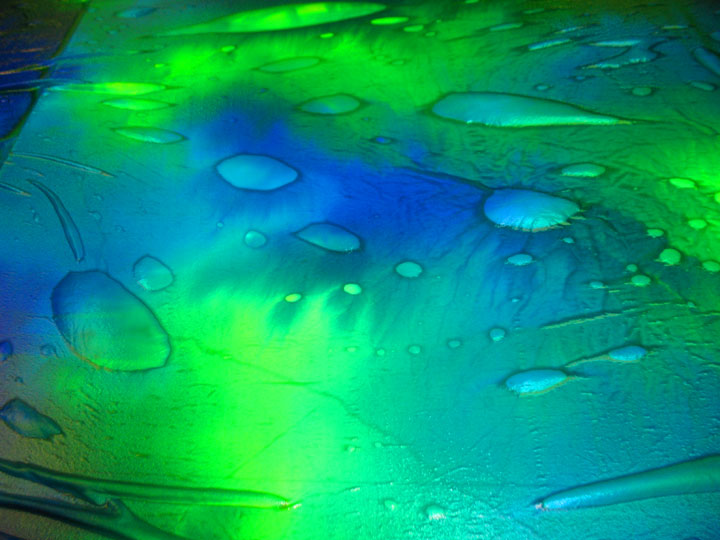
This is a large piece of silk charmeuse I dyed last weekend in the garage. Isn’t it really stimulating to see all that great color? It sure got my juices flowing again! Here’s a close up of some of those bubbles that cause the dye to pool:

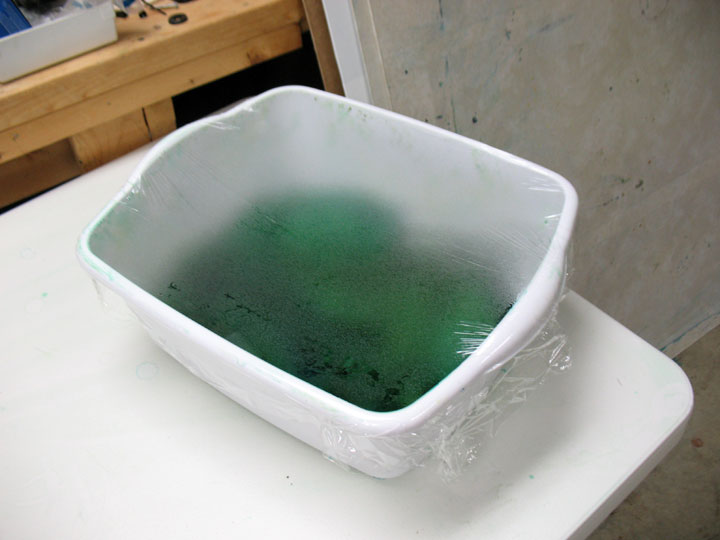
While I was at it, I dyed a few tubs of fabric in the microwave, each tub holding 1 yard of fabric. My friend, Judy Simmons, taught us a technique where you cover your tub in Saran Wrap and then microwave on “high” for 3 minutes. Here’s a tub just out of the microwave:

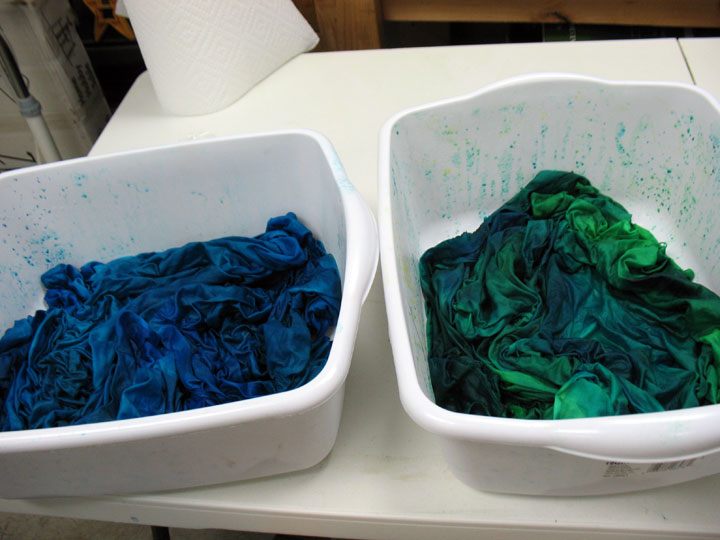
You leave the Saran Wrap in place for awhile so it can steam for a bit, but don’t just walk away and come back hours later. I did that the first time and all the condensation inside ran to the center of the lid and then drip, drip, dripped for hours into the center of the fabric “blob.” When I finally took the Saran Wrap off, the center of the fabric had been diluted to a very pastel color! Here’s a shot after I removed the tops of a couple of tubs:


Phew, no pastel centers this time!

And I wanted to thank everyone for so many warm wishes on our anniversary. Unfortunately, there can be only one winner of the $50 gift certficate, and that goes to Linda, from France! You can read her quilting blog here.

20th Anniversary and a Special Give-Away!

February 10th, 2011

Twenty years ago today, I married the greatest friend I’ve ever had.  Ern and I met in med school and were close friends for 8 years before we became romantically involved.   I guess we both were too focused on getting though medical school and residency to allow ourselves to give in to the romance, but once we were done with training…look out!  I can honestly say that I love/like this guy more everyday.  He has a kindness about him and a sense of humor that still has me laughing all these years later.  He brings out the best parts of me and I know that  I am one very lucky woman!

Because I am feeling so appreciative of my good fortune in meeting and marrying  Ernie,  I want someone else out there to have some good fortune.  In honor of our 20th anniversary, we are having a give-away of a $50 gift certificate to our online store.  All you need to do to enter is to leave a comment to this blog posting by 11:59 pm eastern time on Thursday, Feb 17th, 2011.  Good luck!

Oh, and two more things…  since Nikki took over our weekly sales newsletter,  I have been terrible about placing any sale info in this blog. We have a sale that begins every Friday at noon in our online store.   She is planning a very special sale in honor of our 20th anniversary and Valentine’s Day,  so check your newsletter email tomorrow (Fri) to hear about it.  To sign up for the sale newsletter and to receive  information about new products by Patsy Thompson Designs, go here. (We don’t share up mailing list with anyone else.)  Happy Valentine’s Day!

And one last thing…I’ve been getting lots of email questions about these birds and feathers and many of the other things that you’ve been seeing on this blog.  Just know that in the months to come, you will also be able to create these appliques as effortlessly as I have been doing.  This is just another wonderful offshoot of Ernie and me teaming up together.  Stay tuned and sign up for that mailing list if you want to be amongst the first to learn of this kind of thing!  (I’d tell you more, but then I’d have to kill you!)

2nd Post in an Hour!

February 8th, 2011

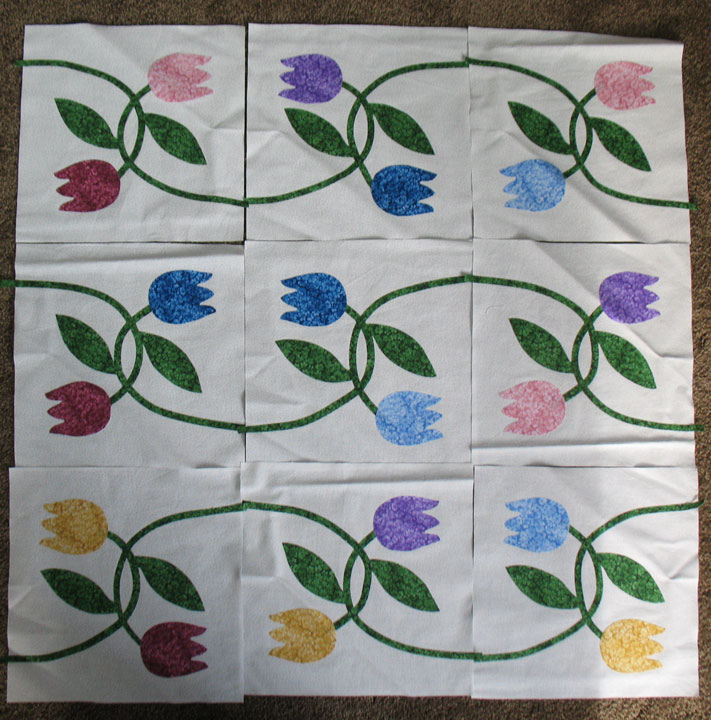
Whoa…this is unprecedented! Two posts in one hour-what gives? First, I needed to announce the winner of the Tulip Blocks from eBay:
These blocks will soon be winging their way to the home of Betty Green…congratulations to Betty!

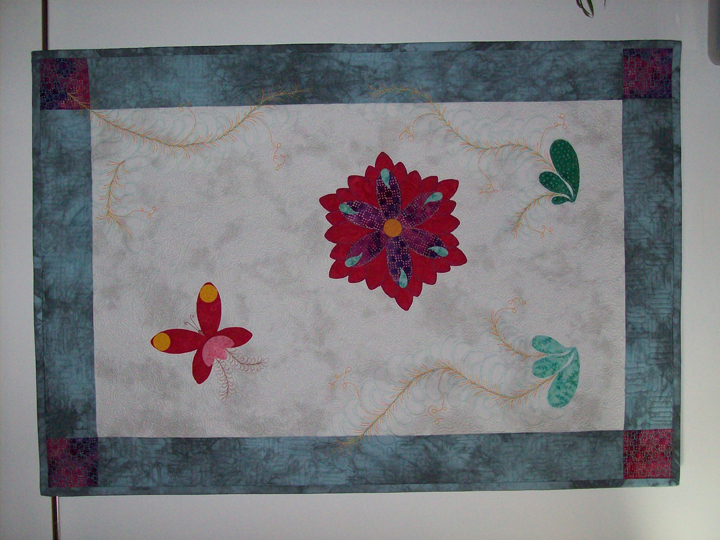
And I wanted to share some photos that were sent from Elisabeth, who has been playing with her Sizzix machine:

Notice that she’s been really inventive with how she’s used some of her dies. Can you tell that she used the Sizzix BigZ Plain Leaves die to create her butterfly:

And she used the Sizzix Big Z Leaves/Teardrop die to create the butterfly seen from the side view:

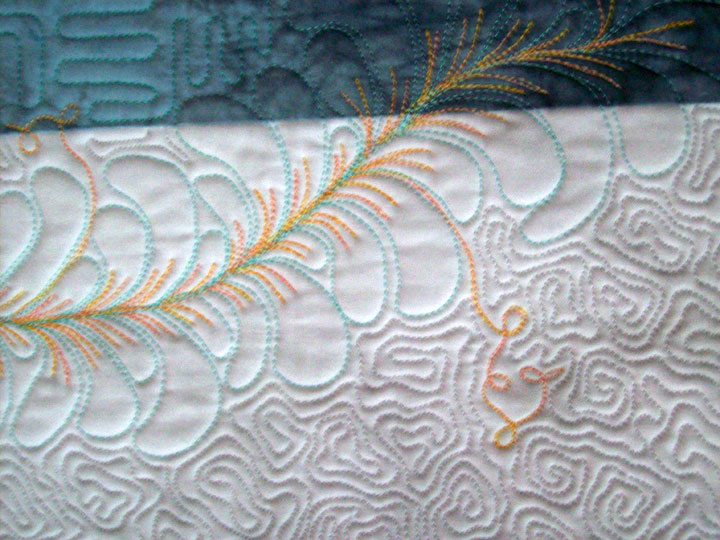
If you look at the closeup of that side view butterfly, you’ll see the lovely hyperquilted feather she created as a flight path! And don’t miss her lovely background fill quilting…she did a wonderful job with the irregular swirl:

Thank you, Elisabeth, for sharing your work!!

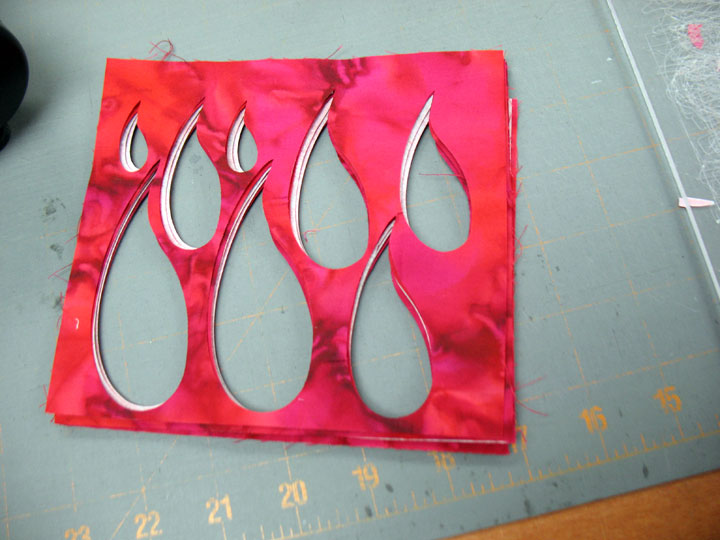
And one more thing before I hit the hay for the night…I keep getting questions about how to use scraps generated from cutting on the Sizzix machine. I save all my scraps in a box, and when I need to cut small shapes, I’ll pull out a wad of scraps in the colorways I need:

They look kind of unruly, but you can easily arrange them back into a nice stack:

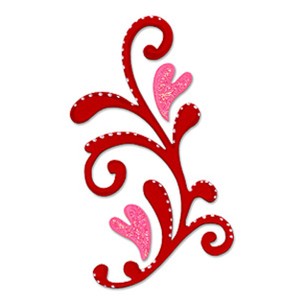
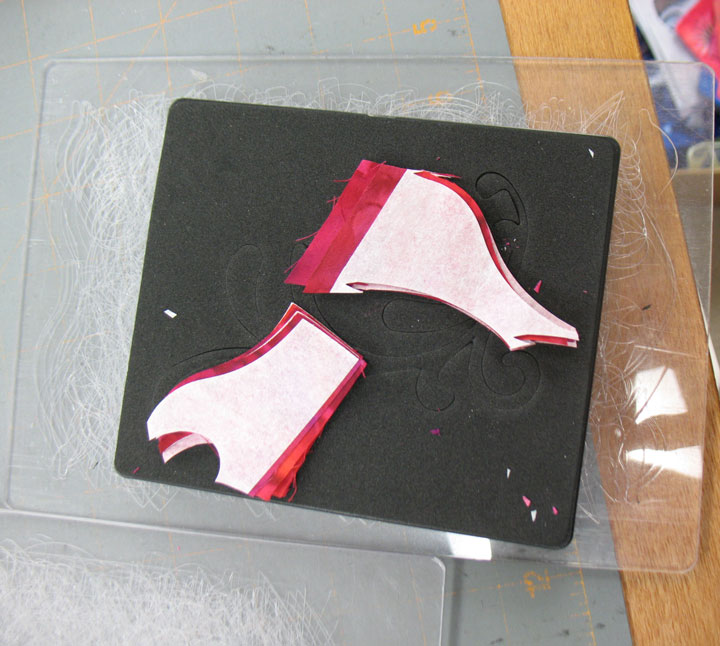
Once they’re lined up like that, all you need to do is make a couple of cuts with your rotary cutter or scissors and now you’ve got some piles of small stacks that can be cut. I need some small heart shapes, so I’m going to cover the hearts only on this flourish die:

…and here’s the actual die with 2 stacks in place:

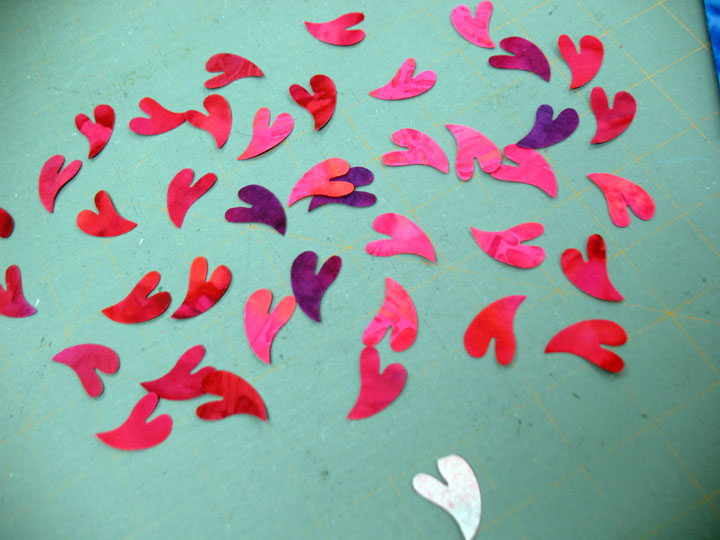
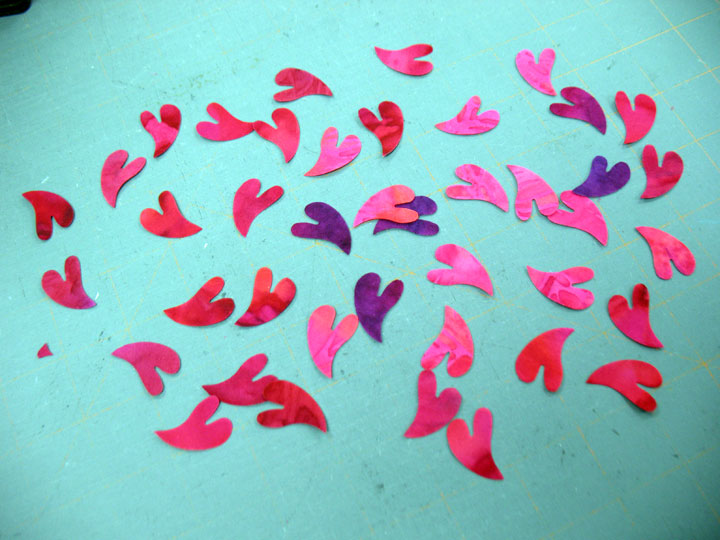
And here’s a bunch of small hearts:

Can you see that one heart, toward the front, that’s showing the Wonder under side? Sometimes you’ll accidentally chop off part of the design like I did there, but you can usually just snip off a bit and no one will ever know. Can you find the “modified heart” here?

Be sure to check this blog on Thursday, Feb 10th…I think I’m going to do something special that day…