Worlds Collide!

June 27th, 2011

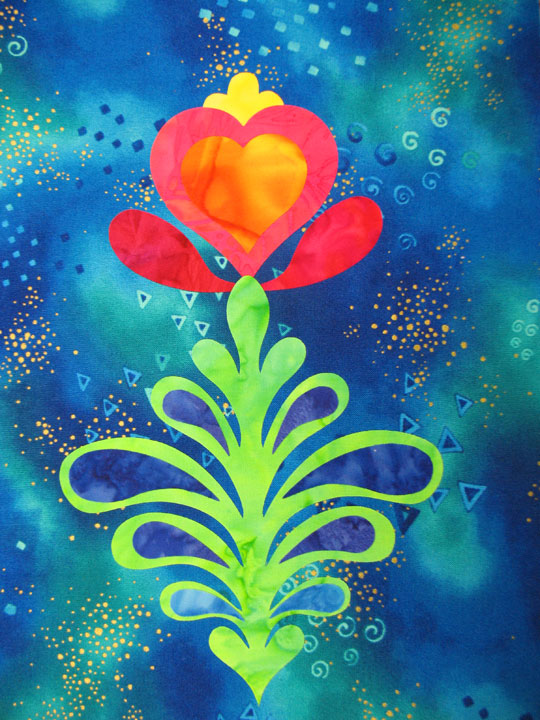
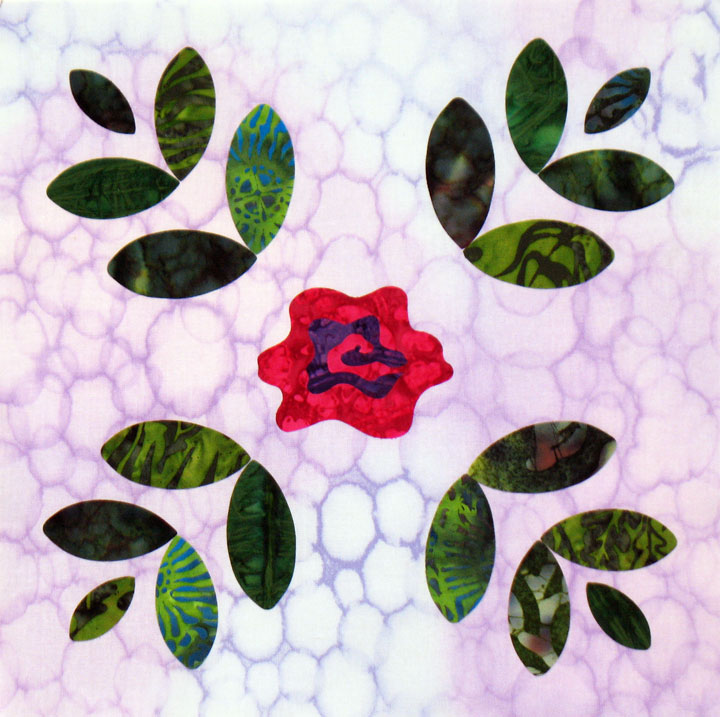
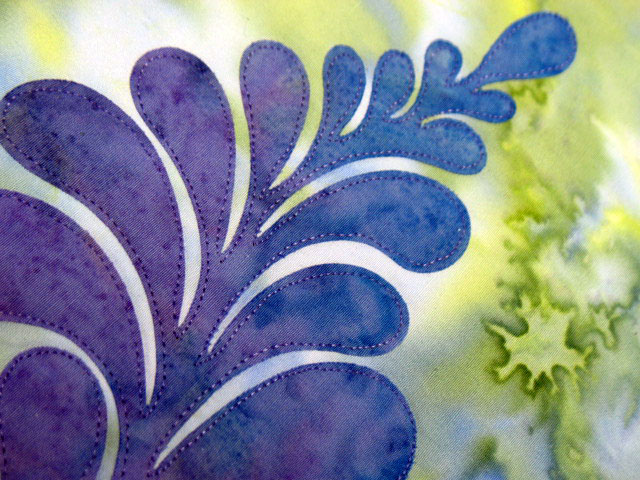
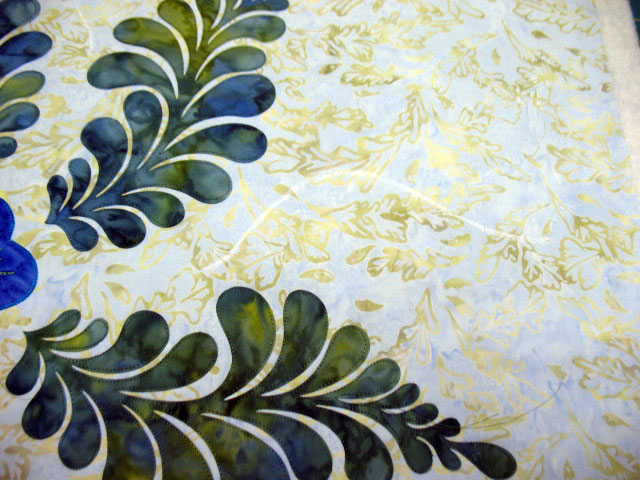
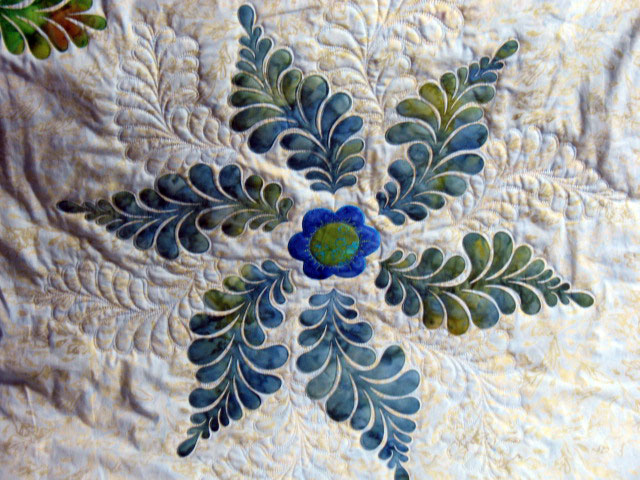
Worlds collided in my sewing room today, as Sizzix, Accuquilt and Appli-K-Kutz dies each played a role in a quilt block coming to life! These cutting dies are making life much easier for me and I’m finding that I can mix and match contributions from each line of dies to come up with an end product that pleases me. For this block, I used the Sizzix teardop die, the Accuquilt heart shapes die, and the Appli-K-Kutz straight feather large and plume family dies. I forgot to take the “bare naked” photos at the very beginning, so this transformation of a ho-hum block into something more interesting won’t be very dramatic. Imagine this first photo without any “teardrops” inside the leaves and you’ll have a sense of how much adding layers of new colors has added:

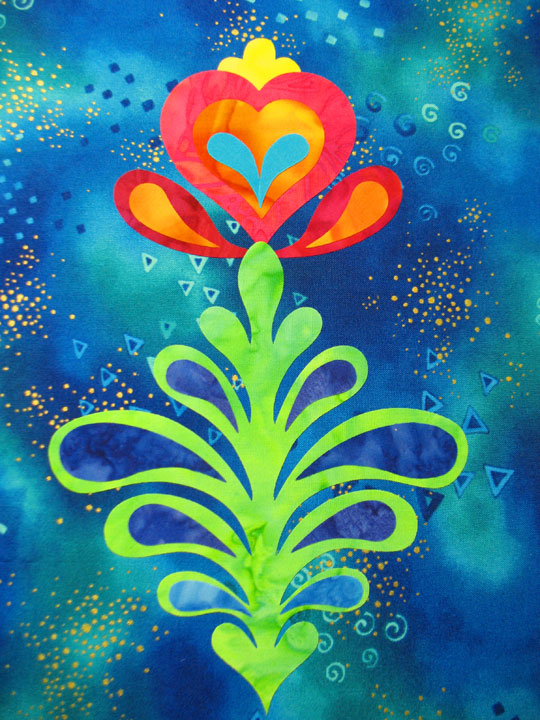
(The photo doesn’t show this, but those internal teardrops are not all the same color. The “pairs” of teardrops are all the same, but there are 2 shades of blue and a purple pair.) Next up, I added some internal teardrops inside the flower “petals:”

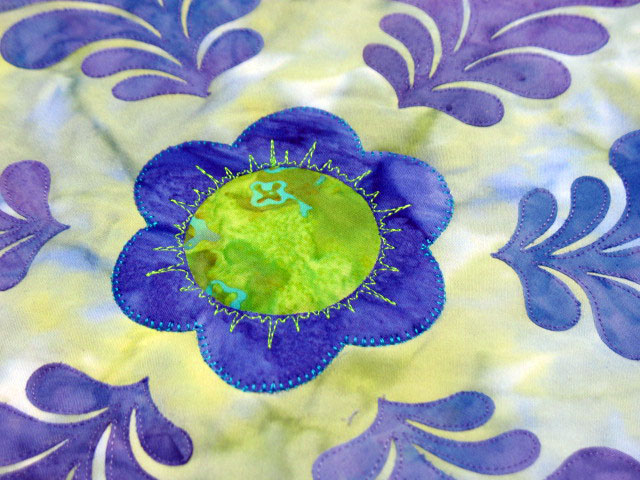
…and then in the last addition, threw in a pair of turquoise teardrops into the smaller heart of the flower:

This is not the new project that I alluded to earlier, I just need to get that project further along before the pictures will mean anything, but I’ll share those soon!

Heads Up About An Upcoming Blog Hop!

June 26th, 2011

Hey there! There’s a fun blog hop that will begin tomorrow and it’s sponsored by the folks who make the Beam N Read light and the wonderfully fun and creative Kelly of I Have a Notion! You’ll have 10 separate chances to win a Beam N Read LED Hands Free Light and you’ll also have a chance to visit some very cool blogs! All you’ll need to do is leave a comment on one of these blogs’ posts about the Beam N Read Light, and you’ll be entered into the drawing for a free light from that blog! Want to really increase your chances of winning? Then leave a comment on every blog post about the Beam N Read Light! Here’s the line up of dates for each blog that will be sponsoring a giveaway…good luck!

The participating blogs posting about the quilting light are:

I’m starting a new project today, so look for a post with some new pictures soon!

Waste Not, Want Not

June 22nd, 2011

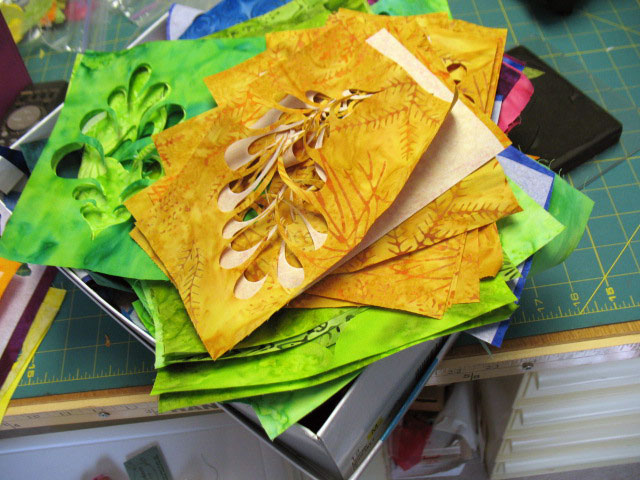
This is a box of “scrap” generated from cutting fusible applique shapes:

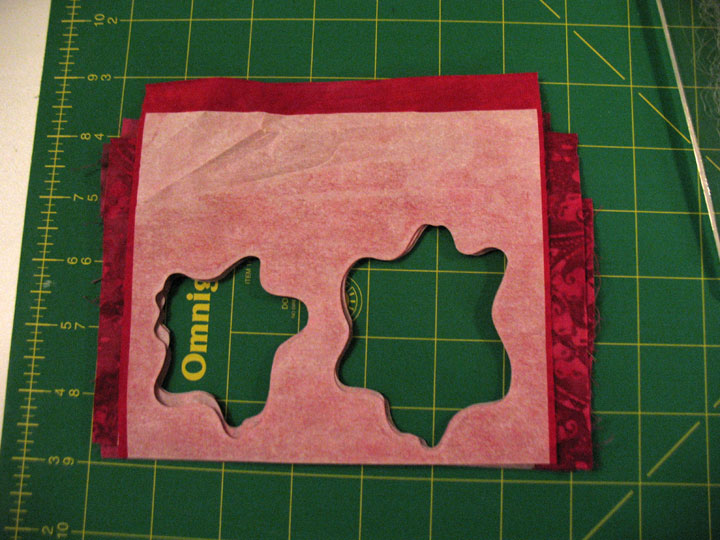
This mound just grows and grows, so periodically, I really need to make a concerted effort to generate usable shapes from all this stuff, and it’s pretty easy to do this. I start out by stacking many fabric/fusible layers and I deliberately arrange them so their shapes line up as below:

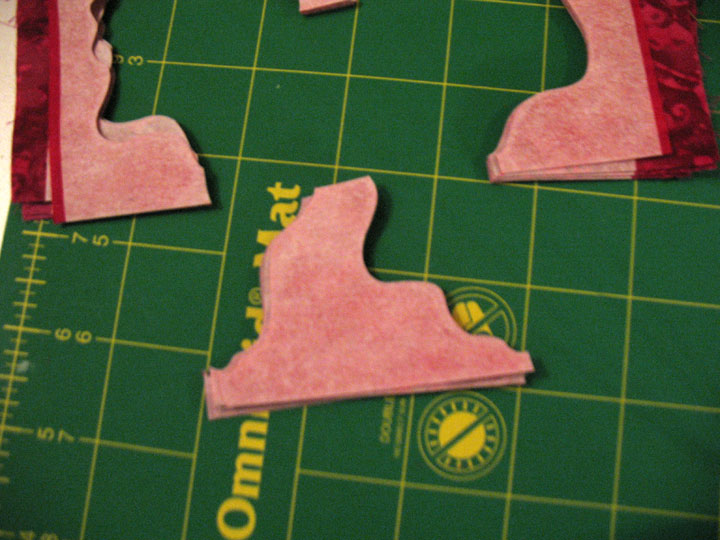
(This is easier than it looks, because I place these layers into my scrap box exactly as I remove them from the Sizzix machine, so they’re already grouped together in alignment.) I then pick one portion of available “uncut” areas and isolate it, like below:

I’ve got several dies that have small shapes on them, so I pick one that will accommodate that irregular shape, and start cutting! It goes pretty quickly because since you’re only covering one small portion of a die with fabric, I’m finding that I can frequently cut up to 9 layers of fabric/fusible. (That’s pretty efficient, since it’s really 18 layers!) Then I do the same thing by isolating other areas on that same stack of scraps until I’ve used up the whole thing. Sometimes, I’ll have an extra large piece of scrap, like this one:

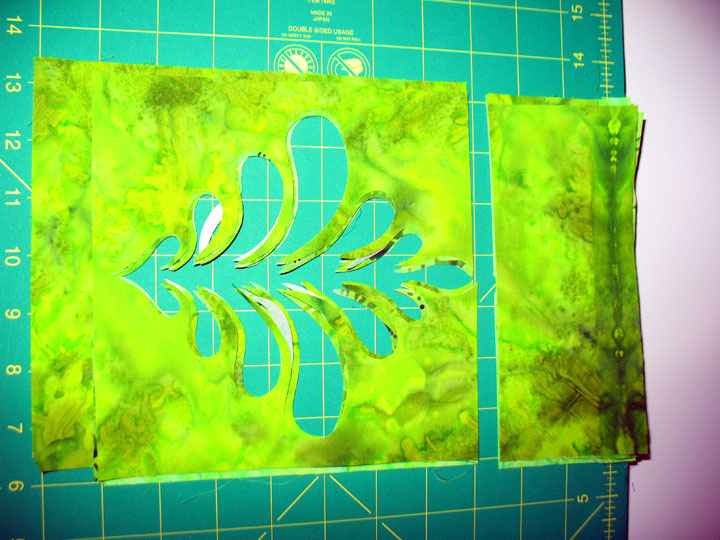
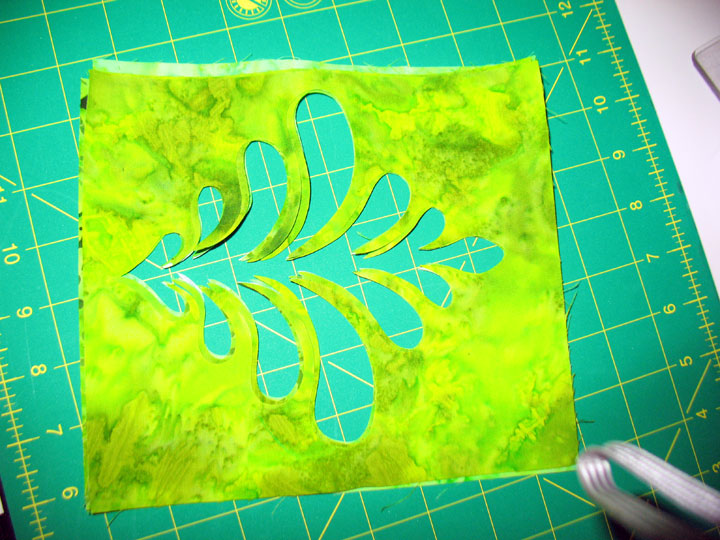
In this situation, I first slice off that large rectangle at the top and save it for future use; a big rectangular piece of scrap like that is valuable! That still leaves me with lots of scrap, like the 4 big areas shown below:

My favorite use for large pieces like that are leaves like this:

or teardrop shaped leaves like this:

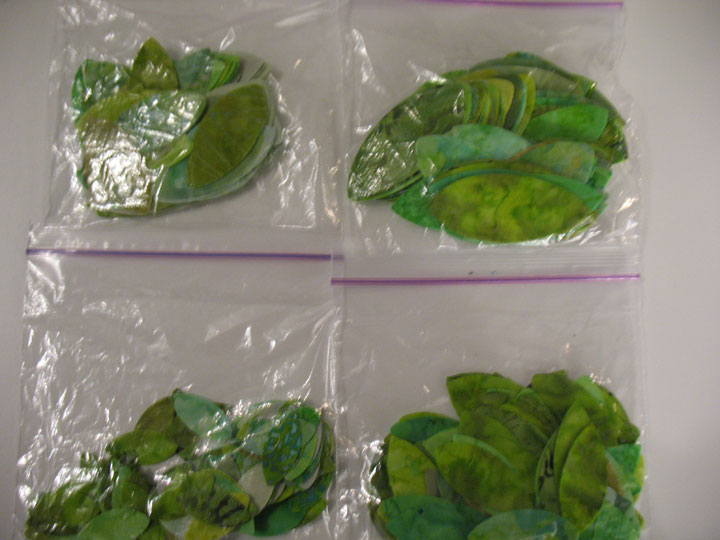
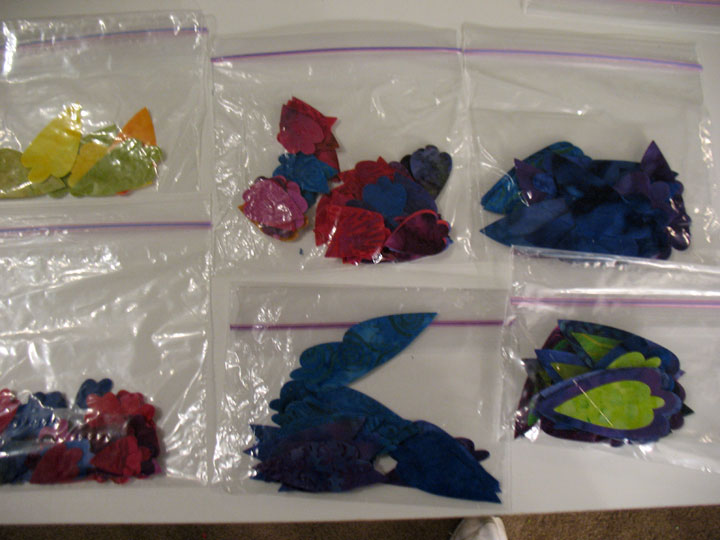
I divide them up by size, like these 4 bags of 4 sizes of leaves:

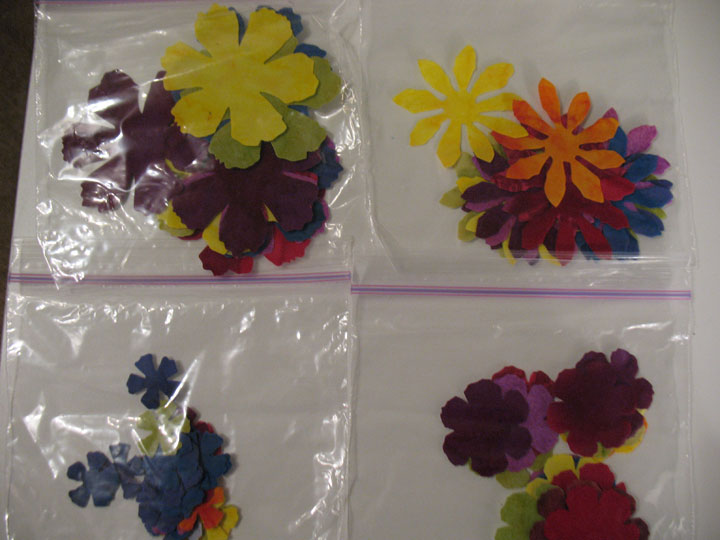
(I know this looks like a lot, but I really go through a lot of leaves!) When I’m cutting flower shapes, I usually store the different shapes separately because I’m finding that your flowers can become a lot more interesting if you start mixing/matching shapes from different dies. For example, these 4 bags are shapes that came from 1 die, but I’ll store them separately and use them with shapes from other dies:

And sometimes I’ll start to “pre-fuse” some shapes and save them in that state. These are 5 different sizes of petal shapes, and you can see in the 6th bag that I’ve begun fusing 2 shapes together:

I’m hoping to get some time this weekend to begin working on a new quilt, so I’m gearing up my fusible shape stash. Just doing this part of it is getting me excited!

Slow Progress on New Dancing Feather Quilt and Fabric Extravaganza!

June 17th, 2011

I haven’t had much time for quilting this last week, but I’ve started working on my new quilt. First up, I did straight stitching in free motion mode just inside the edges of all the feathers:

This is functional stitching, not decorative, so my goal is to not draw attention to that stitched line. Because of that, I use very lightweight threads for this kind of work, like Invisifil or Bottom Line, in a closely matched solid color. Next up, I outlined all edges of the flower applique shapes in the block centers with Monopoly invisible thread by Superior Threads:

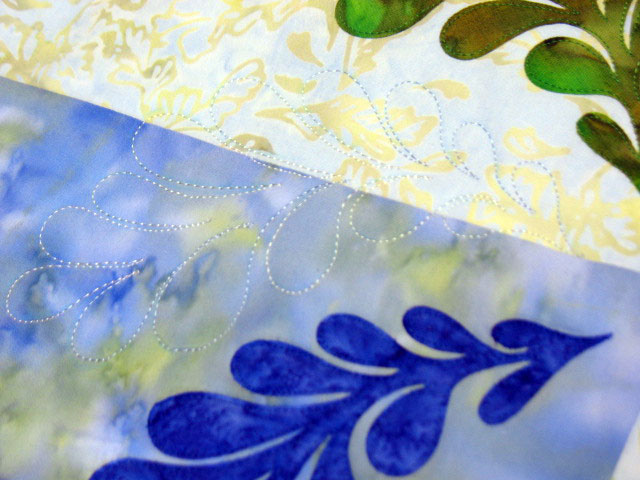
(You can’t see the thread that outlines the flower parts…that’s why they call it invisible!) My goal in the next part was to try to carry the feather curves into the quilting design, so the applique and quilting around the applique would read as “one design.” It’s still too early to tell if this will work, but here’s how I started out:

I marked a curve in soap (that’s the white line in the photo above) that would be the spine guideline for short feathers that would flow from between each of the applique feathers. The curve echoes only the upper curve of the applique feathers, since the available space for quilting won’t allow me to echo the entire feather. Here’s a really terrible shot of what this looks like before any background quilting is added:

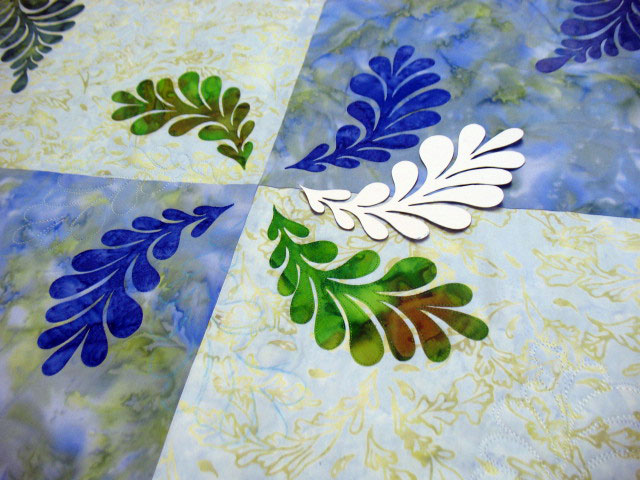
I’m not wild about this so far, but I’m not going to let that get to me yet. I think it will take on a better look once all 4 blocks are done and the background quilting has been added. For the very center, I cut a thin cardboard version of the center feathers with my Sizzix machine, and I’m laying it between the 4 feather “pinwheels” to trace the shape:

…and here’s what one of those center feathers looks like after it’s been stitched:

I’ve got a long way to go, but this has been a fun quilt to work on so far. And some great news on the storefront…beginning today, all fabric in our online store is discounted 10% off the manufacturer’s suggested retail price, from the day that bolt of fabric arrives at our warehouse. These are tough economic times and this is our way of trying to help out fellow quilters. We’ve got about 1000 bolts of batiks in stock now, with more on the way!

Using up Old Mixtures of Procian Dyes

June 13th, 2011

The night before I left Asheville, I needed to clean out all the bottles of liquid dyes that were sitting in the fridge…these dyes had been mixed up 6-8 months earlier, so we’re talking really old dyes! I can’t bring myself to just throw out stuff like this, so I decided to use them up dyeing pieces of bamboo/rayon blended felt by National Nonwovens. Felts soak up a huge amount of dye, and bamboos and rayon fibers generally dye fairly vibrantly, so I figured this was my best chance to:
1. appease the guilt I had about throwing this stuff out and
2. give me the best chance of actually getting some real color, since these dyes were so old they probably had very little “dyeing power” left in them!

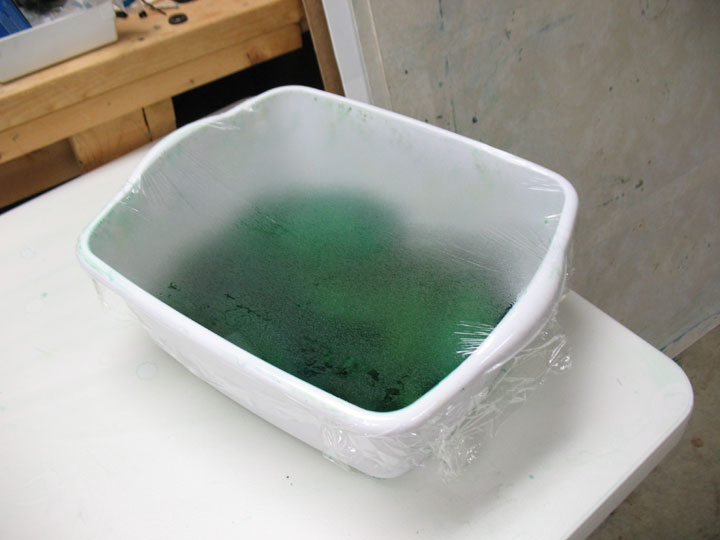
I started out by using my friend Judy Simmons‘ method for “dyeing by cooking:”

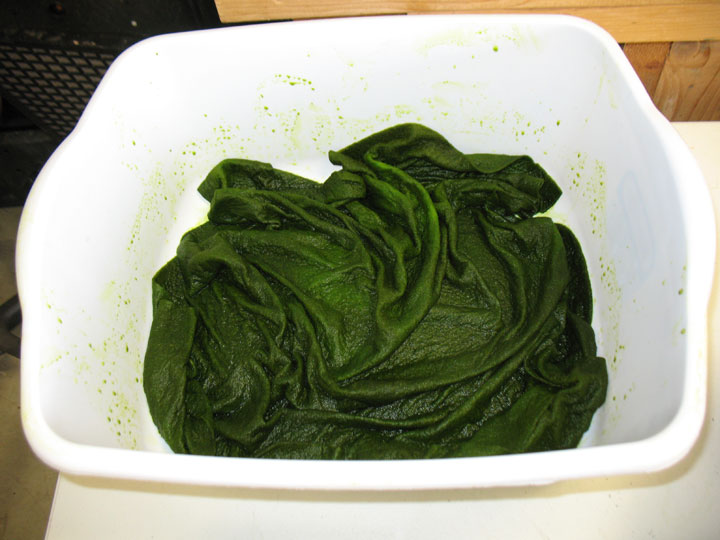
This involves placing the felt (or fabric) and dye into a tub and covering it with saran wrap, then cooking on “high” in the microwave for 3 minutes. Afterward, you let it steam for awhile like shown above, but you can’t let it steam more than about 3 minutes or all the condensation pools in the center and drips down, giving you a nice diluted dot in the center! This will give you an idea of how much dye this felt soaks up:

This dye was called “Avacado” and although the final color looks nothing like the original avacado, I really like how it came out:

Here’s how my lapis blue came out:

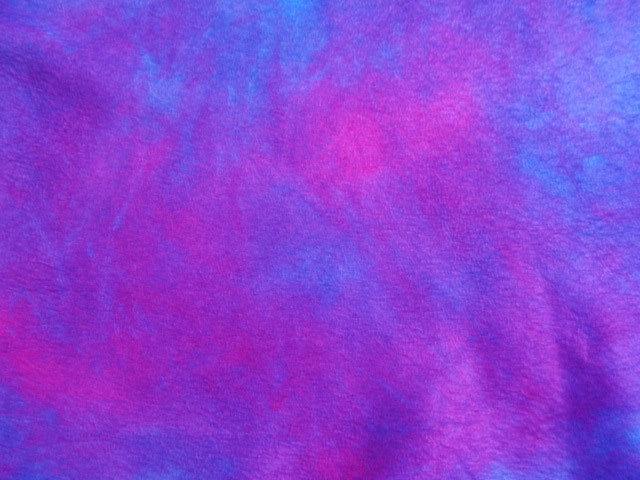
…and here’s the result of a mixture of turquoise and fuscia:

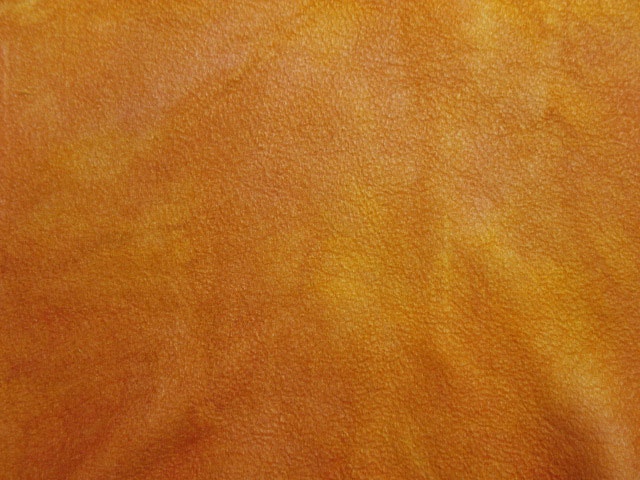
I love how the terra cotta came out…remember, this is really old dye:

and finally, yellow and marigold:

Ooh, la-la…I can’t wait to start dyeing again the next time I get to NC! The season of dyeing is finally here!