Back to the Swirly Flower Quilt
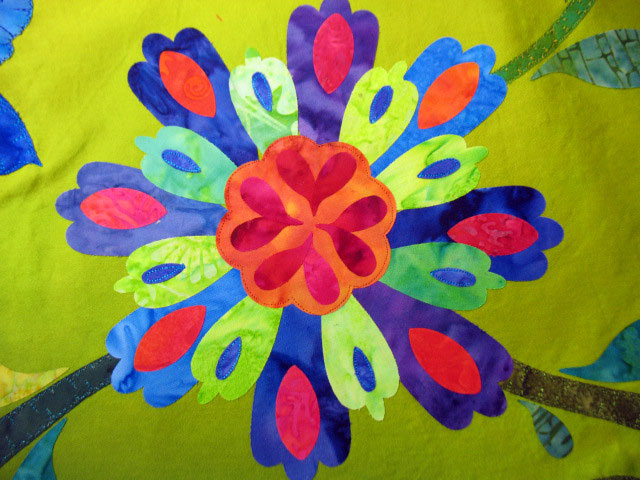
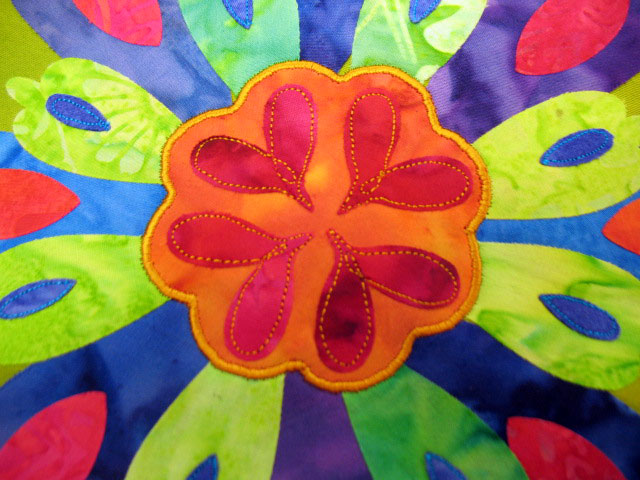
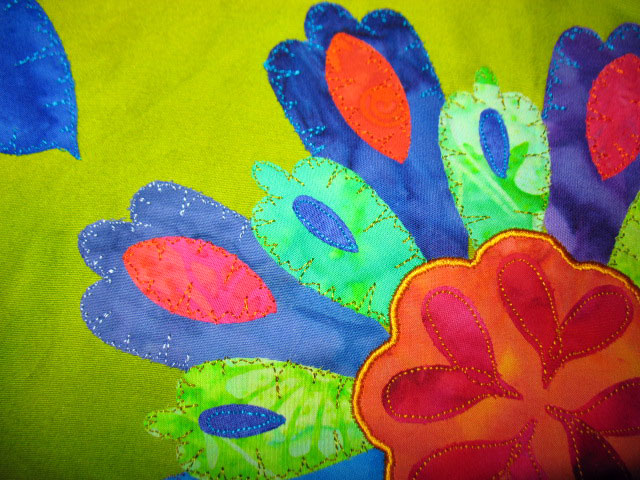
I haven’t had much time for any sewing lately, but I’ve gotten a fair amount of work done on the swirly flower quilt top. I’d started on this flower below, but wasn’t happy with the outlining I did for the center:
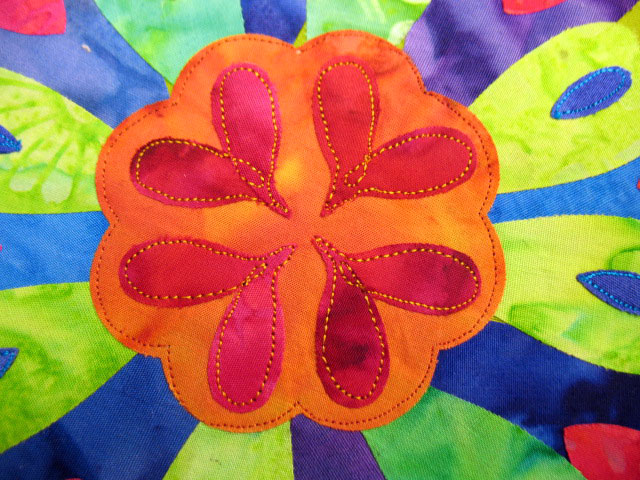
In this close-up shot, you can see how boring the inlining thread line is, and you can also tell that I need to do something to tack down the edges of the mirror image teardrop shapes that make the 4 “heart-like” shapes in the center:
This is still just a quilt top, so what I did here was free motion machine embroidery, and the stitching will be prominent once it’s in the final quilt sandwich. I used a solid gold rayon thread (“24 Karat Gold” by Robison Anton) to outline the red teardrops and have them “loop” in the center of the heartshapes:
…and here’s what the backside looked like at this point:
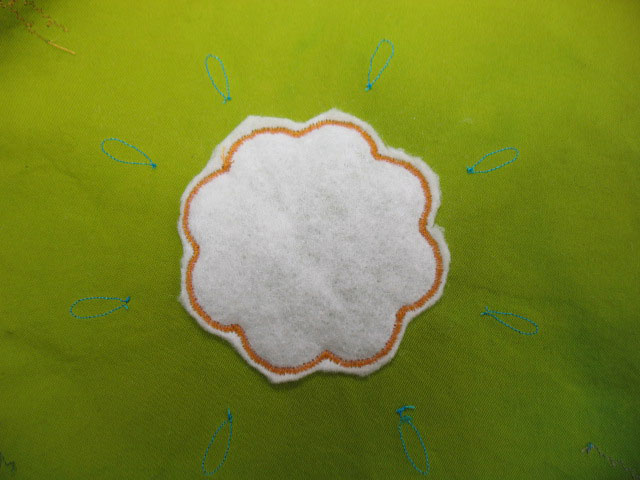
(I still get a thrill knowing I can get away with giant knots like that, since no one will ever see them or feel them!) I wanted the center as a whole to be protruberant, so I threw a piece of scrap batting behind it and finished the edge of that center with a gold satin stitch that was wide enough to cover my original inlining:
…and here’s what the backside looks like at this point:
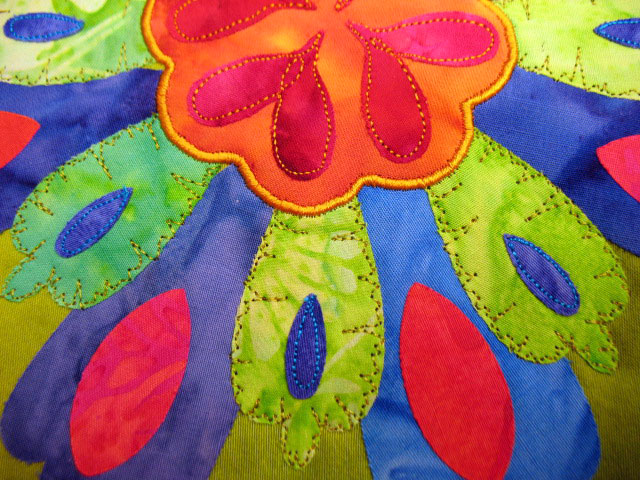
Next, I placed a layer of scrap batting behind the entire flower. This means that once the quilt is finished, the center will have 3 layers of batting and the rest of the flower will have two layers. I did the EKG edge finishing design in the row of green petals:
Here’s a closeup of some of the green petals that shows the stitching better:
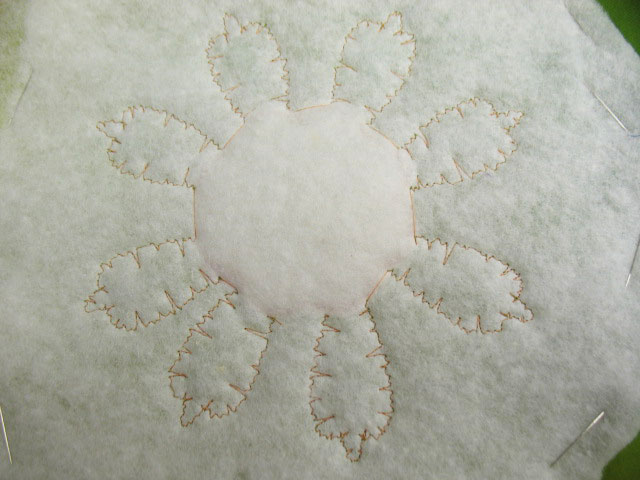
…and here’s what the backside looks like at this point:
The last thing I did was to finish the edges of the red shapes and then the outermost petals:
…and here’s what the backside looks like at this point:
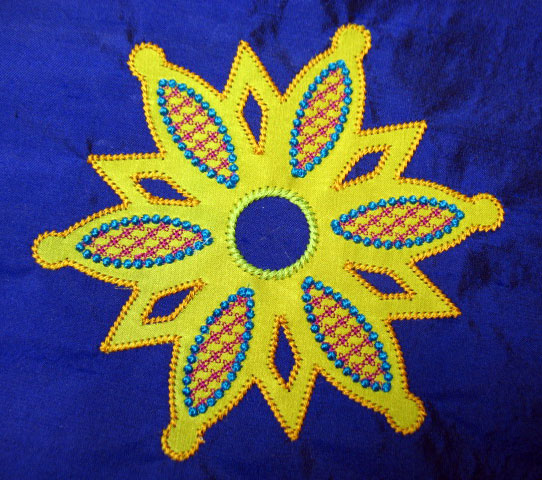
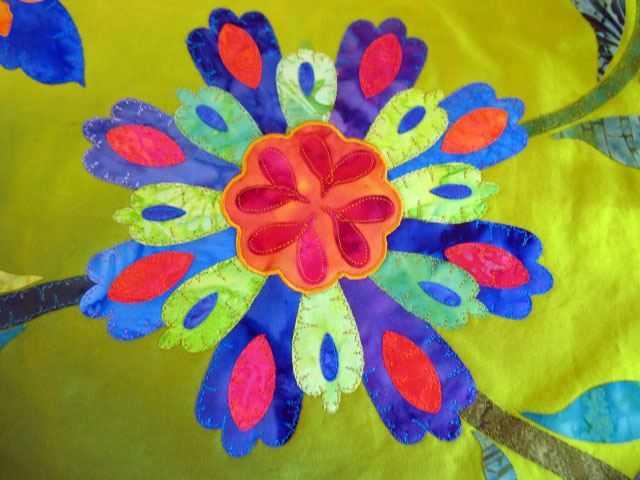
And here’s the final flower:
I’ve only got one more big flower to go on this top. I’m still on the fence about how to handle this top. A part of me wants to attach it to a larger background piece and another part of me wants to place it into a quilt sandwich once the embroidery and traputo are done. Which side will win out? Stay tuned!
Creating a Basic Feathered Frame for Your Quilt-Part I
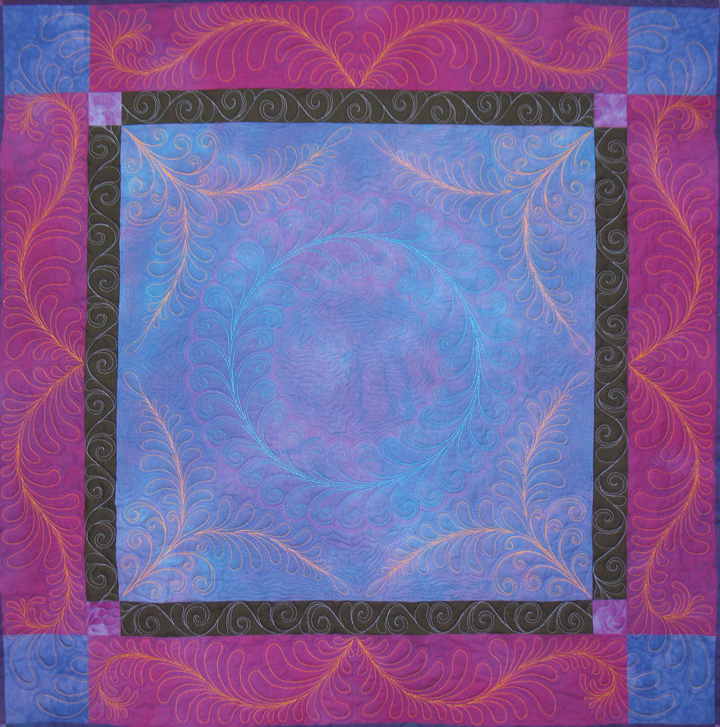
You can really crank up the drama of a quilt by stitching some kind of a feathered frame around the center, whether it’s a small center like the quilt above or if it’s a larger center, such as on a pieced quilt that is surrounded by a feather border design. I just stitched a very simple feather border around my machine embroidered feathered wreath:
… and I thought it might make an interesting post about how easy it is to create a basic feathered frame. We will create this frame by stitching very short freeform feathers in the border zone, and these will have the appearance of being mirror-image feathers, but we’ll know they are not!
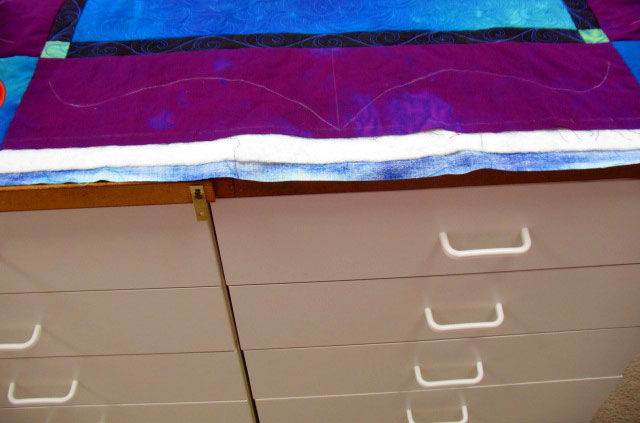
To begin, you’ll mark a line in the center of each of the borders along the 4 sides of the quilt; I use a soap remnant for this. Next, you’ll bend a flexible curve ruler into an interesting shape, beginning at the center line and traveling to the edge of that border. Once you’ve got a pleasing shape, just trace along the edge with that same soap sliver to mark it. You can easily mark the opposite side of the border by flipping the ruler over and repeating this exercise. This will give you a border that looks like this:
…and once you mark all four sides, you can really see the shape of the frame that will emerge once you quilt feathers along those spine guidelines:
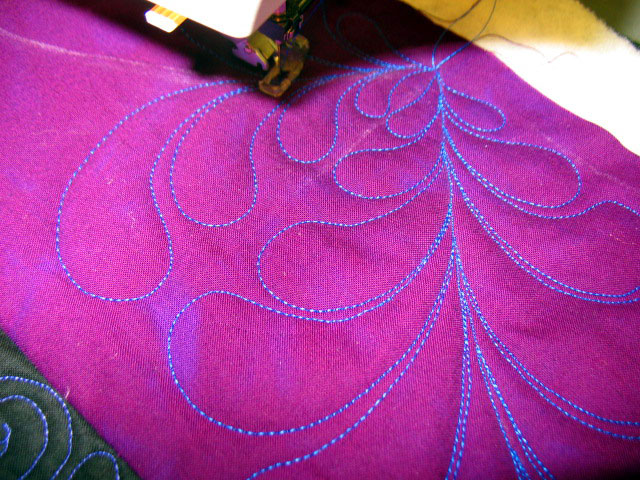
Take this to your machine and you are ready to start quilting! Now here’s the cool part…in feathered frame designs, all the action happens in 2 places; the place where feathers “take off” and the place where feathers “kiss.” This means that these are the places that will catch the viewer’s eye, so these are the places where you’ll want to put some effort into making the viewer believe these are mirror-image feathers. The first feather is easy; just stitch a basic freeform feather that respects that spine guideline. As you go to stitch it’s “mirror-image” counterpart, take care to try to line up those first few plumes so they are opposite one another as below:
(To orient you, this stitching is occurring on the 2 sides of that soap line that marks the midway point of the border.) Once those plumes are stitched, you can kind of take it easy and not pay attention to what was done on the opposite feather until you approach the kissing zone. The key to all of this is doing a nice job when marking those spine guidelines. As long as those babies are mirror image guidelines, you’re good to go.
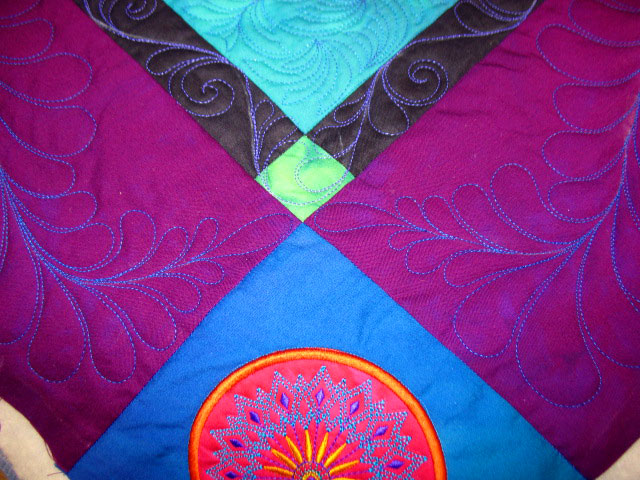
So, you’re stitching along and you’re getting close to the kissing zone-what do you do? Easy…just try to “mimic” what was already done on the feather you’re about to kiss. On this quilt, it was easy because they barely even kiss:
This was an easy one because they’re barely reaching one another since the corner blocks aren’t involved in the feathered frame. I mean, really, these feathers aren’t really kissing, it’s more like a handshake! You’ll need to pay more attention to your stitching when the corners are part of the frame, as in this quilt, where we’ve really got a French kiss thing going on:
So now we’ve got phase 1 of our feathered frame done, created by stitching 8 short freeform feathers so they appear to all be mirror images of one another. Even when stitched in a fairly innocuous thread color, you can begin to appreciate the wonderful framing effect:
I’ll post about part 2 once I’ve hyperquilted those feathers, and then you’ll really appreciate the framing effect!
Just a Bit of Quilting Done
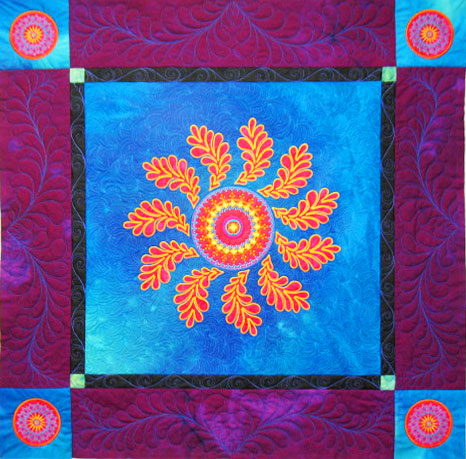
I haven’t had much time to quilt in the last week, so all I got done was the center section of this quilt. With the background fill quilting done, you can see that the feathers are nice and plump because of the trapunto layer beneath them:
 Here is a close-up shot of the background fill design:
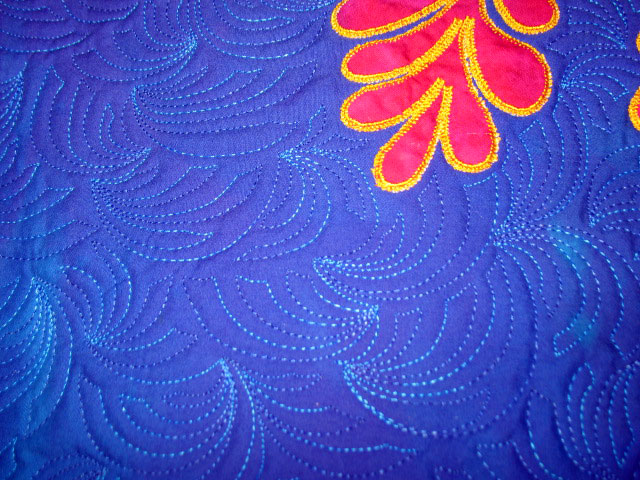 This design has a lot of movement to it and it’s accentuated here by using a thread with subtle variegation. You may remember this design from this earlier shot:
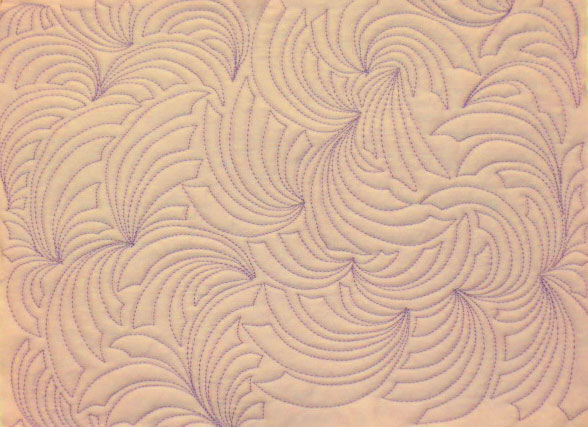 But this was the first opportunity I’ve had to use it in a “real” quilt. It was very fun to stitch, but I kind of got into a “zone” and wasn’t paying attention and ended up sewing part of the top to itself where the quilt had doubled over on itself on the backside:
 Fortunately, it only caught some of the batting, so I was able to pull all that out without having to rip out any stitching. Phew!!
Quilting on my Newest Quilt Project
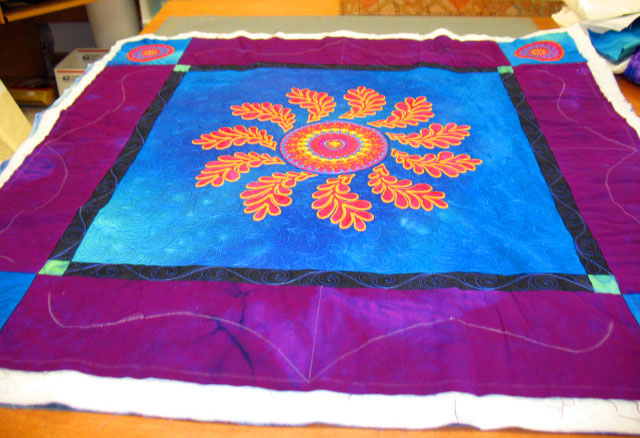
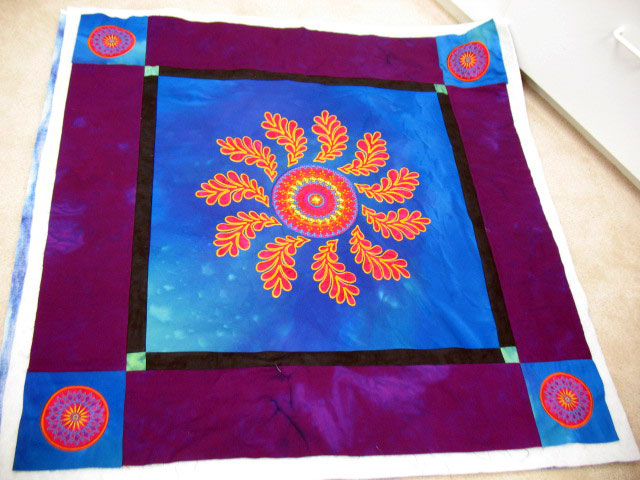
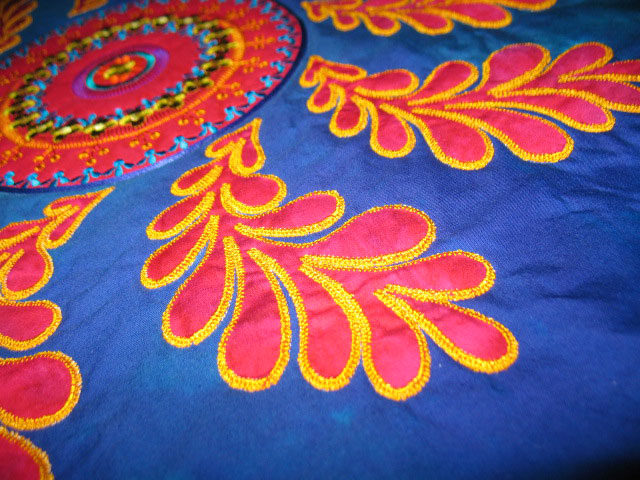
I’m still outlining all the applique shapes on the tulip quilt with invisible thread, and I’ve also just started the quilting on my newest quilt, which is a learning tool for me to develop some machine embroidery skills. Here it lies on the floor of my sewing room:
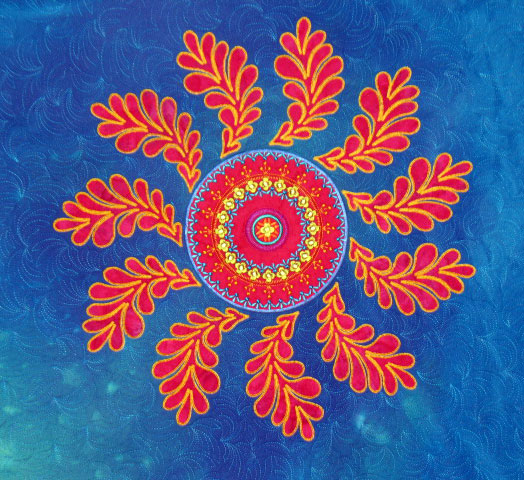
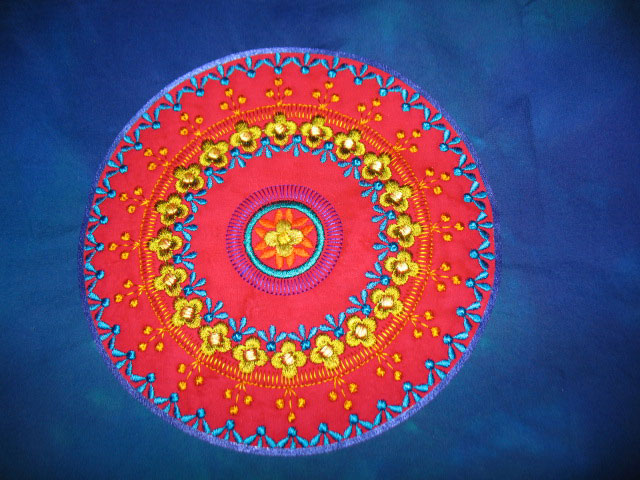
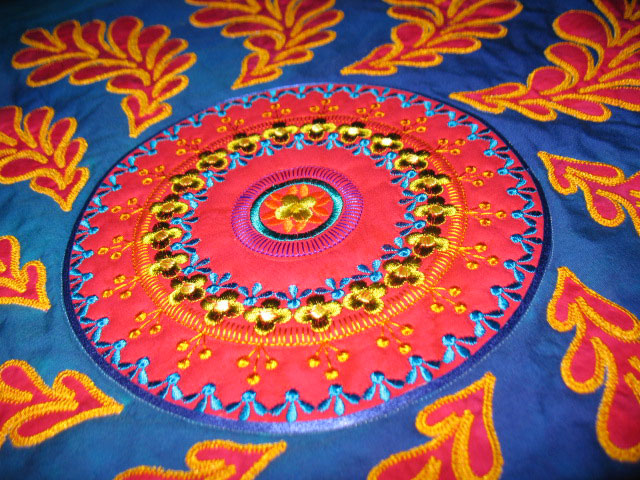
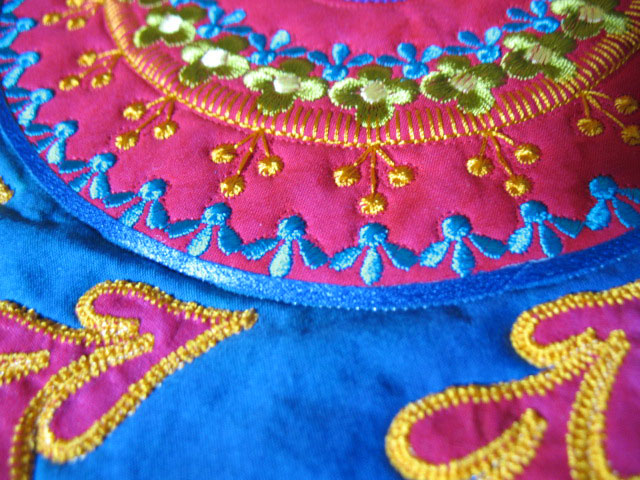
I made the center by doing the embroidery on a red appliqued circle in the center of my blue block. Here’s a closeup:
It never would have occurred to me that one could adapt a traditional embroidery file into an applique design, but I learned about it by reading the Why Machine Embroidery blog and you can find it right here. I have learned a ton and been inspired a ton by this blog, so if machine embroidery is starting to become intriguing to you, start reading this blog! Anyway, my circle was not perfectly centered for the embroidery, so the edges of my circle weren’t quite right. If you look closely, you’ll see the problem. I tried to cover it up/distract the viewer by using a product called Hot Ribbon Art. It comes in all kinds of colors and comes as very narrow (I believe they are 1/8 in wide) slices of ribbon backed by fusible web, and you attach them with a clover mini iron. It was super easy to do this around a circle. Anyway, that’s the blue edge finishing with a sheen around the perimeter of the center circle. (If you were trying to really jazz up your piece, you might choose a contrasting color. As I was trying to cover up a mistake, I chose a matching color!)
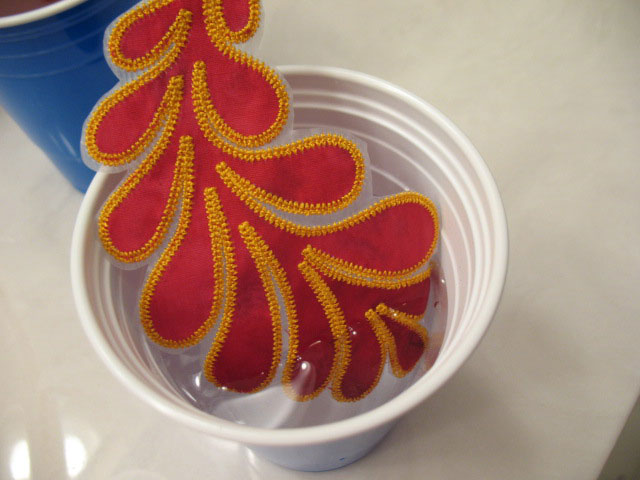
Next, I embroidered all my feathers onto water soluble stabilizer. Once done, I trimmed the stabilizer and then dropped them into a cup of water like this:
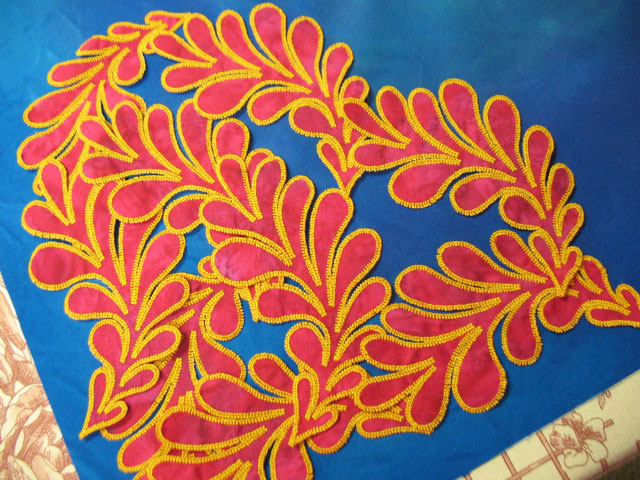
(Do you see that “film” around the edges? That’s the water soluble stabilizer and it all dissolves in the water.) Once I dried all my feathers, I had a nice pile of feathers, all ready to be placed where I wanted:
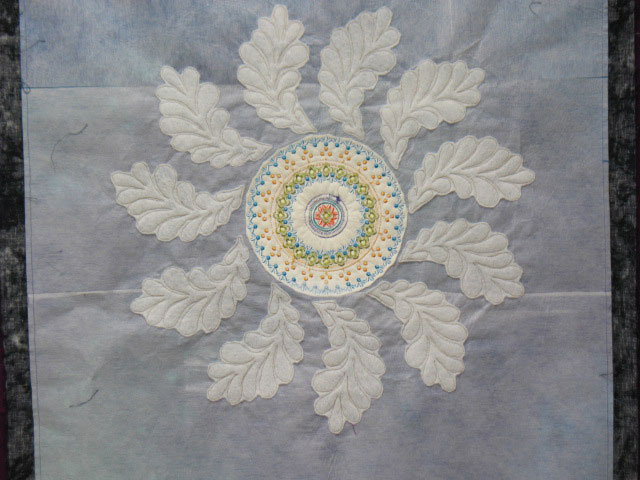
There was still some remaining fusible web on the back of each feather, so I fused them into place on the quilt top. I wanted to trapunto those feathers, so I placed a layer of batting behind each one and then free motion attached them to the top using invisible thread (Monopoly by Superior Threads) in my top needle. Once I cut away the excess batting from the backside, here’s what it looked like:
(Notice that the center also has a layer of trapunto…I did that by placing a batting layer in the hoop when I embroidered that center circle at the very beginning.) Once I pieced the rest of the top, I placed it all into the final quilt sandwich and started the quilting part. I wanted to create some additional texture in that center circle, so I preferentially outlined certain stitching zones within it. I did this using Invisifil Thread by Wonderfil Threads. I chose it instead of the Monopoly because the sheen of the Monopoly would make the “invisible thread” very “visible” in this setting:
By using an ultralightweight thread here, and matching the color fairly closely to the background color, you can hardly see that thread unless you’re actively searching for it. My pictures don’t show the textures created by this internal stitching, but it’s added a nice depth to the center:
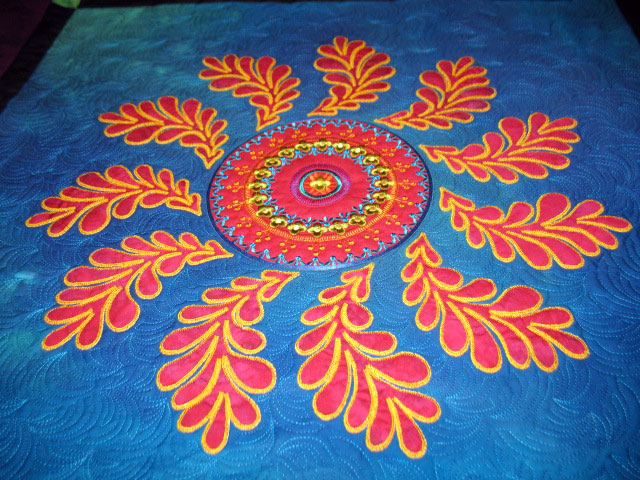
…and this photo kind of shoes how “plumped up” the feathers are:
More to follow as I get further into the quilting!


