A Fun Resolution for the New Year…and a Give-Away!

December 31st, 2011

About 8 or 9 years ago, I had learned how to free motion quilt, but I was still feeling kind of overwhelmed by the world of thread.  You have to understand that for about the first 25 years of my quilting life, there really wasn’t much out there in the world of thread, but then all of a sudden, thread exploded.  I mean really exploded! There were tons of types of thread, colors of thread, weights of thread, brands of thread, and purposes for thread.  It all just seemed so daunting to me and when I’d ask other quilters about threads, most of them seemed to be as perplexed as me.  This began my first year of what I call “fun resolutions.”

I’d never really been much for New Year’s resolutions, but that New Year’s Eve, I resolved to spend the next year learning as much as I could about all these different types of threads, and to learn how to handle them on my sewing machine.  Little did I know that this was the beginning of one of the most fun journeys I’d ever taken!  Playing with different types of threads to create texture and dimension and colorful embellishments to my quilts has enriched my quilting life in ways I could never have imagined.  Since then, I’ve been making a “fun resolution” every New Year.

I’m bringing this up because there’s something about putting a task on “project status” that seems to ensure getting that task done.  Most of the time, I do this with tasks that I really don’t necessarily want to do, but I need to do.  In quilting, there are all kinds of things I’d love to do, but they take a lot of time, so they keep getting pushed into the future.  That’s where making a “fun resolution comes into play.  It’s a combination of making a commitment and giving yourself permission to devote time on a regular basis to learn something you’d love to learn but keep putting off.  Every time I’ve made one of these fun quilting resolutions, it’s paid off for me in spades, so I’m hoping it will work that way for you.

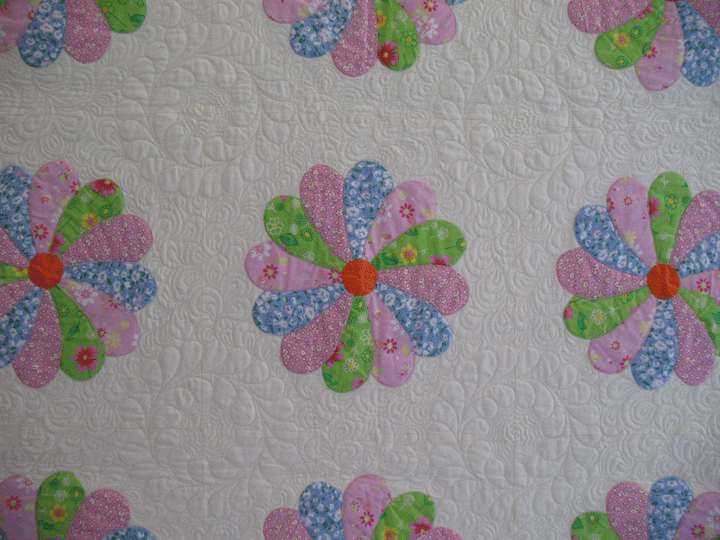
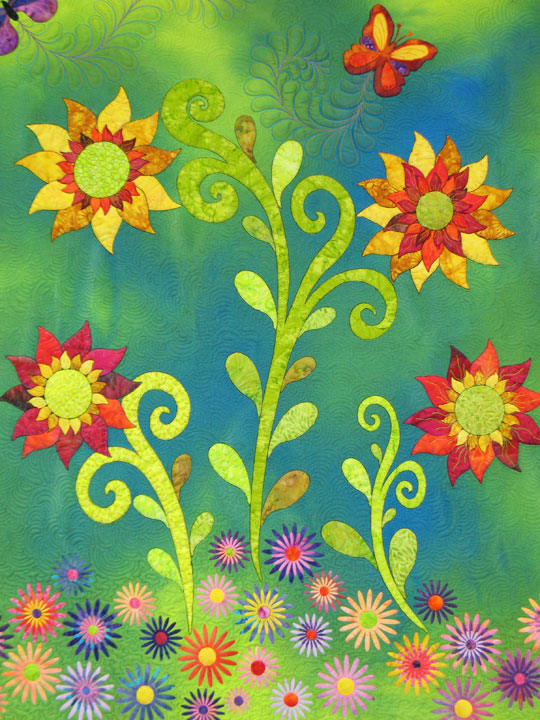
So, where am I going with all this?  Do you find yourself surfing web sites and blogs and seeing all kinds of quilt photos where you’re wondering how a quilter created some interesting quilting designs?

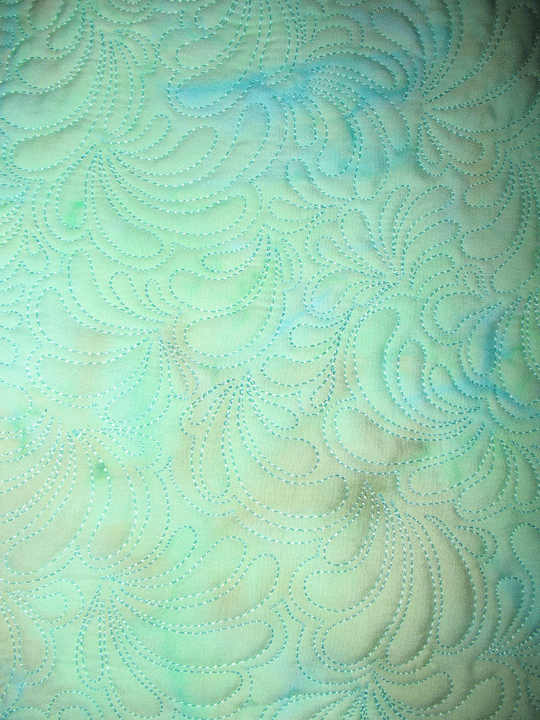
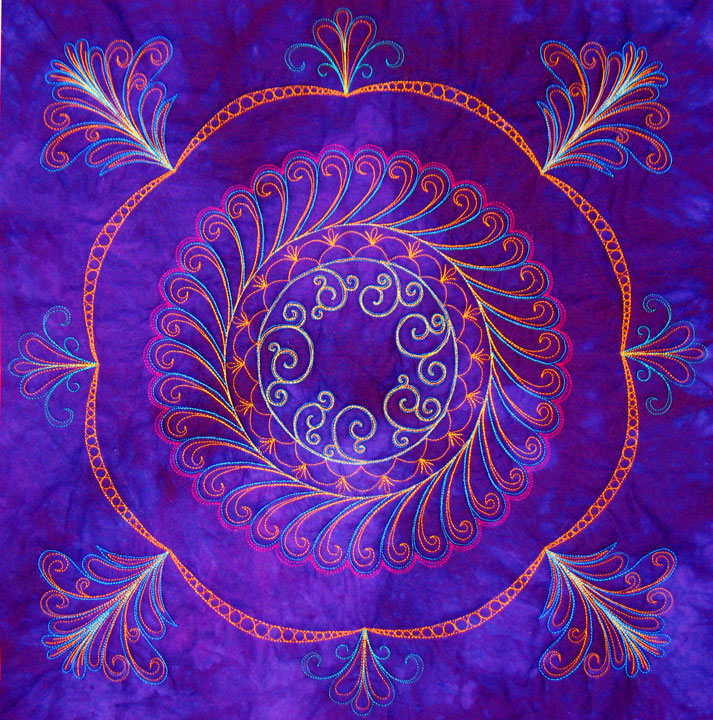
…or maybe you’re more enchanted by frame designs and you’re wondering how people create quilted designs like these:

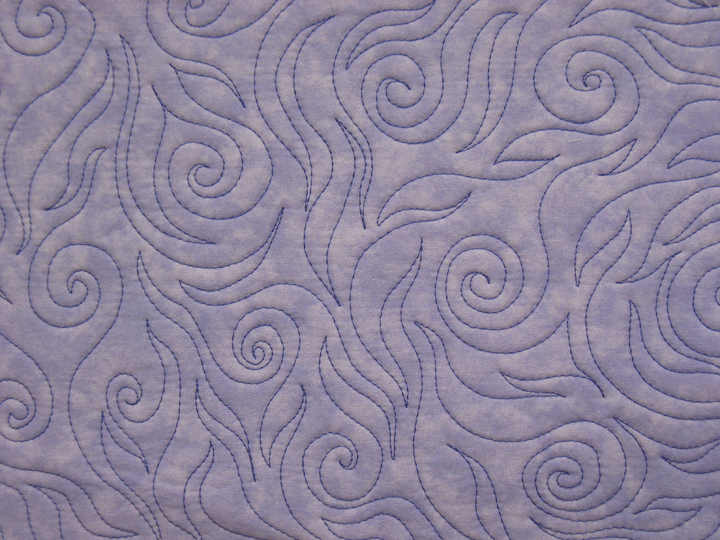
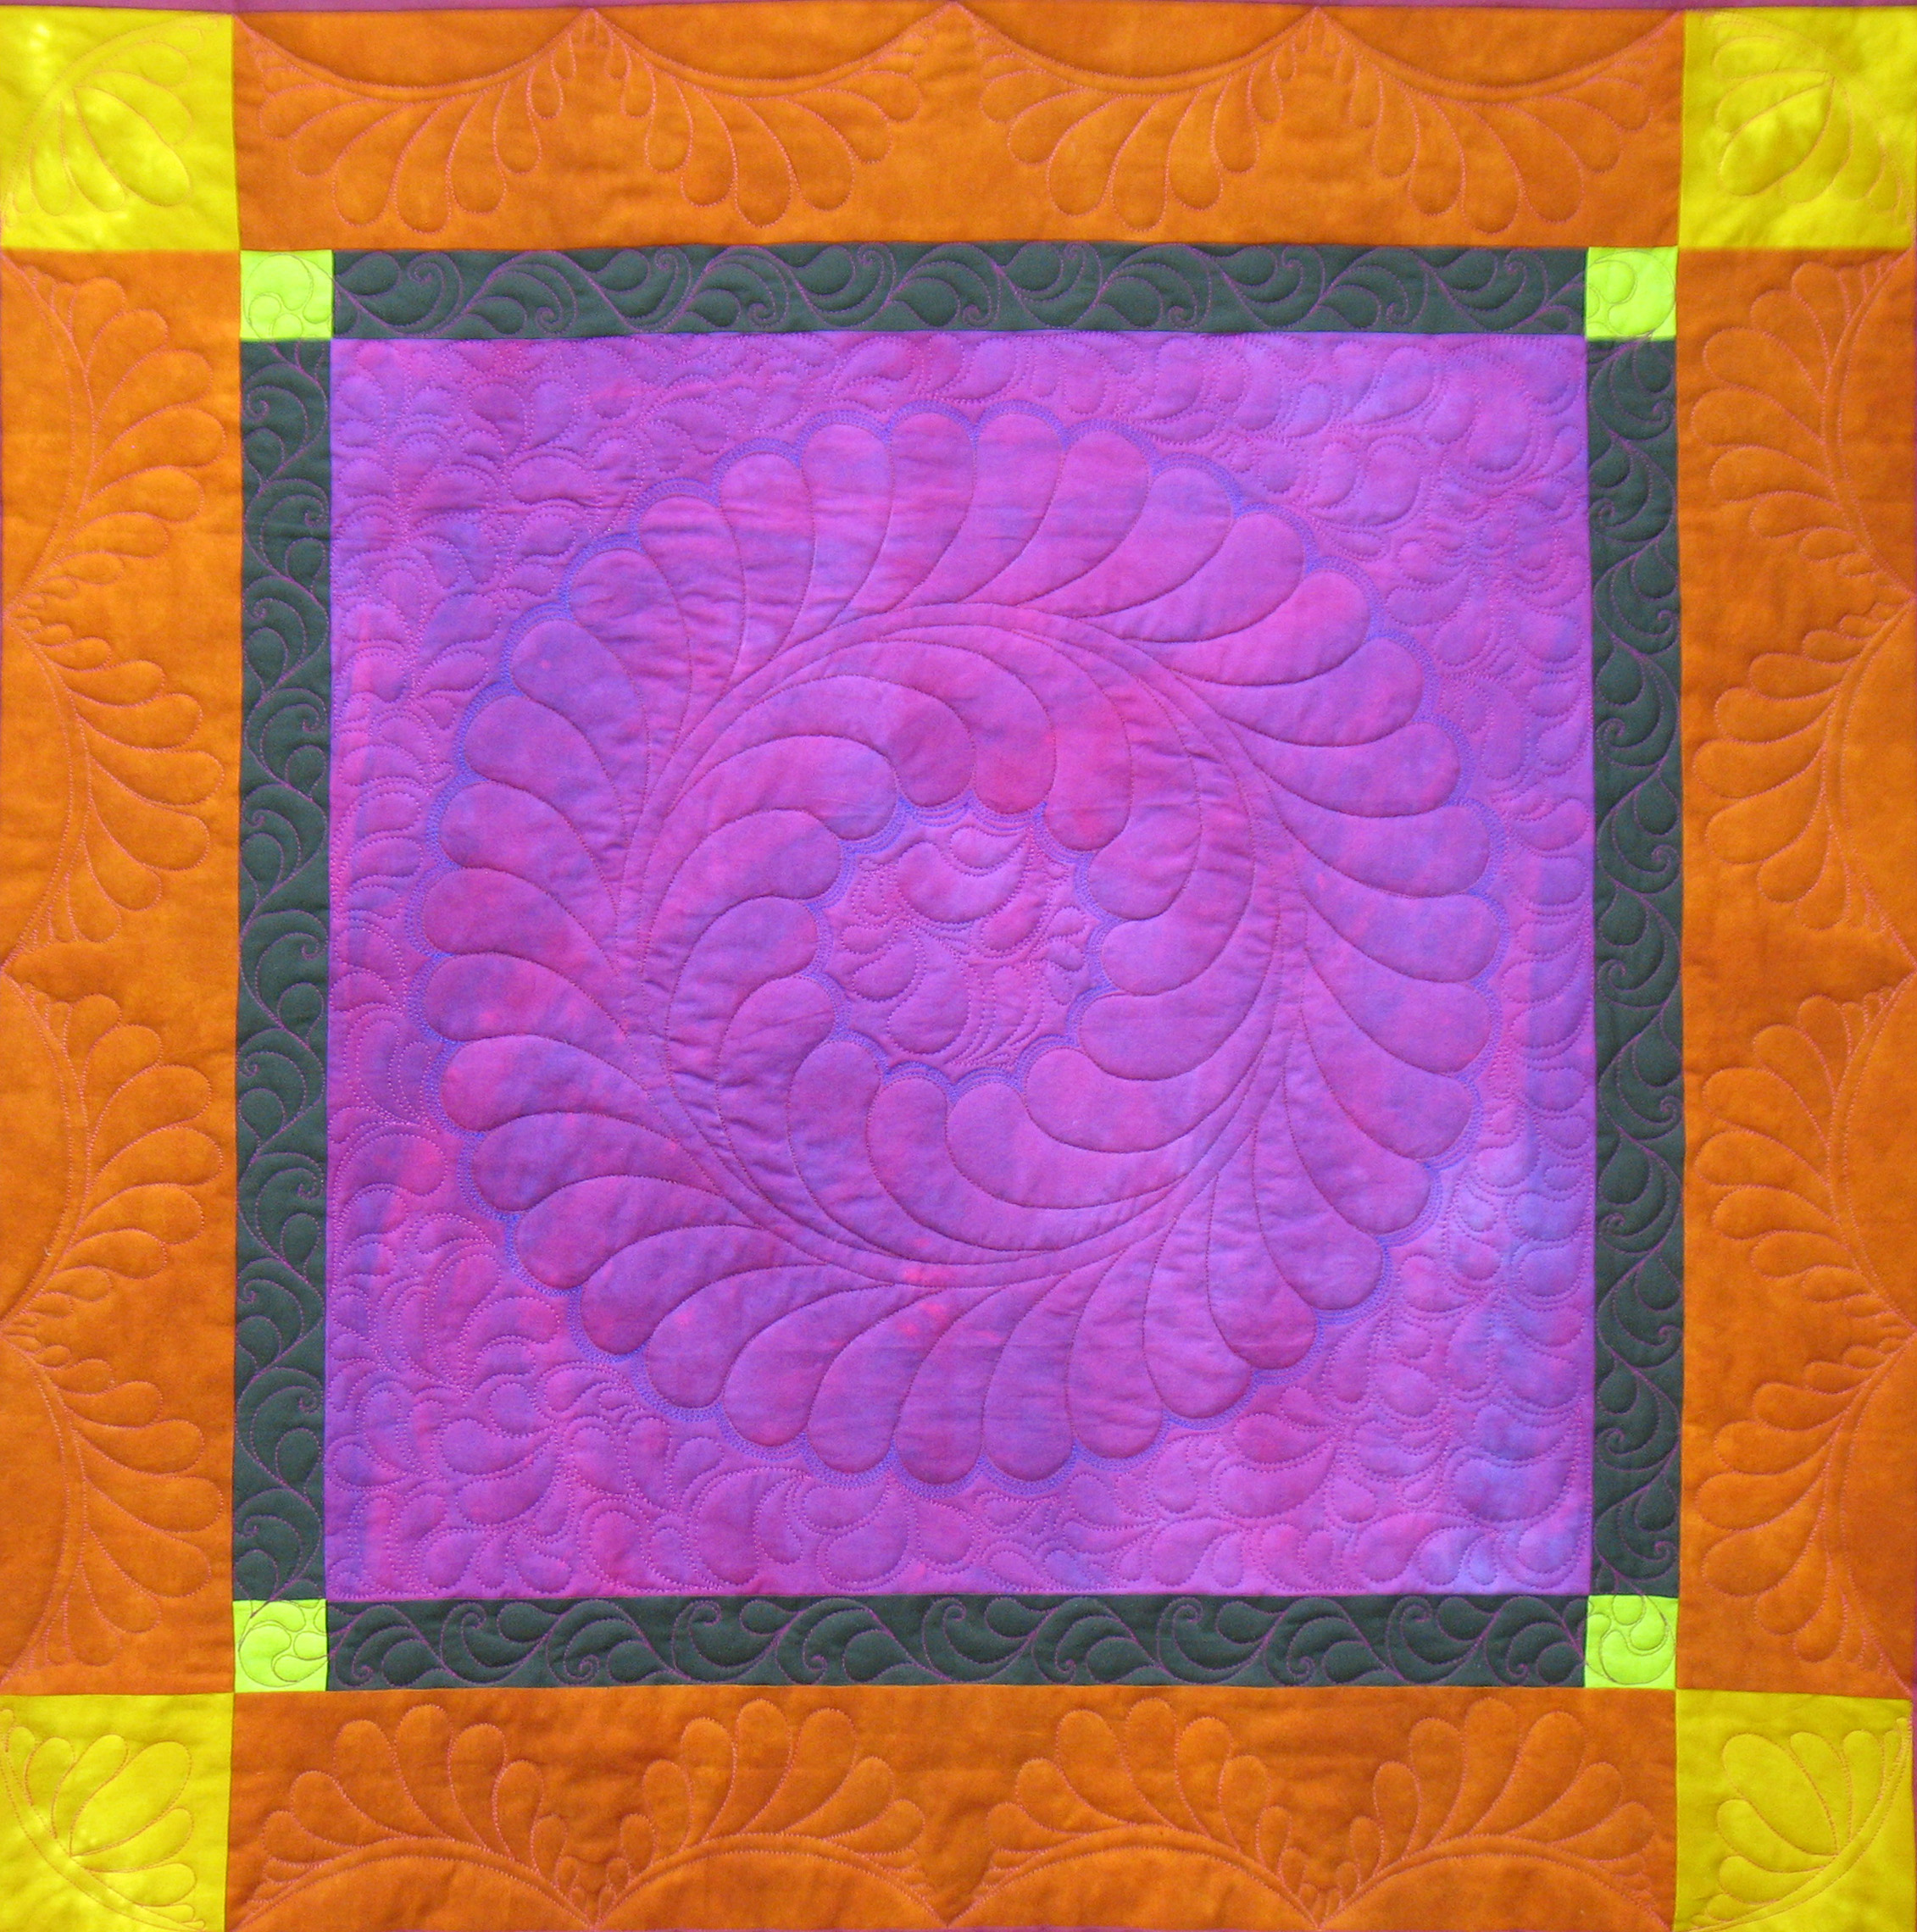
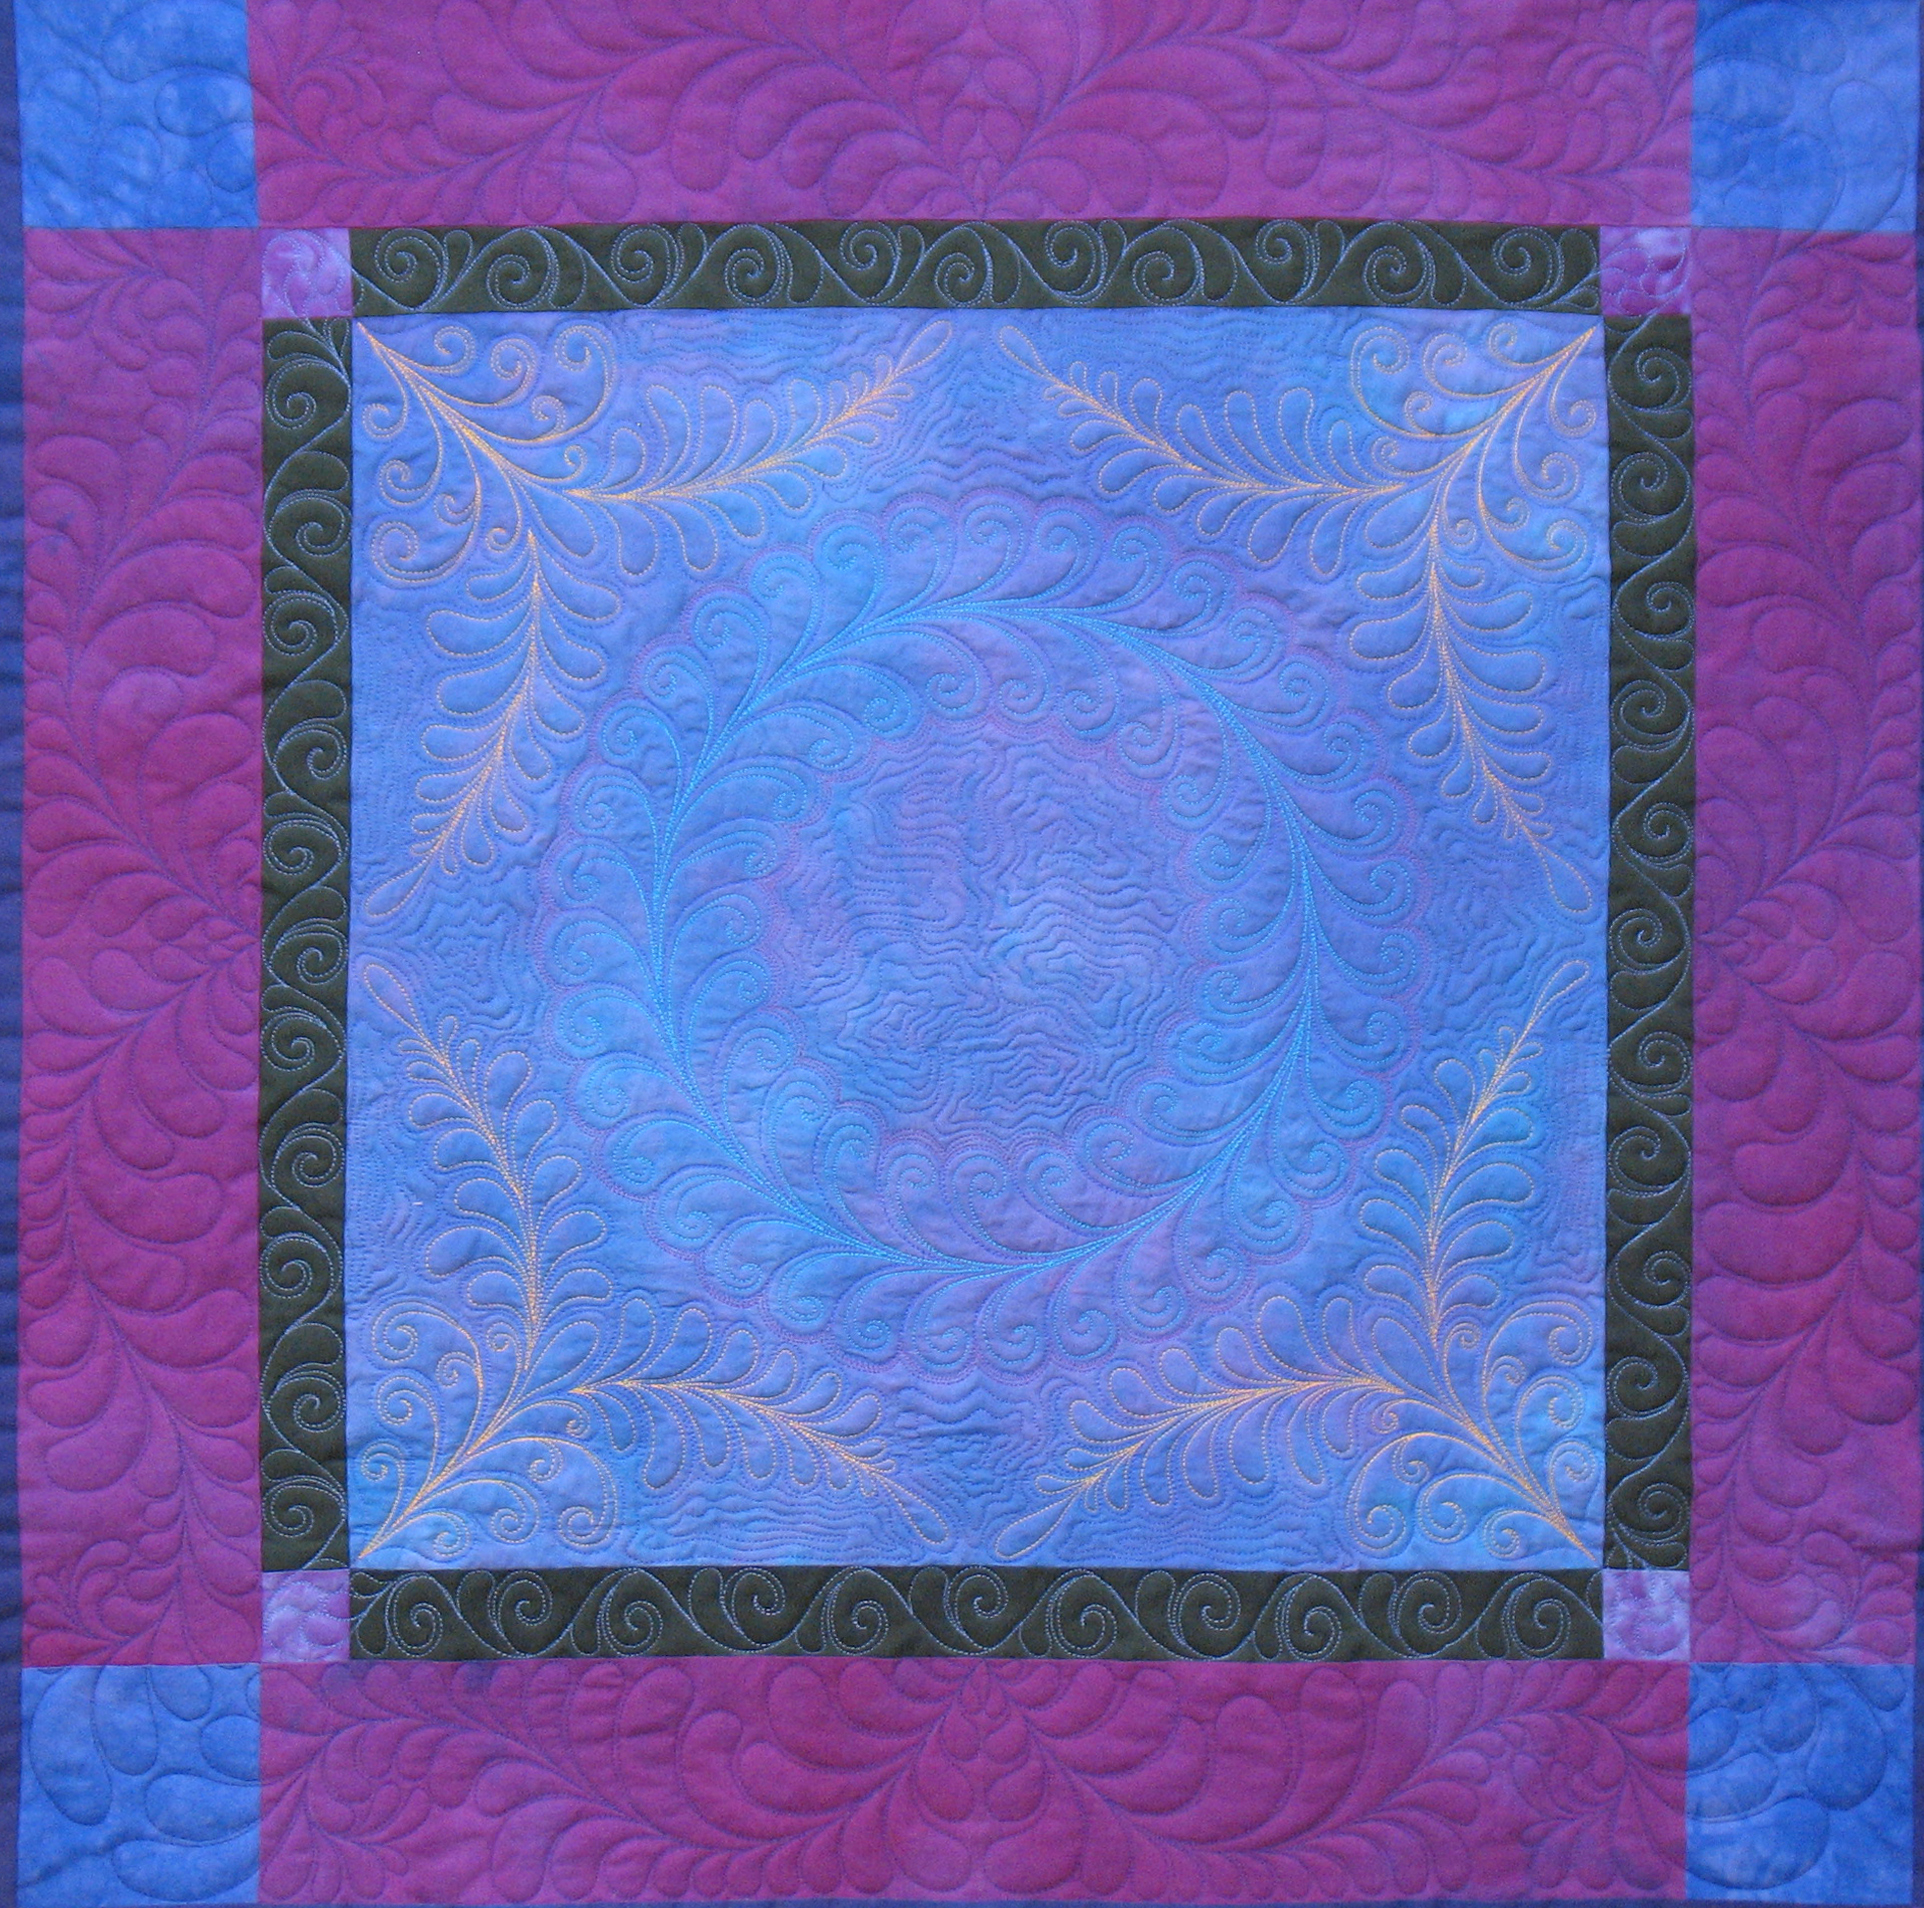
…or maybe you’re wondering about how folks make beautiful border designs on their quilts:

Whatever type of free motion quilting you’re aching to learn, there’s a great opportunity just waiting for you in the new year:

Thanks to Darlene of the SewCalGal blog, you have the opportunity to sign up for a free (yes, totally, 100% free!) year of free motion quilting lessons by several wonderful free motion quilters who are putting together all kinds of lessons just for you! I’m happy to say that I’ll be putting together the border lesson for the month of December 2012, but check out this list of quilters who will each be contributing during the 2012 Free Motion Quilting Challenge:

Irene Bluhm
Leah Day
Ann Fahl
Diane Gaudynski
Susan Brubaker Knapp
Don Linn
Frances Moore
Cindy Needham
Paula Reid
Wendy Sheppard
Patsy Thompson
Sarah Vedeler

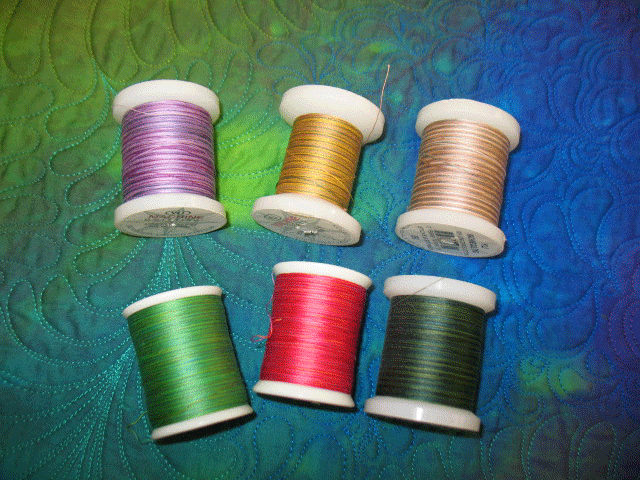
So, this is your big chance to make a fun resolution to learn all you can about free motion quilting during 2012! Will you need to practice? Of course! Will it be worth the effort? You bet! All it will take for you to get in on the action is to go here to sign up for the 2012 Free Motion Quilting Challenge! And one more thing…I’m cleaning out my sewing room and am happy to give away these 6 spools of thread to a receptive quilter:

If you’d like this thread (4 spools of YLI variegated cotton and 2 spools of King Tut variegated) and are willing to pay shipping, you can enter the give away simply by posting a comment to this blog post telling me what you’d like to learn about free motion quilting over the next year. Entries are open until 11:59 pm eastern time on Wed 1/12/12.

Thread Questions

December 18th, 2011

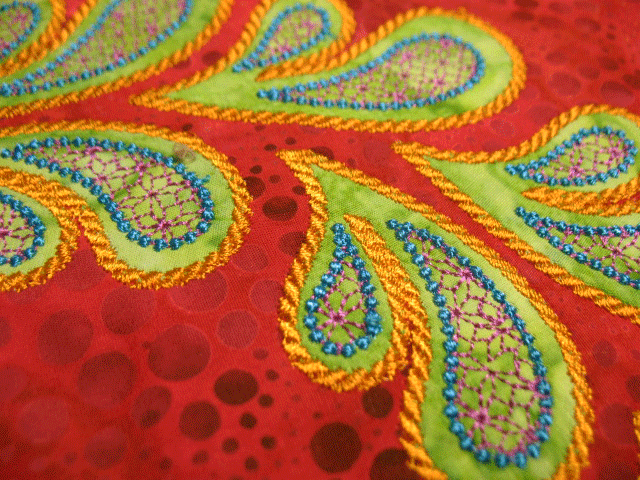
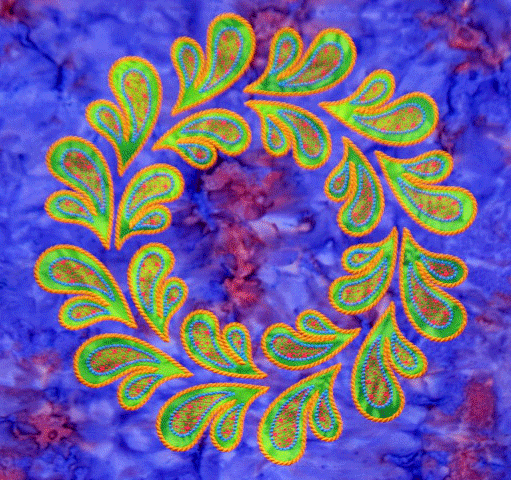
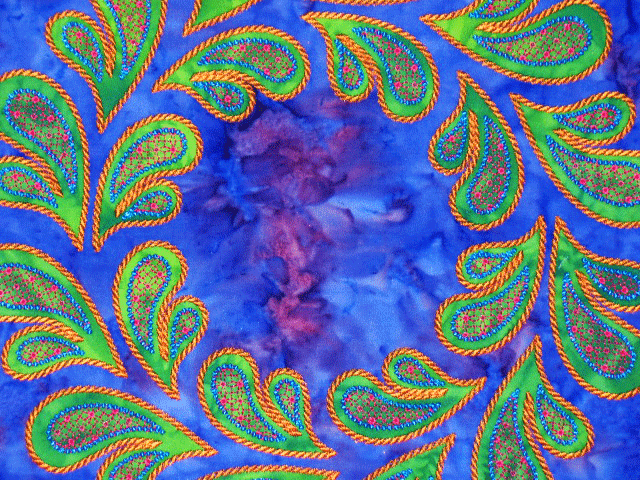
My last post generated many questions about how these thread effects were achieved, so I figured it would be good to answer those here.  A lot of people asked about the rope-like cabling stitches that finish the edges  of the plumes in these wreaths:

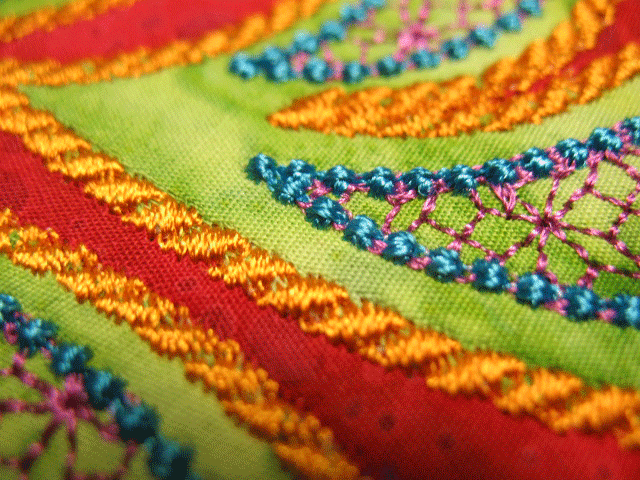
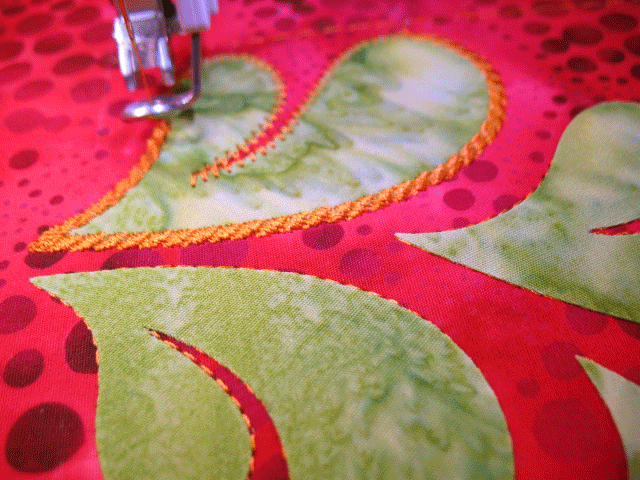
I wish I could claim credit for this cool looking stitching, but it is generated by the sewing machine.  If you look at this close-up shot, you’ll see that it’s really kind of a satin stitch that’s stitched repeatedly in short chains along a diagonal:

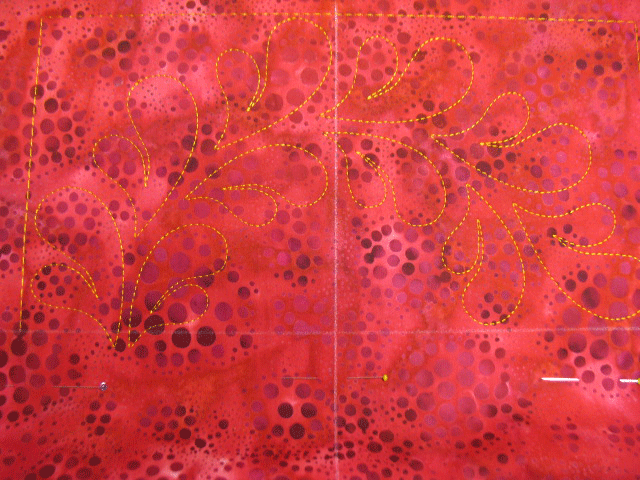
A lot of people wondered if this “roping” had been couched on and the reason it kind of appeared that way is the raised or “plumped up” look it has.  If you think back to how these machine embroidered appliques are created, you can see how this “plumping up” effect occurs.  In the first phase, the machine stitches placement outlines telling me exactly where I need to fuse my applique shapes so the stitching will line up perfectly:

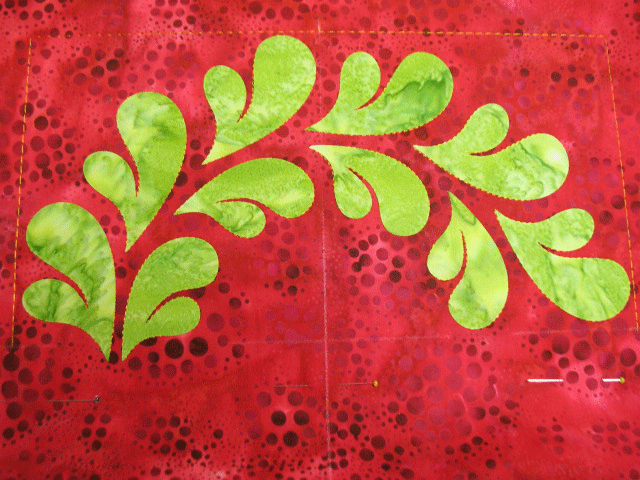
…and as long as these shapes are fused just inside the stitched lines, things will line up just right:

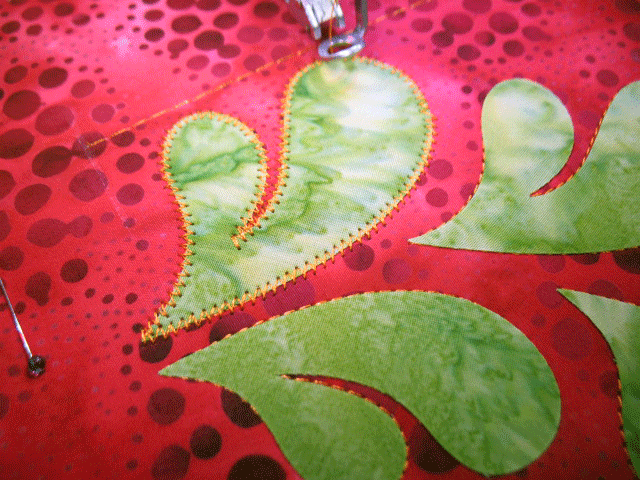
The next step is where the machine does a “tack-down stitch” along the edge of the applique shape:

Now, that tack-down stitch is probably not really necessary here, since these applique shapes are fused into place, so they really shouldn’t move around.  BUT, those tack-down stitches do something cool here, because they create another layer of stitching beneath the decorative roping, and help to give us that cool “plumped up” effect:

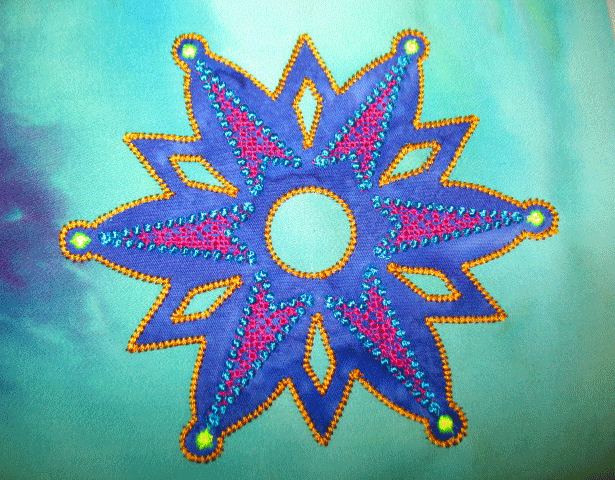
Now, many people also asked about the blue “bead like” structures that line the outer edge of the internal plume designs.  That is also a programmed embroidery stitch called the candlwicking stitch.  Most sewing machines have it as one of the programmed embroidery stitches and it looks like a very dense star when you see a drawing of the stitch, but when you stitch it out, they look like raised beads:

You can alter the size of the star and also how close together the candlewicking designs are to one another when you stitch them in a line.  Here’s another example where they’re a bit larger:

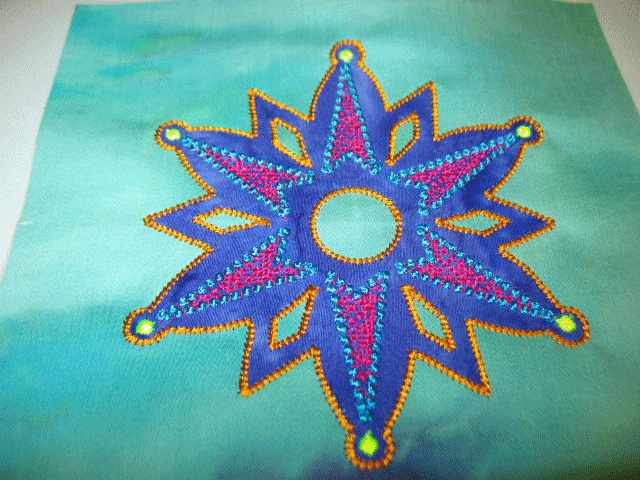
In this particular snowflake, those same candlewicking stitches are used in singlets and in a larger version at the tips of the snowflakes, as seen in the yellow here:

Both of the blocks shown here were stitched using Floriani Polyester embroidery thread in the top needle and Superior Threads Bottom Line thread in the bobbin.  I got a number of emails asking what size thread this is and it’s only a 40 wt thread, which is pretty average sized thread.  The lesson here is that the 3-dimensional nature of this kind of thread work is a function of the programmed embroidery stitches, not the thread weight or size.  The wonderful thing that this thread does offer here, though, is a great sheen.  I mean a really great sheen! I you’re thinking of trying out some Floriani thread, know that Kelly at I Have a Notion is having a great sale on Floriani thread during this holiday season and you can read about all her Floriani specials here.

Season’s Greetings!

December 14th, 2011

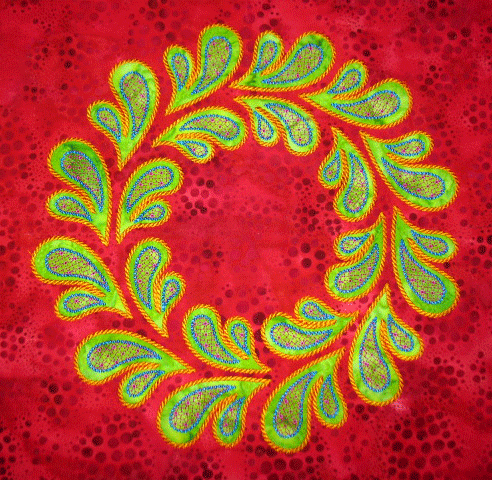
Gosh, I haven’t posted in ages!  It hasn’t been deliberate: I just haven’t made anything worth posting about.  But now I‘ve stitched up something worth posting about …don’t you love this feathered wreath?  It’s  a machine embroidered applique wreath made using the Plume Family die.  I used Floriani thread for the entire thing and I love how it came out.  Here’s a close up shot that shows off the pretty thread work better:


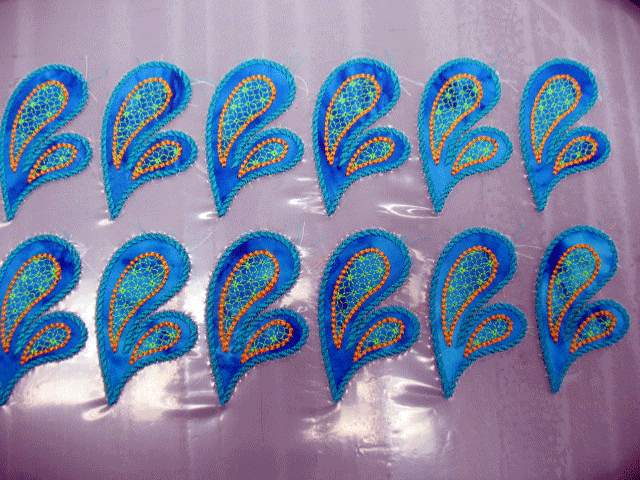
Floriani thread has more of a sheen than typical polyester embroidery threads do, so it kind of acts more like a rayon thread.  I’ve used it for quilting but I’ve just started using it for machine embroidery and I LOVE IT!!!!  This wreath was embroidered directly on the fabric block and here’s a sheet of these embroidered plume shapes on water dissolvable stabilizer:


These plume badges were embroidered with Isacord Polyester Thread.  I like how they came out as well and am mulling over what I’ll do with them. I just can’t get over how much thread work can add to a design!

I’ve barely done any Christmas shopping and plan to make some real headway tomorrow.  If you’re still looking for some great gifts, we’ve got a wonderful special in our online store now.  All products made by Patsy Thompson Designs are 20% off the normal retail price through 6:00 am eastern time on 12/19/11!  This means that any of our DVDs, books, stencils, Appli-K-Kutz dies, and patterns are 20% off!  To get the discount, enter “Holidays” (minus the quotes but with a capital H)  in the discount code box during checkout and the discount will be applied in the last stage of checkout.

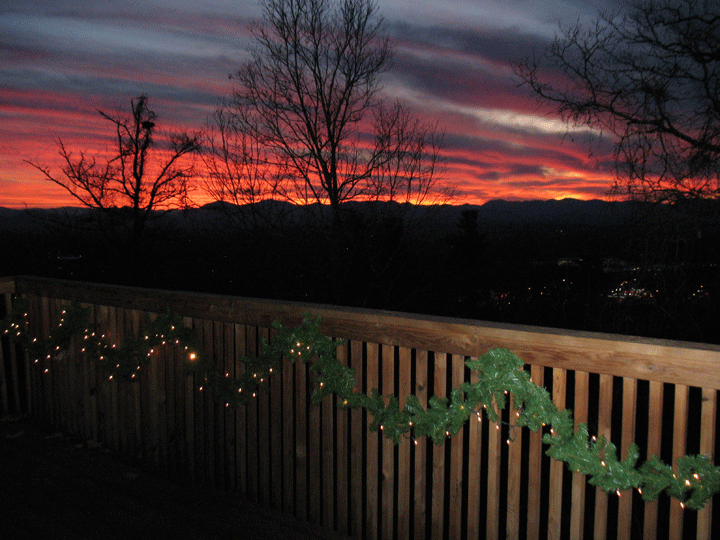
I’ll close with a shot of a Christmas time sunset off our deck:


2011 Christmas Quilt Show

December 1st, 2011

Welcome to the 2011 Christmas Quilt Show, coordinated by Darlene of the Sew Cal Gal blog! If you haven’t already been following this wonderful collection of Christmas and/or winter based-projects, you need to start hopping to all the different blogs that are participating in this show! Not only will you find loads of inspiration for making your own projects, but you can also win all kinds of great prizes. Make sure to head back to the Sew Cal Gal blog here to find out just what you need to do to participate!

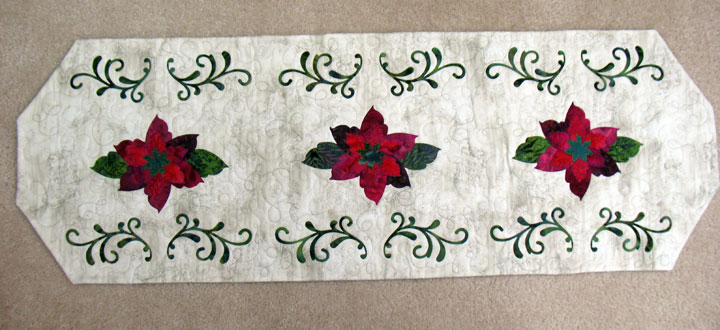
I am blogging about a quickie Christmas table runner, shown below:

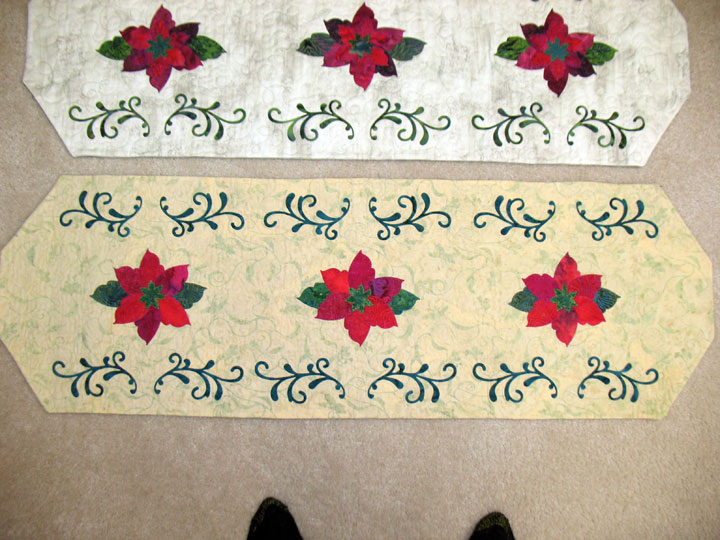
…and here’s another version of the same tablerunner done in some different batiks:

The intricate shapes in the tablerunner make it look like it would be tough to do, but it actually went pretty fast because I cut all the applique shapes using my Sizzix machine. This used 2 different Sizzix dies, #655222 and #656187, and you can see them below:

The flourishes are so delicate that I was worried about adding much thread work to them to finish the edges, so I stitched just inside their edges using Invisifil thread, which is super lightweight as you can see below:

I finished the edges of the flower petals using the EKG edge finishing design. I like to use a contrasting thread to make things a bit more interesting:

…and I quilted the background using a simple loop-d-loop quilting design. You can find a line drawing of that quilting design and many other quilting designs on my web site here.

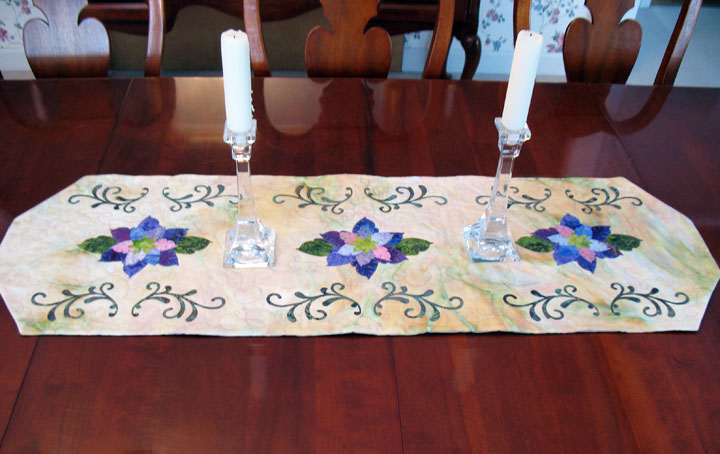
What’s nice about this quickie project is that you can easily alter the “theme” of the tablerunner by swapping the fabrics into a different colorway. Here’s the same tablerunner stitched a few months later in “springtime” colors:

If you’d like to see that last tablerunner as it was being fused up, here’s a video that shows it being put together as the pieces were cut on my Sizzix machine and then arranged/fused to the background fabric: