Nifty Notions, Rulers, Templates, and More!

June 27th, 2014

Hello Quilting Friends! 

Hasn’t it been fabulous to enjoy these warm sunny days outside?  This is what I was dreaming about all winter when the snow and cold seemed like it would never stop!  The upside of a rainy summer day is that it’s the perfect excuse to head back into your sewing room  When you do get the time to quilt, you will love having some of these new notions that Nikki just picked up for the store.  We’ve got some new rulers, a great new travel iron if you’ll be hitting the road this summer, a few new patterns, and some other cool notions.  Read on below for all the juicy details!

The products in this newsletter are all new, so for the first week in the store we will be offering most of them at a reduced introductory price. You will not need to enter a discount code to receive these introductory savings and the prices are valid until July 4, 2014 at 9 am, E.S.T. ***Please note that some vendors do not allow us to alter the price of the product. These products will only have one price listed  under the image. 


Remember that each and every retail purchase that you make in our store is being tabulated to count toward a gift certificate you may use for a future purchase.  We also offer free shipping to US customers on orders over $10.00 and a discount for our International Customers. This is our way of thanking you for being a loyal customer.  Please make sure you are logged into your account when making a purchase to properly track your points.

Creative Grids Kites Plus Ruler 

Cut and sew kites up to a finished size of eight inches. Follow the markings on the ruler to cut the top and side triangles. Line up these odd angles perfectly by marking the seam allowance through the holes in the ruler. Or, cut the kite on the fold to save a sewing step. These 60 degree and 120 degree angles combine with hexies, half hexies, 60 degree triangles and 120 degree triangles for limitless design potential! 


 Only $24.45


Hearts & More Templates
Small & Large 4pc Set


You can make hearts, flowers, circles, ovals, teardrops, leaves and more. With just these four templates. 


MSRP $43.95.. reduced introductory price $39.12

2-1/2in Strip Wonky Ruler

2-1/2in Strip Wonky Ruler by Quilt in a Day includes Twisted Log Cabin Pattern. Make your Log Cabin block pop with the twisted flair of Quilt in a Day’s new ruler: 2-1/2in Strip Wonky! Now, cut with ease a fun and wavy block that’s sure to add an electrifying sway to your traditional Log Cabin. 

  MSRP $29.95.. reduced introductory price $26.66

Steamfast Travel Steam Iron

This may be the world’s smallest steam iron with a mighty ability to set crisp creases and remove wrinkles. It is strong enough for everyday use at home, yet lightweight and compact for taking along with you. When trying to iron in and around pockets and pleats, the SteamFast SF-717-A with its tiny non-stick soleplate, will get into places bigger irons can’t reach. If you travel, or if you simply need to touch up garments away from home, the SF-717-A Steam Iron is an ideal appliance. It comes with a convenient travel bag, and features a non-stick soleplate, and dual voltage for overseas travel. You can be confident that Steamfast products are built to perform, and are built to last.

SPECS: 260-420 Watts / 1.4oz water capacity / 1 minute heating time / Product weight is .96 lbs / Product dimensions are 5.3” depth by 3” wide by 3” tall / 7.5ft cord / 2-pin Polarized plug type / 60HZ, 120V / Water Measuring Cup included.


 MSRP $29.99.. reduced introductory price $26.69

Marilee’s Numbered Q-Pins

The fantastic alternative to pins is here! These great clips can be used on virtually any sewing project with virtually any type of fabric. From delicate laces and satins to heavier leathers and furs-they will not damage the fabric or leave unsightly holes. Shape darts; create pleats; pin up hems; whatever you need to do these clips will help!


MSRP $28.00 reduced introductory price $24.92

Coil-less Curved Safety Pin Size 1 50 ct

No coil means no place for your delicate fabrics or embellishments to get stuck or frayed. Nickel plated.
MSRP $3.99… reduced introductory price 3.55

Featherweight Bent Trimmer 8in


Make precision cuts for your sewing projects with the Featherweight Dressmaker’s Shears. These sewing shears have a wonderful lightweight design featuring stainless steel blades for sharp and easy cutting. Nylon handles. 


MSRP $21.99… reduced introductory price $19.57

Darning Egg

Birch wood darning egg with convenient handle.


MSRP $9.11… reduced introductory price $8.11


Fiskars Hexagon Squeeze Punch Extra Large


Extra-large punch design fits inside a 2″ circle. Add distinctive style to craft projects of all kinds with a Squeeze Punch that makes every embellishment up to 2X easier to punch than other shape punches on the market. A specially engineered squeeze motion with ergonomic handles offers comfortable use, even when you have a lot of shapes to punch. In addition, an open punch head lets the user see where they are punching for a perfect punch every time with no more wasted paper. Our Squeeze Punches even nest for convenient storage.

Features

  • Use cleanly punched-out designs as embellishments on homemade cards, scrapbook pages, collages and much more
  • Unique design makes it up to 2X easier to punch shapes than other shape punches on the market
  • Open head lets you see exactly where you are punching to eliminate mistakes
  • Easy-to-squeeze design makes it ideal for extended use
    Ergonomic handles provide comfort and control for mistake-free results
  • Nests with other punches for compact, convenient storage
  • Printed shape provides easy identification to help you find the punch you’re looking for quickly
  • For use with 65-lb. cardstock or lower


MSRP $18.59… reduced introductory price $16.55

Fiskars Hexagon Squeeze Punch Large


Large punch design fits inside a 1.5″ circle. Add distinctive style to craft projects of all kinds with a Squeeze Punch that makes every embellishment up to 2X easier to punch than other shape punches on the market. A specially engineered squeeze motion with ergonomic handles offers comfortable use, even when you have a lot of shapes to punch. In addition, an open punch head lets the user see where they are punching for a perfect punch every time with no more wasted paper. Our Squeeze Punches even nest for convenient storage.Features
  • Use cleanly punched-out designs as embellishments on homemade cards, scrapbook pages, collages and much more
  • Unique design makes it up to 2X easier to punch shapes than other shape punches on the market
  • Open head lets you see exactly where you are punching to eliminate mistakes
  • Easy-to-squeeze design makes it ideal for extended use
    Ergonomic handles provide comfort and control for mistake-free results
  • Nests with other punches for compact, convenient storage
  • Printed shape provides easy identification to help you find the punch you’re looking for quickly
  • For use with 65-lb. cardstock or lower


MSRP $15.39… reduced introductory price $13.70

Bon Appetit Pattern


This innovative pattern includes a window valance, place mat, and potholder. Each one features hand embroidered herb blocks. Four different herb designs are included: dill, basil, sage and rosemary. The pattern also includes instructions for the valance panel shown on a 24″ rod. (Multiple panels are needed for wider windows.) Instructions for a place mat and potholder are also included. The designs may also be embroidered on an apron, table runner, tablecloth or even pillows. Valdani 12 weight pearl cotton is recommended for the embroidery.

From Primrose Lane
By Dix, Beth B


MSRP $9.00… reduced introductory price $8.01

O’ Canada Bench Pillow


5 Start by making one large “bench pillow” form. Then change out a new cover for that pillow form for each season or holiday! This is the idea behind a new line of patterns for interchangeable bench pillow projects. The “O Canada!” pillow cover is perfect for July or all year long!

Instructions for making the pillow form, as well as the “O Canada!” Cover are included.

Finished size: Approximately 16 x 38″


From Kimberbell
By Christopherson, Kim 


MSRP $9.00… reduced introductory price $8.01

A Great tip

June 23rd, 2014
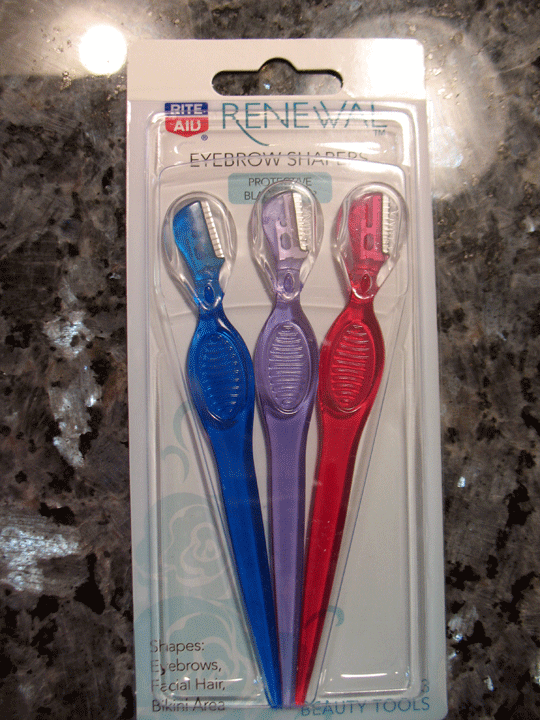
Lisa Spalding of The Quilt Foundry in Maumee, Ohio, gave me a killer tip today when I was in her shop. She shared that eyebrow shapers work great as seam rippers! Here’s a set of 3 that I picked up at Rite Aid for $4.00; she said Walgreens has them for $1 each:
EB-shapers
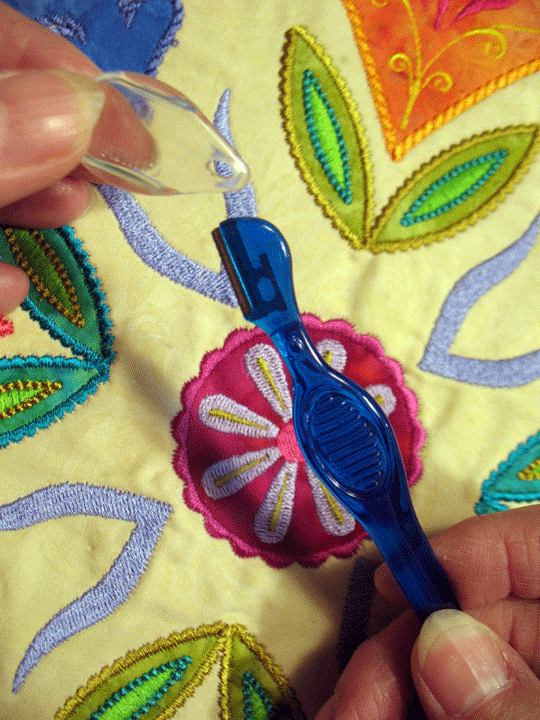
Here’s what one looks like with the cover removed. It looks like it would work great at ripping out 2 pieces if fabric that were seamed together but not for the kind of seam ripping I do with machine embroidery applique:
EB1
This shot shows the little protective cap:
EB2
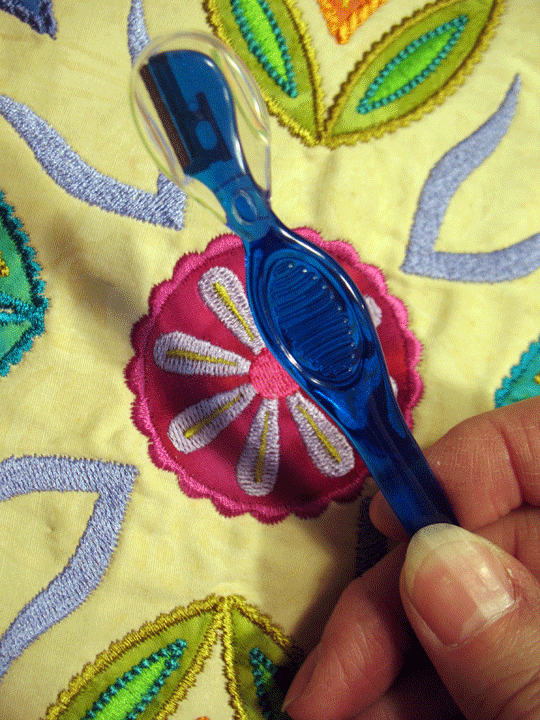
…and here it is enclosed by the protective cap:
EB3
If you’re anywhere near NW Ohio, be sure to check out The Quilt Foundry. It’s a great shop with lots of beautiful fabrics and the staff is so nice and helpful! Thanks for the tip, Lisa!

And Now a Quilt With Some Color!

June 21st, 2014
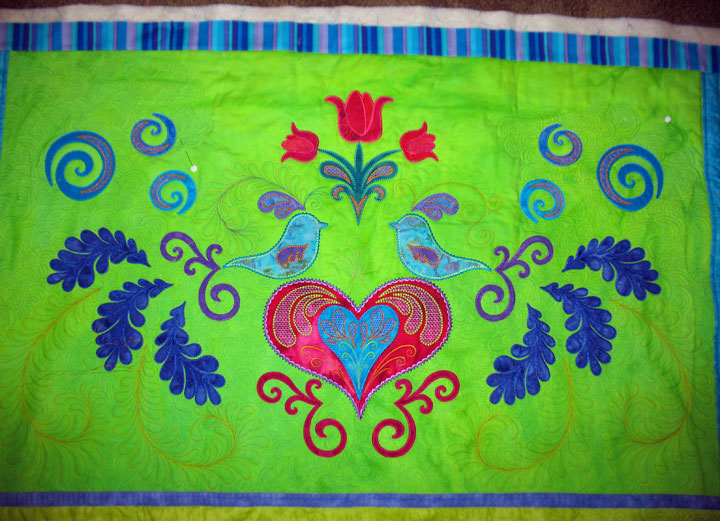
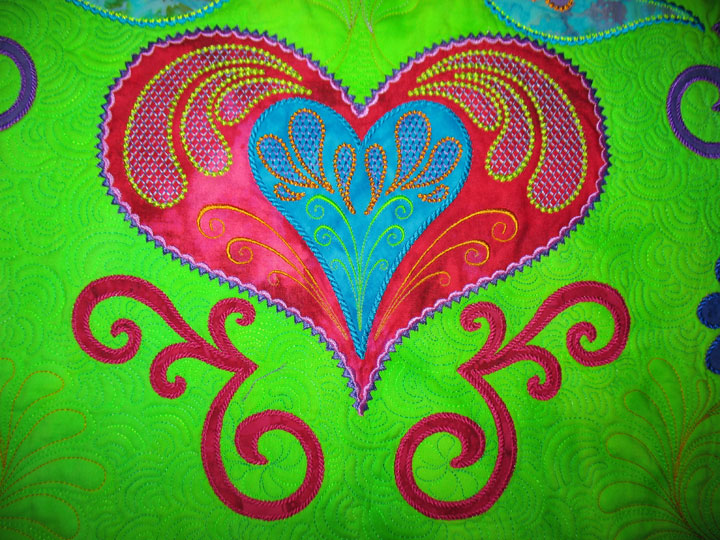
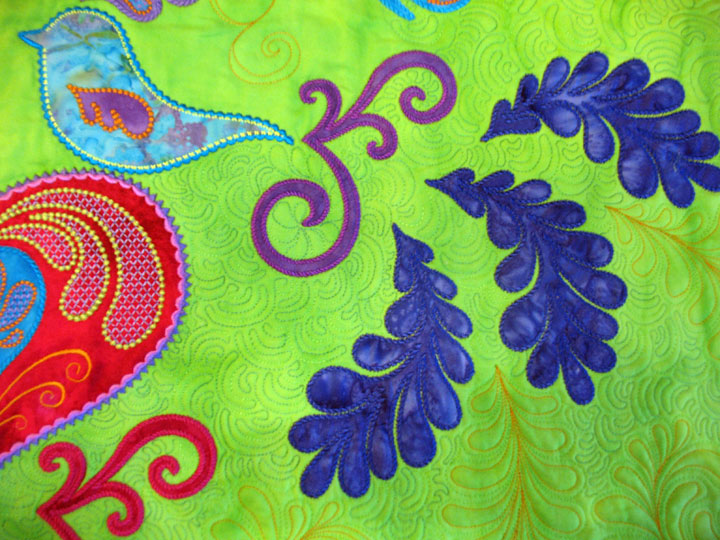
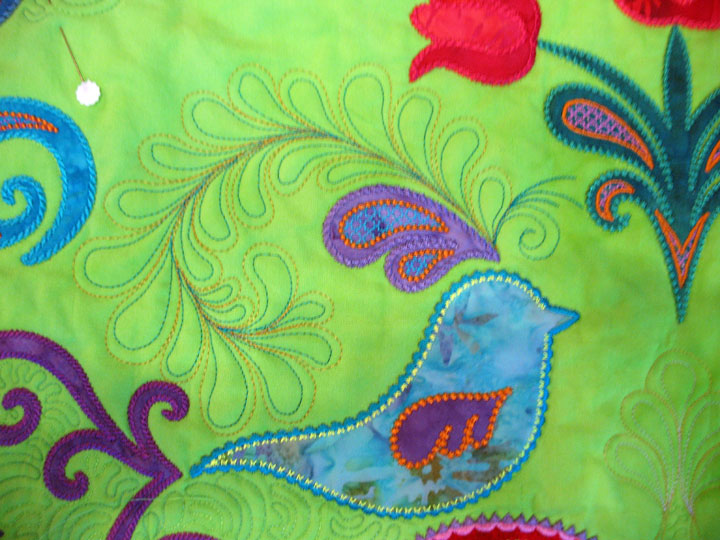
I got in 20-30 minutes of machine quilting in the wee hours of the early morning each day this week before work.  I picked up an old quilt that I started quilting about a year ago and it has been lost in the shuffle ever since.  This is  a machine embroidery applique quilt and all the shapes were cut from Appli-K-Kutz dies using my Sizzix Big Shot except for the large heart at the bottom.  (I cut him the “old fashioned way…with scissors!)    Here’s the top section of it and that’s where I’m working now:
 
bds1
(Sorry…I rushed to grab some photos, so they’re not the best.  You can see there are pins and a few long thread tails that I haven’t dealt with yet!)  This top section is a fairly large piece; I think it measures around  44 inches x 28 inches.  The heart at the base is pretty large. If I do another of this panel any time down the road, I think I’ll use more understated colors inside the heart because there’s an awful lot going on in there!  Here’s a closeup and you can see what I mean:
 
bds2
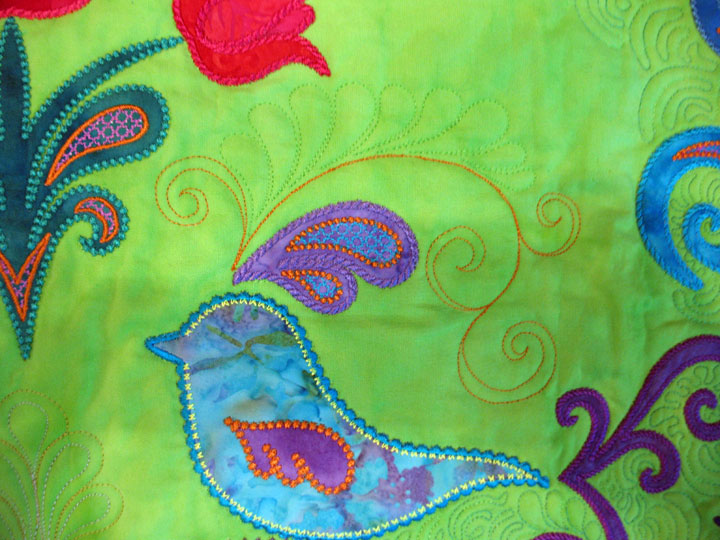
I sure do like how much thread work can add to an applique shape, though!  There are 2 mirror image birds with 3 tail feathers each:
 
bds3
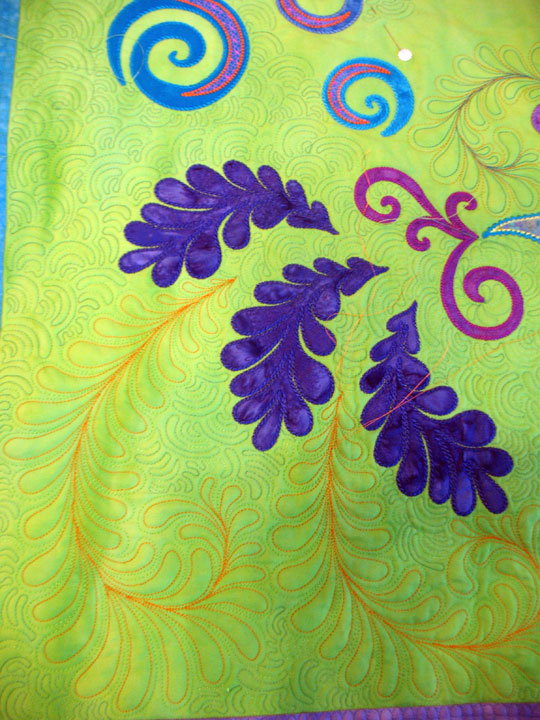
I didn’t want the entire thing to just hold background fill quilting, so I threw 2 quilted feathers off of each bird’s tail feathers.  They are hyperquilted with a gold thread and you almost can’t see the “real” feather outline because the thread was green:
 
bds4
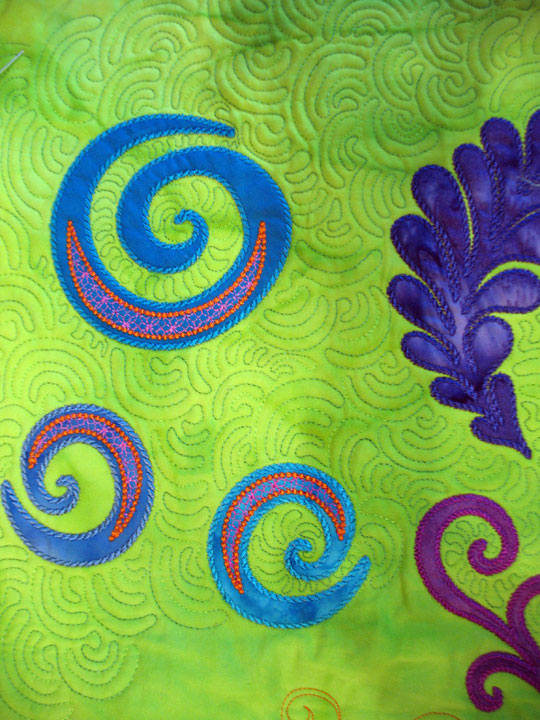
There are also 3 appliqued swirl shapes above each bird.  In this shot of the swirls, you can see the background fill quilting pretty well.  That is being done with a gently variegated green trilobal polyester thread:
 
bds5
I also threw a headdress onto each bird that kind of “springs” from the appliqued headdress.  Here’s the one on the left bird:
 
bds6
…and here’s the one on the right bird:
 
bds7
That last bird seems pretty understated…I think I may need to go back in there and add some pizzazz.  I ‘m hoping to get to the lower section of this quilt this coming week…

Understated Fabric and Thread Choices: The White on White on White Quilt

June 14th, 2014
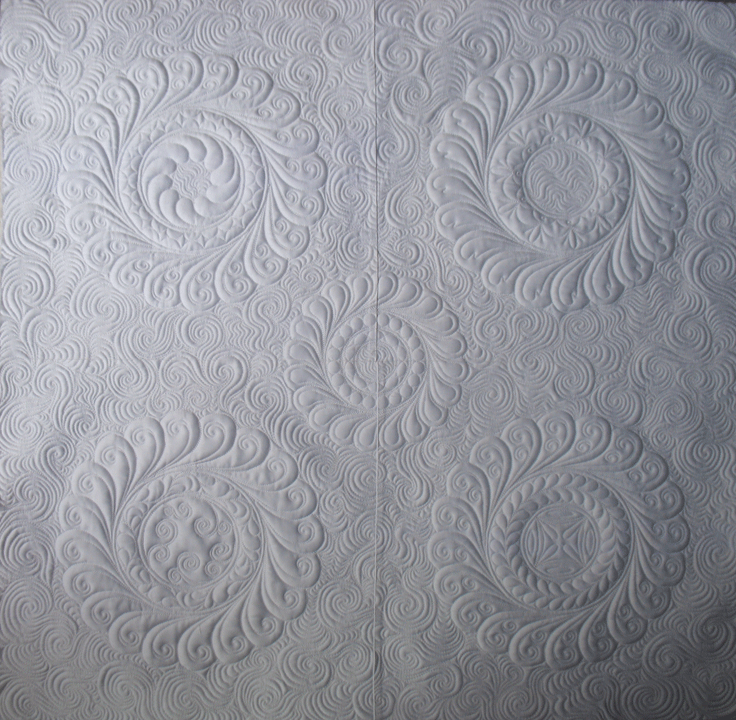
(I’m apologizing up front for the poor photography in this post.  It is very hard to get good photos of bright white fabric, and I thought I would have access to this sample to take additional photos, but it’s out of my hands for the next few weeks at least, so I’m stuck with the photos I have.  Know that all of these photos are really meant to represent a bright white fabric with bright white thread work.)
wow-whole-3.0
 
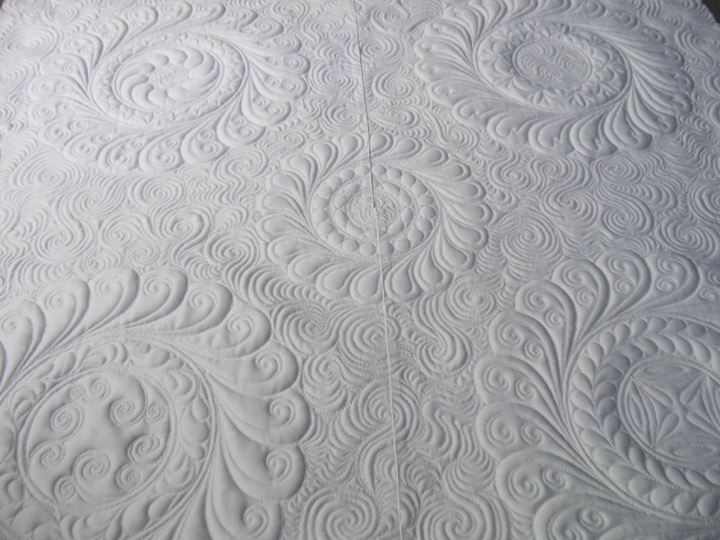
This quilt came together very quickly.  It was borne out of a need to quickly prepare a sample of hyperquilting that did not involve high contrast threads.  I would guess that about 99% of what I hyperquilt uses very high contrast threads because I’m aiming for a “bowl-you-over kind of effect.”  Many people don’t realize that hyperquilting can also be very useful when it’s done with understated thread choices.  What could be more understated than white thread on white fabric hyperquilted with the same white thread?!  This is white cotton sateen fabric and white trilobal polyster thread:
wow fleur de lis
 
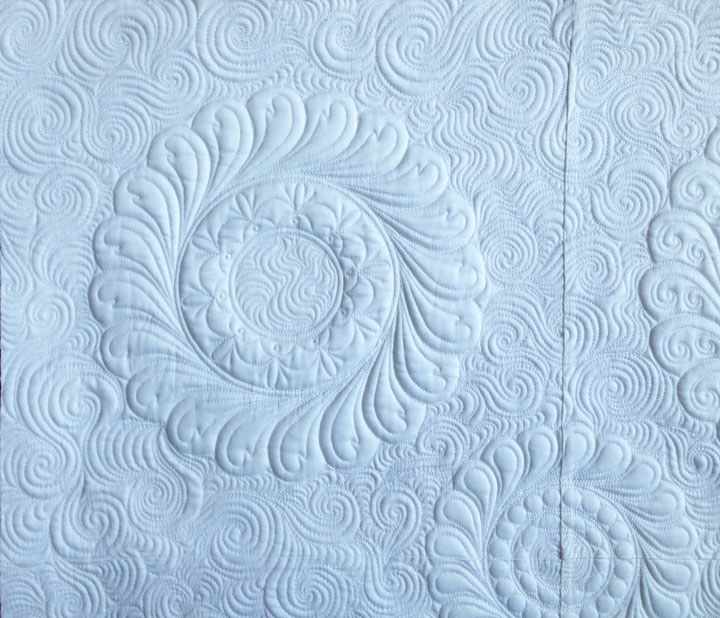
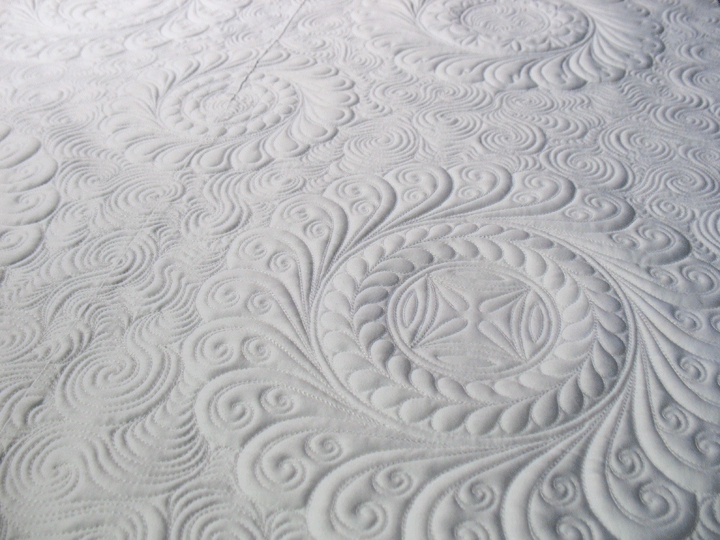
Nothing beats cotton sateen for really showing off quilting to the max!  It has a subtle luster to it, so once it’s been quilted, it throws off incredible shadows and the result is a texture that makes me think of Royal Icing:
 
wow-texture
 
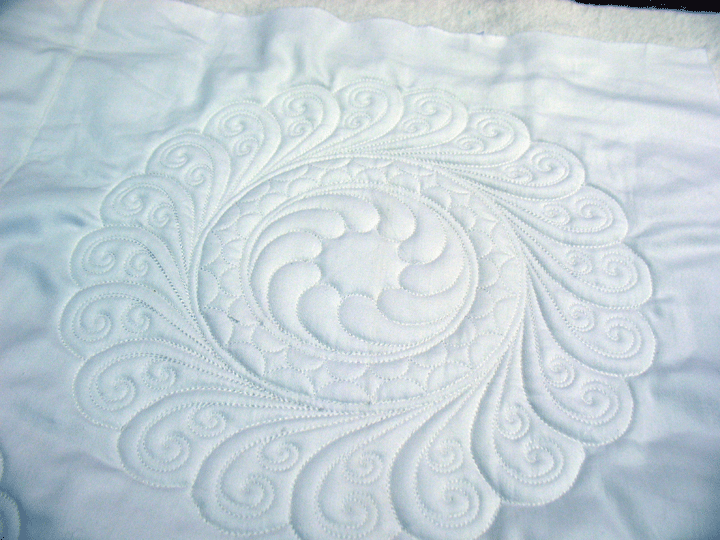
Each of the wreaths on this quilt is different from the others:
wow-diamond-back
 
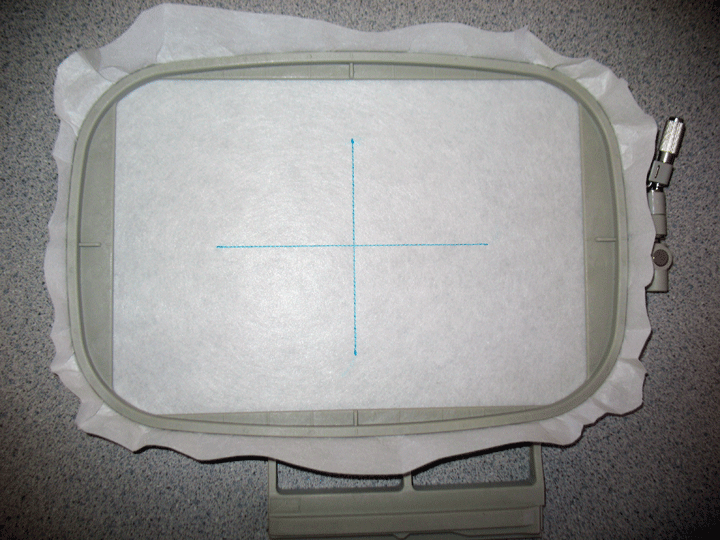
The wreaths all have 1 trapunto layer of Quilters Dream Select (midloft) polyester batting-I LOVE this batting!  There’s a layer of 100% cotton Warm and White underneath the whole quilt.  I was in a real rush to get this done so I quilted each 14-inch square wreath block on my embroidery machine using one of the wreath files from Majestic Feathered Wreaths Volume 2, then pieced the 4 blocks together.  This left a blank area in the center that begged to be filled with a smaller wreath.  Using the free downloadable crosshair files that are available here on the web site, I hooped a piece of cutaway stabilizer and stitched out the center crosshairs directly onto the stabilizer:
center-crosshairs
 
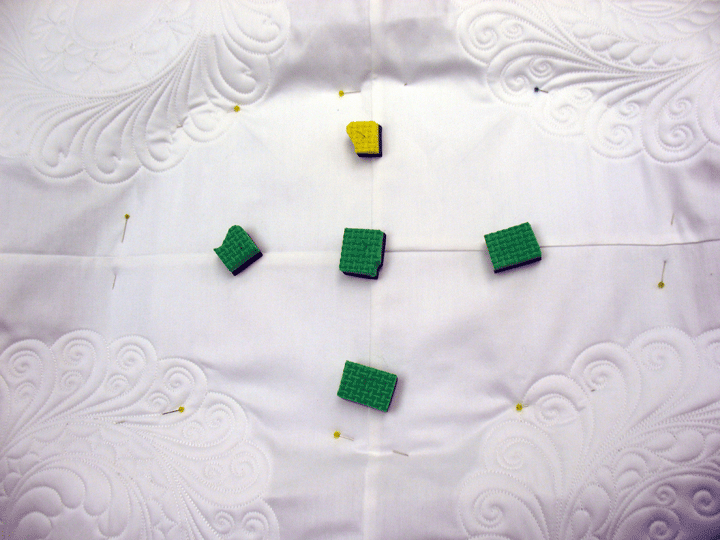
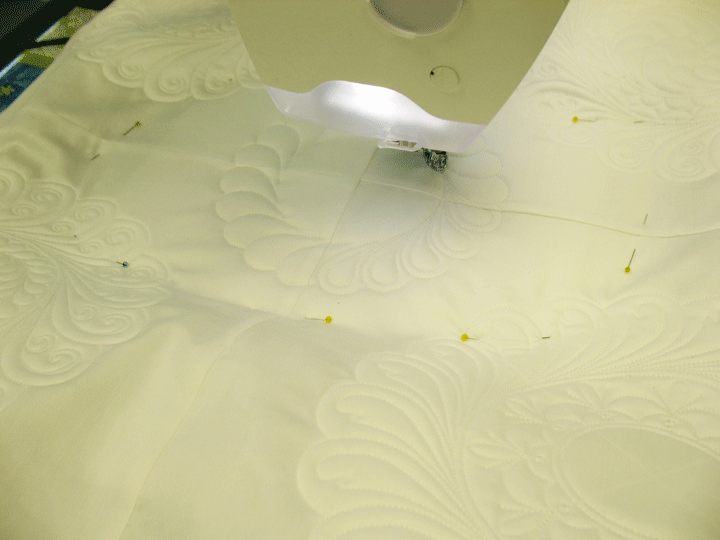
These crosshairs represent the center of the design you’re going to have the machine stitch out, so if you “affix” your quilt top/block onto those crosshairs where you want the design to fall, you’re guaranteed perfect placement and there is no messing around with hooping the quilt top or quilt block!  I then pierced that center intersection of the stabilizer with a flat headed straight pin, pierced the center intersection of the quilt top with the same pin, then threw one of Patsy’s Foam Pin Anchors onto the pin to hold it in place.  The seam lines provided the other lines that I matched up with the stitched lines on the stabilizer and here’s what the hooped quilt top looked like before I’d removed the pin anchors and the pins inside them:
wow-centering-a-design
 
(Important-I forgot to mention that I placed a piece of scrap batting behind the quilt top and on top of the stabilizer to get a trapunto layer.)  This is such an easy way to work!  I placed that hoop onto the embroidery machine and then shrunk a 7 inch wreath file on my embroidery machine so it was only about 6 ½ inch in diameter, then started quilting that center wreath.  Here’s a shot of it in the embroidery machine as it had started the hyperquilting sequence:
 
wow-being-quilted-by-embroidery-machine
 
Once done, I removed everything from the hoop and then cut away the excess stabilizer and batting.  Here’s what the backside of the quilt top looked like as I was cutting away the excess batting from that center wreath:
 
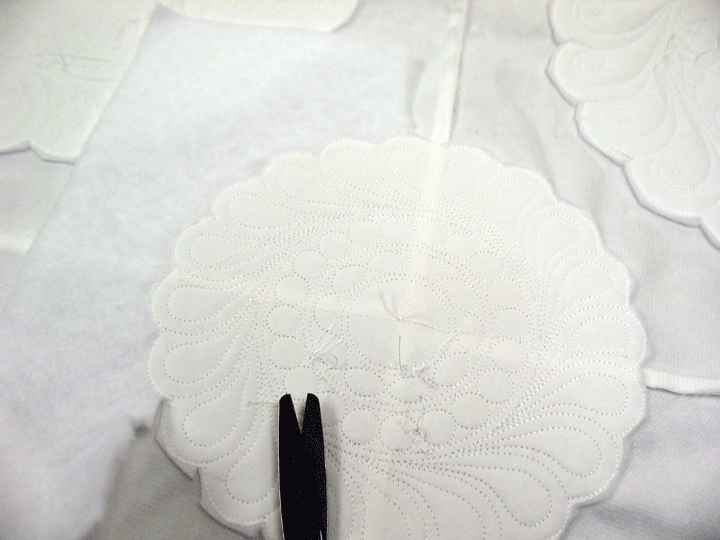
wow-cutting-away-batting


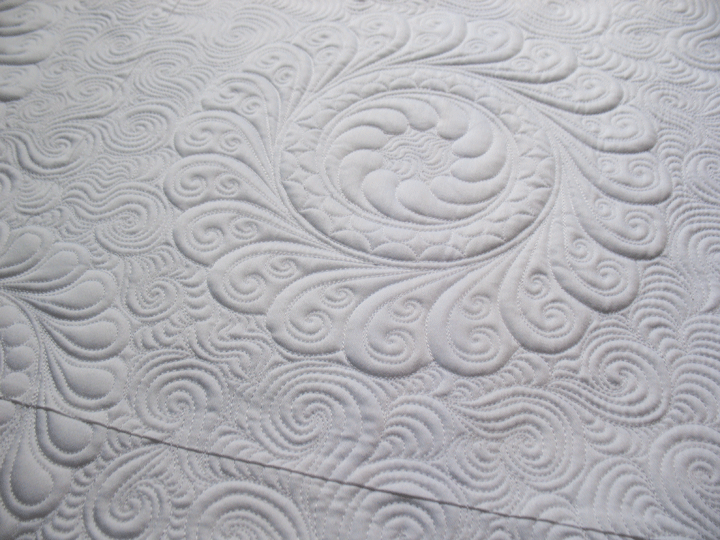
I spray basted the top into the final quilt sandwich and began  free motion quilting it.  Can you see the rich detail of all the various “zones” of this wreath?:
wow-detail
 
Part of the reason those zones are so discernible is because of the trapunto layer.  When you make a quilt like this and begin the quilting process once it’s in the final quilt sandwich, the first thing you want to do is to start outlining zones of the trapuntoed motif.  I do this with invisible thread (Monopoly by Superior threads) in my top needle.  I start at the center of each wreath and work my way outward:
wow-working-outward
Notice that you don’t want to go back in and re-quilt everything that’s already been quilted.  Pick and choose what zones you want to pop out and just outline those.  I never touch the hyperquilting when I go back in because I want the entire plume to pop out and if I were to enter the plumes for outlining of the hyperquilting, it would flatten all that trapunto.  I also don’t enter the spine zone at all; I just outline the inner and outer rings of it so the spine will protrude out as one zone.   Once all my wreaths had been outlined with invisible thread, I switched to trilobal polyester white thread in my top needle and free motion quilted the background fill design.  This is McTavishing with a very heavy emphasis on the swirls  and if you don’t know how to do McTavishing, it’s covered in our DVD called Fast and Free Volume 3:
 
wow fleur de lis
 
If you haven’t tried trapunto, please give it  a shot as it is so much easier than you think it will be!  If you haven’t tried quilting part of your quilt with an embroidery machine and then going back in and doing your own freehand work to blend it all together, this is also worth a shot!  I love, love, love to free motion quilt but this is a blast as well!  Both Volume 1 and Volume 2 of Majestic Feathered Wreaths CDs have files for really cool, intricate feathered wreaths, and you can now buy the compilation CD for all the wreath designs together for a great price here.

A Craftsy Shoot!

June 9th, 2014
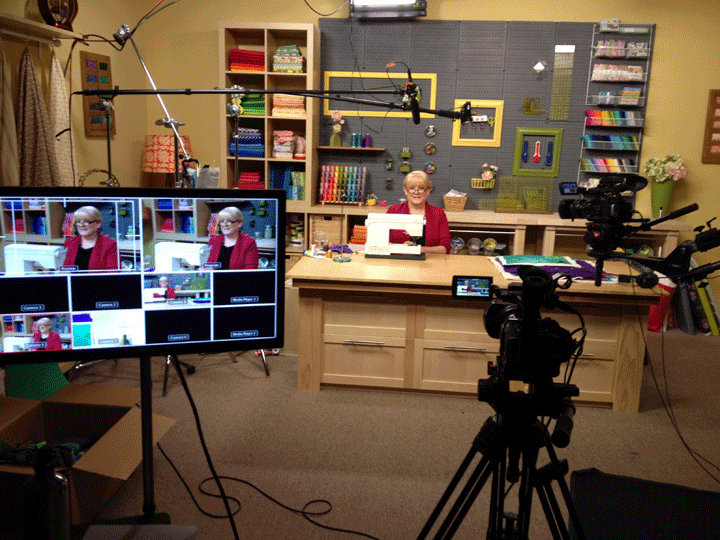
I was in Denver last week to shoot a class for Craftsy!  Here’s a shot of me on the set:
 
craftsy-1
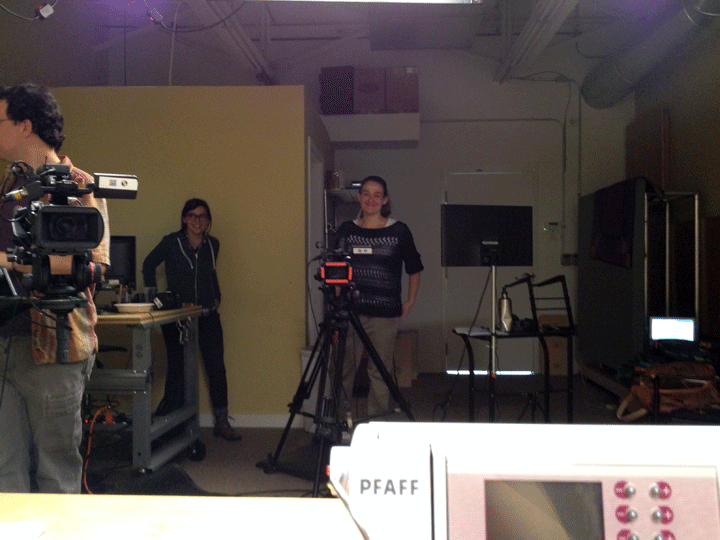
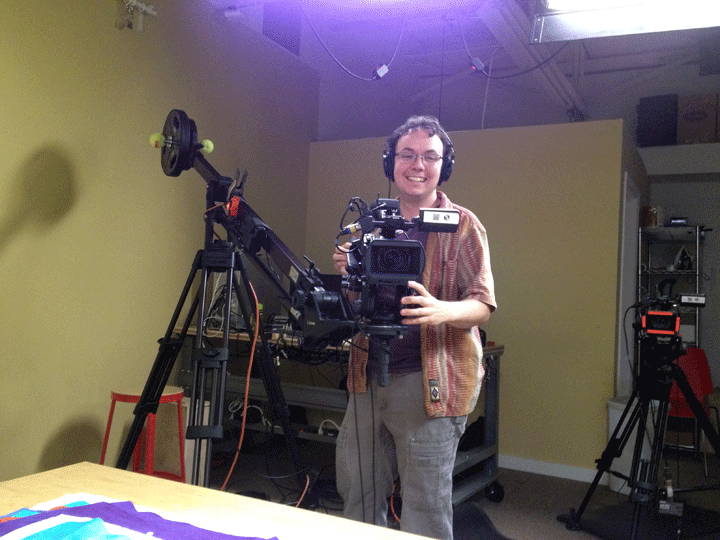
Can you see that monitor?  They shoot with 3 cameras.  This is the very kind and humorous Laffery who was the shooter:
 
craftsy-1.5
The woman on the right in this photo is JC.  She is the producer of this class and she is also very nice and has been easy to work with over the last couple of months as we’ve been developing this class:
 
craftsy-2
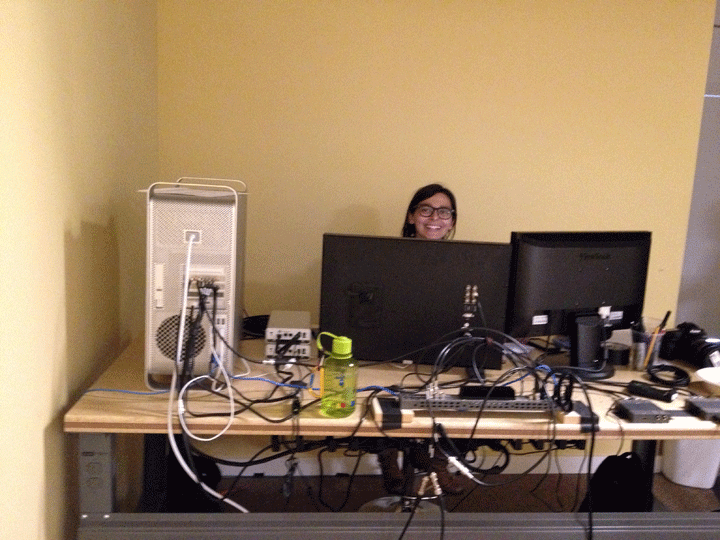
Next up is Ivanla.  She is called the switcher and she has 3 camera screens on her monitor and is literally doing live editing as we were shooting.  This is mind-blowing to me because this means she was making split decisions about which camera view to use and which 2 camera views to discard:
 
craftsy-3
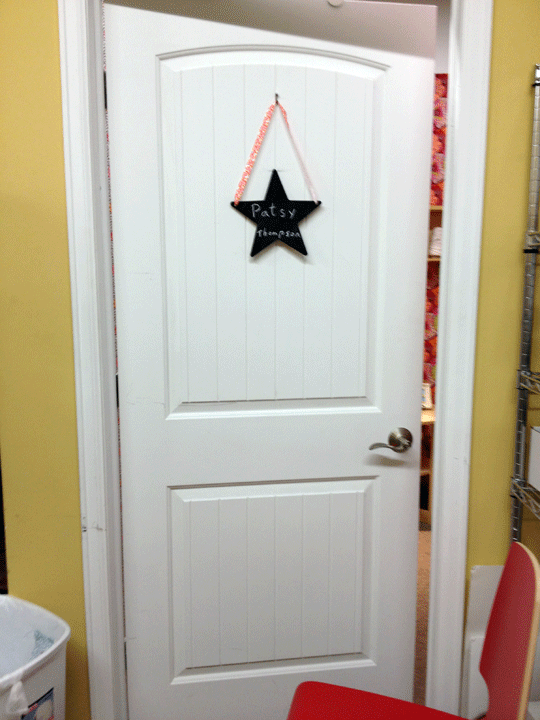
When I first got there, I was greeted by my dressing room door:
 
craftsy-door
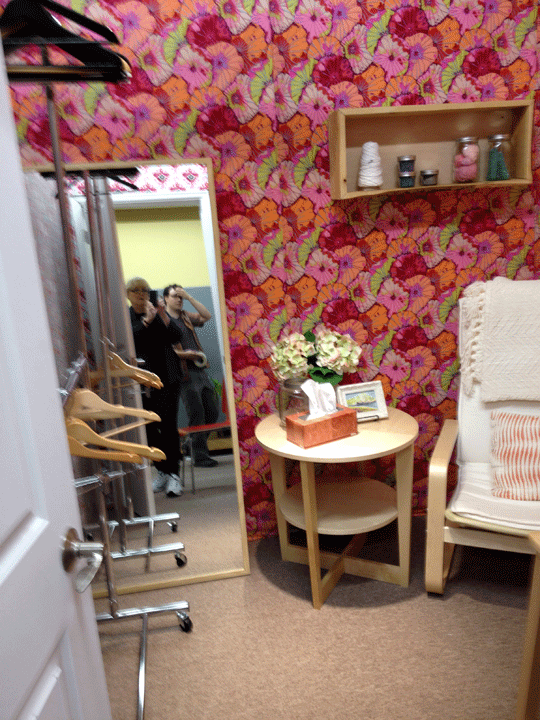
Isn’t that adorable?  Here’s the inside of the dressing room:
 
craftsy-door-2
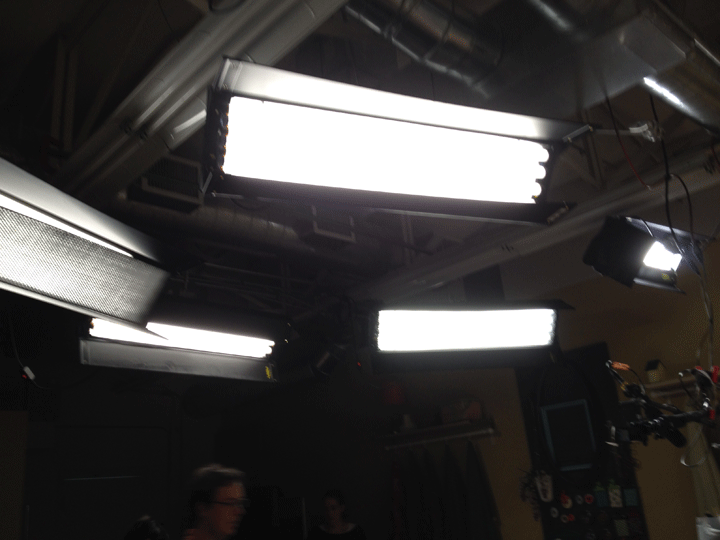
Somehow, I do not have a photo of Danika, who picked us up at the hotel each morning and then did our hair and makeup.  Being someone who wears very little makeup, that part of the experience was the most jolting!  You would not believe how much makeup goes on one’s face before a shoot!  Hopefully, it will not look that way once the class airs!  There were many lights shining down from the ceiling and this was the viuew from my perspective:
 
craftsy-4
…but when I looked straight forward, I saw pretty much total darkness!  The other part of the process that is weird is that you can’t have any lights shining on your quilt as you sew.  When you get to be my age, you start amassing all kinds of gadgets by your sewing machine to help light up your visual field.  Not only did I not have any of those lights, but they had to cover my machine’s lightbulb as well!
What is the class about?  I’d love to tell you but then I’d have to kill you!  When will it be available?  I don’t know!  How’s that for being a fountain of information?!  Sorry to be so obtuse but I wanted to let you know that it’s coming…sometime!