November 13th, 2014

Today’s blogger is the wonderful Jean of Jean Creates Blog! Jean used a simple machine embroidery applique design called the PA Dutch Flower which can be found here. It’s the same flower I used recently to make a quickie pin cushion using blended wool felt and bamboo felt:

This flower with a pair of leaves at the base is stitched in only 1 hooping so it’s an easy-peasy design. Jean did a wonderful tutorial showing how to stitch out a machine embroidery applique design if you don’t have pre-cut applique shapes and want to do it in the fashion of placing fabric over the placement outline and then cutting away the excess material. It’s as simple as stitching the placement outline, placing the over sized fabric in place, then repeating the placement outline stitching sequence before cutting away the excess fabric! Run over to Jean’s blog to see how to do this in a step by step tutorial that is very clear. Check out the wonderful mat she created with these shapes on each pocket-I love her idea! And don’t forget to leave a comment on her blog to be entered in the give away of a free digitized design! Designs like this that are stitched in single hooping are very easy to convert into larger quilt block designs. Here’s an example of the exact same file stitched in 4 quadrants of a square to create a whole quilt block:

Keep checking back as there will be an upcoming lesson in how to create an entire quilt block using a single design like this one! And don’t forget…tomorrow is Day #5 of the Machine Embroidery blog Hop, and you’ll want to head on over to SewCalGal’s blog for that!
Filed under
Machine Embroidered Applique.
November 12th, 2014

It’s the 3rd day of the I Have a Notion Machine Embroidery Blog Hop and today’s post is by Marjorie of Marjorie’s Quilting Bee Blog. She created 2 small wall hangings/table toppers that are each created using an easy multi-hooping technique and they came out beautifully! Here are the pictures of what she created:

…and here’s version 2 where she has played with the orientations of the swirls. This one almost has a sense of movement because of the positioning of those swirls:

Gosh she did a beautiful job! To read about how she did it and to enter for a chance at a free digitized design give away, head on over to her blog by clicking here. While you’re at her site, be sure to check out her online shop because Marjorie creates her own digitized designs and you may well find just the right designs for your next project! And here’s the line up for the whole week again:
Before I sign off, I wanted to check back in about the project I was working on last week. I had a few days of sweating bullets as I went to finish the sides and corners of this wall hanging with setting triangles:

You can kind of see my dilemma in this next shot. Because the setting triangles always “begin life” larger than they will actually be at the end (the excess is trimmed once all setting triangles have been added), it’s dicey when you digitize the applique shape placement because you won’t know their positions are too close to the edge until you’ve stitched everything out and pieced it all together. Here is what it looked like after the side setting triangles were in place:

Check out where the arrow falls in this closeup of a side setting triangle in the next photo:

The nail-biting part was not knowing if those applique shapes near the edge would end up being cut off in the final trimming or, if they weren’t cut off, would they be so close to the edge that the design wouldn’t work and I’d have to start over? In the end, it worked out ok. This next shot is after the corner setting triangles were added and everything was trimmed:

You can see that those outermost applique shapes will barely be out of the way of the seam, but I think it will work. This will be the center section of a much larger quilt, but it will be left alone for awhile. I have a couple other projects that I’m going to focus on in the short term. Now get yourself over to Marjorie’s blog!
Filed under
Appli-K-Kutz Fabric Cutting Dies, Machine Embroidered Applique.
November 10th, 2014
 Today is day 1 of the machine embroidery blog hop so kindly sponsored by Kelly Jackson’s I Have a Notion Blog! That means that for the next 5 days, you can visit a new blog and learn something new about about machine embroidery and machine embroidery applique! This will be a little different from a typical machine embroidery blog hop because I have no experience in traditional machine embroidery. That means that everything you read about this week will either be a machine embroidery applique design or a free motion quilting design that has been stitched on an embroidery machine. This is all far easier to do than it might seem to be and I promise that I’m not exaggerating! To add a little more excitement, you can enter for a chance to win a free digitized design of your choice EACH DAY by following the instructions detailed in each blog! Yep, any downloadable digital design in my store is yours for free if you win, and that means you can choose a single design or you can choose a whole quilt pattern! As long as it’s downloadable, it’s up for grabs!
Here is the line up for all the blogs this week:
I Have a Notion Blog Mon 11/10/14
Gene Black An Alabama Artist and Quilter Blog 11/11/14
Marjorie’s Quilting Bee Blog 11/12/14
Jean Creates Blog 11/13/14
Sew Cal Gal Blog 11/14/15
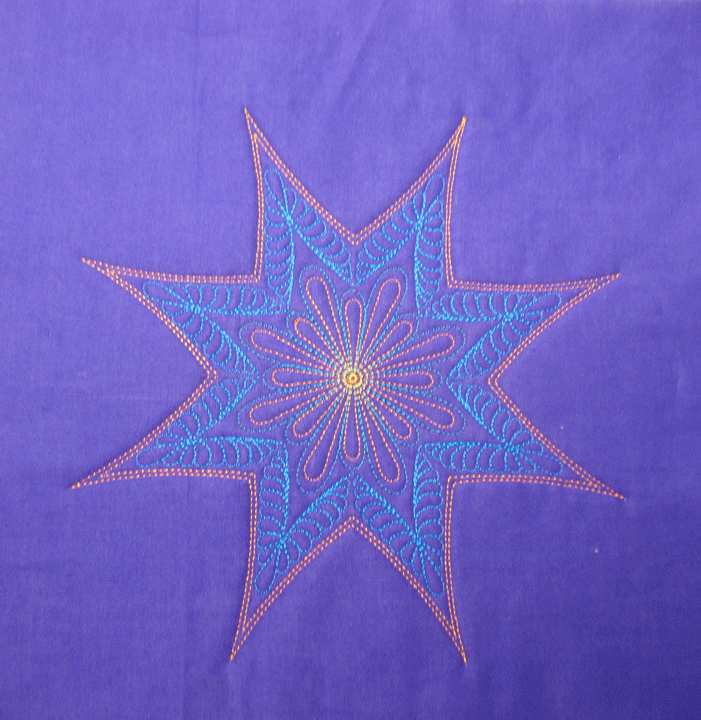
I’ll give you a hint about day 1…have you ever dreamed of stitching elegant feathered wreaths like this…
 …then get yourself over to Kelly Jackson’s Blog!!!!
Filed under
Site Updates.
November 10th, 2014

Just after I started a series of blog posts about machine embroidery applique, the hard drive on my laptop died and I was without my computer and all my files for 2 1/2 weeks. This had the unintended consequence of placing a huge road block to getting this info up. This post is a sequel to my earlier post that you can read by clicking here. In the last post, I explained how to stitch a design in the center of a quilt block where the design set “on square” within the block. This was all done using the technique of floating the fabric block on a piece of hooped stabilizer. Now I will show you how to do the same thing except that the design will be set “on point” within the quilt block.
There is only one thing we will change from what we did earlier.
Step 1: Marking the fabric block: This is the only thing we will do differently. Instead of marking a line from the center of each side to the center of the opposite side, we mark temporary lines from each corner to the opposite corner. This means that instead of having a large + sign in the center of the fabric block, we’ll have a large “X”in the center of the block, as shown in this photo:

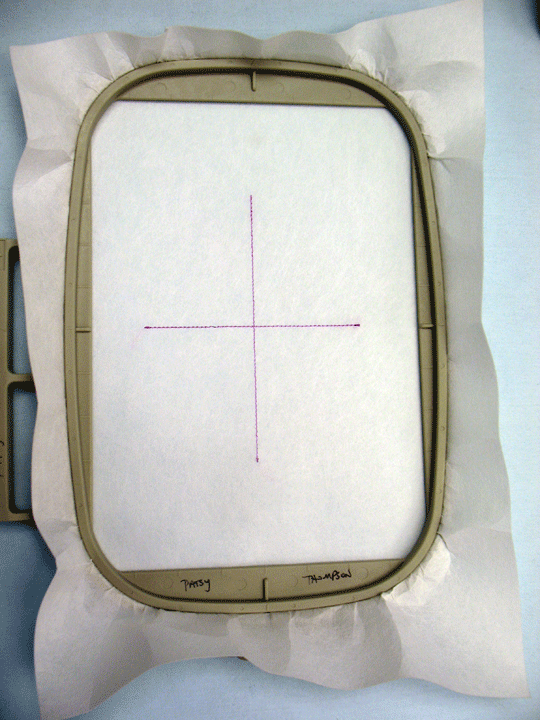
From this point on, everything we do is identical to how we handled things earlier when our design was set “on square” within the fabric block. We stitch out our center crosshair onto the hooped stabilizer just like before:

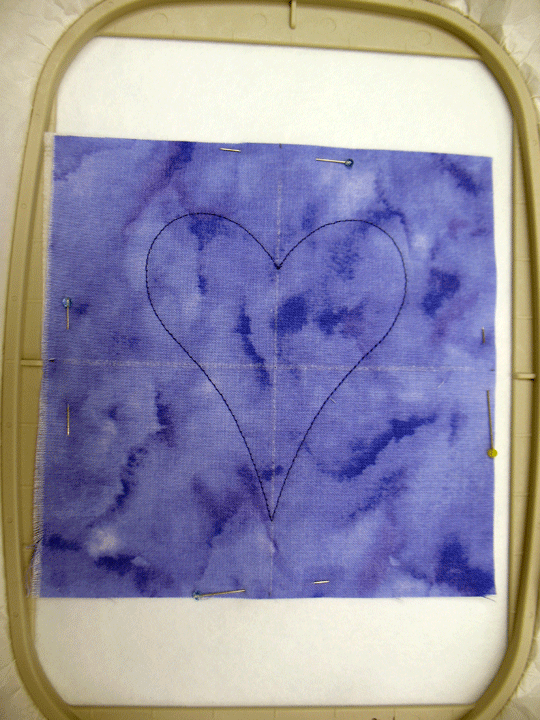
…and we line up the lines on the crosshair with the lines of our fabric block just like before. Once all our markings have been aligned, things look very different because the block is oriented on point instead of on square:

Once we stitch out the placement outlines, you can see that the heart is now set on point in the center of the block instead of “on square” in the center of the block:

To see that difference more clearly, compare the “on point” heart above with the “on square” center heart below:

Why am I telling you this stuff? There is actually a very good reason. If you can understand and remember the rationale for these 2 placements, you can create more complex quilt blocks without knowing how to digitize or without having to spend lots of $$$ on digitizing software. These 2 lessons are really the building blocks for doing some very cool stuff, so stay tuned!

And speaking of staying tuned, 11/10/14 is the beginning of the machine embroidery blog hop sponsored by I Have a Notion! I’ll have a new post up later today with the full lineup for the hop-please stop by!
Filed under
Machine Embroidered Applique.


