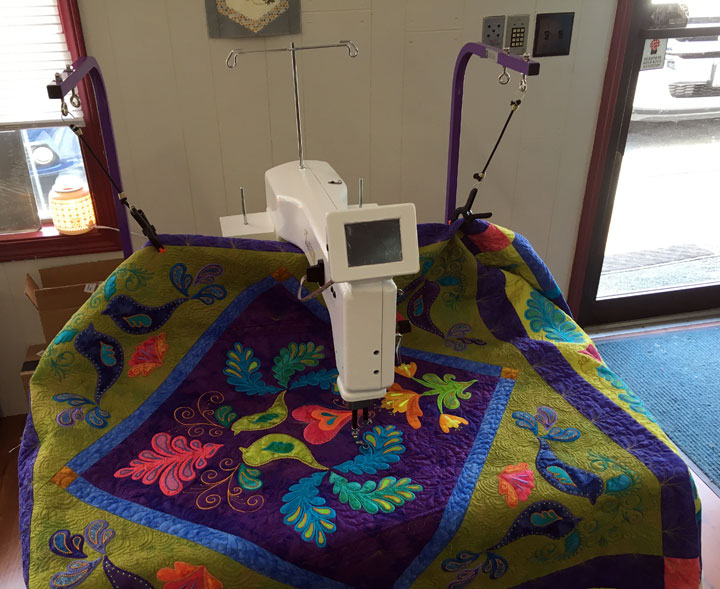
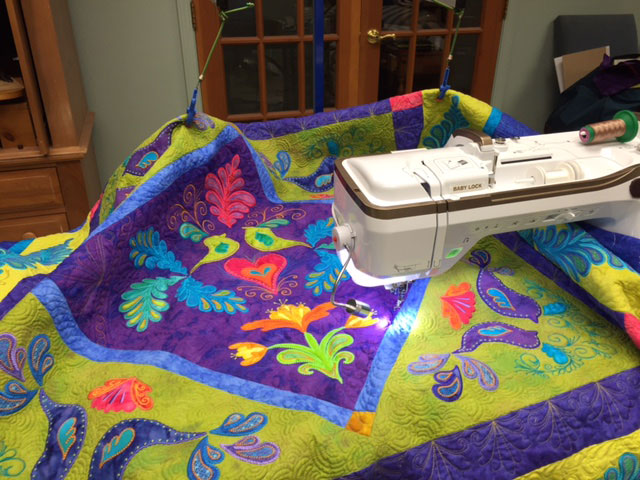
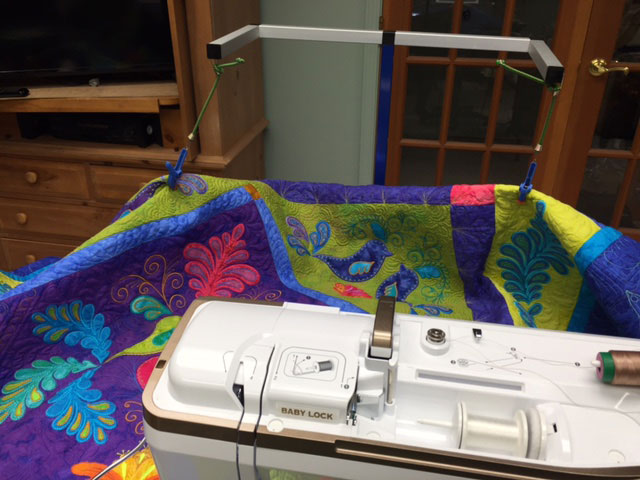
We heard from many quilters after our last post about quilt suspension, so we’re following it up with a 2nd short video that shows you an easy way to suspend your quilt if you don’t work with your machine set up as we showed earlier. This is a very similar system but it can accommodate many alternative machine set-ups:
(The photo above is a Babylock Tiara and this same set up works great for the Handiquilter Sweet 16 and Pfaff Powerquilter 16.0 as well.) Here’s a quick video that shows how it works for these machines as well as others, including the Bernina Q20 and traditional machines in or on a cabinet:
One more thing…I’m happy to say that we now have the Line Tamer available in 3mm thickness, designed specifically for use with the Westalee low and medium shank ruler feet. You can find it by clicking here. It works exactly the same way as the original line Tamer, but is safe to use with the low and medium shank Westalee ruler feet. I’m hoping to have some type of a quilting post up soon, but I haven’t touched a machine in nearly 3 weeks except for doing demos, so I need to get something made so I’ll have a picture or 2 to show! Happy Fourth of July and celebrate safely!
Filed under
Free Motion Quilting.
Comments Off on Suspending Your Quilt-Part II and Line Tamer News
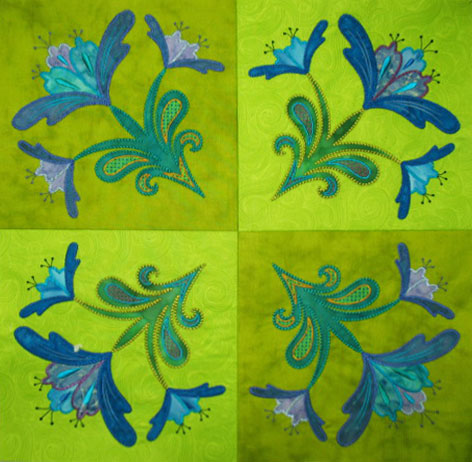
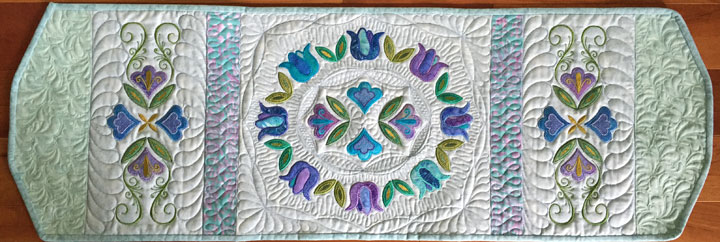
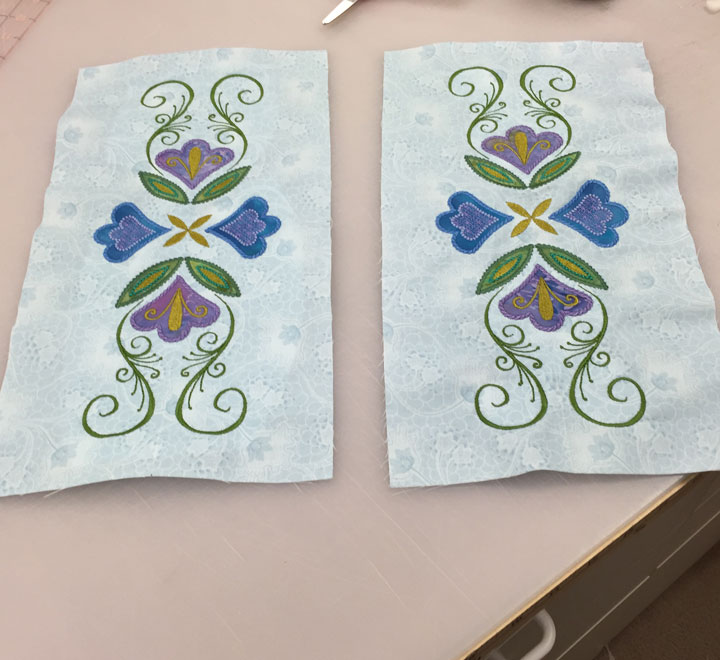
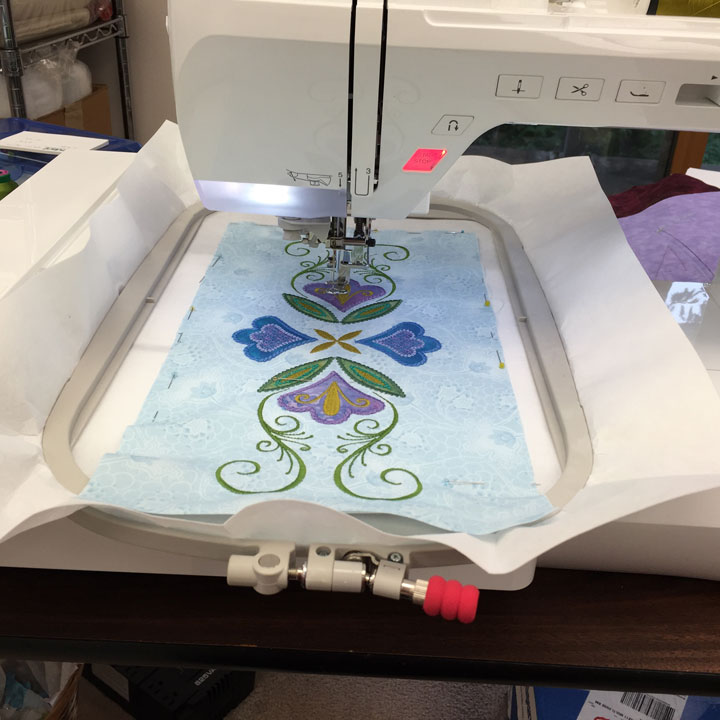
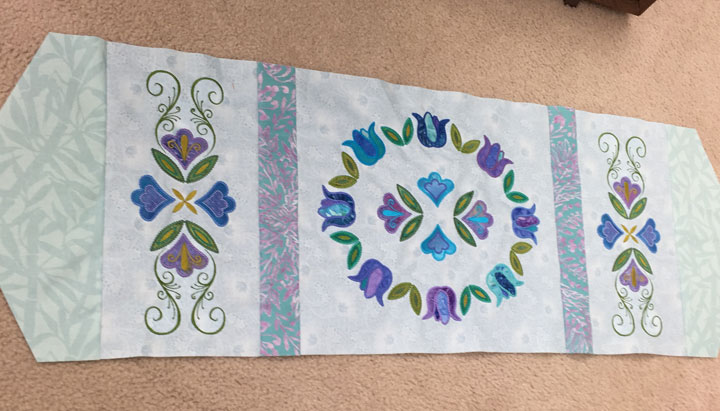
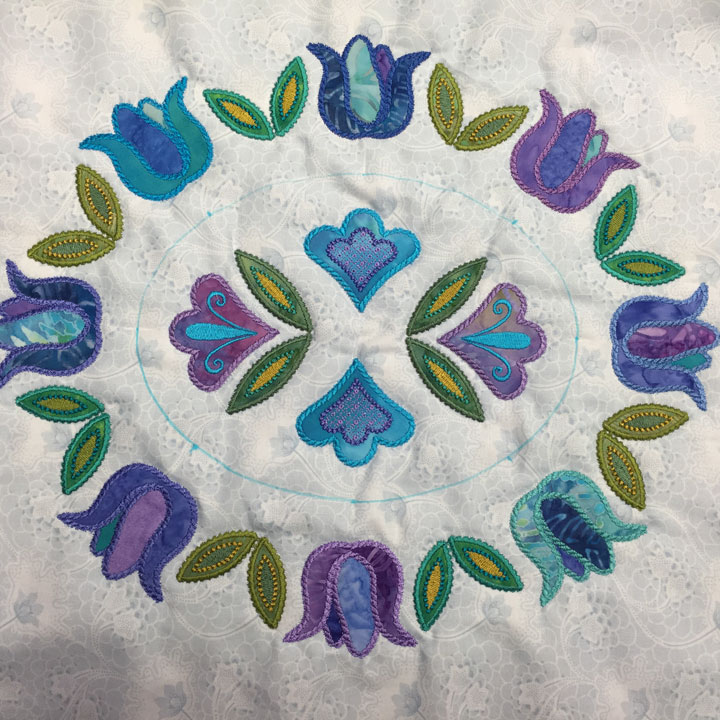
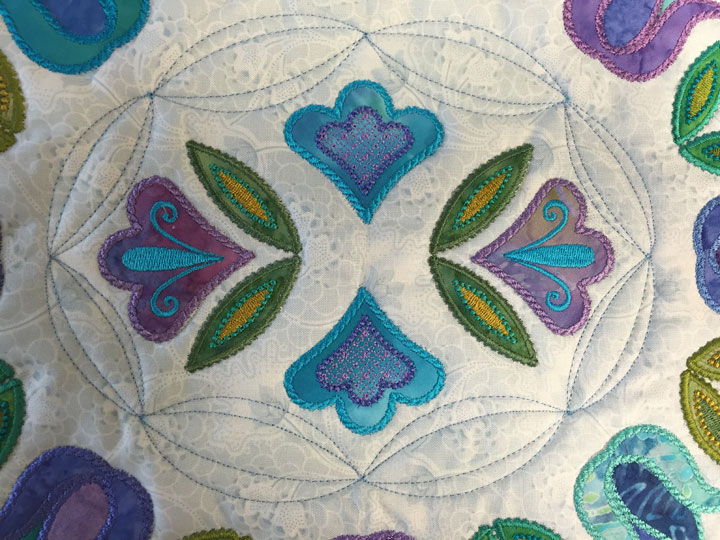
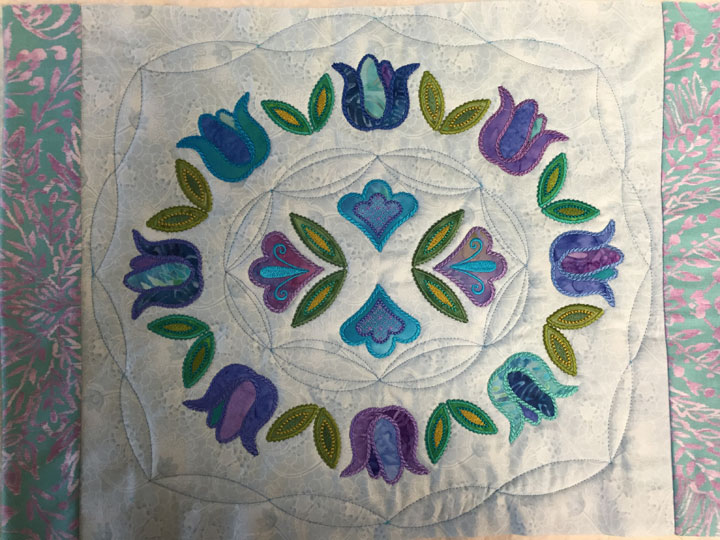
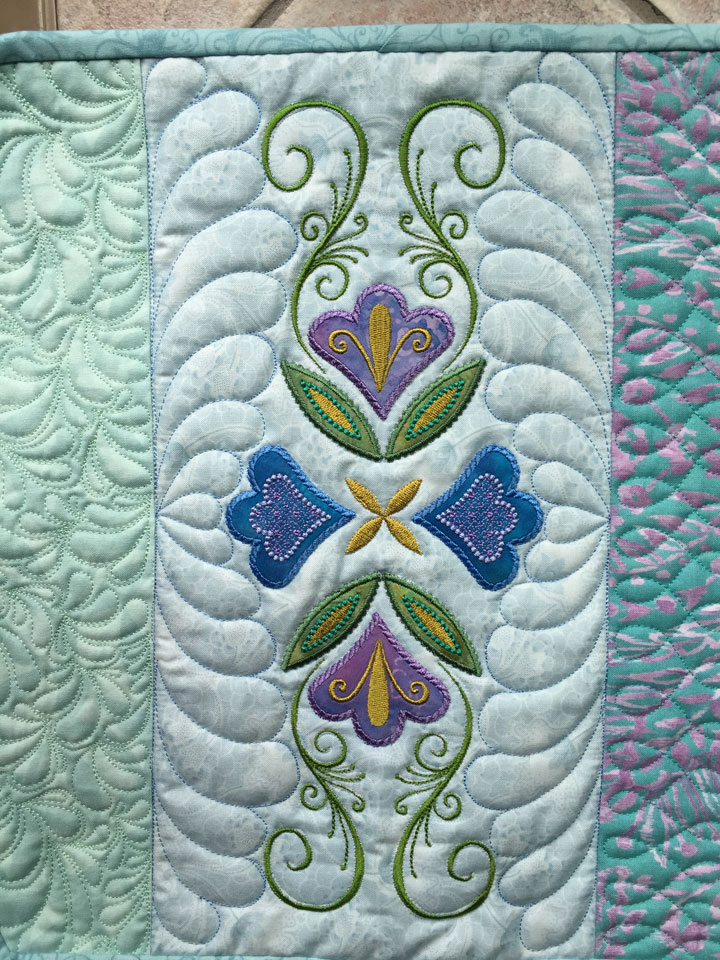
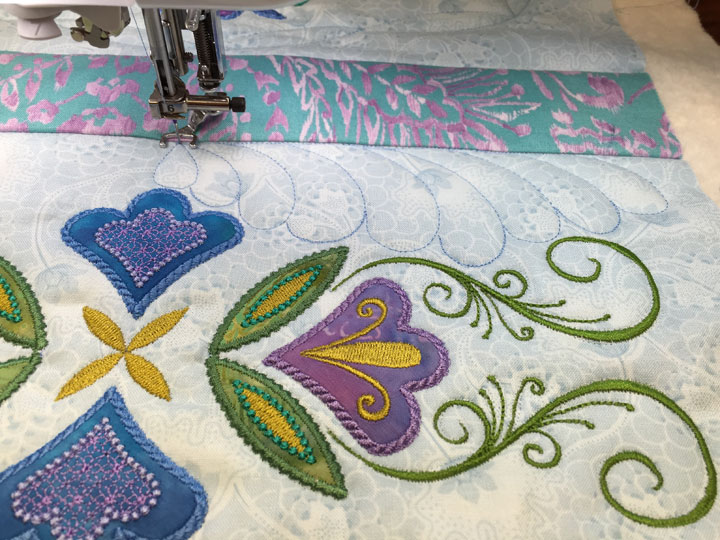
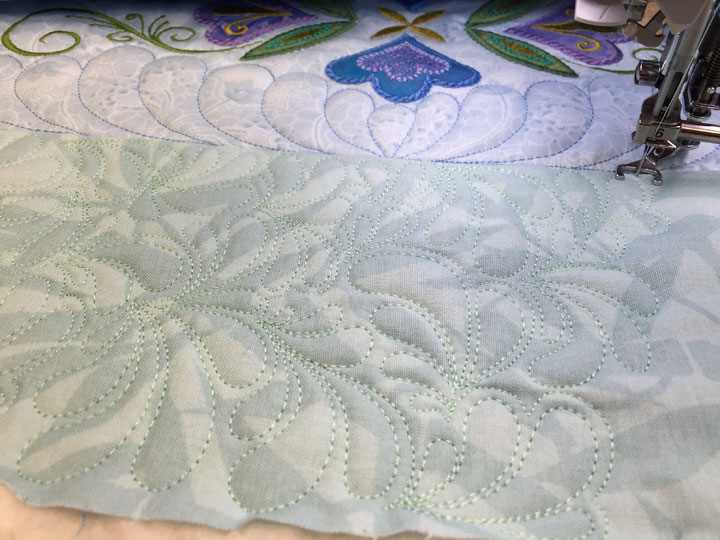
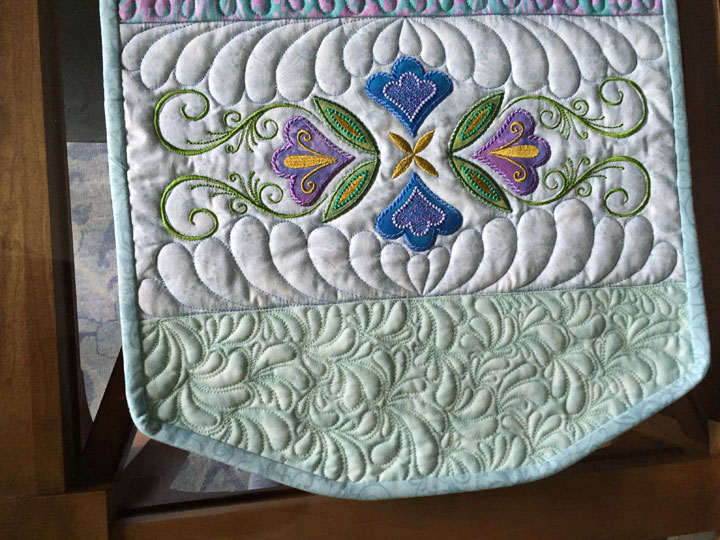
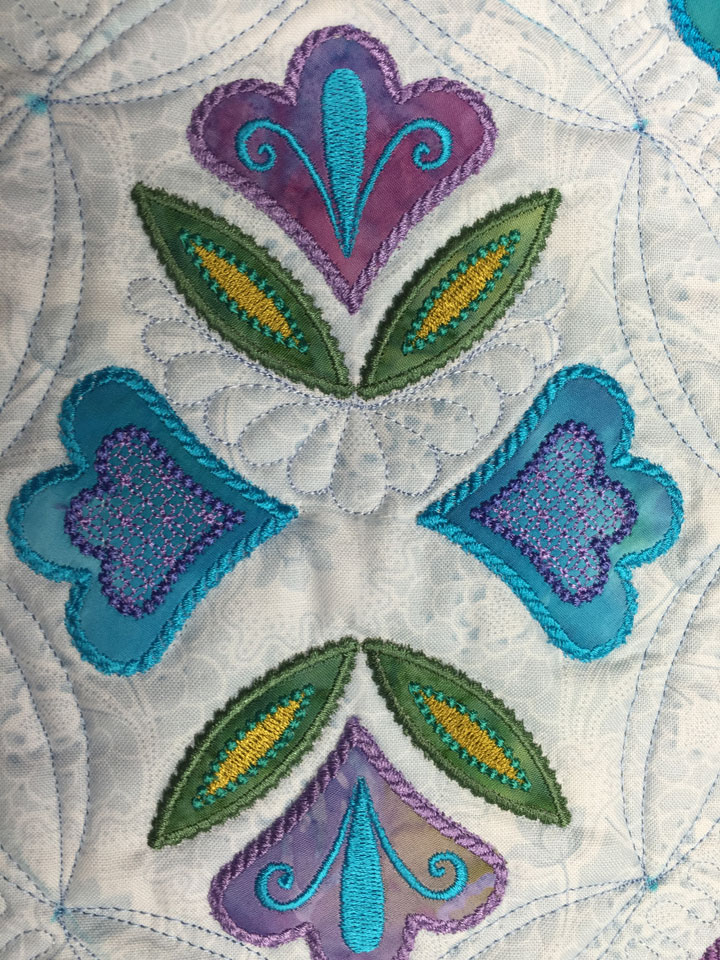
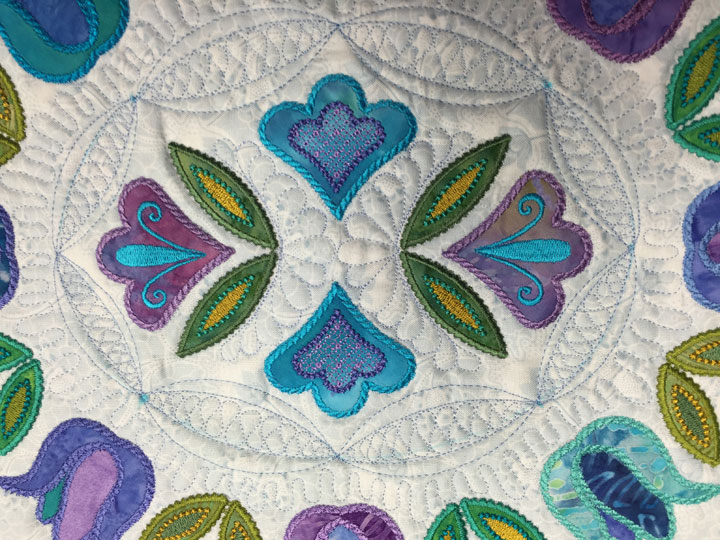
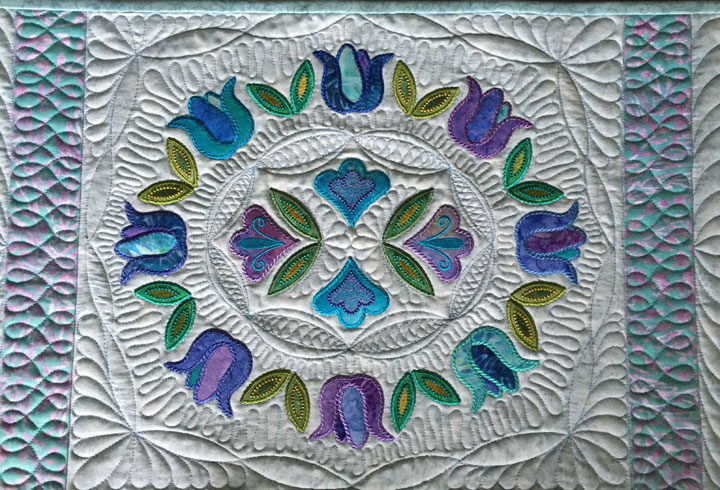
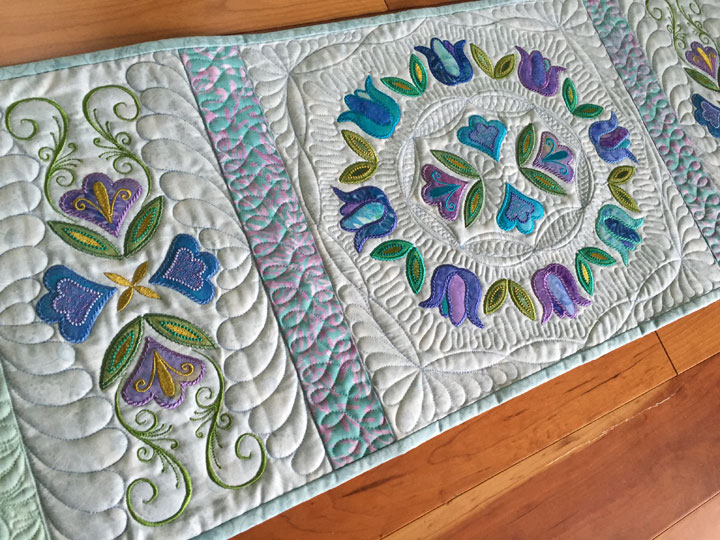
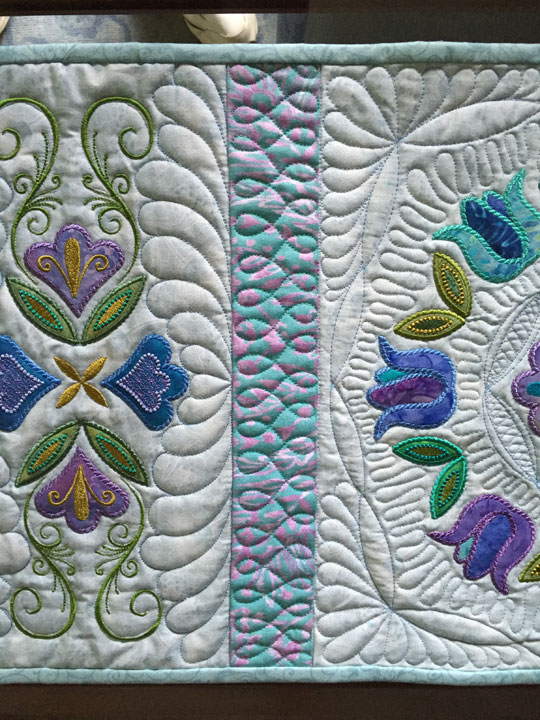
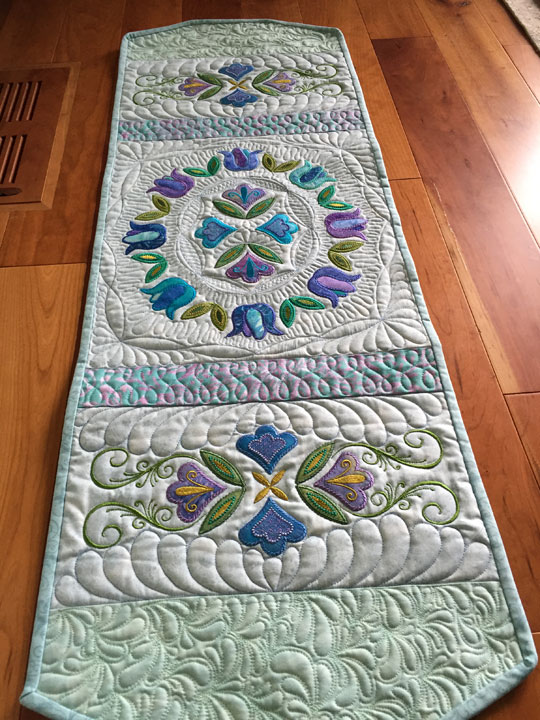
`I am incredibly indebted to a friend named Larry who digitizes my designs. I wanted to make him something that shows how talented he is as a digitizer, so I made a table runner from a couple of block designs he digitized for me awhile ago. I figured both he and his wife weren’t into the loud, highly saturated colors I normally work in, so I went with a much more subdued color palate. The project began with 2 of these floral swirl blocks:(Each of these blocks is made as a 2-part slit design and you can find the design files by clicking here. In this shot, you can see that I was nearing the end of the 2nd hooping of one block:The center section is made from the Oval Tulip Wreath Block:This block is much larger and is made from 4 hoopings. You can find the design files for this block by clicking here. This next shot is not a great one but it shows what it looked like once I had pieced it all together:I sandwiched this baby up so I could start quilting and once I’d outlined all the applique shapes with invisible thread, I moved to that center section to try something I’d never done before. My goal was to play off the oval shape and stitch an ovoid ring of double crescents around the center flowers. I began by drawing an oval with a temporary marker and then dividing it into 8 sections:I used the 8 divisions as my starting and stopping points, then stitched a double crescent design on either side. This was the first time I had used an oval as my “springboard” instead of a circle. I should have thought of it beforehand, but the crescents are not all equal if they flow around an oval. At first I was pretty bummed about it, and you can see how it looked early on below:I then moved to the area just outside the oval tulip wreath and stitched a ring of single crescents surrounding it. I wanted to stitch double crescents, but there just wasn’t enough room for that. Here’s what the center block looked like at that point:I was kind of bummed out at this point, so I moved away from the center block so I could rethink my next quilting moves there. It always helps me to just walk away from a problem and then look at it again later with fresh eyes. The side floral swirl blocks were easy. I just stitched long featherettes to fill the “blank spaces:”If you start at the center and go into it with the goal of just stretching/contracting plumes to fill the space in front of you, it’s not as hard as it looks. When you’re stitching them, they look kind of odd as you’re only partway through, but it all comes together in the end: I moved to the outermost panels and quilted the “plumify it” background fill design there:…and here’s how those last 2 sections looked once compleeted:Since I’d finished everywhere else, I had to go back to that center block and see if I could turn it around. I stitched small featherettes in the dead center. Here’s a halfway-done shot of that area:I finished the opposite featherette and then filled in the empty areas with the inchworm design:Here’s a closeup shot of the final center block. Once it was completely finished, I was very happy with how it came out:Do you see the featherettes in the 4 corners? I waited until I had put the binding on to stitch those. It seemed like the safest way to ensure that they’d completely fill that “empty space.” And here are some final photos:That great texture is from Hobbs Wool/Cotton Blend batting. I LOVE that batting!
Ever since I posted about suspending my quilt a couple years ago, I’ve received lots of questions about it. Ern and I have been playing around with different types of quilt suspension systems, trying to come up with a system that is lightweight, easily portable and one that does the job. His latest system is my favorite by far and we made a short video that explains how it works:
The winds of change are coming our way so I figured I should warn you. Our web site is going to be revised soon and the new web site will be very different. Hopefully better, but very different. I am hoping to still have a blog but this blog may be going the way of the dinosaurs. I realize that blogs are out of date in the techno world but I still love to surf quilting blogs and hope to keep mine. It may not be possible, though, so if there’s any info on this blog that really matters to you, I’d get it in the next several days because it may all disappear. Sorry!