Nov 18 11
Remnata
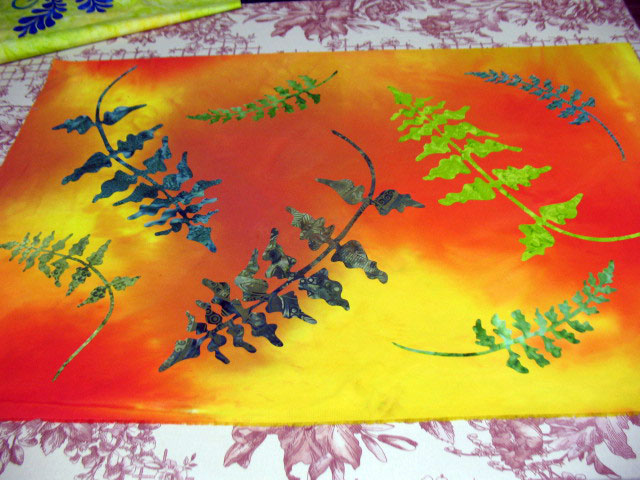 One of the things about teaching is that you end up with lots of pieces of “remnata,” or samples that you threw together to demonstrate a technique but that don’t really have a use beyond that demo. If I’m on the ball and have some time, I usually make samples up in a way that I can use them later for some other project. The piece above was fused together so I’d have some fern samples that I could free motion embroider as a demo. It seems like when I teach that leaf class, everyone gets to this part at a different time, so I wanted to have lots of ferns to demo on. As it turns out, I didn’t get to demo on even half of them! But, I really like this so it will eventually get finished into something special. Here’s another block that I fused up for that class:
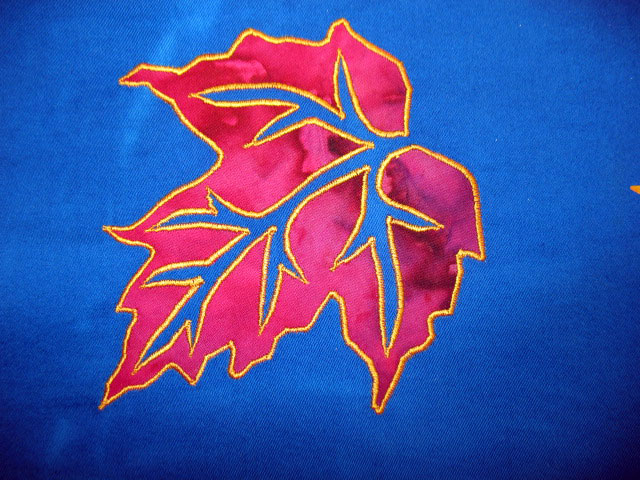
 These leaves are the fusible version of reverse applique. What makes them special is that negative space that’s created by cutting away the vein line section. You don’t have to finish the edges, but if you do, it adds an interesting “kick” to the leaf:
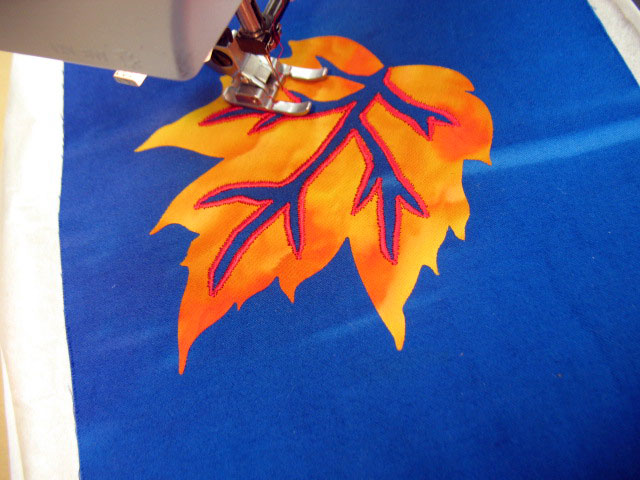
I have mixed feelings about satin stitching. A part of me is bored by it; it’s used so much that it makes me yearn for something more novel as an edge finishing design. BUT, the wonderful thing about satin stitching is that it provides a definitive line and that line can be powerful and used in different ways. If you vary the width and taper the line at points like above, it helps to accentuate the delicacy of the leaf and its vein lines. The first time I used a satin stitch to finish the edges of one of these leaves, I used it to save the design. I’d made a poor choice in colors and the leaf color didn’t have enough contrast with the background fabric, but once I threw in a satin stitch in a really high contrast color, that fine line of satin stitching made everything pop! There’s plenty of contrast between the orange leaf and the background fabric below:
but you can see that the thread work is really adding a nice zing to this leaf, even though it’s just barely been embroidered. Here’s a shot of it finished, and I love how adding the red satin stitching makes this fall leaf look almost like it’s on fire:
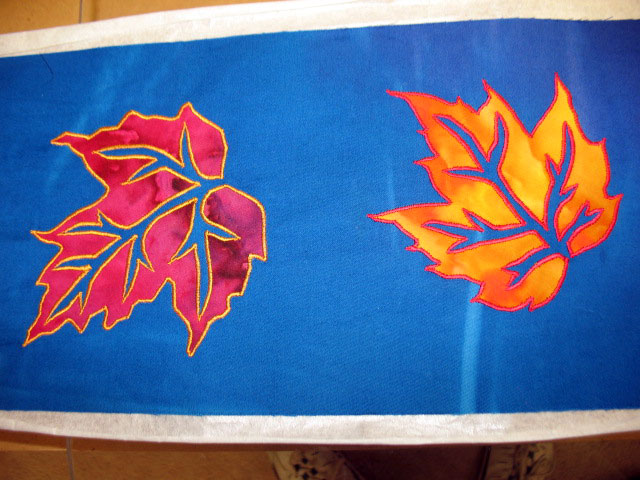
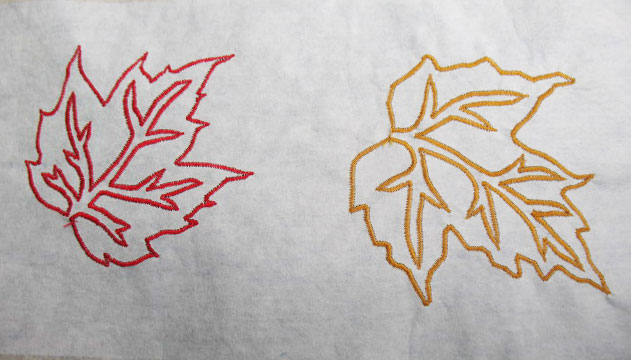
And here’s the block with both of them finished:
(That white stuff you see beyond the edges of the block is a tear away stabilizer. Because part of the satin stitch falls outside the area of fusible web, it’s important to have a stabilizer to avoid fabric puckering. It will be torn off before tlock is used for anything.) Here’s what the backside looks like; I even like how this came out:
Both of these pieces of remnata will someday make their way into a finished product. For now, though, they’ll be staying in the closet!



Patsy, On top picture how did u affix the fine fern leaves onto the backrground after u fused them on ? Satin stitch? They are sooo intricate…………
Satin stitching, like you I’m in two minds about it. It can add, like you’ve shown but somehow it still reminds me of commercial appliqué. I love yours, I really do, but still have that hang up about it.
I was wondering if your EKG in very very heavy thread would be as effective?
Patsy
Beautiful as usual….. my favorite subject…leaves thanks for your great ideas
tOM
Very beautiful stitching and colors! Hope you had a Happy Thanksgiving 🙂