Dec
17
12
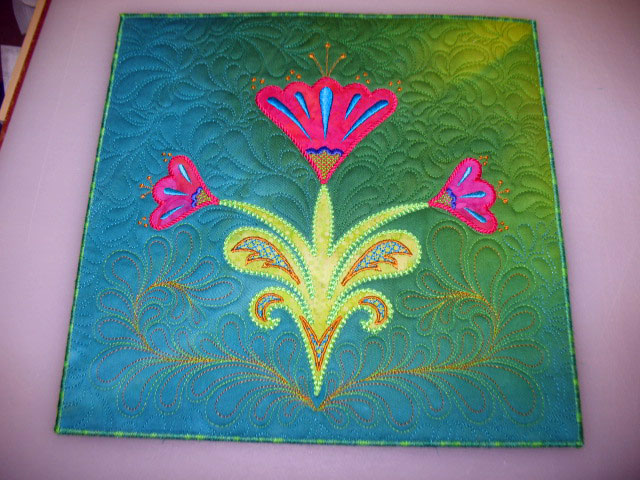
A friend of mine at work lost her dad last week. My dad died almost 5 years ago and had been sick for a few years before that. Even though his death was expected and honestly, was kind of a blessing for him, I felt really broken inside for awhile when he died. I thought it might lift my friend’s spirits if I sent a quilted card with some nice color her way. Normally, I make these quilted cards roughly 8 inches x 11 inches but this one finished around 11 x 11 and you can really make them whatever size you’d like. I’ve changed my method of construction over the years, so here’s how I made this one.
I started by embroidering this flower onto a piece of hand dyed cotton sateen fabric. Nothing is as striking as hand dyed colors and the cotton sateen always throws off nice shadows once it’s been quilted. Here was my initial “substrate:”

When I first started making quilted cards, I would next fuse this to a piece of Peltex or Timtex. (These are very firm stabilizers that are about 1/8 inch thick.) I don’t do that at this stage anymore, because when you quilt onto Peltex/Timtex, the quilting looks fairly flat and you lose that wonderful texture that quilting imparts. So, my work-around is to throw a piece of scrap batting behind it at this stage and start quilting. For this one, I used an ultra thin polyester batting and began by outlining all the applique shapes with invisible thread (Monopoly by Superior Threads), and then by quilting mirror image feathers that splayed open at the base of the flower:
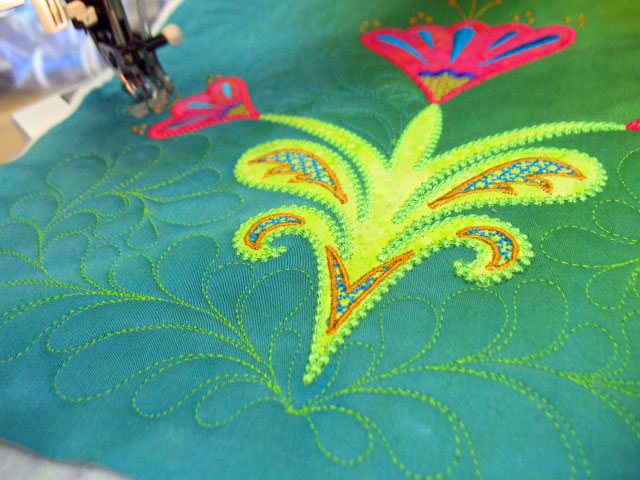
Once the feathers were quilted, I started on my background quilting using that rudimentary “Plumify-It” design:
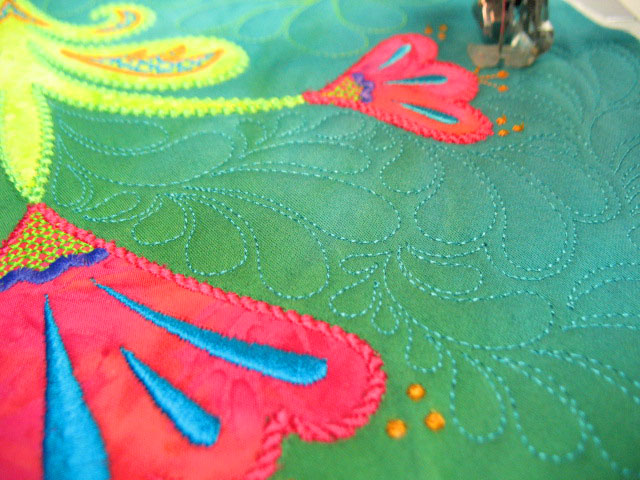
I felt like it could be a little “juicier,” so I went back in with gold rayon thread (24 karat gold by Robison Anton) and hyperquilted the feathers:

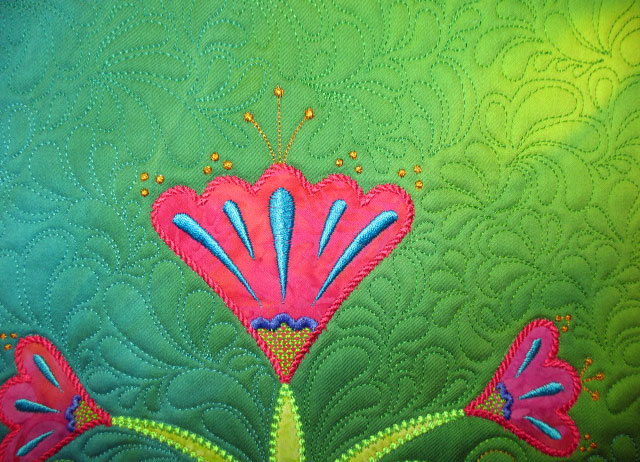
Every thread I used for quilting was a thread with a sheen. (i.e. rayons, polyesters, trilobal polyesters.) Because the cotton sateen has a slight sheen or luster to it, if you quilt with cotton (matte finish), it will stick out like a sore thumb. As I worked my way around this piece with background quilting, I changed my thread color so that it kind of coordinated with the background color:
Once all the quilting was done, I trimmed it a bit and then spray basted it to a piece of Peltex. I then went back in with invisible thread and re-outlined each applique shape and also stitched just outside my quilted line for the feathers. This is redundant, but I did it because it’s a way to make those important motifs protrude out a bit more. (If you make a quilted card, this part is not necessary…this is my overkill style!) I then fused a piece of solid violet fabric to the backside of the card. (You want this to be a solid or gently mottled fabric because this is where you’ll write your note.) I finished the edges with a variegated trilobal polyester thread (“Grass,” one of the YLI Variations line) and here’s what the edge looked like:
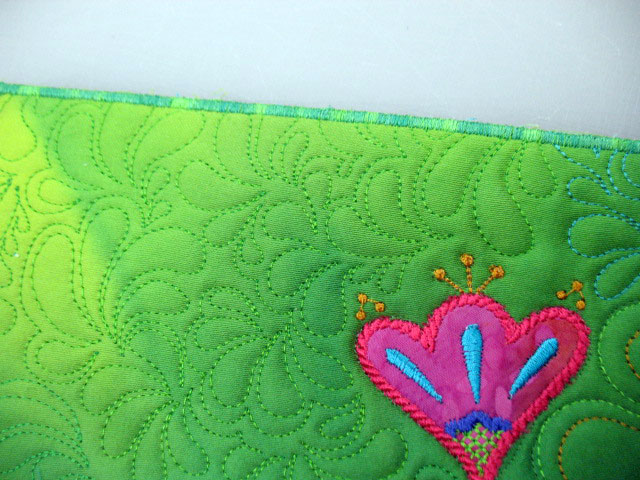
…and here’s what the backside looked like before the note was written:
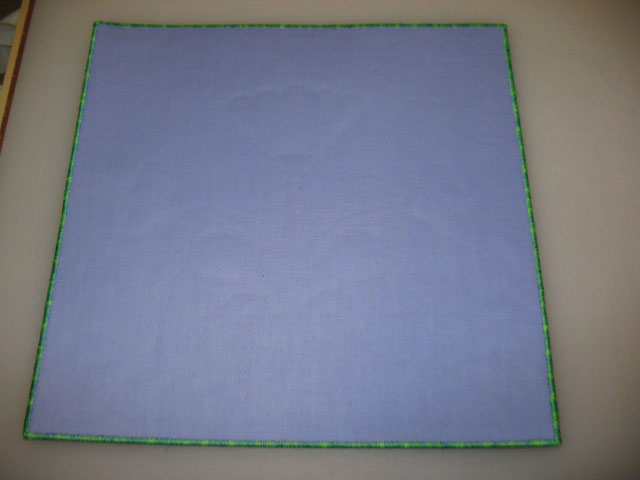
It’s so nice to make small projects that can be completely finished in a reasonable period of time!

bupropion england
Filed under Machine Embroidered Applique.


What a great idea. This one is very beautiful. It so will brighten her day.
Merry Christmas to you and yours.
PS Thanks for the Dec. addition of the FMQ challenge. Your instructions are always so easy to follow. I have been following you for awhile and love the hyper quilting, though havent done too much of it myself. I could hear a collective squeal of delight in the quilting world as people discovered it for the first time!
So beautiful – your hand-dyed fabric is absolutely perfect for this piece! Like so many others I totally loved your FMQ tutorial on SewCalGal’s Challenge this month – Thank You!
Gorgeous! Really love the hyper quilting. I had to giggle at “done in a reasonable amount of time,” as for *me* this project would take a good long time. 🙂 I just love watching your work. It’s exquisite. Thanks so much for sharing.
MERRY CHRISTMAS : Patsy,Nikki and Ernie,
I’ve learned so much following your blog this year Patsy. I love the Christmas card idea!
All the best for 2013!
That is a beautiful piece and a wonderful gift to lift someone’s spirits. I usually call that size a mini quilt and love making smaller ones with words or sayings, as gifts.
Debbie
Loosing a loved one is one of the most difficult experiences in life that we can go thru, even when it is expected. But your beautiful quilted card is certainly a great way to bring color, good cheer and let your friend know you are nearby and care. Very special gift, a gift from the heart.
SewCalGal
http://www.sewcalgal.blogspot.com
PS – Sending positive thoughts and prayers to you and your friend.
Wonderful Patsy. I have always wondered what the back works out like – Of course I loved the card 🙂
ooo, i love it too (although sorry for your friend. i’ve been in the same position and still miss daddy, especially at this time of year. i have his picture frames in an ornament on the tree, along with my brother’s & father-in-law, so that they can share the day with us in spirit and memories). I love your project and it’s a super idea i will steal. what type of writing instrument do you use to write the note?? sharpie may soak through? also…santa just may have come through with a little embroidery machine for me so i may just be doing some interesting things after christmas! check out my blog tomorrow to see the circle ’embroidery’ i did with the circle attachment! merry christmas patsy!!!!! <3