Feb
08
13
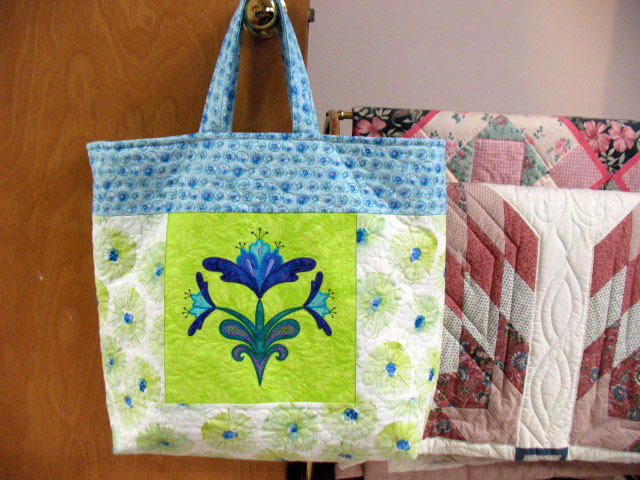
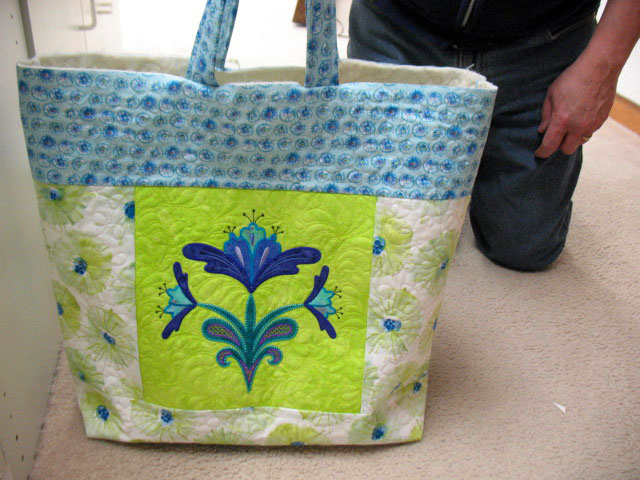
This is the completed oversized tote bag (that’s an old hand-quilted quilt from about 30 years ago hanging next to it.) When we left off on part I of the process, I had quilted the front and back of the tote. I made a pair of handles and attached them to each side, making the attachment on the good side of the fabric. (Normally, I put 1 layer of Warm and Natural/White batting but this time I also fused 1 layer of medium weight stabilizer to the wrong side of the handle fabric to give the handles more body before I added the batting.) Here’s the front w/handle attached:
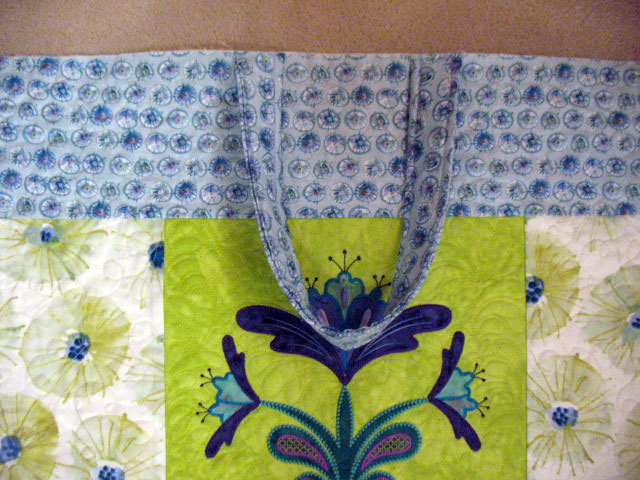
I then placed the good sides together and stitched the front and back together, leaving the handles inside:
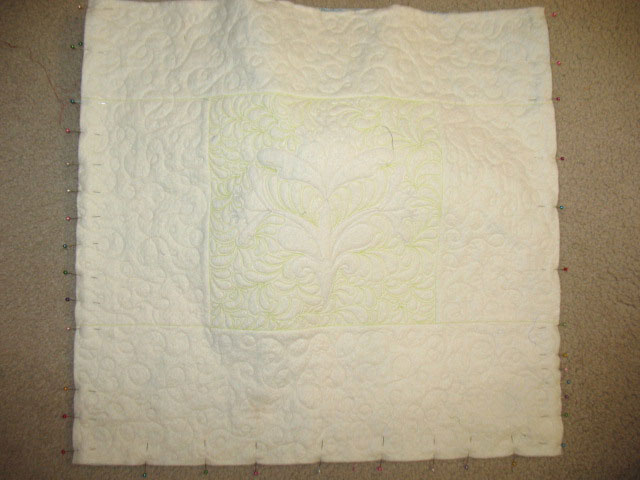
I was making this tote up as I went along, so I needed to get an idea of how large I should make my “box bottoms” at the base of my tote. I placed a pair of pins on each side, just guessing about how large of a box might look good:
…and then I turned it so the good sides faced out so I could get a sense of whether this would look aesthetically pleasing:
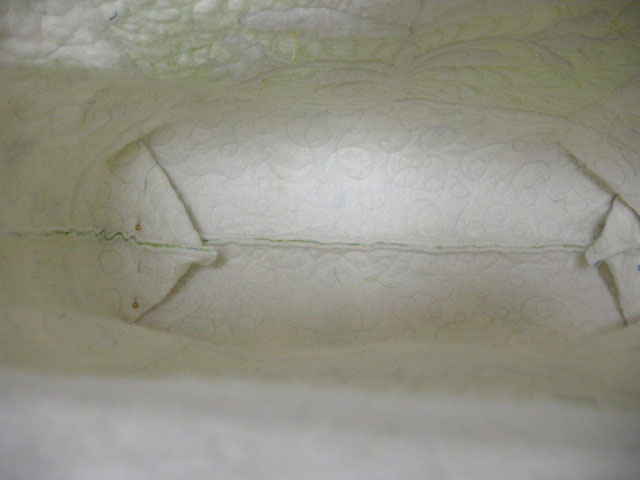
I liked how that came out, so now I needed to go back and do this with an eye for detail since I needed to make sure each box corner would be identical and I also needed to replicate the process with the lining. After turning the tote wrong side out again, I measured 2 1/4 in from each corner down the seam and marked the place on the bottom and side seams. I placed a pin through the mark on the bottom seam and pierced the corresponding mark on the side seam:
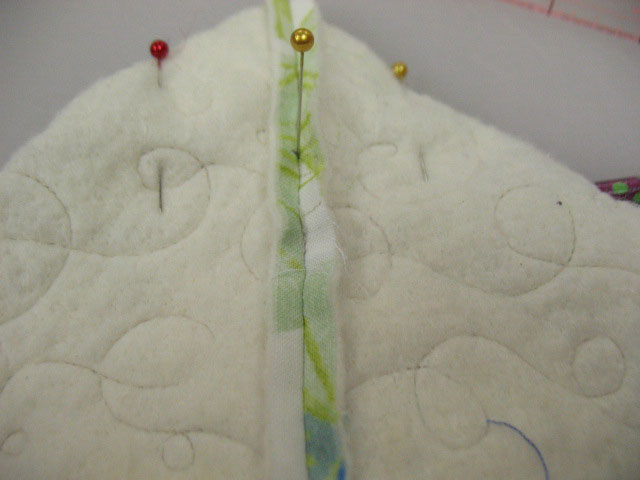
Using a ruler, I marked a line that was perpendicular to the bottom seam and when I measured from the center of the seam to each edge, these lines each measured 2 1/4 inches as well. That’s when you know it’s safe to sew over the line, as below:
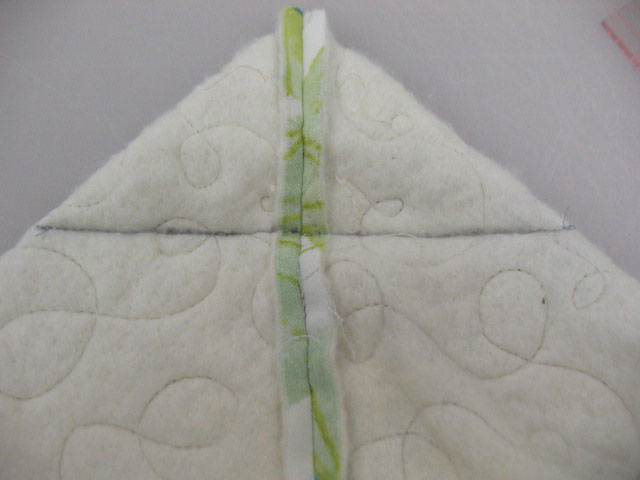
I trimmed the excess so I was left with normal 1/4 inch seam allowance beyond my stitched line and then repeated the process on the opposite corner. This is what the box corners looked like afterwards:
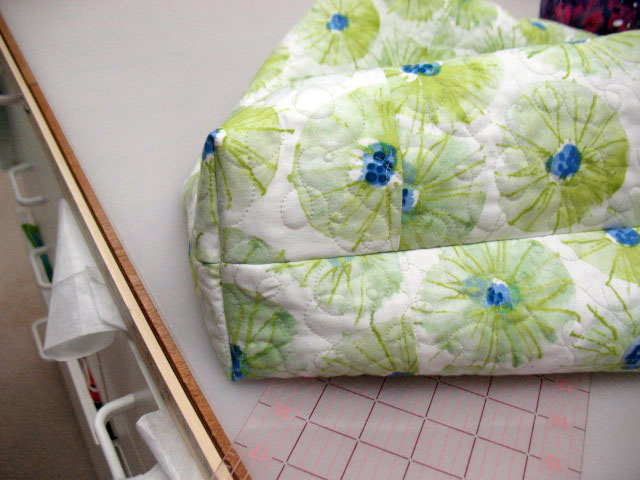
After sewing the front and back of my lining together, I did the same thing with my lining:

I placed my tote bag inside the lining so that the good sides faced one another and pinned them at the top so I could sew them together along the top edge:
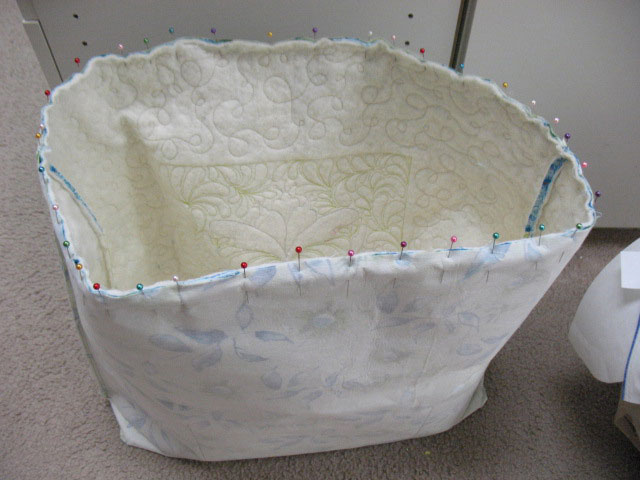
…but I left about 6 inches open along that top seam line. This left me with a hole through which I could turn the whole tote so that the good side was facing outward:

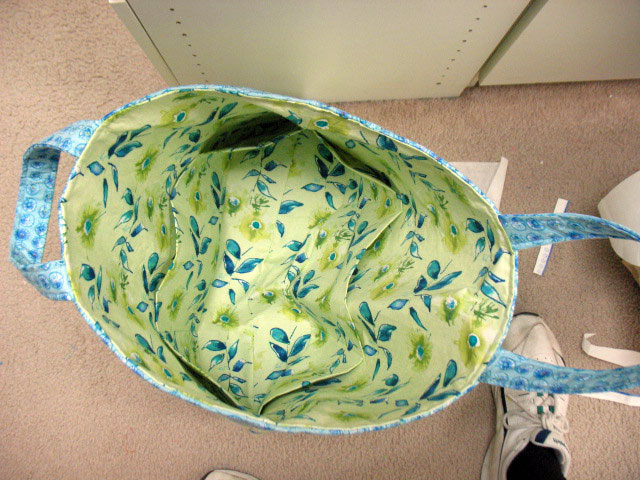
Once I turned it outward, I hand stitched that 6 inch area closed, then topstitched about 3/8 inch from the top edge of the tote to finish it. here’s the inside, showing 6 pockets:
…and here’s the outside:
There is something so gratifying about finishing a project 100%!
cheapest online cialis
Filed under Machine Embroidered Applique.


The bags are beautiful, love the idea of making a quilted bag.
I have never made one, so I guess I will have to learn.
Debbie
How did you put the pockets inside?
… also how did you attach the handles?