

Apr 13 14
A Trapuntoed Feathered Wreath Card
 I have a friend at work who is leaving in a week. Don’t you hate getting attached to folks and then seeing them go? I love what I do for work and I also really like most of the people I work with, so I’m in a win-win situation. That kind of makes it extra hard when someone retires or leaves for whatever reason. Anyway, I wanted to do something special for this friend so I thought I’d make her a quilted card with a trapuntoed section. These are pretty fun to make and always seem to be appreciated since they are, in effect, a mini quilt. The construction is much the same as with a regular quilt except that down the road, we’ll throw in an extra heavy stabilizer to make the quilted card fairly rigid.
To start, throw a piece of scrap batting behind the block that you’re going to quilt. This is only a 12 in square block, so I’m not even basting them together, just placing them one on top of the other:
I have a friend at work who is leaving in a week. Don’t you hate getting attached to folks and then seeing them go? I love what I do for work and I also really like most of the people I work with, so I’m in a win-win situation. That kind of makes it extra hard when someone retires or leaves for whatever reason. Anyway, I wanted to do something special for this friend so I thought I’d make her a quilted card with a trapuntoed section. These are pretty fun to make and always seem to be appreciated since they are, in effect, a mini quilt. The construction is much the same as with a regular quilt except that down the road, we’ll throw in an extra heavy stabilizer to make the quilted card fairly rigid.
To start, throw a piece of scrap batting behind the block that you’re going to quilt. This is only a 12 in square block, so I’m not even basting them together, just placing them one on top of the other:
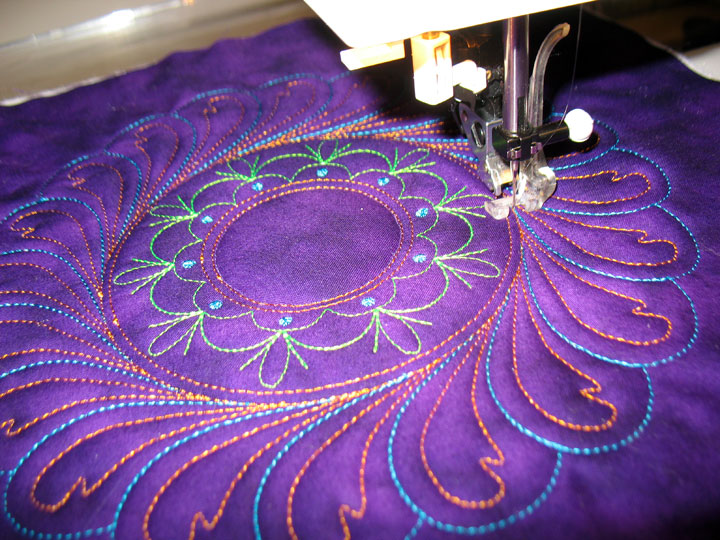
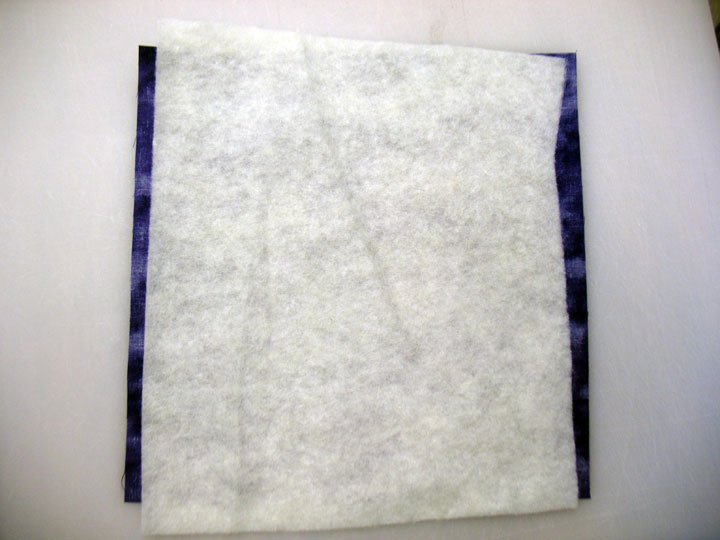 That is a scrap of Hobbs Tuscany wool batting and if you want a lofty trapunto layer, wool is the best way to go. If I were stitching this wreath freehand, I’d flip this over and start stitching. I’m trying to save myself time, though, so I just placed the fabric/batting layer in the center of a piece of hooped stabilizer so I could get the wreath portion done quickly on my embroidery machine. Here is an early shot of the wreath with the first few sequences stitched:
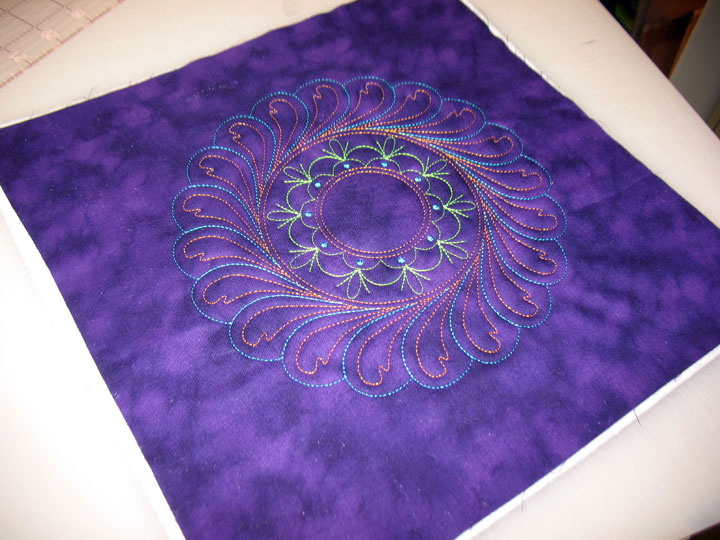
 …and here it is, still hooped, as I’d just finished stitching the whole wreath:
 I removed it from the hoop and flipped it over, cutting away all the excess batting and stabilizer that fell outside the wreath area. Here is what the back looked like at this point:
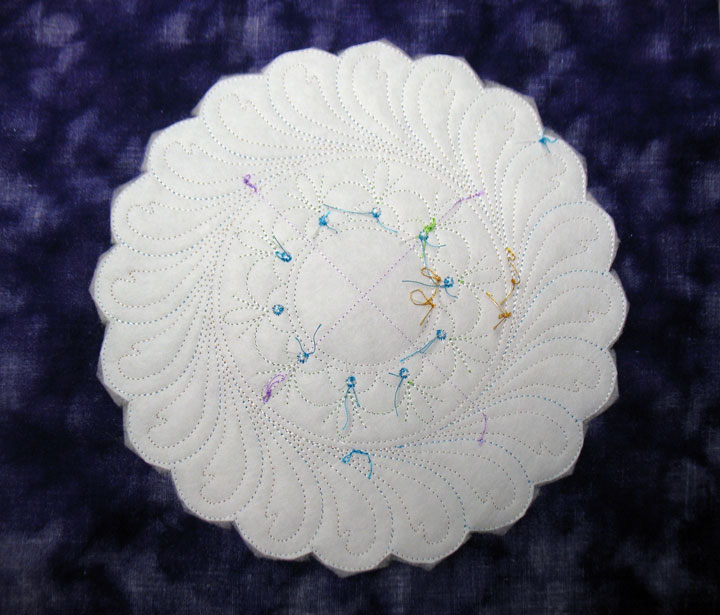 Remember, this process of trapunto is just like doing it by hand, or without an embroidery machine. Don’t be confused by seeing that layer of stabilizer. If that stabilizer is messing you up, look at this cross section shot and you’ll see that there really is a layer of wool batting underneath the wreath:
 Now if this were a regular quilt, the next step would be to layer this top into a quilt sandwich with a full layer of batting and a backing fabric. We’re making a quilted card, though, so we’re going to be quilting this onto a piece of Timtex interfacing/stabilizer. This is a heavy duty interfacing that will make our quilted card stiff. Most people would place this wreath block directly onto the Timtex, but I don’t do that. When you quilt Timtex, the texture is fairly flat, so you don’t get the full impact of the quilted design. So, I always layer a piece of batting on top of my Timtex layer and this will help us create a really luscious background of quilting to surround our wreath! I placed a layer of Quilters Dream Select mid-loft polyester batting on top of my Timtex. In the shot below, you can see just how flat everything looks when it’s first laid out on top of the Timtex. Remember, that wreath has a layer of wool batting underneath it as well, but you wouldn’t know it at this stage:
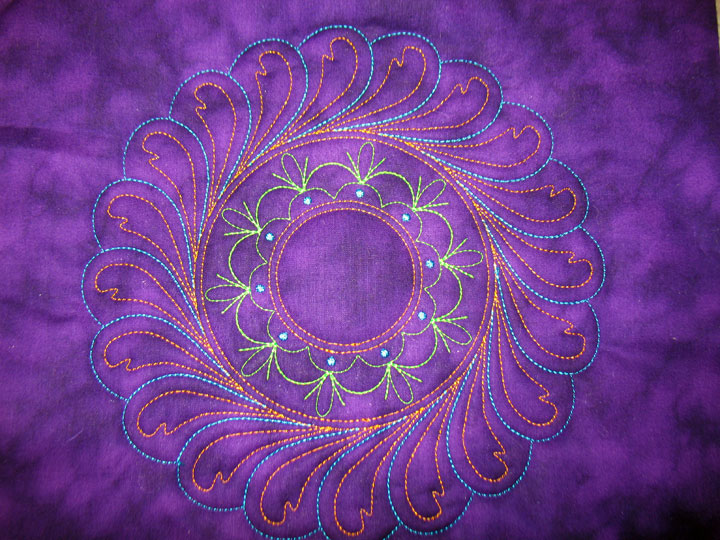
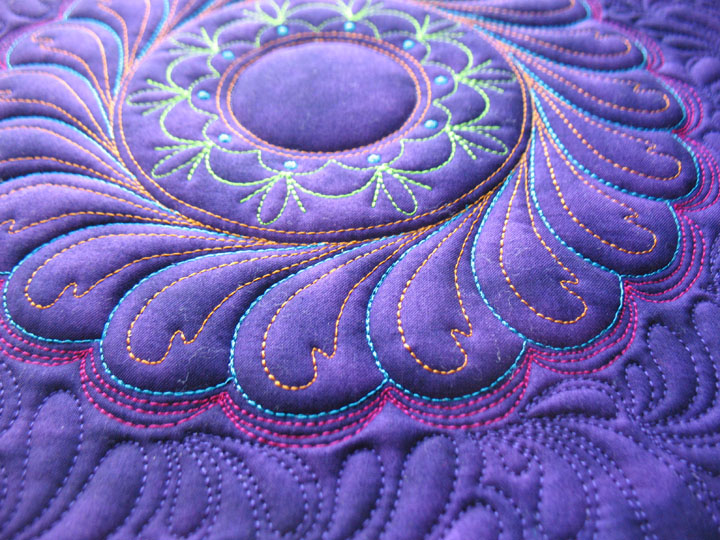
 I loaded some invisible thread in my top needle and some purple thread in my bobbin, and I started outlining just outside the innermost circle at the center of the wreath. Once done, I started outlining the outermost circle of the spine zone and you can see the 3-D texture of the wreath just beginning to emerge:
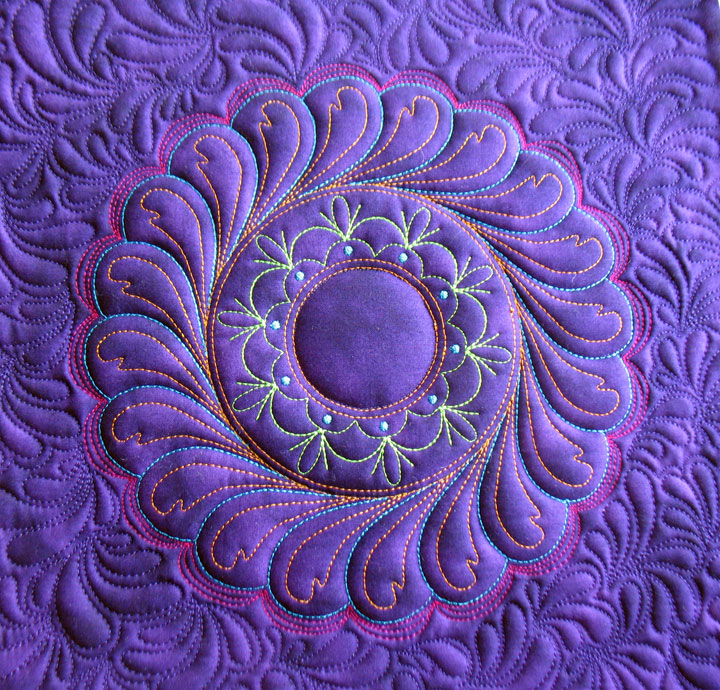
 Yummy, yummy, yummy…and we’ve just gotten started! Before I go any further, I want to make sure you’re seeing the most important part of this. When you go in to do the outline stitching w/invisible thread, the whole point of this round of stitching is to select portions or zones of your design (in this case, a wreath) that you want to poof out. The one thing you don’t want to do is to outline everything. (This is because it will just serve to lessen the trapunto effect-aka flatten the wreath-and you’ll lose out on creating these secondary effects.) In the case of a wreath like this, I want that entire spine zone to read as one unit, so all I want to outline are the innermost and outermost circles of the spine zone. Next up are the plumes. I went in and outlined the edge of each plume, but I deliberately stayed out of the inside of the plumes, as that would just flatten them. Working in this way also helps to “highlight” the hyperquilting inside of the plumes. Once the wreath had been outlined with invisible thread, I switched to a solid magenta rayon thread in my top needle and stitched 3 rows of echo outlines outside the wreath. These echo outlines will do 2 things:
1. They flatten the area just outside the wreath, making the trapuntoed wreath appear even more protuberant; and
2. Collectively, those lines of echo quilting create a halo of color surrounding the wreath. This will look cool when your wreath is seen from a distance.
The last quilting step is to add some background quilting. Here you can see the project with some early “plumify it” quilting in the background area:
Yummy, yummy, yummy…and we’ve just gotten started! Before I go any further, I want to make sure you’re seeing the most important part of this. When you go in to do the outline stitching w/invisible thread, the whole point of this round of stitching is to select portions or zones of your design (in this case, a wreath) that you want to poof out. The one thing you don’t want to do is to outline everything. (This is because it will just serve to lessen the trapunto effect-aka flatten the wreath-and you’ll lose out on creating these secondary effects.) In the case of a wreath like this, I want that entire spine zone to read as one unit, so all I want to outline are the innermost and outermost circles of the spine zone. Next up are the plumes. I went in and outlined the edge of each plume, but I deliberately stayed out of the inside of the plumes, as that would just flatten them. Working in this way also helps to “highlight” the hyperquilting inside of the plumes. Once the wreath had been outlined with invisible thread, I switched to a solid magenta rayon thread in my top needle and stitched 3 rows of echo outlines outside the wreath. These echo outlines will do 2 things:
1. They flatten the area just outside the wreath, making the trapuntoed wreath appear even more protuberant; and
2. Collectively, those lines of echo quilting create a halo of color surrounding the wreath. This will look cool when your wreath is seen from a distance.
The last quilting step is to add some background quilting. Here you can see the project with some early “plumify it” quilting in the background area:
 Once the whole fabric block had been quilted onto the Timtex, here’s what the back of the card looked like:
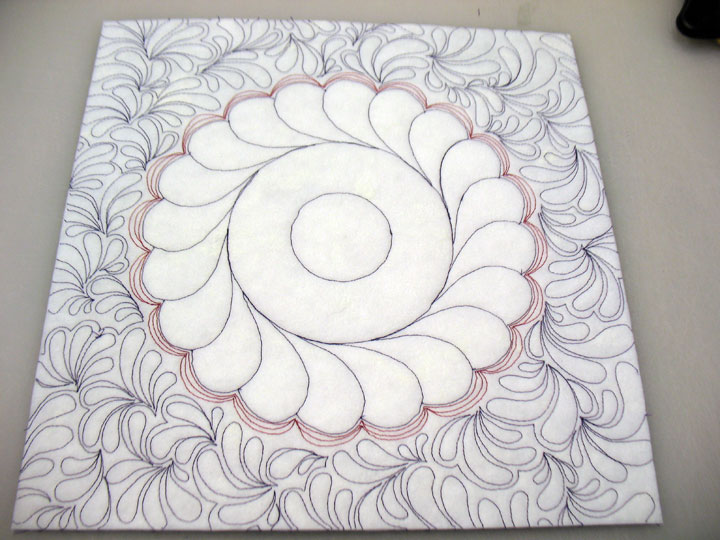 We can’t give a card like this! We need a place to write a note, so we need to “clean up” the backside! Find a piece of fabric that you’ll be able to write on (i.e. know what color ink you’re going to use and find a fabric that will allow your note to be seen), and fuse that fabric to a piece of fusible web like Wonder Under. Peel the paper backing off and then fuse the fabric to the backside of the card like this:
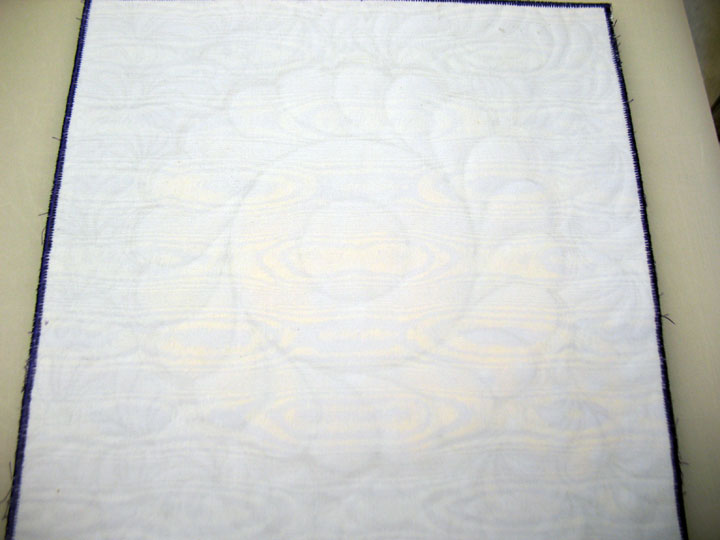 (Notice how the “ghost” wreath appears…I kind of like that! All that’s left is to trim the edges and then finish the 4 sides with a satin stitch. (Tip: do 2 rounds of zig zagging for the best result. The first round is a looser zig zag and the last round is an actual satin stitch.) Write your note on the back and then you have a unique going away card for your friend!
AMAZING! Very cool!
Nice gift!