

Jan 26 18
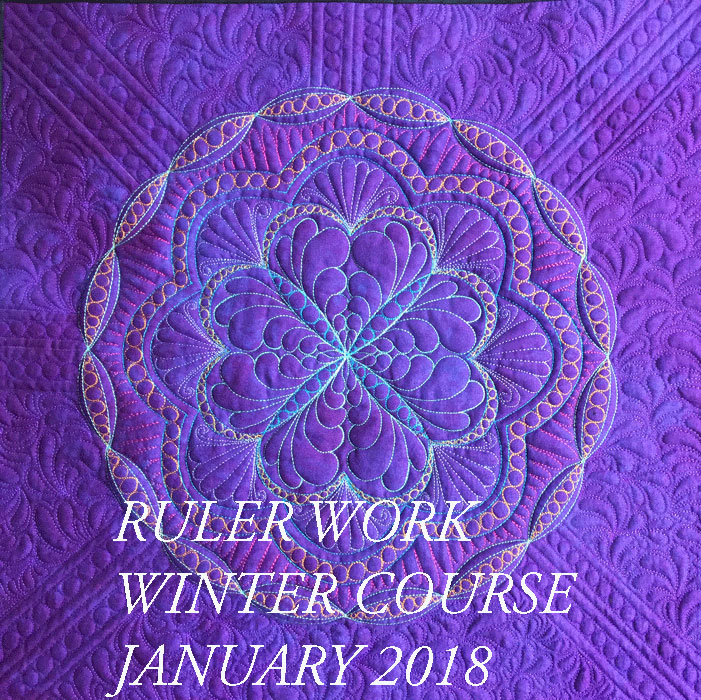
January 2018 Ruler Work Winter Course Part VIII
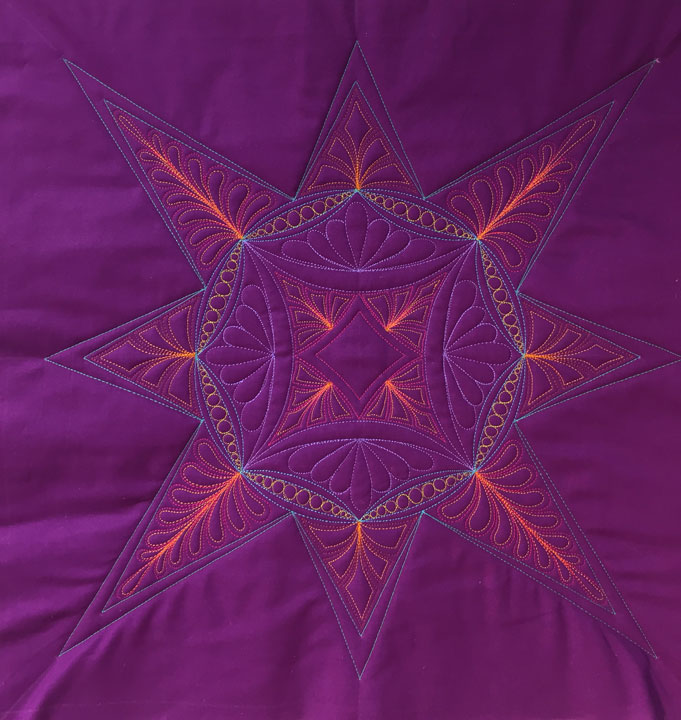
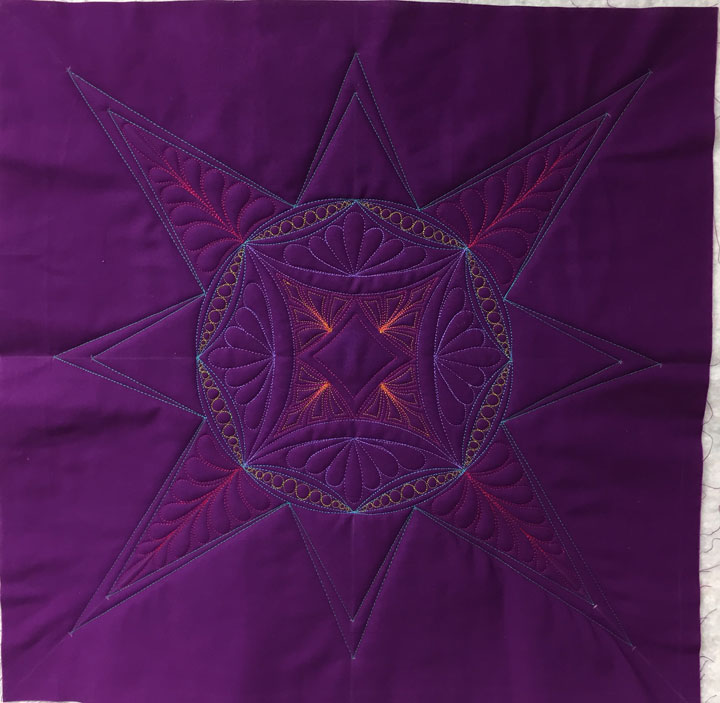
Today’s lesson picks up on the design we began in lesson #7, and I am using my PTD straight line ruler for today’s lesson. We will be converting our circular design into a star in today’s lesson and here is what my sandwich looks like at the end of the lesson:
I’m using my straight line ruler because we have been focused primarily on curves in these lessons and I don’t want you to forget about your straight line ruler. If you would rather use an arc ruler for this lesson, go for it. (Your piece will end up looking more like a mandala than a star if you complete this portion with an arc.) If I were doing this portion with an arc ruler, I would choose an arc that was a somewhat subtle curve, like the PTD 12 arc ruler.
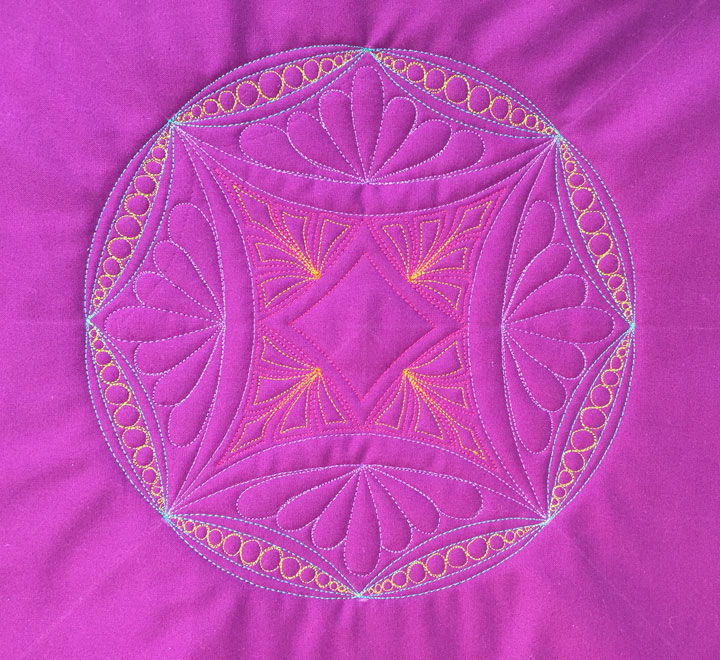
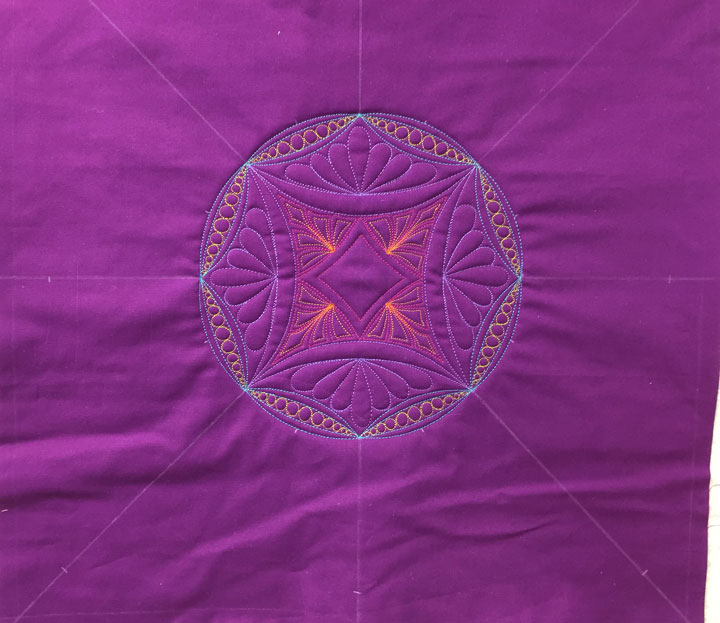
As a reminder, your sandwich should look something like this before we begin:
Today, we will work on building this design from the center outward. Know that there is no end to how large you could “build out” any given ruler work design. The limiting factor will be the size of the quilt sandwich that holds the design. We don’t have a ton of space left on our sandwich, so we won’t be able to “build out” very far. We will also be saving some of our “empty space” to learn some basic ruler work framing in the final lesson, so that will limit our “build out” even more.
We’ll begin by creating some new stopping and starting points for the next round of framework. You will recall that we were able to use “every other tick mark” to build inwardly in the last lesson. Another way to build is to define “halfway points” between existing design landmarks, and that is what we will be doing today. Know that if you are ever looking to build any ruler work design outward, (i.e. to make it larger), repeatedly establishing new “halfway points” between your design elements will always be an effective way to work. Each successive “row” of work will continue to offer symmetry as well as an easy framework upon which a new row may be added.
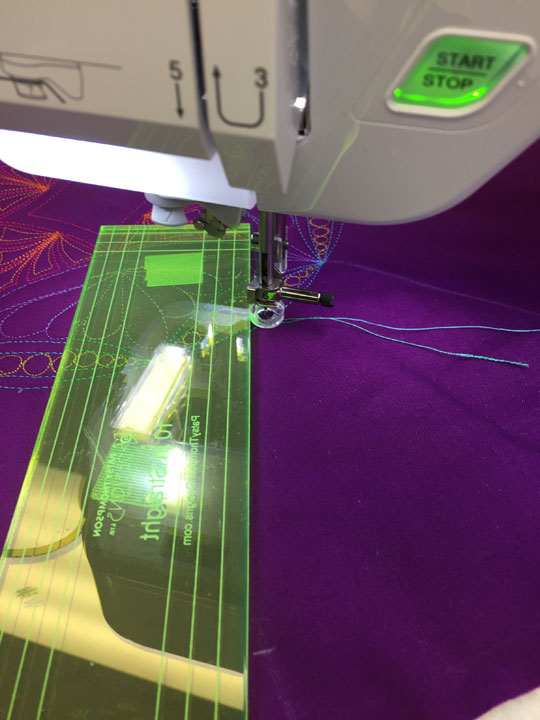
My goal here is to place a tick mark at the point that is 1/2 the distance between the beginning and ending of each outermost swag, or crescent. I am being careful as I do this, but I’m not stressing out and demanding precision of myself. It’s pretty easy to find this point; I simply lay my ruler down next to the crescent and center the distance over the crescent as shown below:

Can you see that the distance is just shy of 3.5 inches? I then position my ruler so I have roughly the same amount of “ruler overhang” at the beginning and ending of the swag, then I place a tick mark at the midpoint, which is 1.75 inches. I do this all the way around the circle, and this is what my sandwich looks like once that marking has been completed:
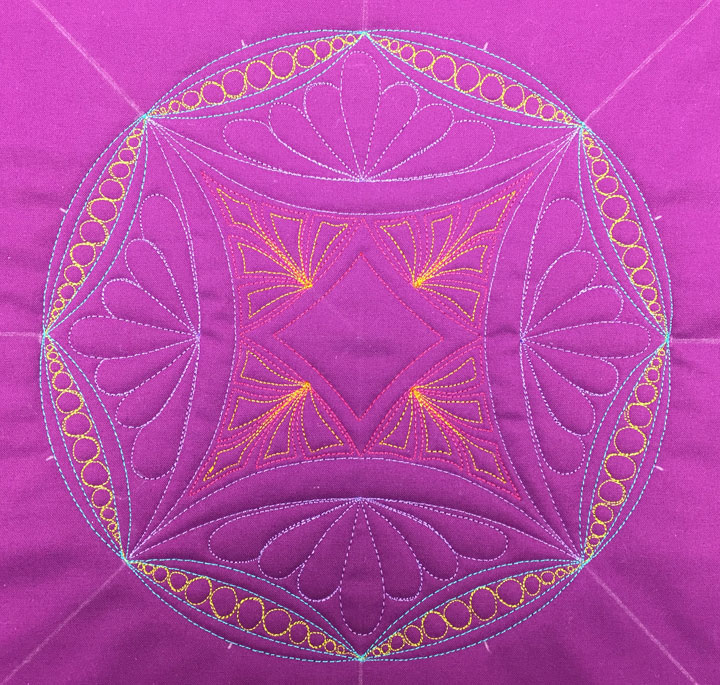
Next, I’m placing a tick mark 7 inches from the cleavage point on all my long diagonal lines, and I’m placing a tick mark 4 inches from the cleavage point on my short (or midpoint) lines. This is what my sandwich looks like now:
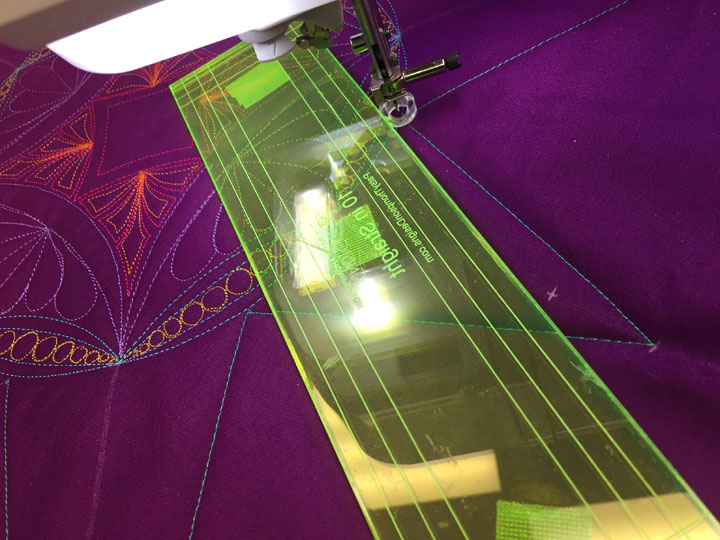
Again, what we’ve done here is to create new starting and stopping points for our next round of stitching. Pierce your needle at one of the tick marks along the edge of your circle of crescents and align your straight line ruler to stitch to the neighboring tick mark, as shown in the photo below:
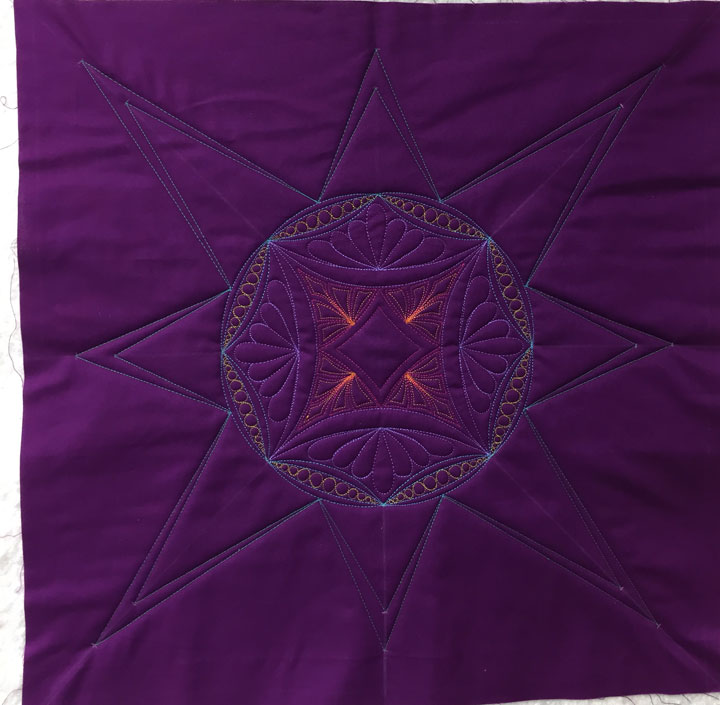
Once you’ve worked your way around the entire circle, moving from tick mark to the neighboring tick mark, you’ll find you’ve added an 8-pointed star to the center circle of crescents. Stop with your needle down, and here is what that looks like:

Now we’re going to add a tapered channel inside each “ray” of the star. I placed a tick mark 1 1/2 inch below the tip of each ray that fell on the diagonal (the long rays), and a similar tick mark 1 inch below the tip of the short lines (short rays). Remember, the base of each ray will be the same base as during our first round of stitching; the only thing we’ve changed is the location of the point at the end of each tapered channel. Here is a shot of my set up just before I began stitching this next round:
…and here is what the star looked like once the tapered channels had been added:
Now we can begin filling in. Again, what matters to me is that you learn how to do this kind of ruler work, so if you don’t want the same fill designs, use whatever you’d like. I began by stitching a free-form feather inside the long rays:
…and then added an Aztec featherette inside the short rays:
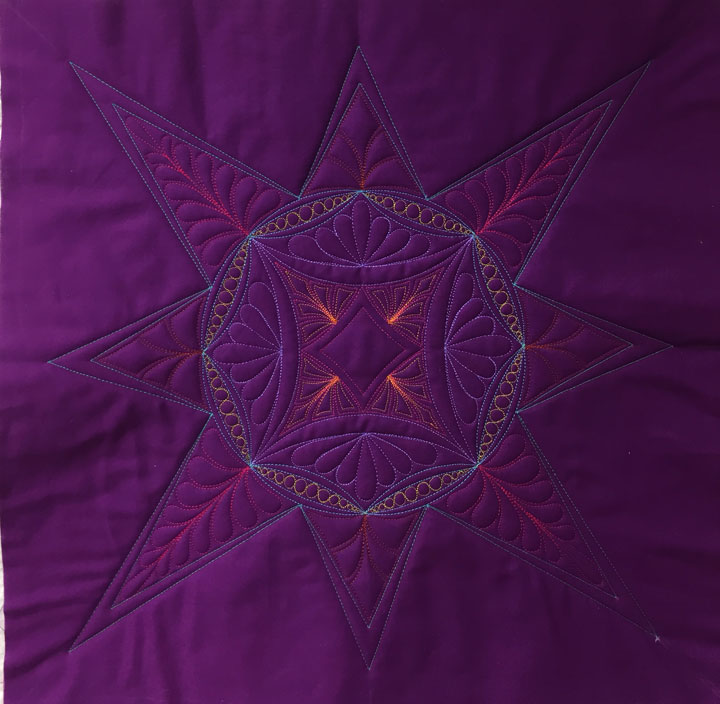
I finished this off by hyperquilting both with gold polyester thread:
There’s no denying that the highlighting effect of the hyperquilting is pretty dramatic. If your goal is to create a more subtle effect, I’d use a thread color that wasn’t as “loud.”
We have 1 more lesson to go in this month long ruler work journey! See you back here next week and we’ll finish off this quilt sandwich!
Thanks Patsy for yet another informative lesson. I just sketched out 3 variations of this lesson – 1 using straight ruler only, 1 using an arc ruler only and another using the arc for the outside points and the straight ruler for the inside “echoes”. Three very different looks, all lovely in their own way. Now to play with different FMQ designs to fill the spaces. Enjoying this very much. Thank you.
I’m in absolute love of this design. Thank you for another excellent lesson.
Thanks…this looks great. Will stitch this out shortly.
Thank you so much Patsy now to be able to do so well. I know practice practice practice. I do have a question regarding thread colors. Are your color choices usually in the same value range ie two bright high contrast with maybe one more with less contrast?
Thanks again for such a great course. You are probably the best teacher out there.
Thank you once again for this wonderful course, Patsy. I have been amazed by what I have managed to achieve! I really appreciate being able to print out each lesson and keep it for reference, that really helps me. You are an excellent teacher and I am sad that these lessons are coming to an end. I do hope I will be able to take another course with you in the future.
Best Wishes from the UK.