January 28th, 2014
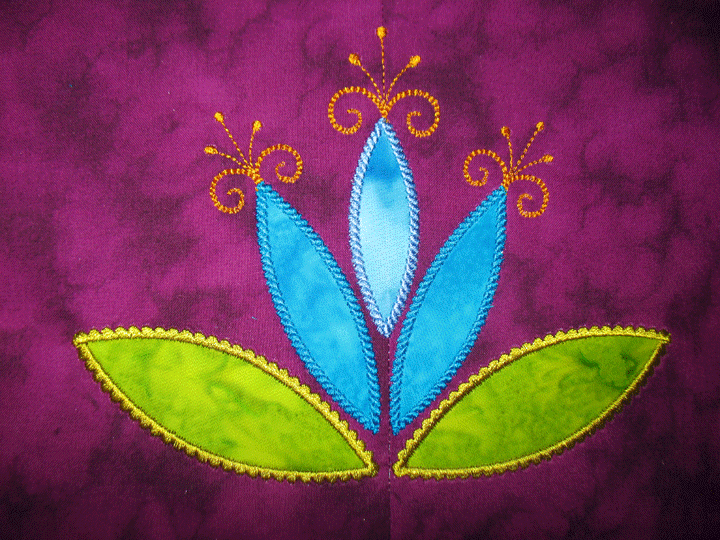
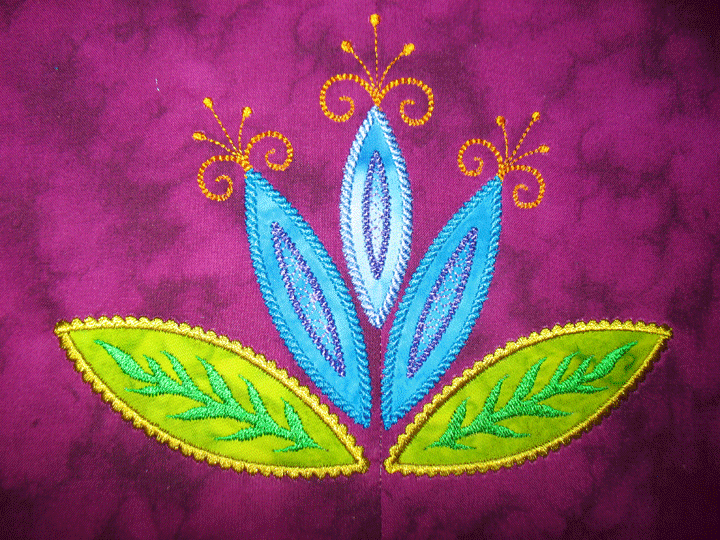
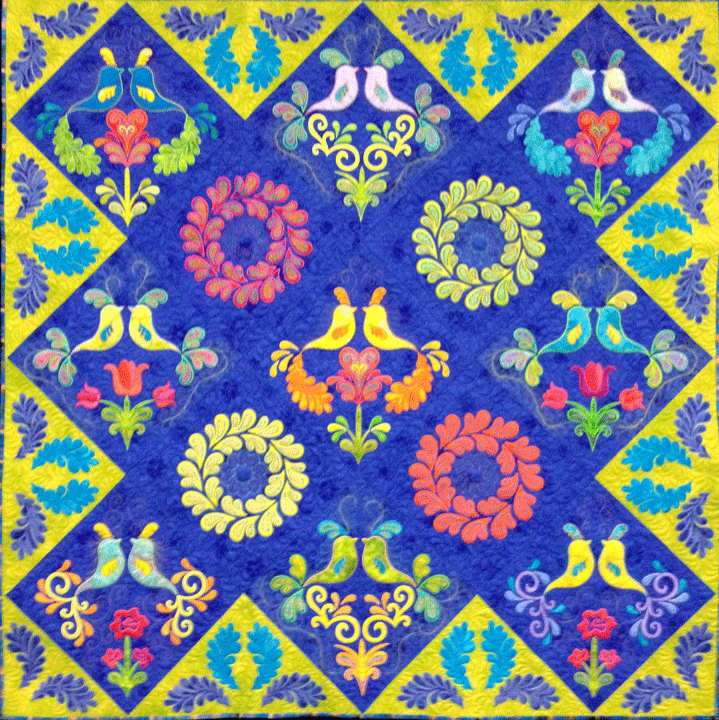
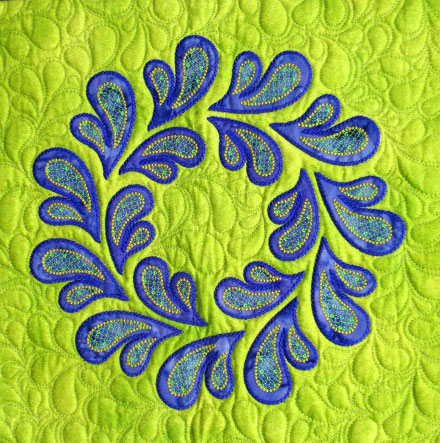
I’ve been playing with a water lily block for a few weeks now. This block is made from very basic shapes (a few of the leaf shapes from the Appli-K-Kutz Leaves 2 die and all were cut on my Sizzix Big Shot machine.) It began as this water lily “quartet” block that’s a 16-inch block with machine embroidery applique:
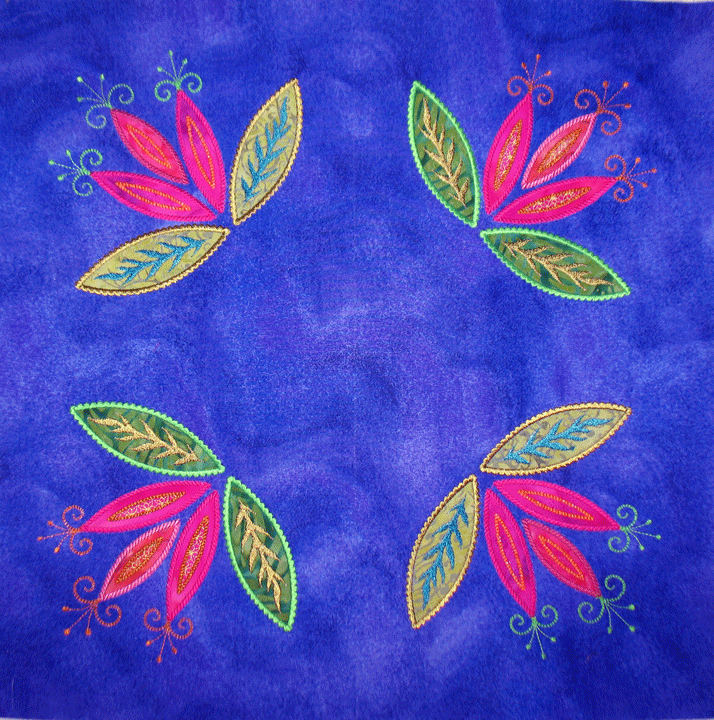 It was deliberately designed with a large empty space in the center so I could add something special in there. This central zone is what is taking awhile to perfect. What follows below is a design that can be quilted on the embroidery machine or merely used as an embroidery design. In my experiment that follows, I am completing this as a trapunto layer. Once the entire quilt is pieced and in the final quilt sandwich, I’ll stitch around the parts of this section with invisible thread and it will really pop out nicely. To start, the center design actually begins as the 4 water lilies are stitched. You can tell this in the photo below because there are now 4 crescent moon shapes just underneath the 4 water lilies:
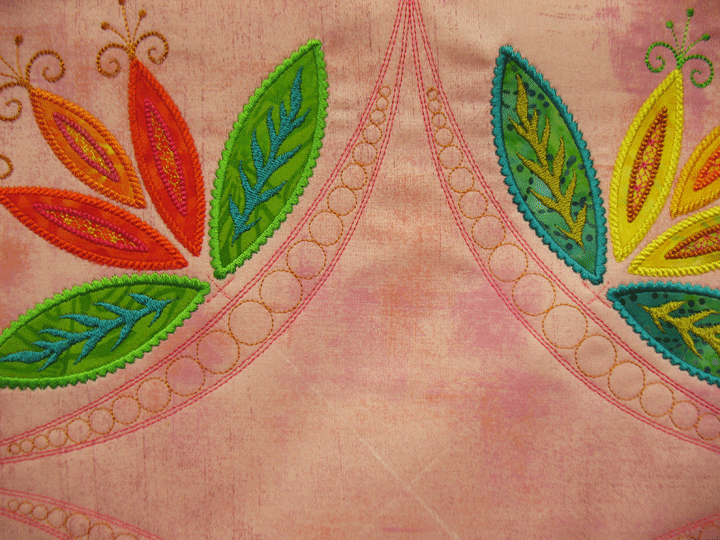
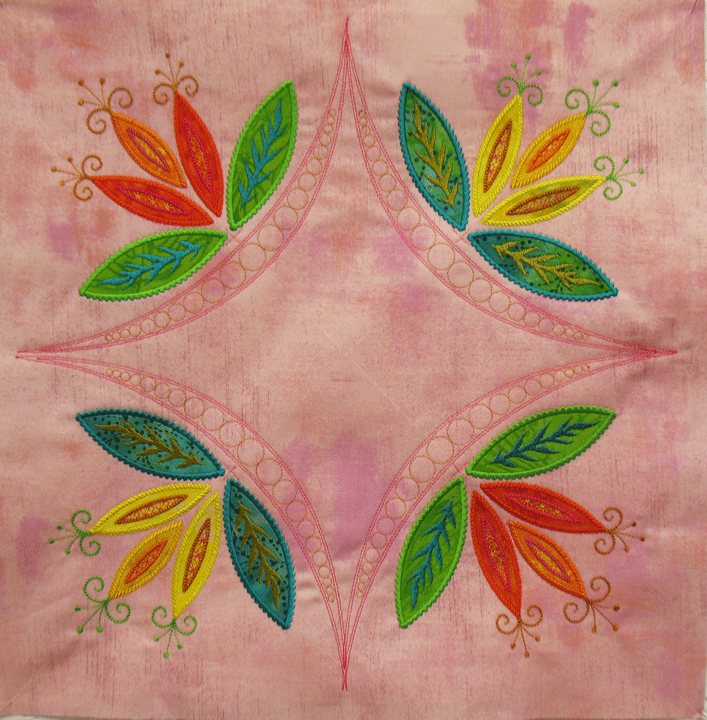 This is how that center looks in a semi-empty state. Here’s a close up of the stitching where you can see I stitched the pearls inside the channels in a different color. There’s no right or wrong way to do this color-wise; I just happen to like a lot of thread variety:
 To keep you oriented about how this works, look at the backside of the block at this stage. The areas of “white” on the back are stabilizer:
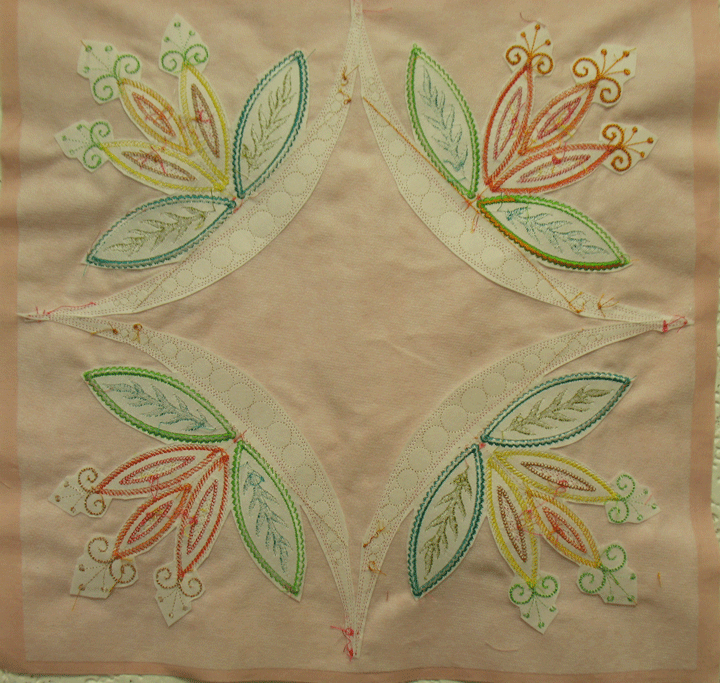 Next, I hoop up and stitch the next file and this just tells me how to orient my block on the stabilizer to achieve good placement for that center design. In this next shot, that block has merely been floated onto the hooped stabilizer with pins:
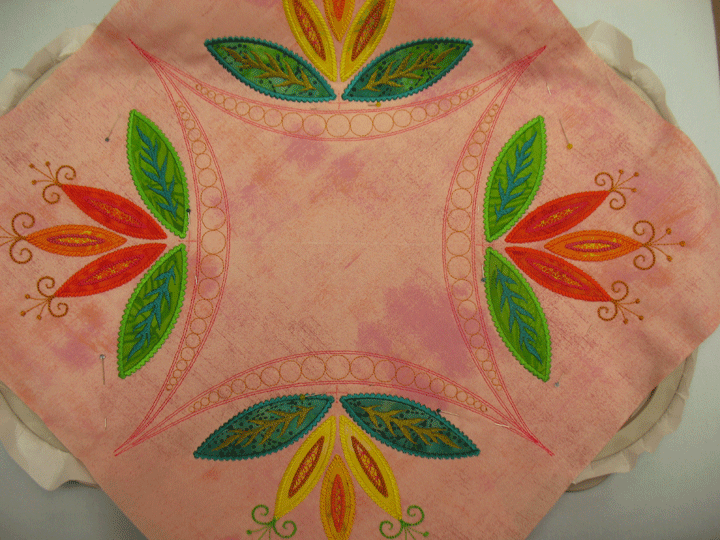 There are many ways to do trapunto and the way I did it here was simply to pin a piece of scrap batting underneath the stabilizer. You can see that in this photo:
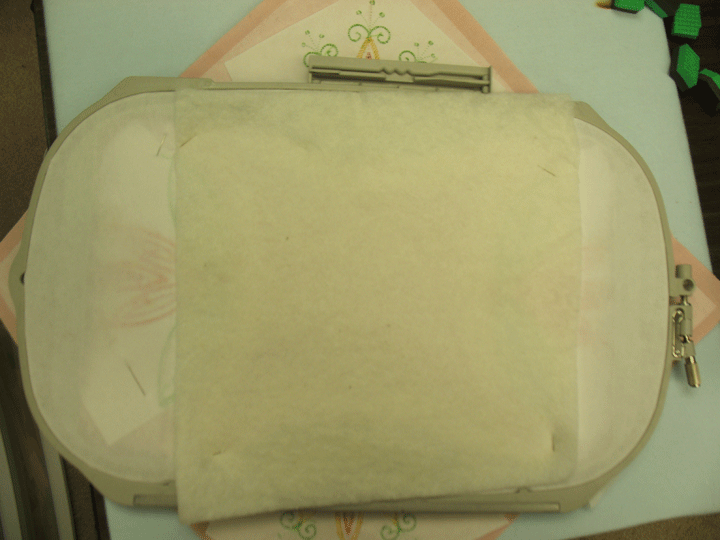 I stitched out the next sequence and this creates a feather motif that fills the crescent outline. I did this in yet another shade of rose thread and I like that it kind of stands out more because of it:
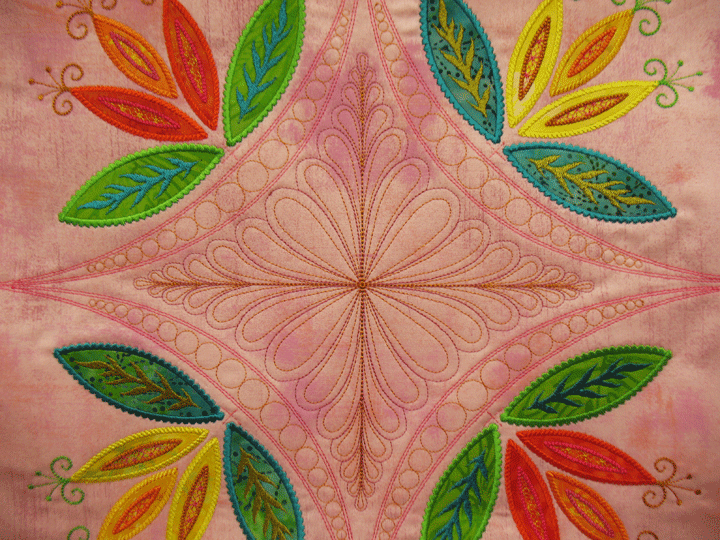
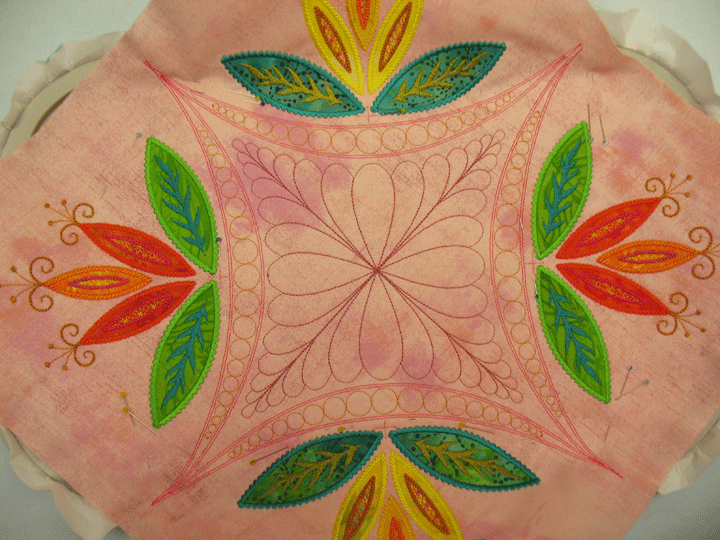 You could stop right here and this block would be cool, and this is what I really like about MEA, that you can pick and choose which sequences you want to keep or skip. Of course, I had to try the hyperquilted version, so I went back in with gold rayon thread and did that final sequence and here’s how it came out:
 Love how this is coming out and all the options it creates. Stay tuned!
Filed under
Appli-K-Kutz Fabric Cutting Dies, Machine Embroidered Applique, Sizzix.
January 13th, 2014
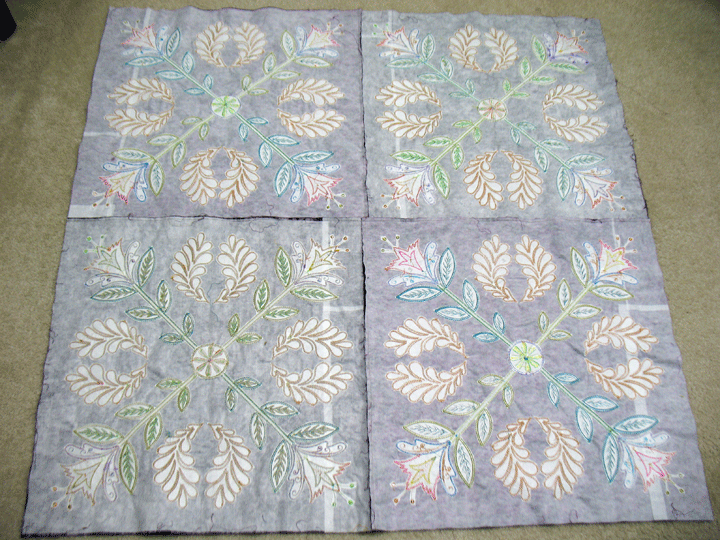
Sorry to have been so quiet here on the blog, but I really haven’t had too much to post about because I haven’t made much headway in the sewing/quilting/embroidering arena. It started out as a quilting drought brought on by the holidays but I’ve actually had loads of time in my sewing room in the last 10 days but have encountered one obstacle after another in my quest to finish piecing a quilt top. This top began 5 months ago (yes, I said 5 months ago!!) This is an all time record for me as the longest time ever to piece a top! The quilt began with this center design:
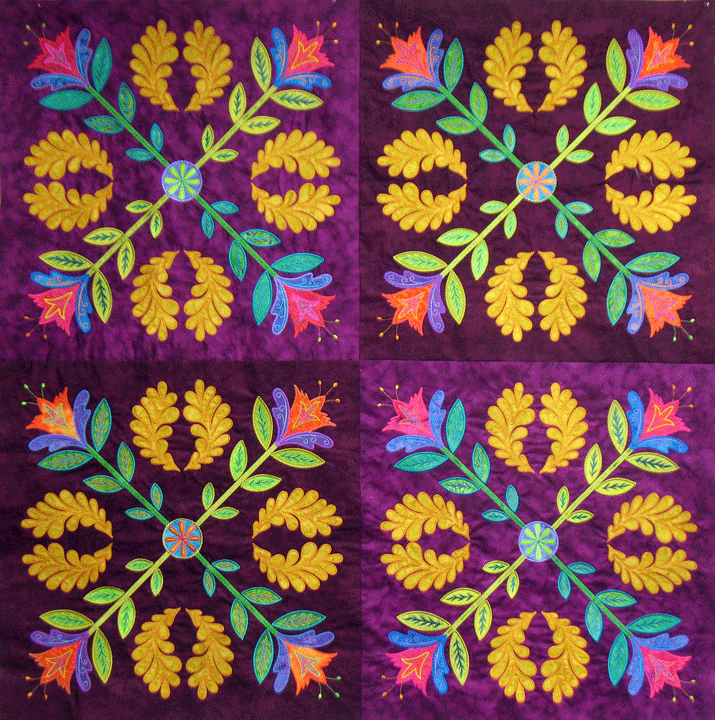 This colorway is way outside my comfort zone; part of my challenge to myself was to work in colors that don’t feel natural to me. These are 4 huge blocks (23 inches square) that are made via machine embroidery applique and the shapes are all cut from Appli-K-Kutz dies and cut on my Sizzix Big Shot machine. The embroidered details don’t show up too well in the photos, but I really love how the blocks came out and I was really excited to move to the next step. I attached a narrow rust colored border and then designed a MEA border specifically for this quilt. In my head, the border would coordinate perfectly with the center because the flowers were a smaller version of the large thistle flowers in the giant blocks. It’s hard to get good detail on border shots, but here’s a shot of my preliminary stitchout of the planned border (note that colors are different from quilt since this was just my “test stitchout.”)
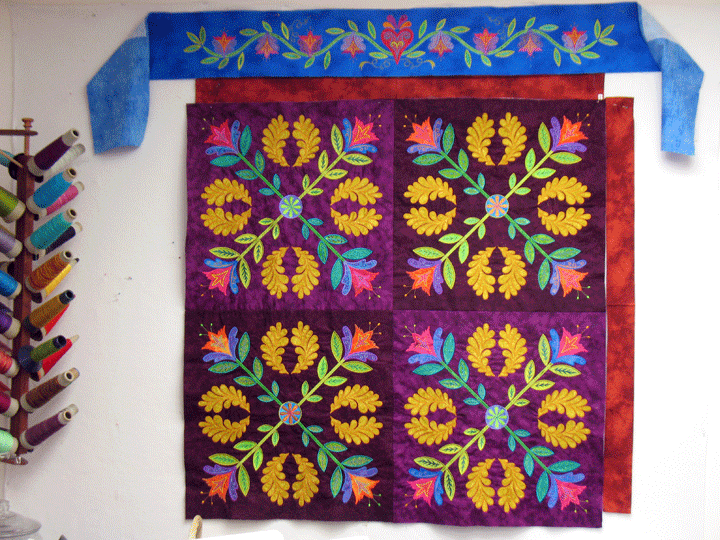
 I started embroidering the borders and finished 3 of the 4 borders. I was feeling really good about everything until I hung the borders up against the center and realized that this border, although very beautiful, simply would not work on this quilt. You can see it in this older photo where only 2 of the 3 borders were completed, but I kept embroidering because I liked the border so much and I guess I was just hoping things would work out in the end:
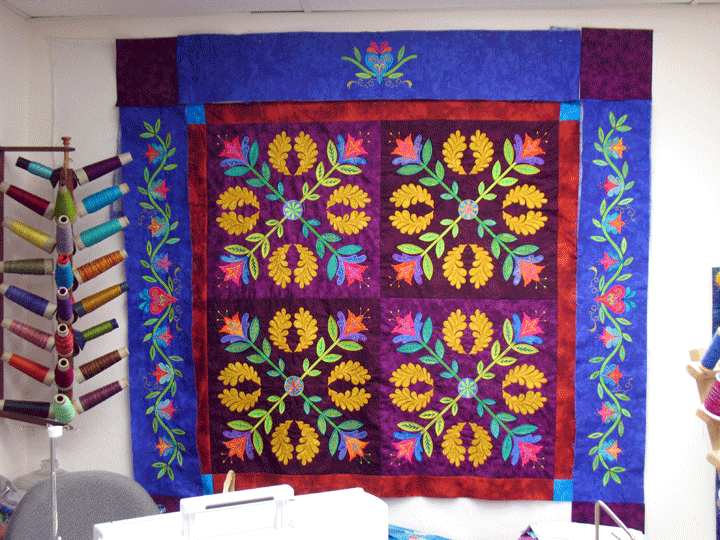 There’s a problem with the colors in the above photo…the borders are actually a purple with a lot of blue, but that color just doesn’t work for a border here. The other design issue is that a nicely curving floral border seems odd juxtaposed against the angular layout of flowers in the center blocks. There was no way around it; the border just wasn’t going to work. Ugh, that is such a heart-sinking feeling after so much work!
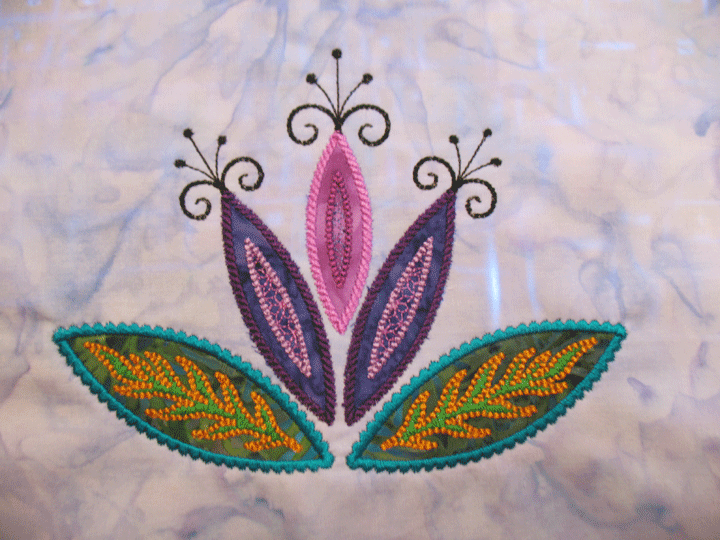
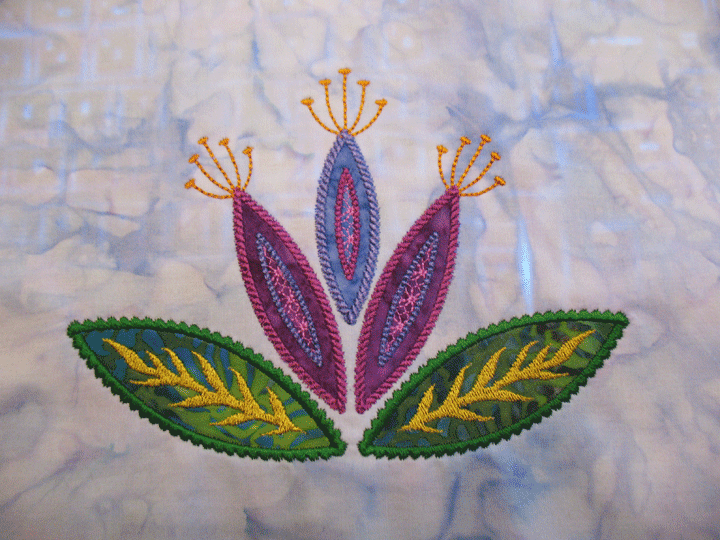
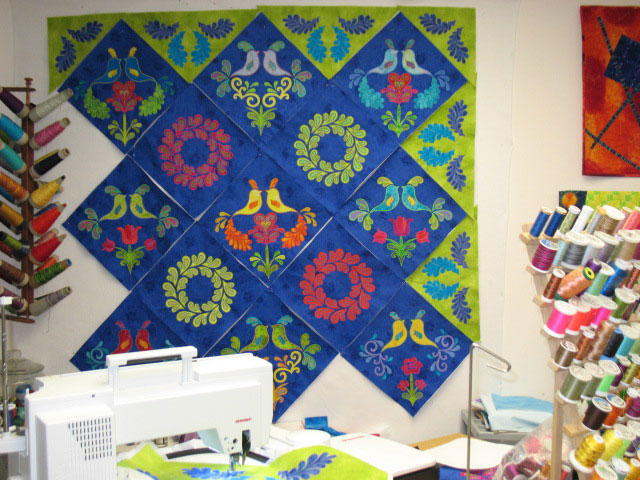
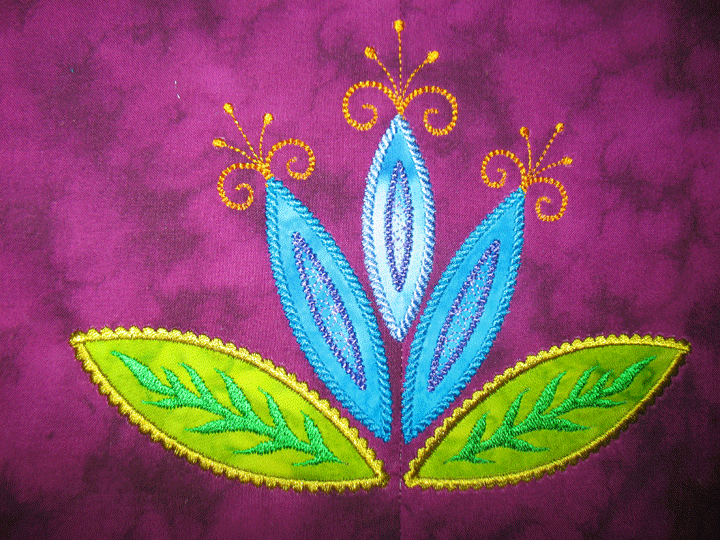
The good news here is that I was able to re-design a new border pretty quickly and I love, love, love how it came out. I based it on this water lily because I figured it had the same kinds of angular graphics as the center blocks and I used some of the same leaf shapes to create it:
 The border design was easy to do and here’s a shot of what it looked like once all 4 sides were added:
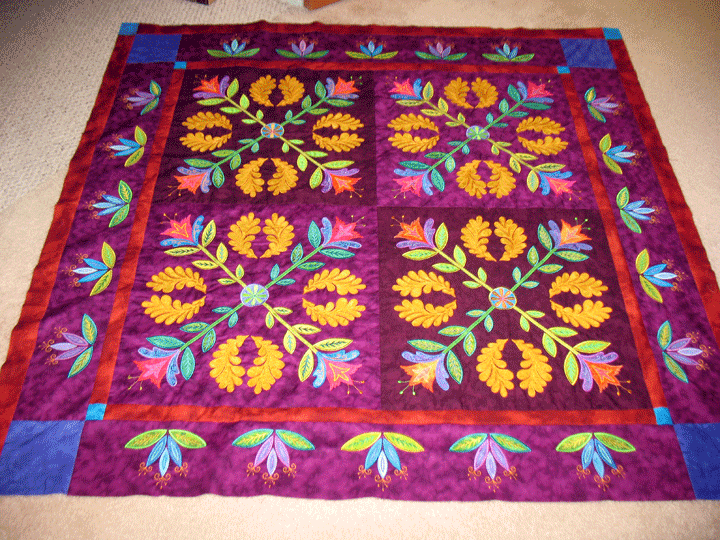 I was so happy that this border came out so well that I threw myself whole-heartedly into working on designing the next border. My plan was to use the darker maroon/brown fabric from the center as the background fabric and to come up with another design that used those same leaf shapes. I began embroidering those borders (and these babies took days and days to embroider) but my heart sank again once I had embroidered enough to lay them out:
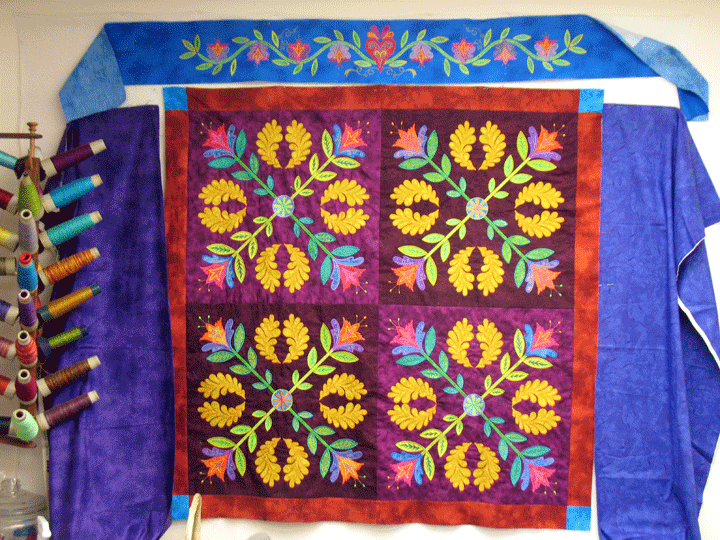
 I think if I’d kept on going it would have been “ok,” but that border just didn’t sing out to me like the earlier border design had. I stopped and thought about it for a day and then came up with a new border design idea. You can get a sense of it in this next shot:
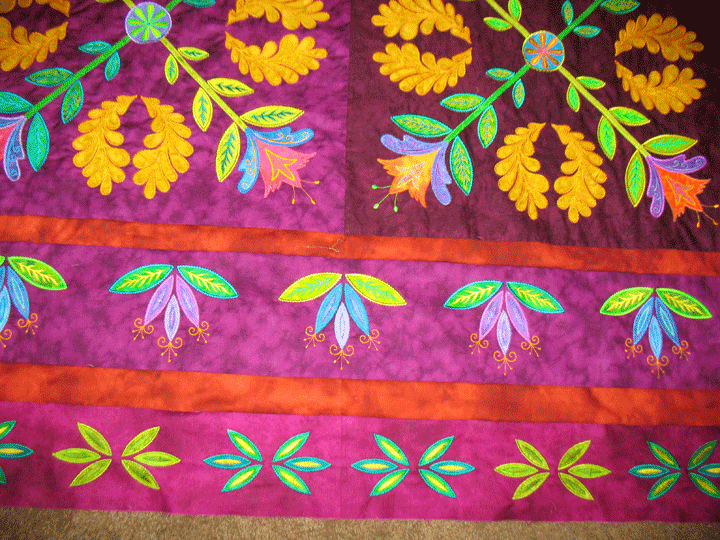 and this wider shot will give you a better sense of it:
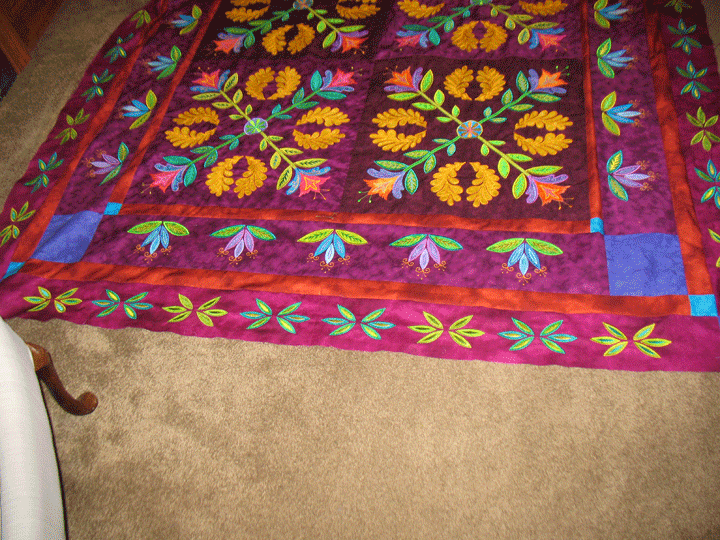 This worked out really well and once I’d embroidered that 4th side and went to attach it, I found a short 2 inch run where one of the leaf edges hadn’t been embroidered. Drat! Since it was off the hoop, I didn’t think I could line things up right to finish that 2 inch stretch. I tried to re-align it and failed. Double drat! There was no way around it, I had to start over and embroider a whole new 4th side. I started out but then the tension on my machine broke. This has never, ever happened to me but I took it as an omen. That machine is now at the repair shop and I am temporarily “not speaking” to this quilt top! I think a little time apart is just what we need. I have loads of other quilts to work on, so no need for tears.
Filed under
Appli-K-Kutz Fabric Cutting Dies, Machine Embroidered Applique, Sizzix.
 It was deliberately designed with a large empty space in the center so I could add something special in there. This central zone is what is taking awhile to perfect. What follows below is a design that can be quilted on the embroidery machine or merely used as an embroidery design. In my experiment that follows, I am completing this as a trapunto layer. Once the entire quilt is pieced and in the final quilt sandwich, I’ll stitch around the parts of this section with invisible thread and it will really pop out nicely. To start, the center design actually begins as the 4 water lilies are stitched. You can tell this in the photo below because there are now 4 crescent moon shapes just underneath the 4 water lilies:
 This is how that center looks in a semi-empty state. Here’s a close up of the stitching where you can see I stitched the pearls inside the channels in a different color. There’s no right or wrong way to do this color-wise; I just happen to like a lot of thread variety:
 To keep you oriented about how this works, look at the backside of the block at this stage. The areas of “white” on the back are stabilizer:
 Next, I hoop up and stitch the next file and this just tells me how to orient my block on the stabilizer to achieve good placement for that center design. In this next shot, that block has merely been floated onto the hooped stabilizer with pins:
 There are many ways to do trapunto and the way I did it here was simply to pin a piece of scrap batting underneath the stabilizer. You can see that in this photo:
 I stitched out the next sequence and this creates a feather motif that fills the crescent outline. I did this in yet another shade of rose thread and I like that it kind of stands out more because of it:
 You could stop right here and this block would be cool, and this is what I really like about MEA, that you can pick and choose which sequences you want to keep or skip. Of course, I had to try the hyperquilted version, so I went back in with gold rayon thread and did that final sequence and here’s how it came out:
 Love how this is coming out and all the options it creates. Stay tuned!


