Remnata

November 18th, 2011

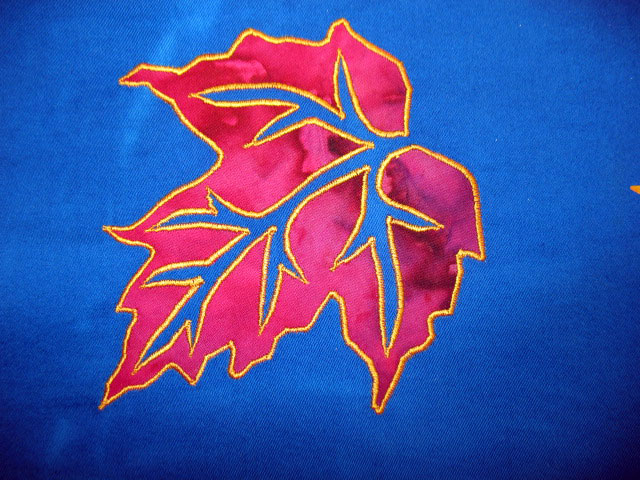
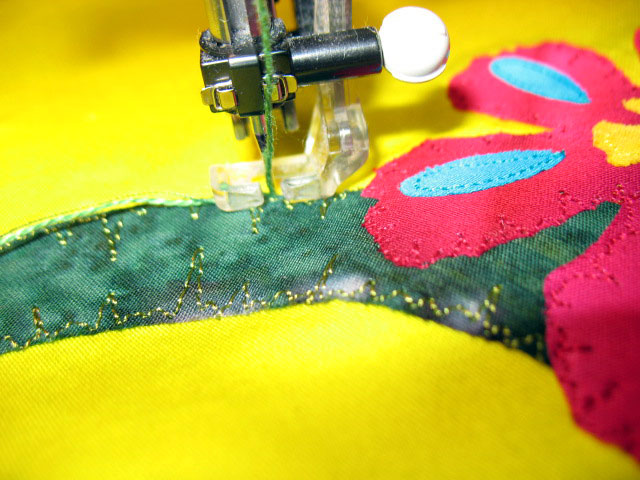
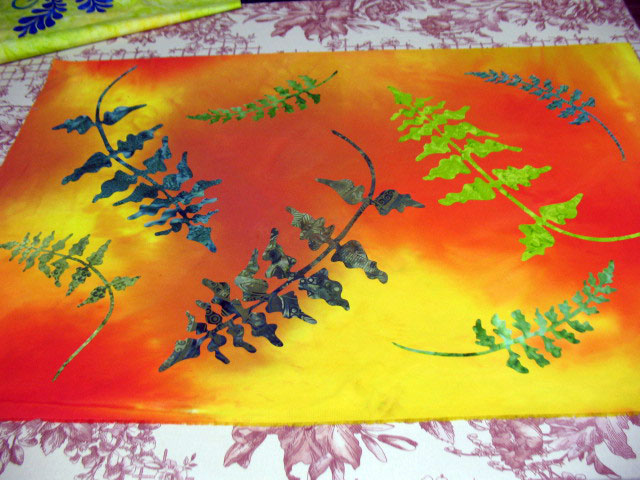
One of the things about teaching is that you end up with lots of pieces of “remnata,” or samples that you threw together to demonstrate a technique but that don’t really have a use beyond that demo.  If I’m on the ball and have some time, I usually make samples up in a way that I can use them later for some other project.  The piece above was fused together so I’d have some fern samples that I could free motion embroider as a demo.  It seems like when I teach that leaf class, everyone gets to this part at a different time, so I wanted to have lots of ferns to demo on.  As it turns out, I didn’t get to demo on even half of them!  But, I really like this so it will eventually get finished into something special.  Here’s another block that I fused up for that class:

These leaves are the fusible version of reverse applique.  What makes them special is that negative space that’s created by cutting away the vein line section.  You don’t have to finish the edges, but if you do, it adds an interesting “kick” to the leaf:

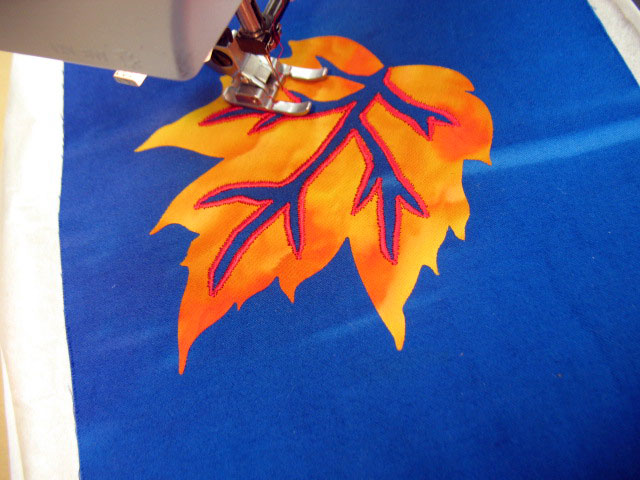
I have mixed feelings about satin stitching.  A part of me is bored by it; it’s used so much that it makes me yearn for something more novel as an edge finishing design.  BUT, the wonderful thing about satin stitching is that it provides a definitive line and that line can be powerful and used in different ways.  If you vary the width and taper the line at points like above, it helps to accentuate the delicacy of the leaf and its vein lines.  The first time I used a satin stitch to finish the edges of one of these leaves, I used it to save the design.  I’d made a poor choice in colors and the leaf color didn’t have enough contrast with the background fabric, but once I threw in a satin stitch in a really high contrast color, that fine line of satin stitching made everything pop!  There’s plenty of contrast between the orange leaf and the background fabric below:

but you can see that the thread work is really adding a nice zing to this leaf, even though it’s just barely been embroidered. Here’s a shot of it finished, and I love how adding the red satin stitching makes this fall leaf look almost like it’s on fire:

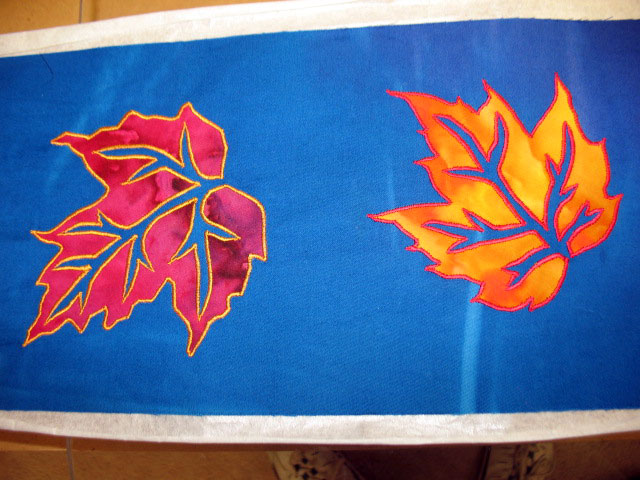
And here’s the block with both of them finished:

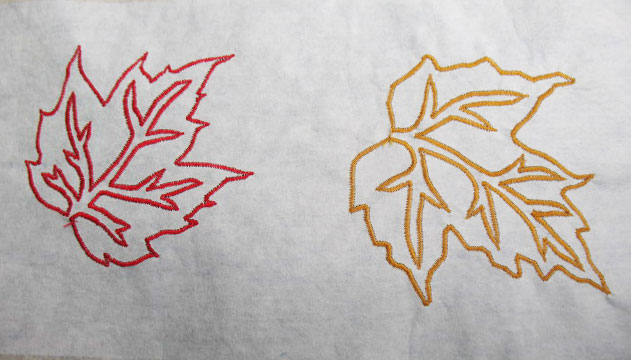
(That white stuff you see beyond the edges of the block is a tear away stabilizer. Because part of the satin stitch falls outside the area of fusible web, it’s important to have a stabilizer to avoid fabric puckering. It will be torn off before tlock is used for anything.) Here’s what the backside looks like; I even like how this came out:

Both of these pieces of remnata will someday make their way into a finished product. For now, though, they’ll be staying in the closet!

Using Thread to Add Detail to Your Quilt

November 8th, 2011

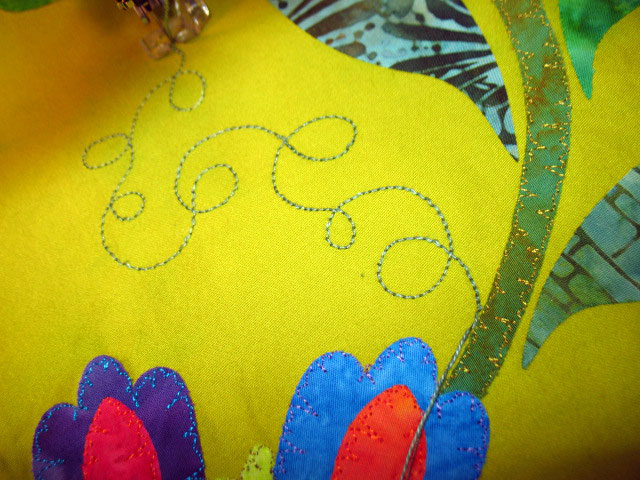
I’m nearly done with the free motion embroidery and trapunto on this quilt top, so now I’m adding in some detail work into the “blank spaces.”  My first move is to throw in a few grapevine curlycues emanating from the vine structures.  To do this, I first find a “blank zone” adjacent to a vine that’s large enough to support a grapevine curly cue, like what you see below:

Once you’ve identified the space and ironed it, you flip the top over and apply a temporary stabilizer onto the backside.  Here, I’ve attached some Sulky Iron-on Tear Away stabilizer:

(You need that stabilizer to prevent puckering and gathering from forming around your stitches.) Now, I really want this grapevine curlycue to have some dimension, so I’m going to use a super heavy thread. I’m using a size 12 pearl cotton embroidery thread by The Caron Collection (it has been hand-wound onto an old empty cone):

I want you to notice a couple things in the above photo. The first is a tiny bottle of Sewer’s Aid, which is liquid silicone. This lubricant can be used to help “finicky threads” flow easily through your machine. You do not need to use this product, but I use it for any thread I feel might be problematic. (Metallic thread would be at the top of my list.) It’s very easy to use. If you look closely at the photo, you’ll see a line that goes from the top of the spool to the bottom. That is a line of Sewer’s Aid that I have drizzled along the cone, and I typically drizzle 4-5 lines like that across a given spool or cone. I use a size 90 Microtex Sharp or Topstitch Needle for this thread and I choose a mid-weight cotton in the bobbin. To start a curleycue, begin by placing your needle right at the edge of the vine as below:

You can pre-draw a curlycue and do follow-the-line stitching or just stitch one out freehand as below:

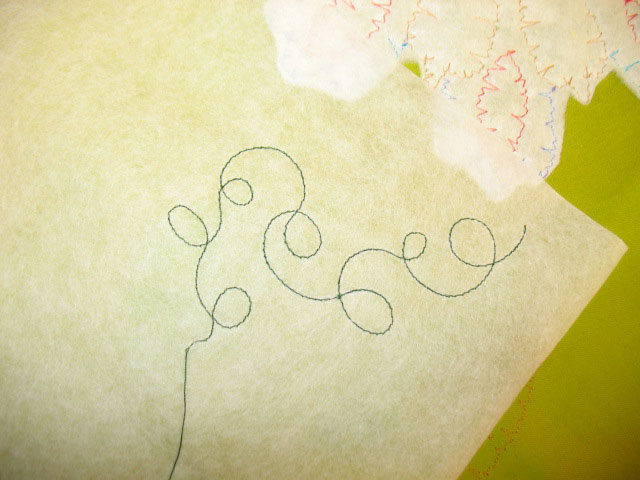
Notice how the stitches lay flat, without any puckering around them-that is because we placed that stabilzer on the backside. Here’s what the back looks like at this point:

Just pull those long thread tails to the backside, tie them in a knot, and snip them off. Once that’s done, tear away that stabilizer and you’re done!

Color, Color, and More Color!

August 10th, 2011

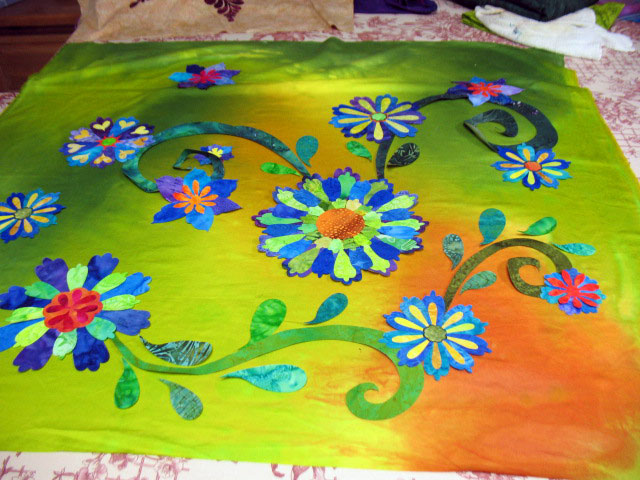
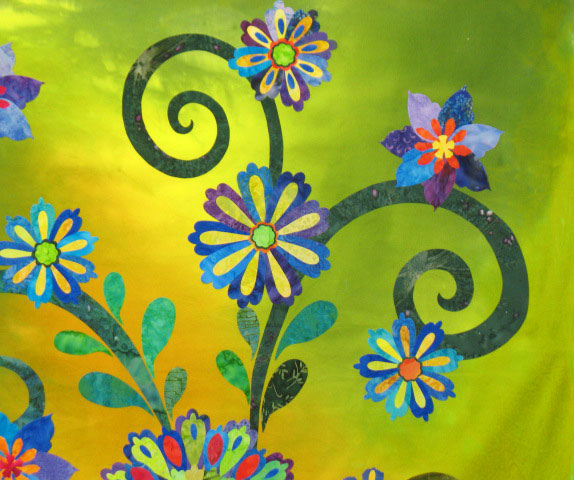
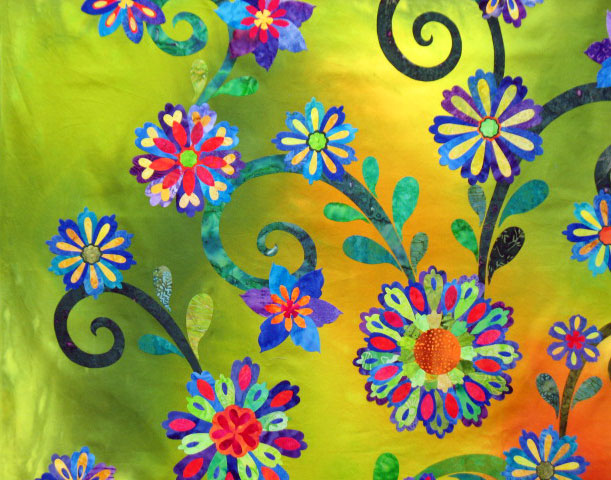
These pictures really don’t do this top justice; the colors are so luscious and rich that it’s been a very stimulating experience to work on it. I started this quilt back in the first week of June when I was in North Carolina. I have a large fusing surface (2 hollow doors covered w/batting/fabric that lie on top of a queen size bed) and it’s a wonderful set up to create applique scenes improvisationally. I never have a drawing or a pattern or a “plan” when I start a new quilt like this. Usually, it’s based on a feeling I want to convey or a notion of a few colors I’d like to put together. The hard part is that I always have to leave the project until it’s far enough along that I can begin fusing objects into place. (This is because you can’t pick it up until all the major “characters” have been fused.) When I left that first week in June, this is what things looked like:

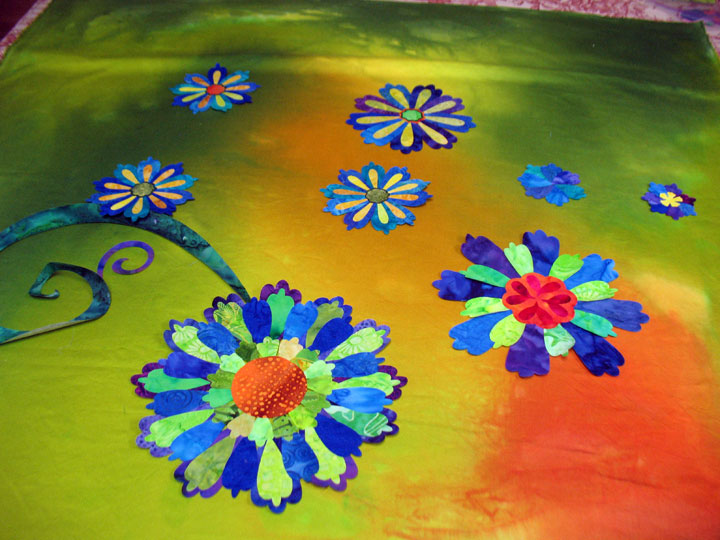
I had fused a few flowers together and just laid them on the surface along with one swirl. This gave me the sense of a color scheme and also the notion that I wanted flowing, curving movement. When I have to leave a project like this for a couple of weeks, I feel kind of sad, like I’m anticipating missing it, so I often take a photo like this so I can think about it while I’m gone and maybe come up with more ideas about it. When I got back to NC, I added more flowers and swirls and it looked like this:

Again, nothing is fused here; I was just going for a general layout/scheme. You can see that I’d thrown in more details as well, like some leaves. Everything on this top has been cut with my Sizzix machine except for the swirls, and because there are many different leaf shape dies, there are always many options for leaves. I went with the teardrops because they add to that sense of movement and also to that sense of whimsy and fantasy. Because the flowers aren’t really meant to represent real flowers, taking a little liberty with the leaves made a lot of sense to me.

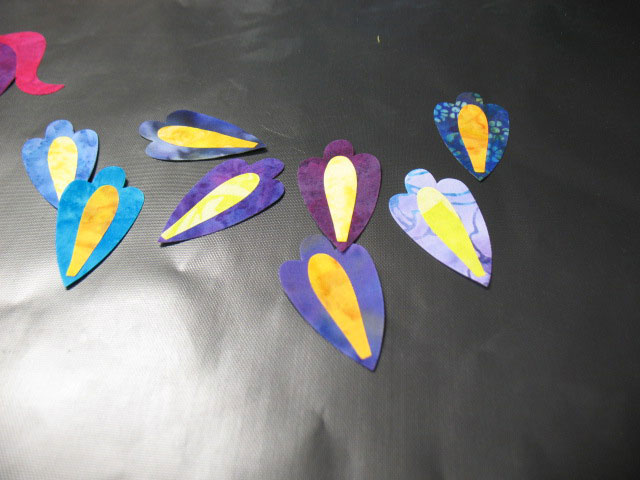
This quilt actually began by cutting up tons of blue/purple/violet scraps into petals of all different sizes. I’ve really come to appreciate how much punch you can add to a quilt by throwing in details. So, I started cutting up more scraps in contrasting colors to add those details. I’d grab a wad of scraps that had similar cutout areas like these:

and if you touch an iron to it for 3 seconds, they flatten out so you can stack em up high and cut a ton of shapes from those scraps in one crank of the machine. So, you can dress up a plain petal by adding a yellow highlight:

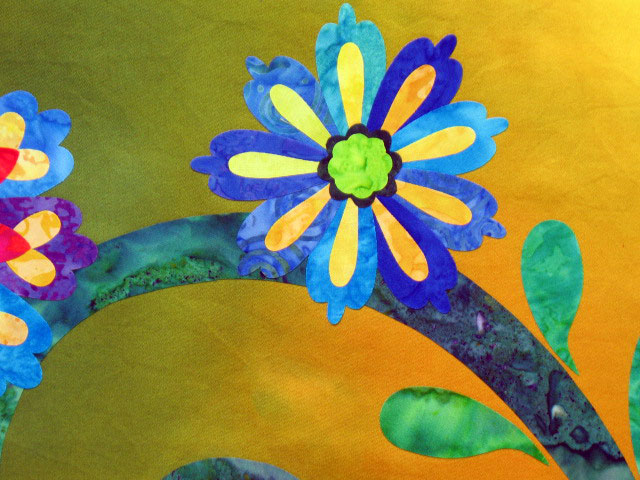
…and then if you fuse a bunch of those petals together, you get a nice flower like this:

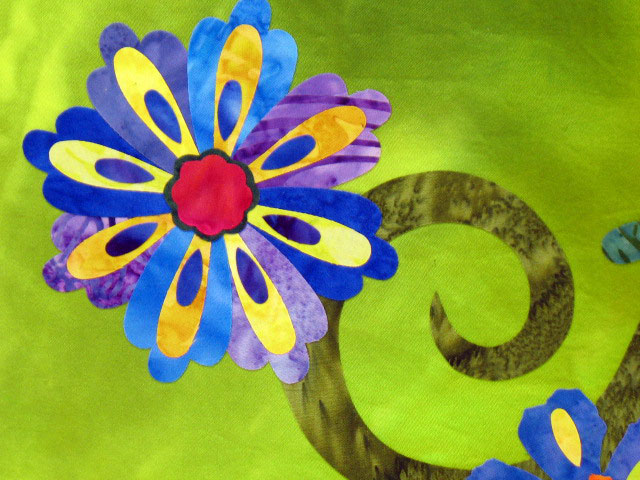
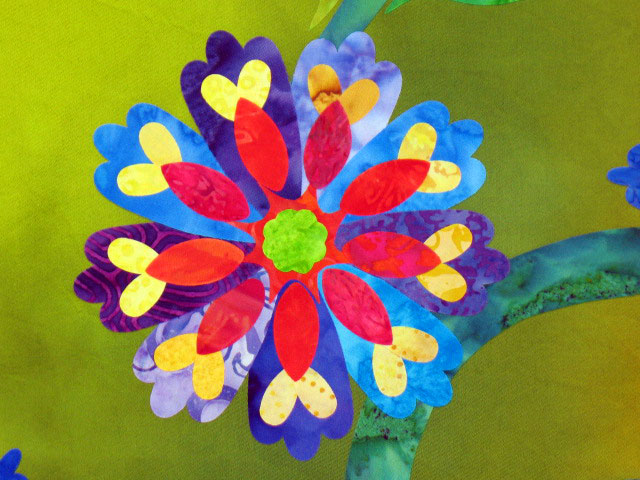
Now I really like that flower, but sometimes you want even more detail, so you end up slicing up more scraps and adding to it:

Here’s a similar type of arrangement, but I started with a different baseline petal and color scheme:

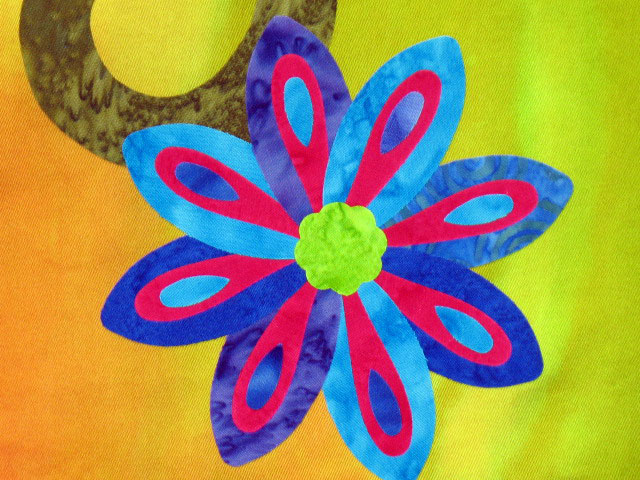
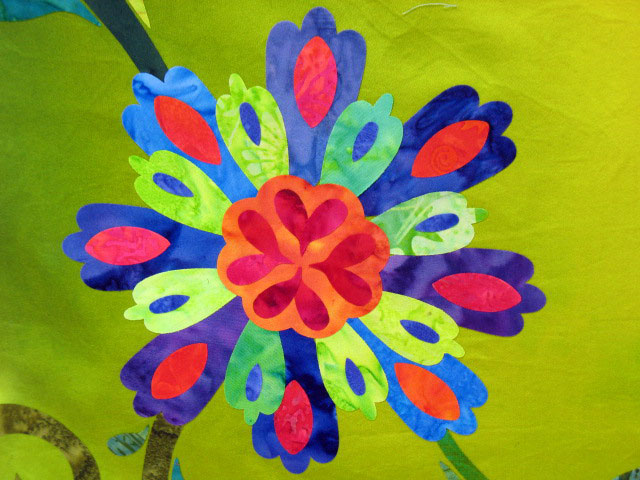
(I think you understand how addictive this can be!) Some of the flowers are kind of big, like this guy:

…or this guy:

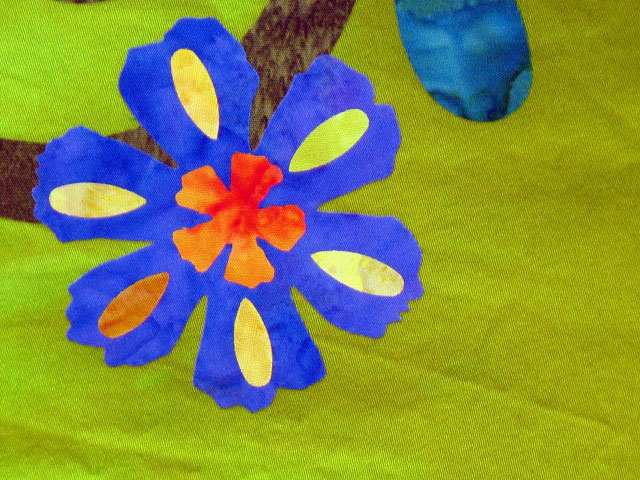
…and others are relatively small and simple, like this little guy:

Because of that, parts of the top are more simple and somewhat quieter:

…while other parts are much busier and louder, almost riotous:

There is a tremendous amount of thread work that I’ll need to add to this (both free motion machine embroidery and trapunto) before it ever makes its way into the final quilt sandwich, so I’m just getting going on this baby. (And don’t forget, I’m still plugging away on my tulip quilt.) In the meantime, though, all these colors sure do make me happy!

Hyperquilting ABC’s, Thread, and SALE!!!

January 31st, 2009

I’ve gotten some emails from people who are wondering what this “hyperquilting stuff” is and what’s so much fun about it, so I figured I’d do a post that is a primer on hyperquilting. Hyperquilting is a technique where a motif is free motion quilted in thread #1. After switching to a second thread color (and this would deliberately be a high contrast decorative thread), a secondary design is free motion quilted right on top of, or inside of, the first quilted motif. It sounds confusing, but it’s not! Here’s an example of the most conservative hyperquilting design I know of; I call this “Inlining:”

If we look at a close up shot, you can see that all I did was to initially stitch a feathered wreath (in this case, it was stitched with a size 12 pearl cotton hand dyed embroidery thread) and then I went back in with a gold rayon thread and stitched smaller plumes inside the original plumes. There are also some echo lines in another rayon thread just outside the wreath to ad a halo of color, but that’s not really part of inlining:

You can see that this technique really changes that feather…it makes it appear more complex, adds some more color, and just kind of subtly jazzes things up just a bit. In this next example, called the frond embellished feather, the same technique is used, but because the hyperquilting design is different, the effect is quite different:

…and here’s a close up shot that shows it is just 2 fronds that curve in a way that mirrors the shape of the plume:

This last one is my favorite; it’s the splay embellished feather. Notice that the feather’s spine has been highlighted by this embellishment. It’s almost as if we’ve electrified the spine:

…and here’s a close up to show that I stitched a series of 3 splay lines per plume, each echoing the curve of the plume:

All of the above hyperquilting was done with Robison Anton rayon thread and the color is called 24-karat gold. That is my favorite gold thread and I go through spools of it like water! Compare all of the above to the baseline quilted wreath below and you can really appreciate the effect that hyperquilting has:

It is killing me not to show any of them on my blog yet, but I’ve come up with all kinds of new hyperquilting designs for feathers that will debut on the next DVD in a few months. Trust me, if you’re into hyperquilting, these new designs will really rock your world!!

Now, hyperquilting is not limited to feathers, you can hyperquilt all kinds of motifs. Below is an example of a hyperquilted basic vine. In this case, it is actually free motion embroidered instead of quilted:

If you look at that vine closely, you can see that the original vine was stitched with empty leaves and it was on my second pass that I added the vein lines and the grapevine curly cues. If this stuff excites you, get int he habit of breaking designs down into component parts when you look at them. When you start thinking in this way, you’ll come up with all kinds of hyperquilting ideas!

I am excited to tell you that we are now carrying some lines of Superior Threads, and to celebrate, we are having a sale on the threads, the flexible curve rulers, and the bendable bright lights. The first thread pack is called Super Brights and this is my favorite thread to do inlining of vines and leaves. The colors are incredibly vibrant and will showcase your thread work. The second thread pack is called Rain Forest and the third is called Flower Garden. These last 2 packs are all luscious colors developed with Ricky Tims and you can use them in subtle ways or in eye catching ways…they have wonderful sheen that is ooh-la-la! Enjoy them all; sale prices are good through midnight next Saturday night, 2/7/09! (more…)

Save those scraps

October 15th, 2006

Save your batting scraps and use them for trapunto and for making small practice quilt sandwiches.