The Mini Purse Tutorial!

May 25th, 2009

Happy Memorial Day! We had so much fun this weekend and also got so much yard work done! It is so nice to see all this luscious color coming to life in our yard! On top of that, I whipped up another mini purse:

…and what follows is a step by step description of how to make one of these mini purses. These are quick to make and if you want to save yourself some extra time, make a few at a time and work it in an assembly-line type of fashion. They make great gifts!

Begin by quilting a pair of quilt sandwiches. I am using 9 x 12 inch sandwiches, but you can make this in any size you wish. Once quilted, trim them so they are exactly the same size:

Now set these 2 sandwiches aside. Pick some coordinating fabric for your top border and cut 2 pieces sized 9 in x 4 3/4 inches. Actually, the width of your border is somewhere to be flexible; if you’ve got a border print that’s 4 inches wide, go with that. Feel free to do whatever you want for the width of that top border! Also cut a piece that’s 4 3/4 in x 1 inch; this will be used for your button clasp. Using a chalk pencil, mark a chalk line on the good side of the fabric that’s 1/2 inch from one edge on each piece of your border print:

Using the chalk line as your guide, fold the edge over to the backside and press. Pin the good side of the border to the wrong side of the front sandwich for your purse and pin along the top; sew together using a 1/4 in seam and you will have:

The backside of your purse will have the button clasp sewn to it. To make this, fold your 4 3/4 inch x 1 inch piece in half and press on the fold; now it is 1/2 in x 4 3/4 in. Pin one side to the fold line as below:

Fold the opposite side in toward the center fold as before, then stitch the 2 finished edges closed. This gives you a 4 3/4 in x 1/4 inch clasp. Find the center of the top of the wrong side of your purse’s back sandwich and pin this clasp so that the tips kind of overlap. Place this pinned clasp at 1 /8 inch from the top of the sandwich, as below:

Pin your top border on top of this clasp, then sew together with a 1/4 inch seam. Press the border to the good side of the sandwich and then top stitch the top edge at 3/8 from the top. Now the front and back of your purse will appear as below:

This next step is your opportunity to add some zip to your purse! Find something that will add just a bit of extra interest to your purse. What I’m adding here is a line of Wright’s commercial piping, but you could add rickrack, beads, anything you want! Here, I’ve pinned my piping in place and then you just top stitch it down:

Here’s a shot of one side with piping and the other without piping. (The color isn’t right here but the point of this photo is to show you that the piping adds a lot!):

Bottom line is that you just don’t want to pass up this opportunity to add some more zing to your purse! Once the piping’s on both sides, use your plexiglas ruler and trim the excess off the top border. The front and back of your purse are now done!

Measure an appropriate length for your shoulder strap; for me, this was cut at 47 inches long. On one side of your purse, (doesn’t matter which side), stitch your shoulder strap 3/4 inches from the top. Place this stitching no more than 1/8 inch from the edge:

Arrange your strap toward the center of your purse, just like in the picture above. Place the other sandwich on top so good sides are together. Once you’ve assured yourself that the straps are outside the seam area, pin sandwiches together and sew together using a 3/8 inch seam as below:

Now, you have 2 options…you could turn your purse inside out and sew the button to the front and your purse would be done! Or, if you don’t like looking at those unfinished seams with batting inside, you can finish them off. If you want to cover ALL the interior seams, then cut a piece of fabric on the bias measuring 1 inch by 40 inches. If you’re like me and somewhat lazy and all you care about is those visible side seams, then cut 2 pieces of fabric (not bias) that measure 1 inch x 14 inches. Leaving at least a 1 inch overhang on each end, pin to wrong side of each side seam and sew a 1/4 inch seam as below:

Flip the side edges over to the opposite side, turning the exposed edge under. Pin these all along each side and turn under the top and bottom so every aspect of these side seams will be finished once you sew that final top stitching seam:

Once that last seam is done, turn your purse inside out, add a button on the front that fits inside your clasp, and you are done:

So cute and so Quick, Quilt Market, and Give-Away Winner!

May 21st, 2009

I needed to throw together some quick stuff for examples of different quilting designs for quilt market last week, and these little purses go together so fast and I think they are just as cute as a button! If you’ve ever taken my basic free motion machine quilting class, you know I’m a big proponent of learning new designs on 9 x 12 inch mini quilt sandwiches, and these little purses are a perfect way to use up those mini sandwiches! Here’s another one stitched in the “swirls” design:

…and here’s one more in the “plumify it” design:

If I get any feedback that people are interested, I’d be happy to post a photo tutorial on how to make these because they’re very fast and very fun!

Quilt Market went by very quickly. If you’ve never been, this is a trade show where quilt shop owners from all over the world go to see the latest innovations in the quilting world…new fabrics, books, notions, gizmos, DVDs, you name it! It is HUGE! This was the first year we’ve ever had a booth and it was a great experience to connect with so many new shop owners and to hear such great comments from shop owners who already carry our products. I hardly left my booth, so I didn’t get to see many other booths, but I got to meet Judy Laquidara (see her blog here) and Michele Foster of Quilting Gallery and saw a lot of them as we were in the same aisle. A special thanks to Judy, who sent several hundred readers to my blog earlier this week! Judy gave me tips on my blog so there may be some changes coming up…Here’s a picture of not even one half of Quilt Market; it kind of gives you an idea of just how huge this event is:

And now for the big give-away…the winner is Kathy Plumley from Wellsboro, PA, and a copy of “Fast and Free,” volume 3 is winging its way to her! We also had a big drawing in our booth at Quilt Market and the winner won a 19-in TV/DVD player for their shop, a DVD counter display unit holding 16 free DVDs, and 2 dozen free quilt patterns! The winning shop was Cozy Quilt Shop in El Cajon, CA! Congratulations!

Thank you so much to everyone who posted a comment about the bone marrow/stem cell donation-some of them made me tear up. Many people wrote wondering whether I would get updates on how my bone marrow recipient was doing and the real answer is that I might and I might not. Some transplant centers will give very brief updates at 1 month, 6 mos, and 1 year but others will not give out any info at all. Since I don’t know where my guy is located, I guess that time will tell. But, if I learn anything, I’ll post it here!

A “Shout Out” for Bone Marrow and Stem Cell Donation!

May 12th, 2009


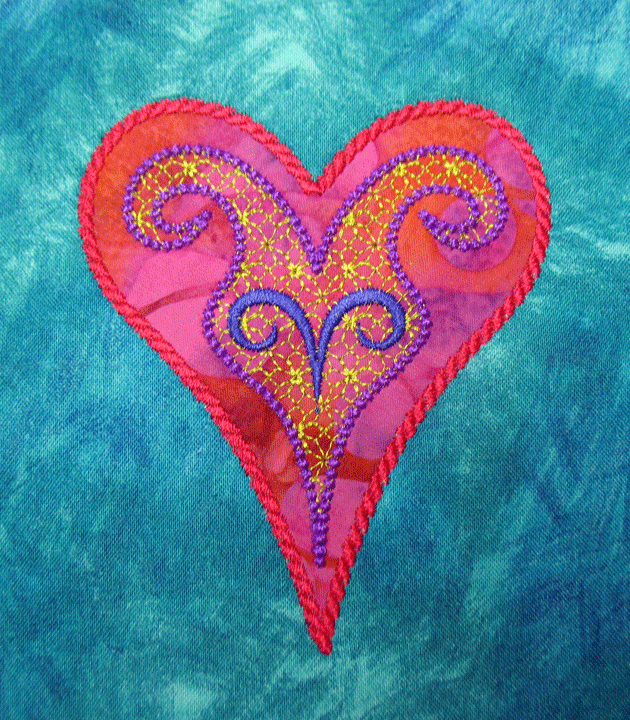
heart-1-design


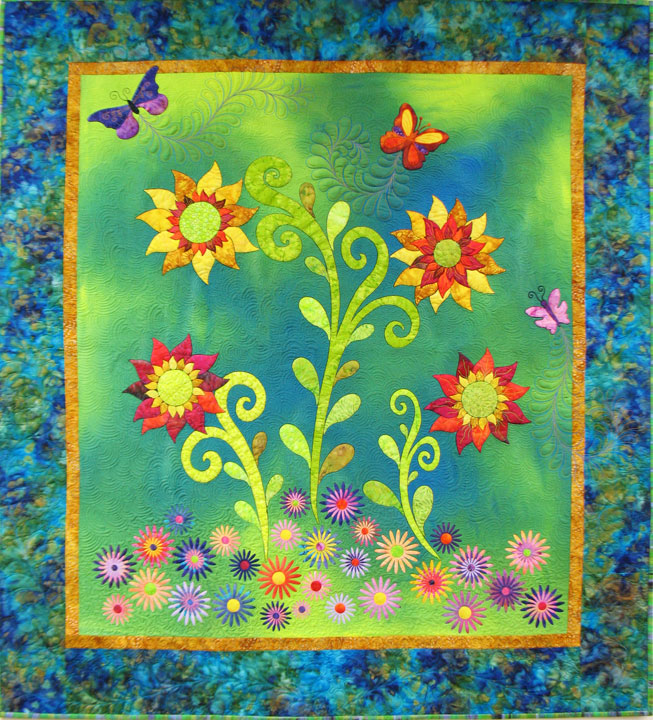
What do bone marrow/stem cell donation have to do with the above quilt photo? Absolutely nothing! Now don’t panic…this has always been a quilting blog and it will always be a quilting blog. I only rarely post about anything in my personal life. But, I had such an incredible experience last week that I just have to share it here. Fear not, though, because I promise to pepper this post with quilt pictures to make it worth your while!

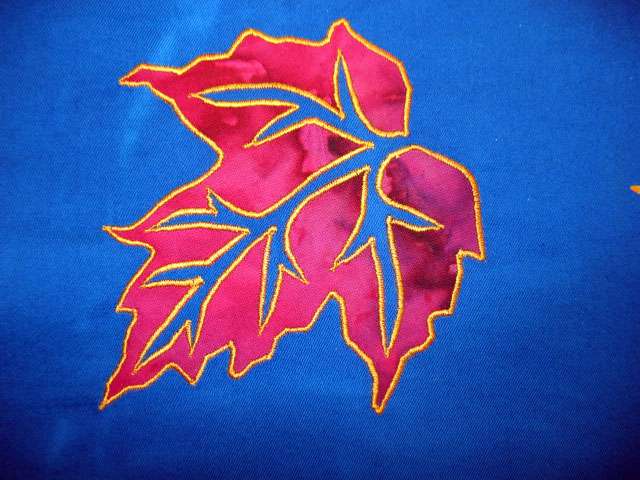
maple-leaves2


(See…I told you I’d throw in a lot of quilt pictures! Keep reading…)

Many, many years ago, Ern and I got our tissue typing done so we could be part of the national marrow registry. For a few weeks afterward, every time the phone rang, we were just sure that it was a call telling us that one of us was a match for some unfortunate soul in need of a bone marrow transplant-we were ready to save all kinds of lives! Of course, that call never did come, and truthfully, we pretty much forgot about it. Fast forward to a few months ago, and wouldn’t you know that I finally got that call, telling me I was a preliminary match for a 32 year old man with a non-Hodgkin’s Lymphoma who needed a bone marrow transplant. I went for some additional tests that showed I was a really good match for him. No date was set for anything; I was just kind of “on call,” and many weeks passed.


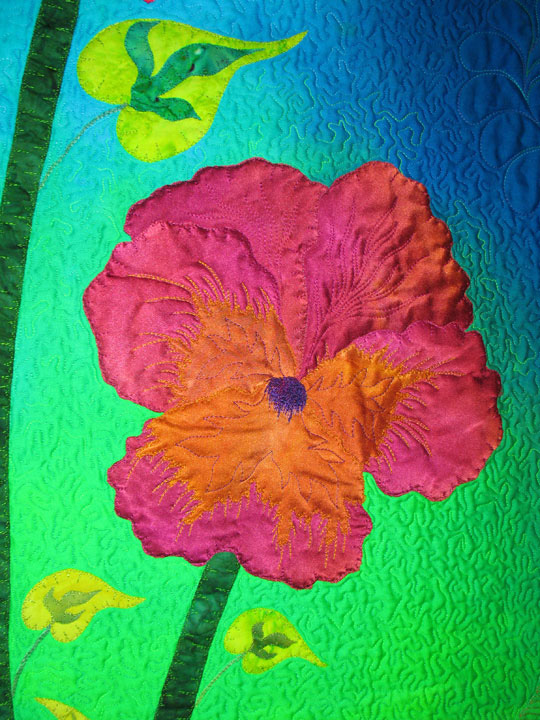
magenta-pansy


During this time, I had a lot of time to think about this anonymous man. I kept thinking that he could just as well have been my husband, one of my brothers, my sister, my…as you can guess, this list could just go on and on with the name of every relative I have or friend that I love. Is there anyone reading this now who doesn’t have many friends/relatives that have had to fight a battle with cancer? The point is that it really struck me how any one of us can be stricken with cancer at any time, and when it happens to a loved one, you’d do just about anything to help that person out, to make it all go away. And if you couldn’t be the one to make it all “go away,” you’d sure be praying that some stranger could. The more I thought about it, the more strongly I felt that I wanted and needed to do this. Honestly, I felt incredibly lucky, even empowered, that I could help someone in such a huge and intimate way.


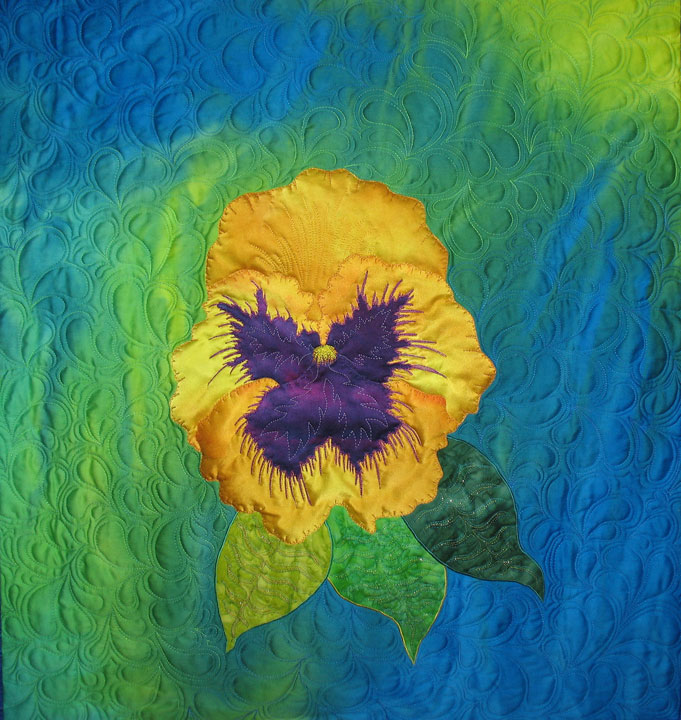
Pansy-wallhanging


Then one day while I was at work, I got a phone call from the marrow registry telling me they wanted to set up a date for the donation because the transplant was scheduled for the first week in May! This was really going to happen! Those of you that are long time readers of this blog know that I work at my local community hospice. That same afternoon, two of the patients I visited were dying of non-Hodgkin’s Lymphoma. One was many years younger than me, and the other was just a few years older than me; each of them was far too young to be dying. The whole time I was with each of them, I kept wondering, “what if someone had been able to help one of them with a transplant?” It sounds corny, but it all just made me feel more passionate about helping this man I did not even know, yet in a way, I felt so very close to him.


butterfly-flightpath2


Hematopoetic stem cells are what is transplanted in a bone marrow transplant. These big words describe some very special cells that live in the bone marrow, and have the potential to develop into all kinds of blood cells, like red blood cells, different kinds of white blood cells, and platelets. (These are different from the embryonic stem cells we read so much about-those are even MORE special because they can evolve into many things). These blood stem cells can be obtained by withdrawing marrow from a person’s hip; or by a procedure called peripheral blood stem cell donation where an individual is connected to a special machine that withdraws blood and filters off the stem cells and then returns blood back to the person’s arm; or they can be obtained from umbilical cord blood. The transplant doctor decides which route to use and for me, this was the peripheral blood stem cell donation. I’m pretty sure that currently, this is the most widely used method of obtaining stem cells and that’s kind of nice, because it’s much easier on the donor.


sprouts-of-sunshine-whole-quilt-finished


I received injections for 5 days before the procedure to stimulate my bone marrow to make millions and millions of stem cells, so many stem cells that my bone marrow couldn’t contain them and they were dumped out in my bloodstream. (That’s good, because they’re easy to harvest there!) I flew to Virginia last week and got hooked up to an apheresis machine and made my donation. The whole process, from the injections to making the donation, went perfectly. A transplant nurse coordinator guided me through the entire process and was available by phone 24 hours a day if I had questions or needed some kind of help. I felt great the entire time and was able to do all my normal activities. Honestly, the hardest part of the whole process was having to hold one of my arms straight for many hours!


tulips


Now, I don’t normally blog about my personal life because I figure that everyone’s reading this blog for quilting inspiration and I don’t want to interfere with that. But, this whole experience, being able to possibly help save someone’s life, is huge to me and I feel really great about it! Truthfully, the timing of all this was really terrible, (I mean, for crying out loud, this all happened the week before International Spring Quilt Market, and Ern and I have about 10 million things to do!), yet I am so grateful to have had this opportunity and would do it again in a minute! This entire program is built around the concept of perfect strangers reaching out to one another in a time of great need. Can you think of any more beautiful way for us to express our humanity?

yellow-scrap-flower-without-detail


So, I’m sharing this with you all in the hopes that maybe I can inspire some of you to sign up as potential donors and get yourselves into the national marrow registry. I meet a lot of quilters when I travel and teach, and quilters have big hearts! Let’s face it, we keep churning out these quilts so we can wrap people with love, so who would make better marrow donors than quilters?! Each of us, in our lifetime, is given a few special opportunities to really make a profound difference in someone’s life, and this is one opportunity you will not have unless you get yourself registered as a donor. Think of how you would feel if you just learned that your son or daughter had leukemia or a lymphoma and his/her only chance for survival was a bone marrow transplant. That’s a pretty heart-breaking thought, isn’t it? This is your opportunity to “pay it forward,” and help another mom out there who might be about to lose her child. Think about it.

During the month of June, you’ll be able to get tissue typed (this involves only swabbing the inside of your cheek with a cotton swab) in the privacy of your own home and best of all, it will be FREE! I don’t know the details yet, but I’ll post details and links later on this month when I learn them. In the meantime, please give this some thought. Remember, you just might save someone’s life!

If you’ve gotten this far in the post and you’re still reading, my thanks and gratitude go out to you and as a reward, I’m going to offer a give-away of a free DVD of your choice, (this could be a single DVD or a 2-disc set…the winner gets to decide!). Anyone who posts a comment to this post before 9am on Wed 5/20 will be eligible for that free DVD drawing! Good luck, and thanks again for reading about this!


sunscreen-whole-top

If you’re interested and want more info about bone marrow donation, please go here. Check out my blog later this month for more details on registering in the “Be The Match” program for free, and in the meantime, say a special prayer for my bone marrow buddy!

P.S. We leave for the International Spring Quilt Market tomorrow, and I’ll try to get some pics of all the quilting action! Any orders placed in our store after 10:00 am Wed 5/13 won’t ship out until Tues 5/19/09. Enjoy your week!

Tying Up Loose Ends

May 3rd, 2009

Remember this quilt? I’ve been working to finish up a number of small projects and this one was first up. That first photo was before it was hyperquilted; here’s a closeup of what it looks like hyperquilted:

The next part of the process was to color in all the flowers and I did that using Prismacolor Pencils. I used very soft, pastel colors because this is for a baby and it just seemed like pastels were in order. None of my closeups of colored in flowers came out great, but here’s one to give you an idea:

Here’s a bit larger shot of the quilt; I still have to color in about 10 flowers near the bottom:

Once I’m done coloring it in, I will paint textile medium on the flowers to really set those colors permanently. On the advice of a friend, I will wait for 1 month after applying the textile medium before I wash this baby. Hopefully, this will avoid any bleeding of colors…we’ll see!

I also need to get a bunch of dreden plate blocks finished up. I’ve got a lot of them appliqued, but they don’t have the center section yet:

(I’m not a yellow person, but I sure do like the way yellow and blue and yellow and purple go together)! To make a nice circle to be appliqued onto the center, I start out by drawing my circles onto interfacing:

After cutting them out, I sew each interfacing circle onto the fabric that will become the center:

After trimming away all the excess fabric outside the seam, I cut a slit in the center of the interfacing and use that entrance point to turn the circle inside out:

Once I’ve ironed that baby so the edges are nice and clean, it can be appliqued onto that center section. Here, it’s just sitting on top of its future home:

I’ll write a more “newsy” post later. I’ve got a lot going on right now and wanted to get something up so you wouldn’t think I’d dropped off the face of the earth!