New Books are Here and Book Give-Away Winners Announced!

April 30th, 2010

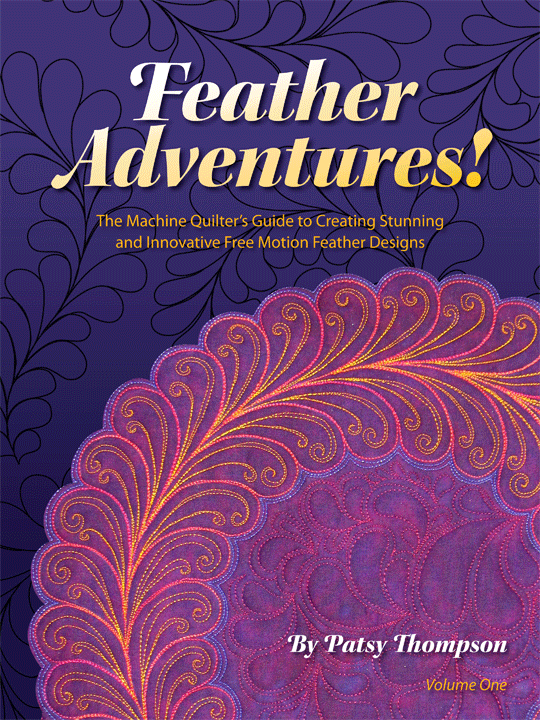
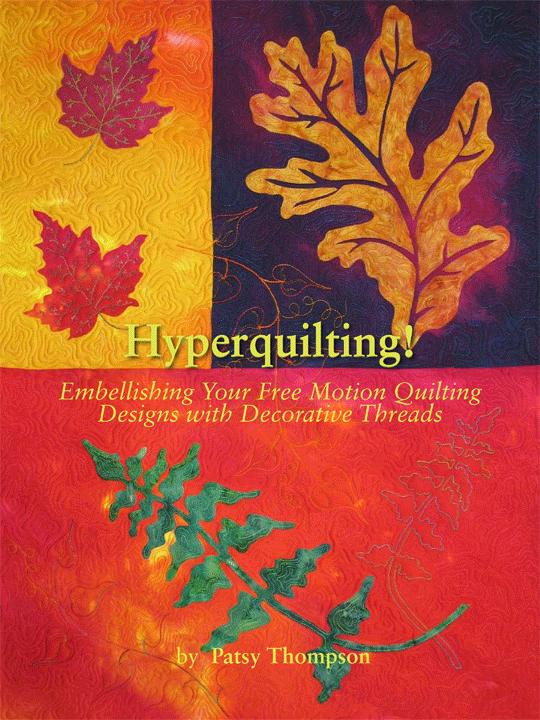
I am so proud to announce that “Feather Adventures! Volume 1” and “Hyperquilting!” are now here and available for purchase on the web site! These books have been many months in the making and are loaded with lots of fun ideas to crank up your free motion quilting to another level! Let me give you some specifics to whet your appetite:

Feather Adventures is 140 pages, full color and soft cover. This baby is loaded with tons of very large photos so you can easily see the stitching as you are learning to create all kinds of fabulous feather designs! It begins by teaching how to stitch the basic freeform feather, and then how to stitch feathers with stitched spines. Learning these basic skills is only the take-off point, though, because then we head into all kinds of interesting feather adventures! Truly, this book will inspire you to create the feathers you’ve always dreamed of…and maybe some that you haven’t dreamt yet! It is so jam-packed with inspiration that each book weighs nearly 2 lbs! Whether you’ve never stitched a feather before and are looking to learn the basics, or you already know how to stitch feathers and want to use them in creative ways, this book has something for you! Want to see more before you buy? Head to your local quilt shop where you can flip through the pages and drool! If your shop doesn’t have it yet (and they should-this baby will fly off the shelves, so if they don’t have it yet, ask them to order it right away!), then go here to watch a short video we made to give you a virtual “flip-through” of “Feather Adventures!” I must caution you, however, that you may be so stimulated by this book that you may not sleep for 1-2 nights after receiving it!

And let’s not forget about our second book called “Hyperquilting!” This book is 60 pages, full color, and softcover. This book is quite different from Feather Adventures in that it is really a primer on the technique of hyperquilting. It is a step-by-step manual of how to create a number of free motion designs that can be hyperquilted with a variety of secondary designs. Don’t even know how to stitch a “baseline design” that can be hyperquilted? Don’t worry about it, because the book will show you exactly how to stitch the baseline design and THEN how to hyperquilt it! If you’ve never tried hyperquilting before and want a manual to walk you through it step-by-step, this book is for you! Want to see more before you buy? Run, don’t walk, to your local quilt shop to do the “flip-through,” and if your shop doesn’t have it yet, then go here to watch a video flip through. Again, I must offer a word of caution…once you read this book, you’re going to need to clean out your fabric stash to make room for your new THREAD STASH!!!

And now, we need a drum-roll please…the winners of the book giveaway are:

Sally Bramwald – “Feather Adventures!”
Elaine Moore – “Hyperquilting!”

Congratulations!

Tote Bag Mania!

April 23rd, 2010

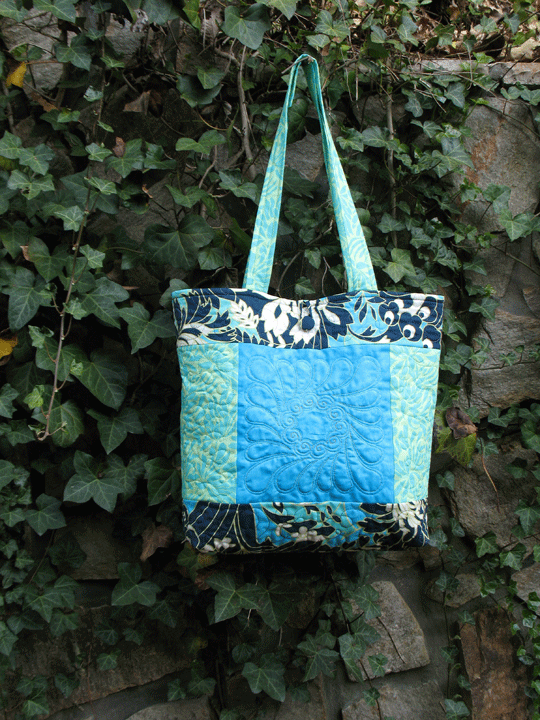
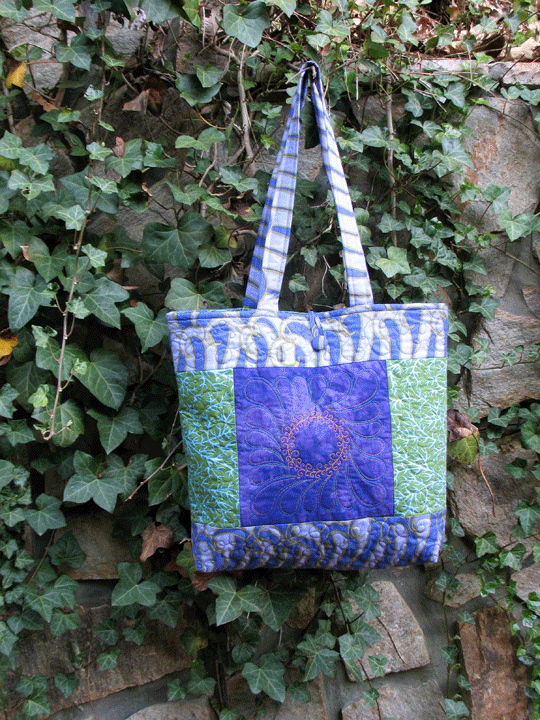
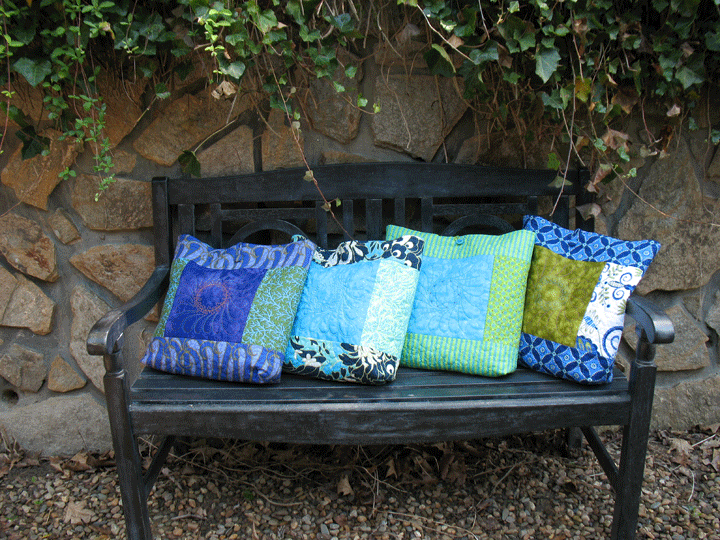
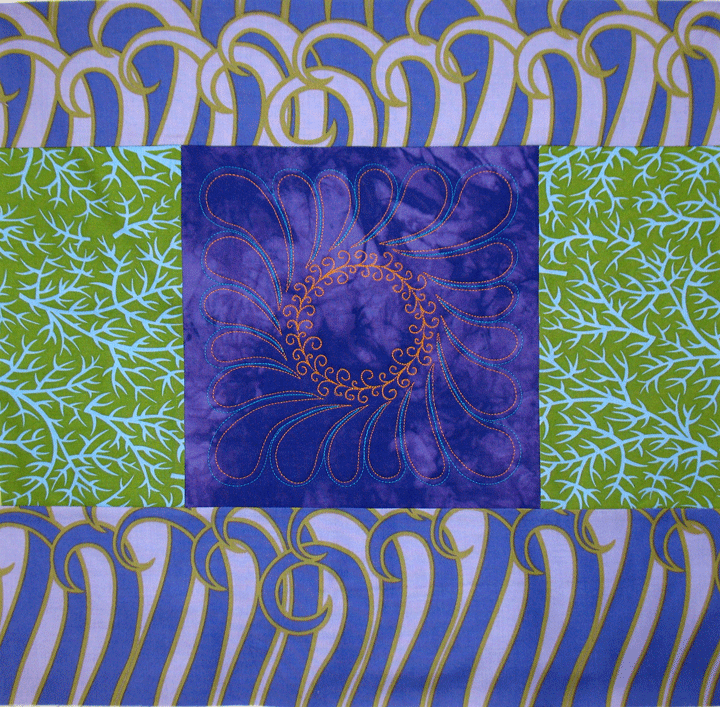
I’ve been really busy getting lots of these sewn. As you can see from the bag above, there’s a great variability in how well you can see the wreaths in the center block:

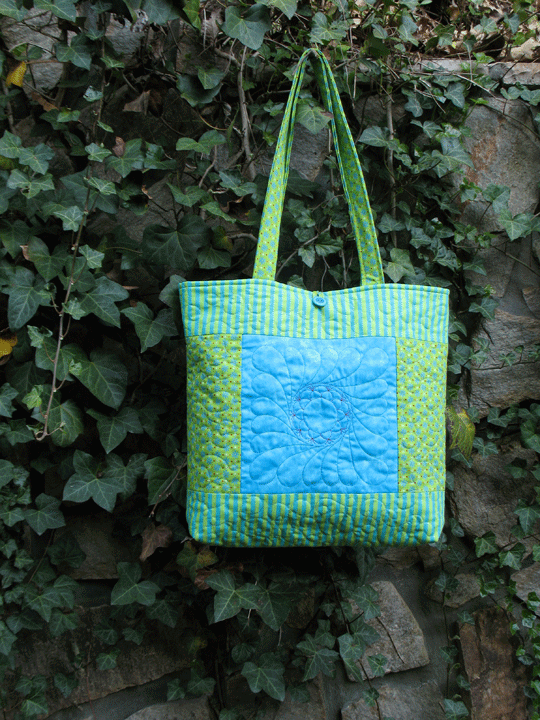
and this one made from scraps from an old animal quilt I made a decade ago is probably my favorite:

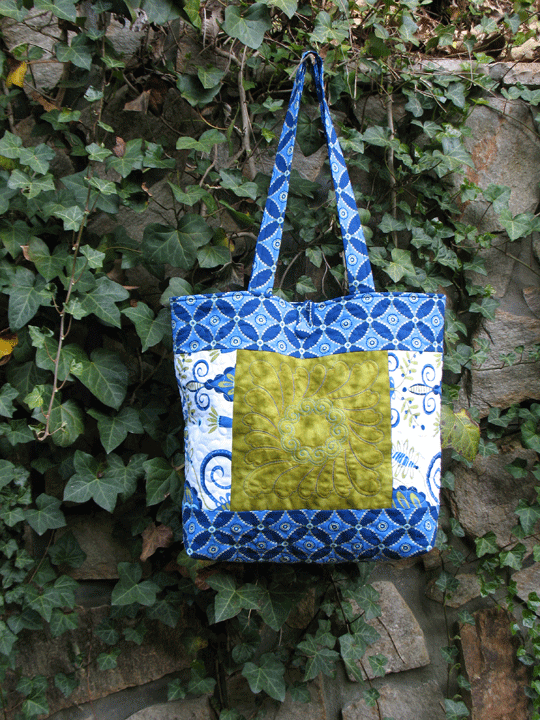
and here’s a cute one in Michael Miller prints:

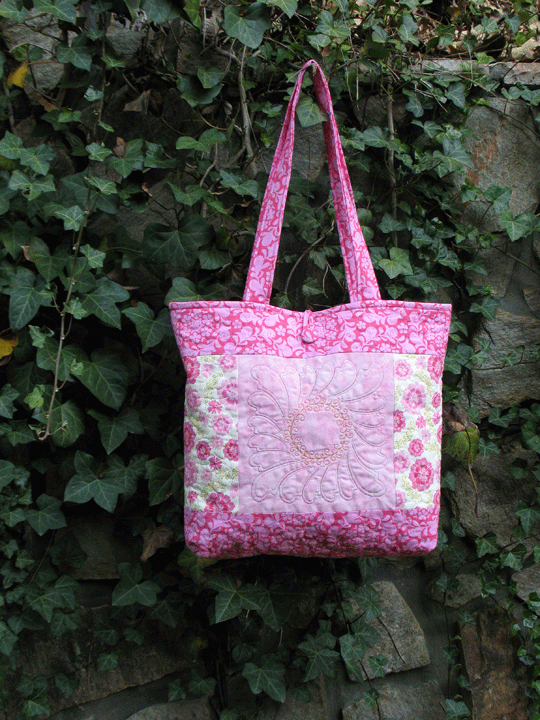
and here’s the original prototype one:

I’m learning that it’s really hard to “pose” handbags! I put a group of them on this bench, but they really look like pillows!

Do you see that stone wall behind them? That wall is about 80 feet long and in its tallest section is about 7 feet high. Would you believe that my husband and I actually stoned that wall ourselves?! It seems unbelievable to me now, but we really did it! When we finished, we were so proud of ourselves and then we realized that we still needed to grout between the stones…bummer! After stoning that wall, we figured we could do anything, so we set out to grout it. (I need to add that the stoning process involved carrying enough rocks to cover that 80 foot wall up a small hill and although that doesn’t sound bad, it was pretty grueling work. Then we “buttered” each stone individually with mortar to set them all in place, and that was after we had attached a heavy metal mesh to the original cinder block wall so that it could support the stones. Man, this is making me tired just thinking about it!) Anyway, grouting the wall involved holding what looked like these giant vinyl pastry bags that were filled with 5-10 pounds of mortar, and then with one hand squeezing the mortar through a narrow tip in between the stones. I’m not describing this well enough, but trust me, it was HARD!! Anyway, we learned very quickly that we couldn’t finish this last part, so we paid a stone mason to grout it. But, I still feel pride every time I look at that wall, knowing that Ern and I helped create it!

Catching Up

April 13th, 2010

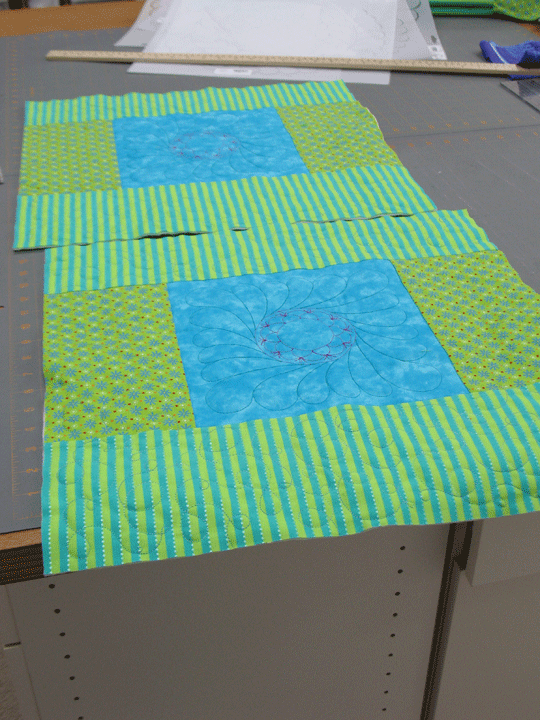
Boy, it has been a long time since my last post! Kathy of Alaska won the thread giveaway, which worked out well since she had just ordered a new long arm machine and was awaiting its arrival. I have been furiously working on preparations for Spring Quilt Market, most of which has proven to be very time consuming and not as much fun as I’d like! But, one fun thing has been sewing tote bags for quilt shop samples for market. Here are the pieces of the prototype as they were being created:

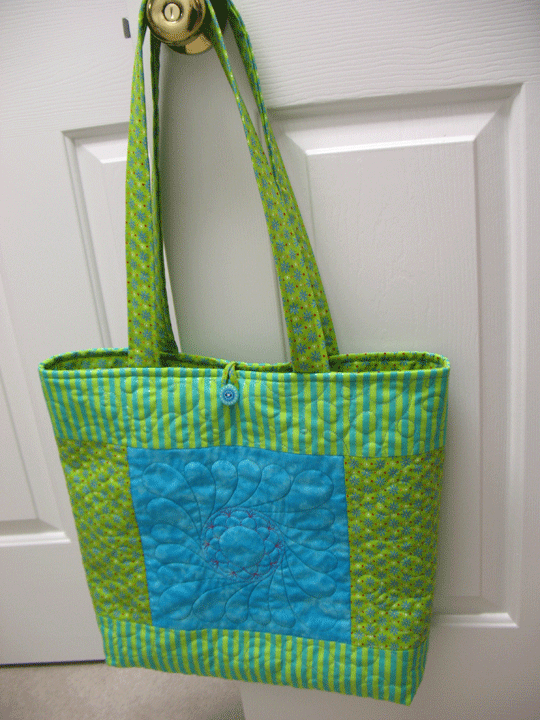
…and here’s the prototype finished as it hangs on a doorknob:

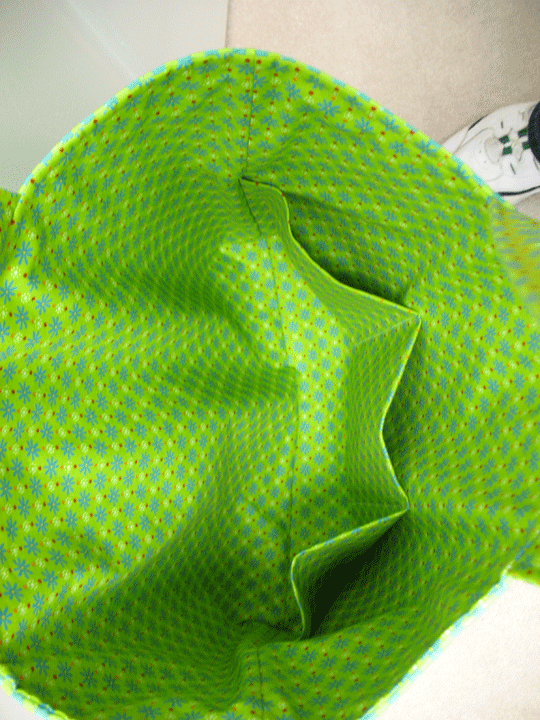
…and here’s the inside; you can add pockets on both sides or not:

I now have several of these in various stages of completion. One thing that has been kind of fun has been working with fabrics that are part of collections since I don’t normally do that. My favorite right now is this tote based on fabrics by Jane Sassaman. (This is just the front; the tote’s not finished yet):

All of these totes have a center square that fits an 8 inch wreath with a variable center; that’s the fun of the totes! I don’t use fusible interfacing very much and all the linings use fusible interfacing, so I jumped over to Kathy Mack’s blog at Pink Chalk Studios and reviewed a wonderful tutorial on fusible interfacing that she posted a long time ago and it was just what I needed to get me fusing!! Really, if you need some good tips about how to get great results with fusible interfacing, this is the clearest, most concise tutorial I’ve ever read! And if you’re in the mood to just plain read a fun and colorful blog, add Kathy’s blog to your regular reading list!

And speaking of great blogs, make sure you head back to Kelly’s blog at I Have a Notion! Don’t forget that she’s hosting a 31 day giveaway that ends in 2 more days! Take the time to scroll backward and review every post because you can still be in the drawing for each day’s giveaway but only if you make a comment by 4/15/10!! She’s got some really great stuff that she’s giving away, so make sure you scroll backward for the entire month’s worth of postings!

And an update on the Feathers book…it’s still being printed and will take longer than we were told…total bummer, but there’s nothing I can do about it, so I’m trying to think about other things! It’s still coming and it will definitely be here in time for Quilt Market, but beyond that, I’m not feeling like I can count on anything, so we’ll just have to ride this out. But, I promise it will not disappoint and don’t forget, if you post a comment on the 3/18/10 blog post, you’ll be part of the giveaway for both the Feathers book and the hyperquilting book!