August 19th, 2010
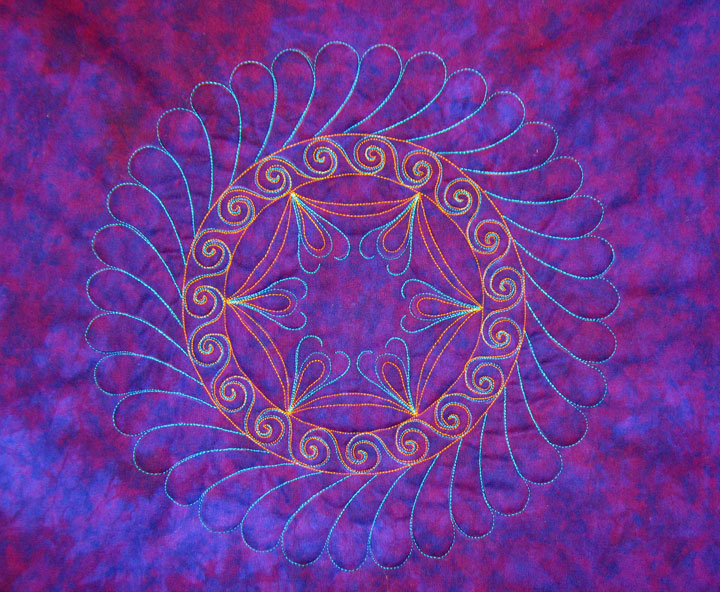 Man, oh man, I just can’t get away from these feathered wreaths! This one is PT36 and I used the swirl spine design inside the empty double spine zone. It looks pretty complicated because it’s stitched in multiple colors, but it’s really not tough to stitch when you break it down into sections. I started by tracing both stencils (the wreath and the inner spine design) and then I stitched the swirl portion in turquoise rayon thread:
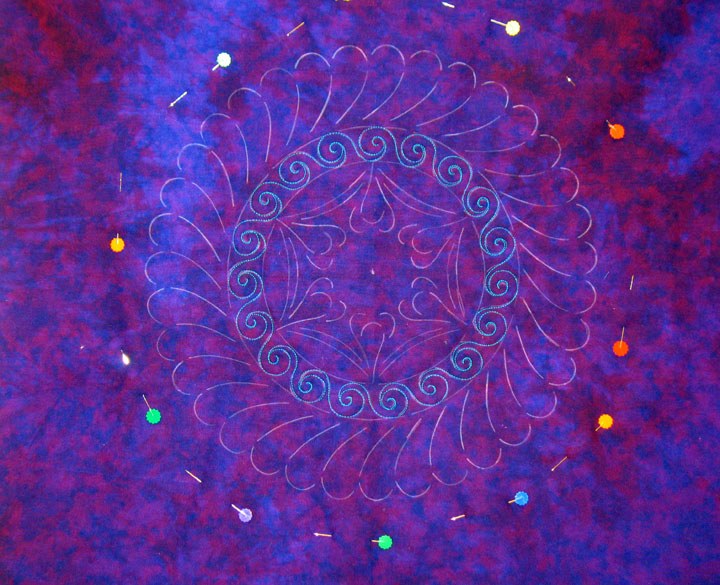 At this stage, I was kind of bummed out that the swirl didn’t have any pizazz, so I echo-quilted along one side with gold rayon thread. I only echo quilted along one side because I thought the gold might be overpowering on both sides, and I’m glad I stuck to just that one side:
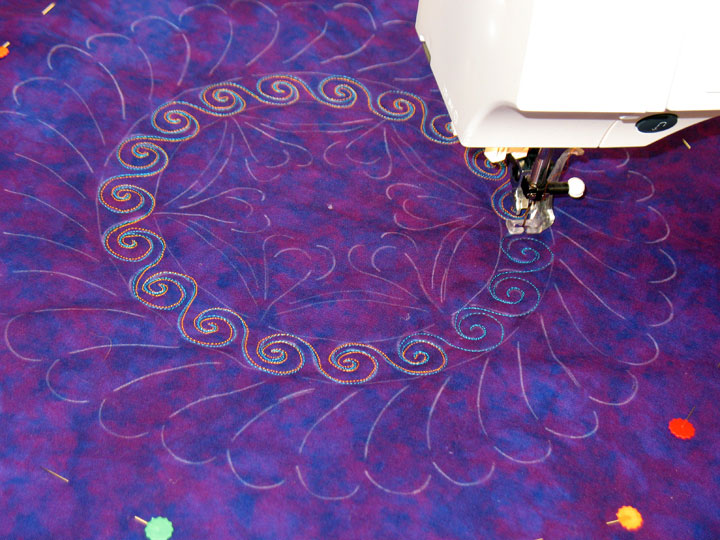 I finished that spine zone by outlining it in gold thread on both sides:
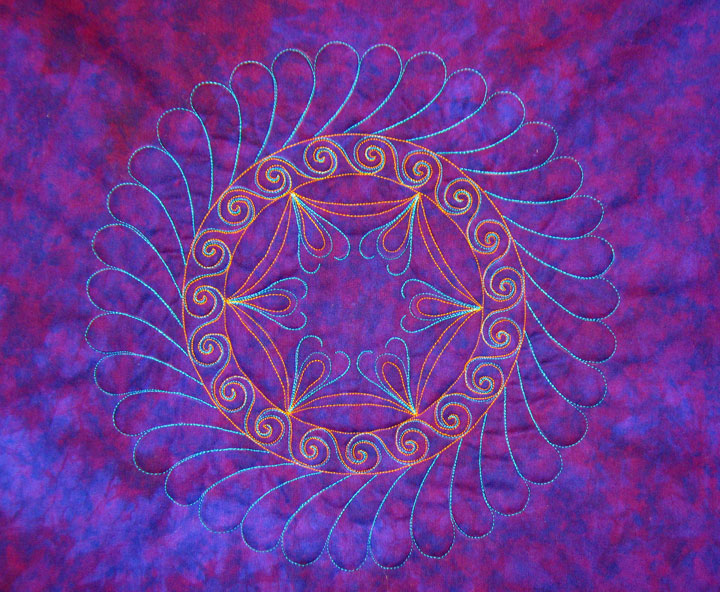
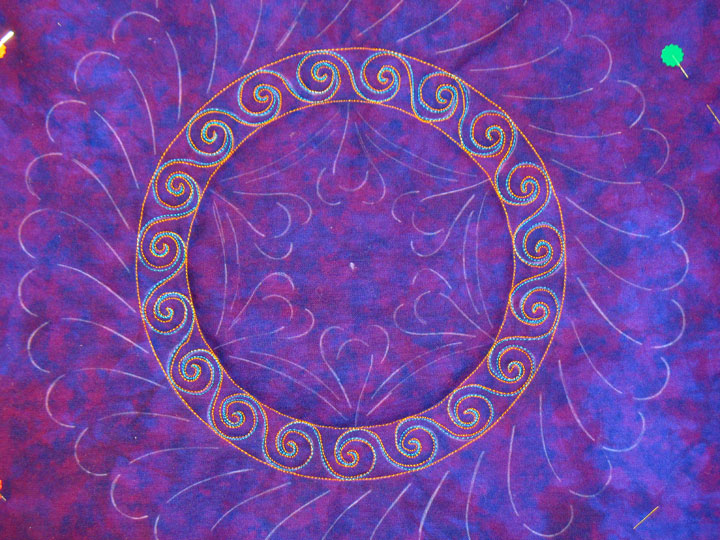 Next up, I stitched my inside swags in gold, then added the solitary plumes and swirls. The last thing I did was to add my outside plumes in turquoise rayon thread. Here’s the whole thing finished:
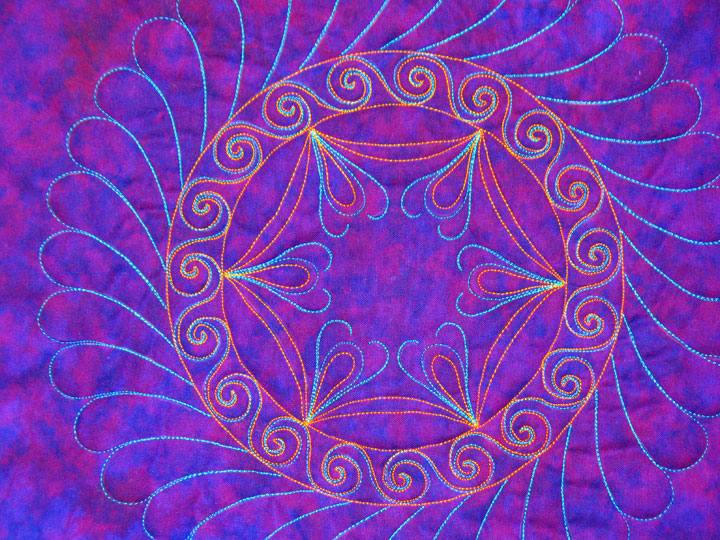
 …and here’s a close up of the center; it looks so intricate that I think I’d better leave the outer plumes as-is (meaning no hyperquilting) because that might take away from the intricacy of the wreath center:
 I have been having so much fun with playing around with feathered wreaths this summer that I want to share the joy, so we’re putting our stencils on sale! From now through 12:01 am 8/27/10, you’ll get a 15% discount on feathered wreath stencils (for retail and wholesale orders) if you write aug15 in the discount code box at checkout. I’m not kidding; these really are addictive because you can put your own spin on them to make the design your own!
Filed under
Site Updates.
August 16th, 2010
I started on a new quilt block this weekend:

Once I have some time, I plan to make a large quilt using this block design but for now, I’m just making a small wall hanging because I need a border zone that I can quilt while I demo some hyperquilting at the Checker Open House next Monday. The center has a Texture Magic portion surrounded by 2 petal zones:
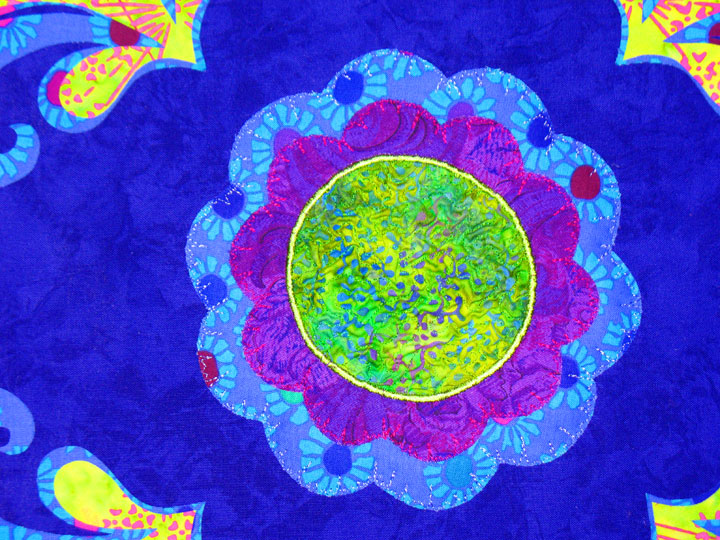
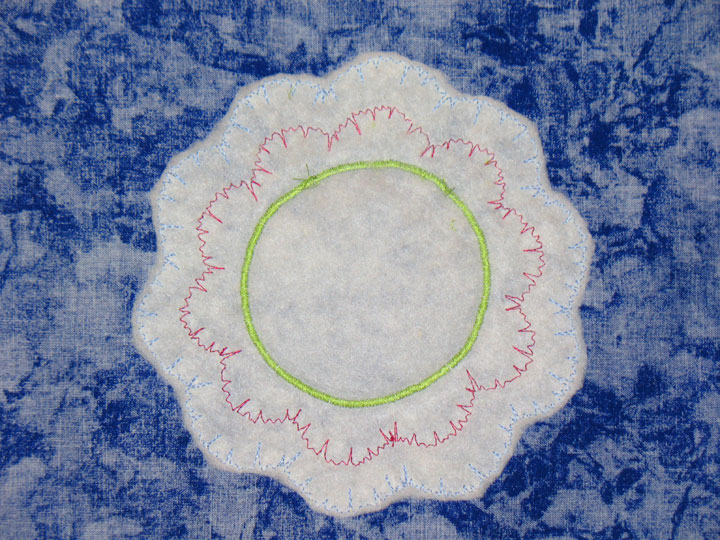
Of course, the appliqued areas will all be trapuntoed and here’s a shot back side of the central portion now:
I need to get this all finished this week, so I’ll post the final pictures as I get them done. But, I wanted to post about 2 fun events coming up in the next month. The first is the annual Quilting with Machines conference in Huron, Ohio next month. It runs from September 22nd to September 25th, and it’s a wonderful chance to connect with machine quilters from all over who love to machine quilt! It has something for long armers, mid armers, and even those of us who quilt on home domestic sewing machines! If you’re looking to learn about machine quilted feathers, sign up for my 2 classes, (Feathers Part 1 and Feathers Part 2), each of which will cover different topics in feather quilting. I can’t wait to check out the vendor’s mall because a lot of the things we machine quilters use just aren’t available in the average quilt shop, and this is a great way to find out about them!
Another fun event is coming up on September 11 at The Quilt Foundry in Maumee, Ohio. I’ll be doing a book signing but I’ll be giving a talk and probably a bit of a demonstration twice on that day. Call the shop at 419-893-5703 to sign up for one of the talks so you’ll be sure to get a seat…I’ll look forward to seeing you there!
Filed under
Site Updates.
August 9th, 2010
I’m still alive and kicking! I’ve been working on finishing up lots of loose ends, like the outer border on this small quilt I started a few months ago:
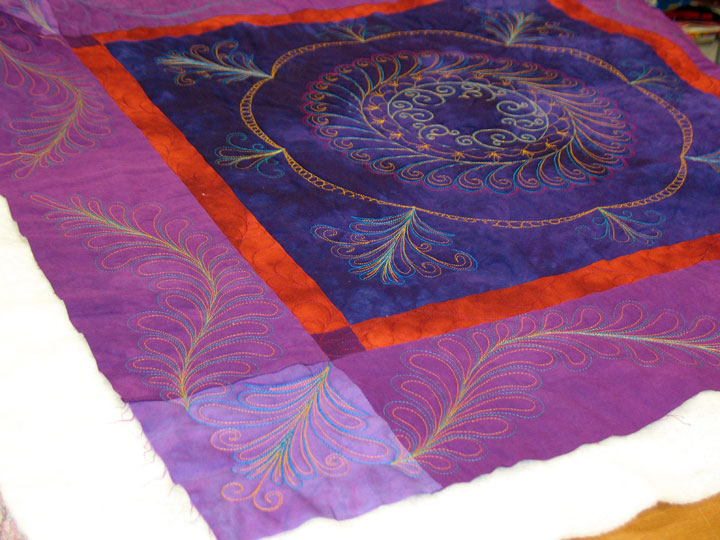
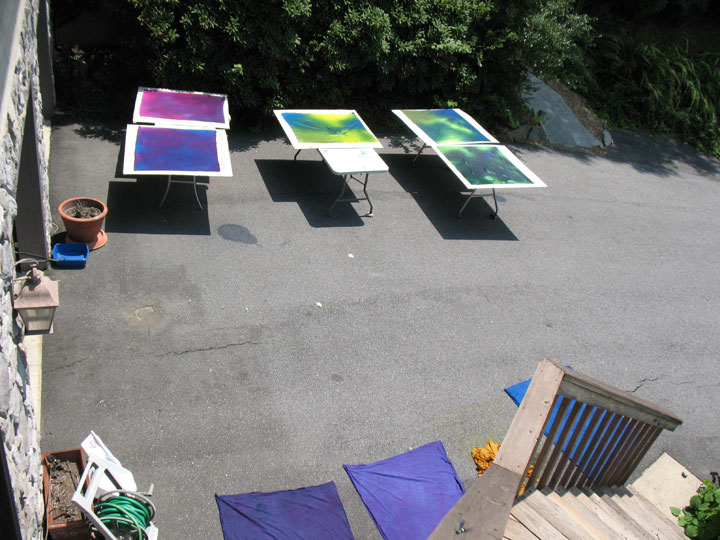
I still need to hyperquilt 2 sides and bind it, but then it’s done, done, Done! I got to do a bit of dyeing outside this weekend:
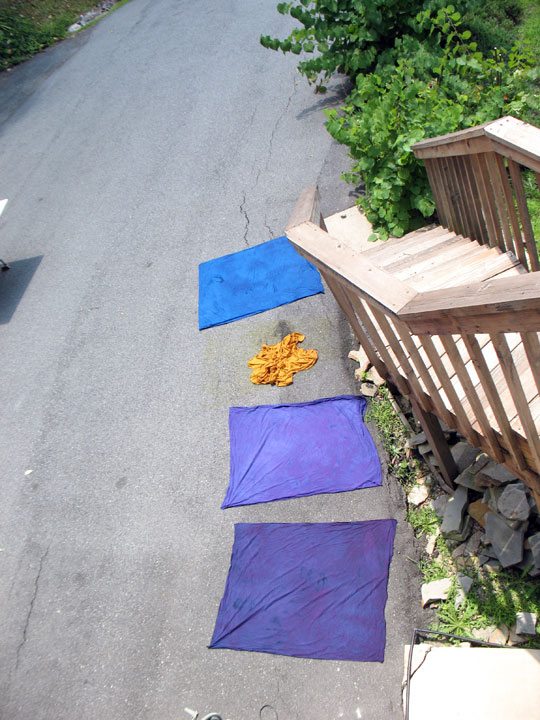
…and here are some yardages drying directly on the driveway in the hot sun:
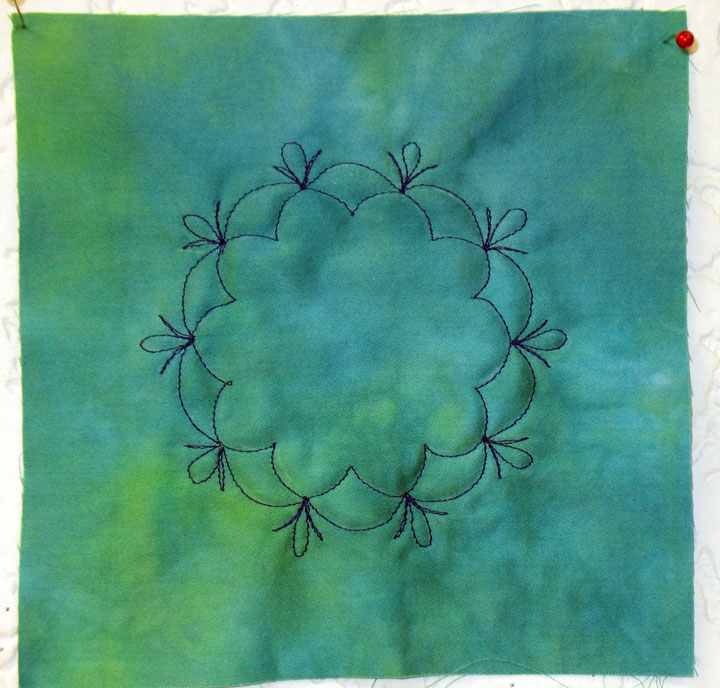
And here’s a quickie pincushion I threw together today. I started off with a 6-inch square of fabric, placed a small scrap of wool batting behind it, then I quilted one of the square wreath stencil designs in the center:
I cut away the excess batting, leaving the backside looking like this:
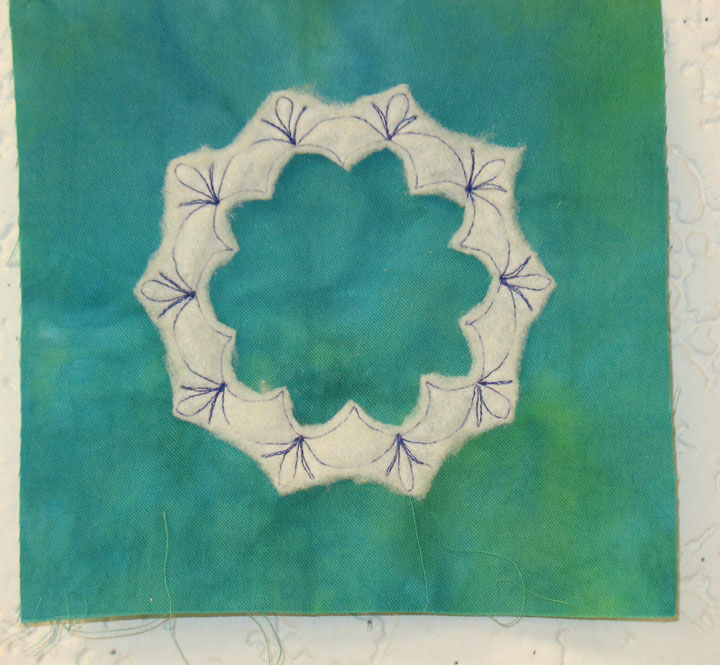
Then I placed a piece of silk batting behind the whole thing and outlined the original design in gold rayon thread:
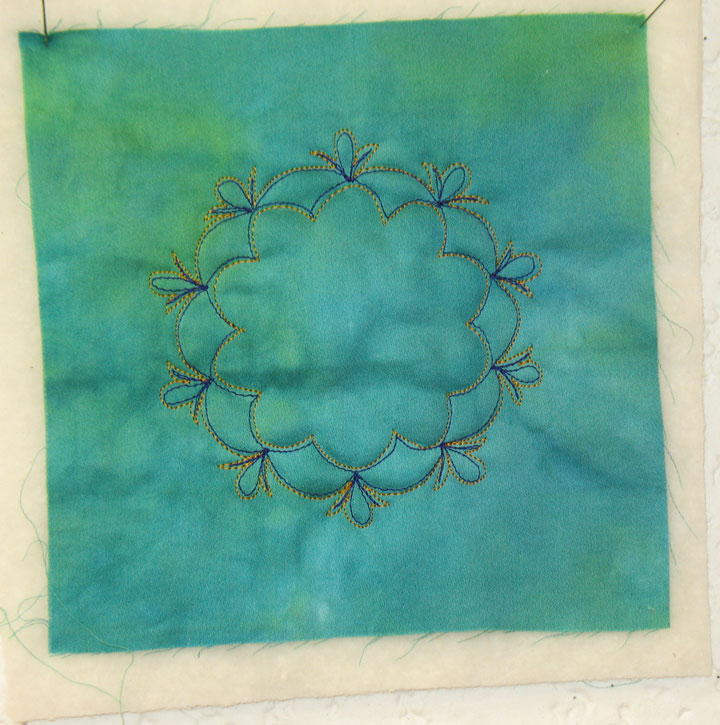
I quilted the surrounding area in a low contrast thread, then quilted a back side for it and once I’d trimmed them down a bit, I sewed them together to arrive at this:

Not sure the trapunto even shows up…rats! I’m going to try this again in a different colorway with a different center design and we’ll just see whether it’s worth the time…
Filed under
Site Updates.
 Man, oh man, I just can’t get away from these feathered wreaths! This one is PT36 and I used the swirl spine design inside the empty double spine zone. It looks pretty complicated because it’s stitched in multiple colors, but it’s really not tough to stitch when you break it down into sections. I started by tracing both stencils (the wreath and the inner spine design) and then I stitched the swirl portion in turquoise rayon thread:
 At this stage, I was kind of bummed out that the swirl didn’t have any pizazz, so I echo-quilted along one side with gold rayon thread. I only echo quilted along one side because I thought the gold might be overpowering on both sides, and I’m glad I stuck to just that one side:
 I finished that spine zone by outlining it in gold thread on both sides:
 Next up, I stitched my inside swags in gold, then added the solitary plumes and swirls. The last thing I did was to add my outside plumes in turquoise rayon thread. Here’s the whole thing finished:
 …and here’s a close up of the center; it looks so intricate that I think I’d better leave the outer plumes as-is (meaning no hyperquilting) because that might take away from the intricacy of the wreath center:
 I have been having so much fun with playing around with feathered wreaths this summer that I want to share the joy, so we’re putting our stencils on sale! From now through 12:01 am 8/27/10, you’ll get a 15% discount on feathered wreath stencils (for retail and wholesale orders) if you write aug15 in the discount code box at checkout. I’m not kidding; these really are addictive because you can put your own spin on them to make the design your own!


