What’s Your Take on This?

July 31st, 2011

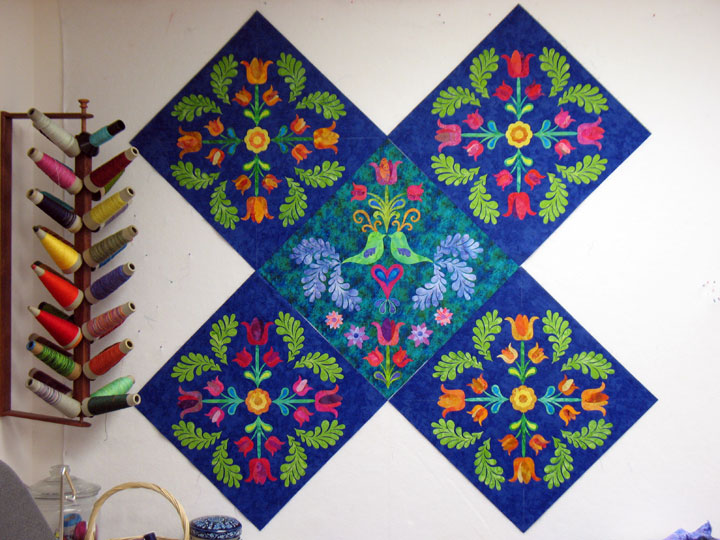
I’m finally at a place where I can make some headway on the trapunto and free motion machine embroidery of the tulip blocks I’ve fused up, and as I’m doing this, I need to figure out which arrangement will make it to the final quilt. Here’s option #1:

(This option has a very different color background fabric in that center block). And here is option #2:

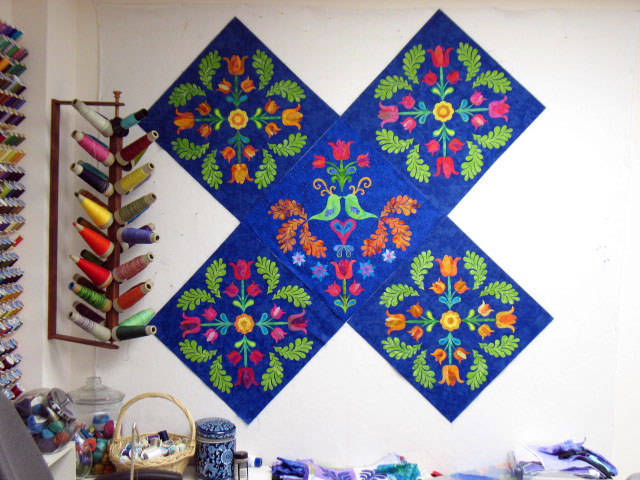
(This second option has a center block with somewhat similar background fabric, but it’s not exactly the same as the other 4 blocks.) Which layout do you like better and why? I know, I know…you’re thinking that you can’t possibly know which one’s better without seeing the fabric for the side setting and corner setting triangles! I haven’t figured that part out yet but as soon as I do, I’ll post some photos with that fabric in place. But until then, what are your thoughts?

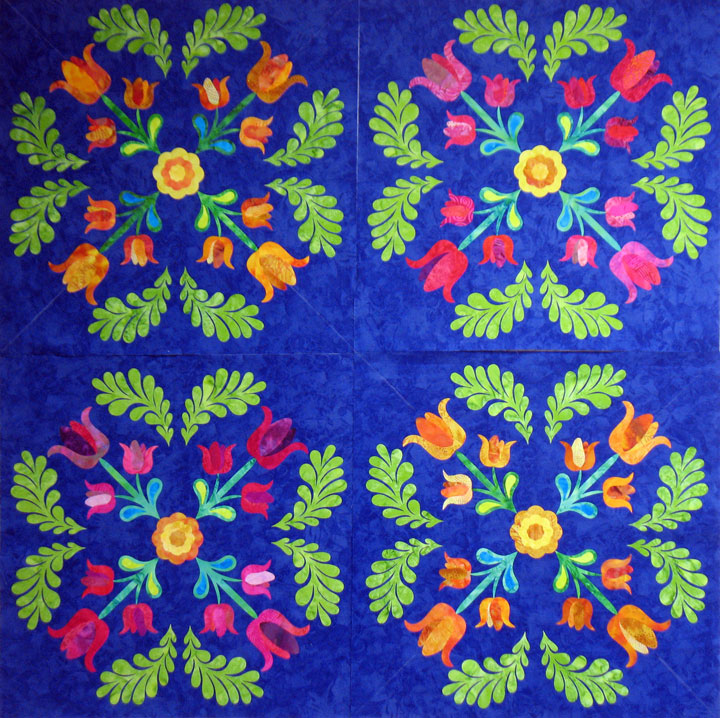
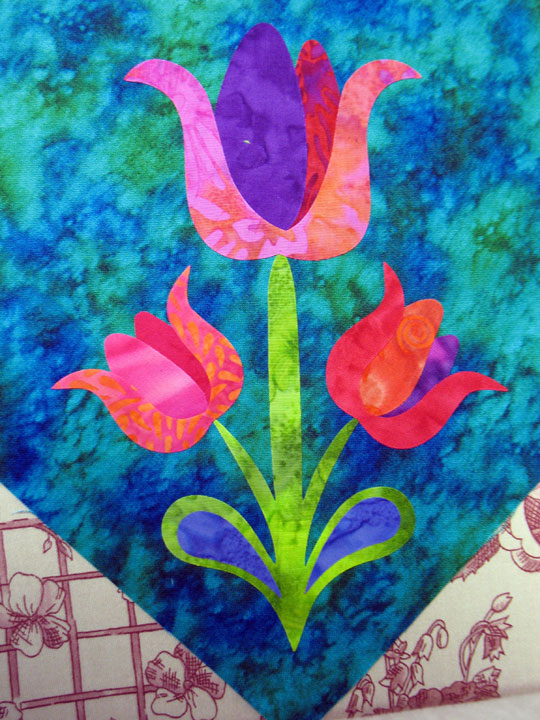
The four outer blocks are red/pink and orange/gold variations of the same layout. The only thing I’ve changed since my original layout is that I’ve added some internal teardrops inside the stem bases:

I’ve loved every minute of playing around with these applique shapes! Here’s another layout that I’m going to use for another quilt sometime in the future:

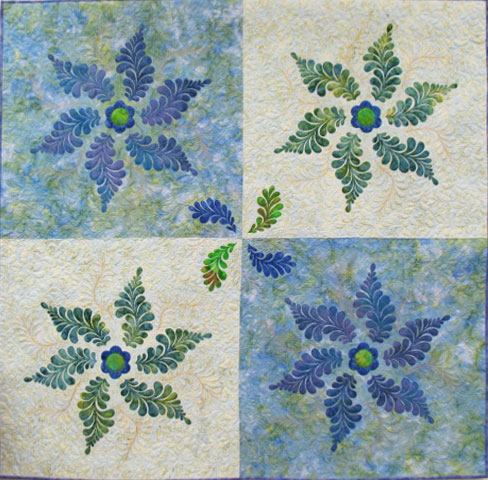
Wow, I think these blocks are a knockout even when they’re set on square! I think if I used lots of them in a quilt, I might add one more shape where all 4 blocks come together. Hmmm, something to ponder, but that quilt’s a long way off as I need to finish this other one first! In the meantime, here is a picture of the completed quilt, “Dancing Feathered Star 2:”

It sure feels good to get a project totally done! Now back to my tulip quilt…

Lots of Stuff

July 25th, 2011

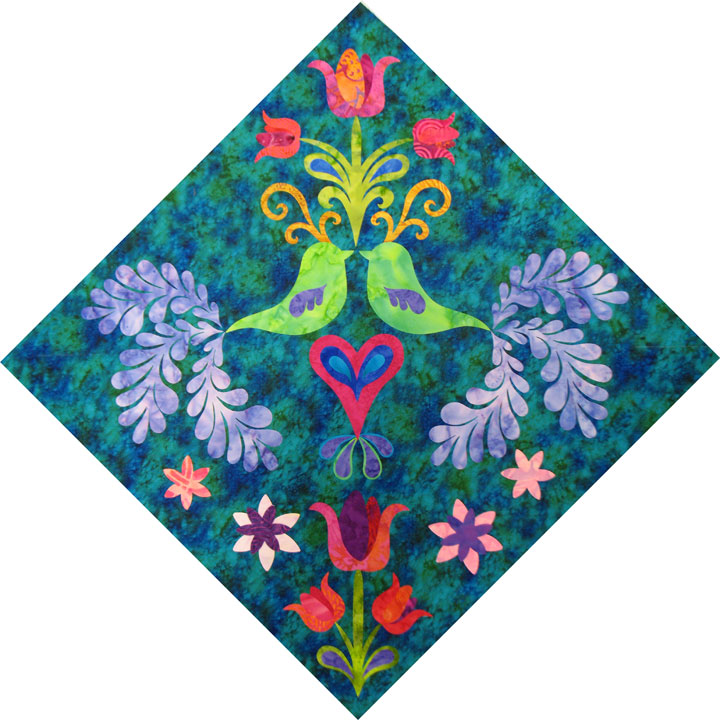
I fused up another center block option this weekend as I’m not sure that my original background fabric choice was a good one.  Don’t ya just hate it when you’ve put in a bunch of time on something and then realize that maybe it wasn’t the world’s greatest idea to begin with?!  Oh well, I’m sure both blocks will get used at some point.  I’m away from my design wall now but I’ll post some pictures soon once I can arrange all the blocks up there and can get an idea of how things look together.  For now, here’s the original center block that I made:
Today was the first day I’ve been able to work on the free motion embroidery of the other blocks on this quilt, and it’s been really hard not to work on them! I’ve been on a type of self-imposed exile. A few weeks back, I began quilting this quilt:
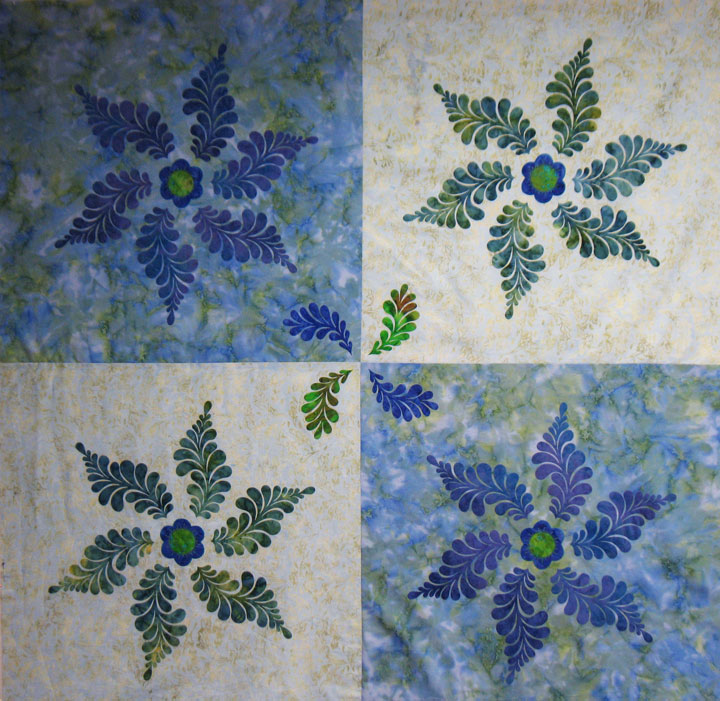
…and truthfully, the quilting was somewhat disappointing to me. The more I worked on it, the more disappointed I became! I like the quilt well enough, but the quilting added nothing to the overall design. Here’s an example:
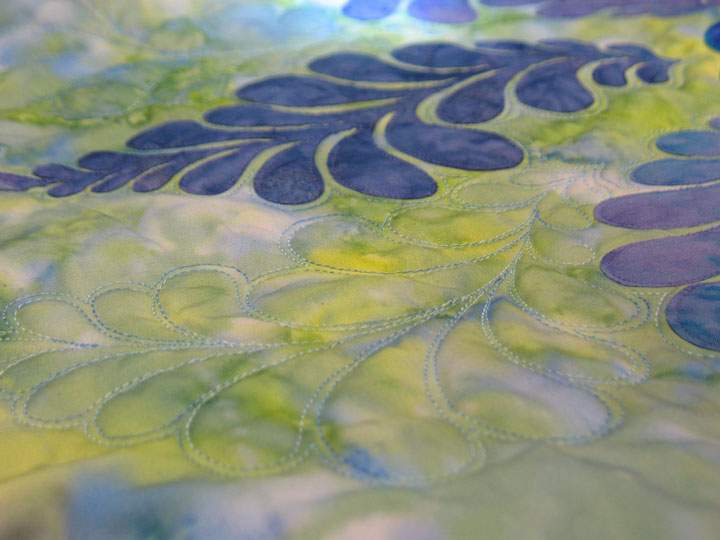
I quilted these feathers spinning off the center in curves that mimicked the applique feather curves. Unfortunately, my thread choice was so subtle that you couldn’t even see those curves! I tried to save it by hyperquilting the feathers in a more contrasting thread:
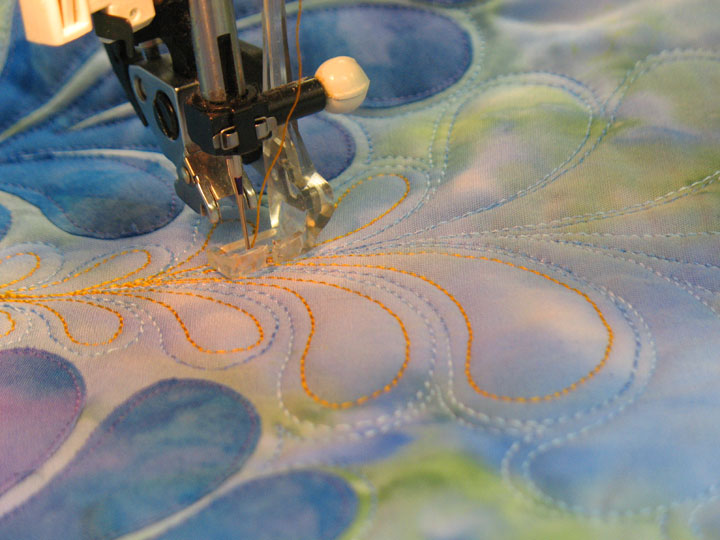
…and although that shows well in this closeup photo, it’s still barely noticeable when you look at the whole quilt. I thought things would get better once the background was quilted:
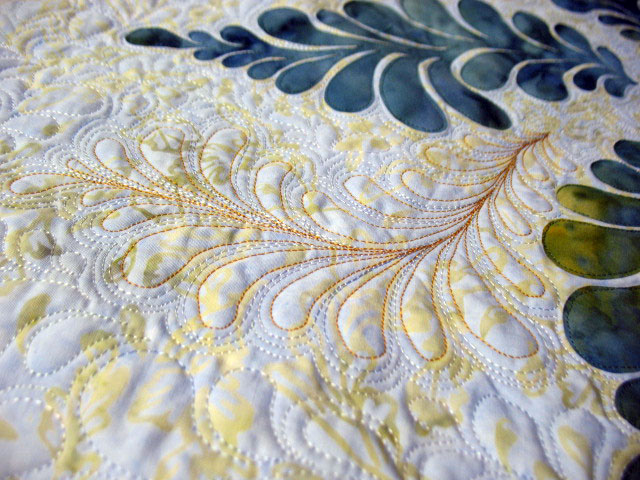

…but you can see that even on the lighter blocks, the curves of the feathers barely show up!! Arghh! Suffice it to say, the further I got into this quilt, the more I was tearing my hair out! It got to the point where it was just painful to work on it, so I had to ban all other quilting/free motion embroidery work until I finished the darn thing! But…I am happy to say that it is now completely quilted and bound and I can move on to fun stuff! I’ll get a photo of the whole quilt once I can access my design wall again and you’ll see what I mean.

And now for something exciting, at least to me! Many years ago, I won an embroidery machine but it has never been used as I had no idea how to use it and really didn’t have much time to put into learning. I love quilting so much that I just couldn’t justify taking the little time I had for quilting and using some of it to master that darn machine! I’ve been admiring some of the beautiful machine embroidered applique work that folks have been doing, and decided late last year that I needed to learn how to use this machine. My plans were thwarted when my wrist got messed up last winter, but last week, I was checking out this blog post by Sew Cal Gal, and I was just mesmerized! Actually, I returned to her site many times a day and drooled over those photos (make sure you click on them to enlarge them), and then I realized that I really did need to learn how to do this! Long story short, but I finally had my first lesson on how to use my embroidery machine and each day, I’ve been embroidering a design to learn the basics of how to use this thing. Don’t get me wrong, I love free motion embroidery and free motion quilting and these are my first loves, but I’m thinking that I can be embroidering applique blocks on one machine while I’m doing freehand work on another machine and maybe I can get more quilts finished faster this way. I then went online and purchased Sarah Vedeler’s CD to embroider the applique hearts and this is going to be my lesson to teach me how to do this. I won’t be able to start on this for a few weeks but I cannot wait to give it a try! In the meantime, if you’re looking for some eye candy, scroll through these posts on Sarah’s site so you can appreciate the detail in her embroidery closeups…you may get hooked just like me!

A Feel Good Video

July 19th, 2011

To put a positive spin on your day, check out this video:

Filling Space with Applique

July 19th, 2011

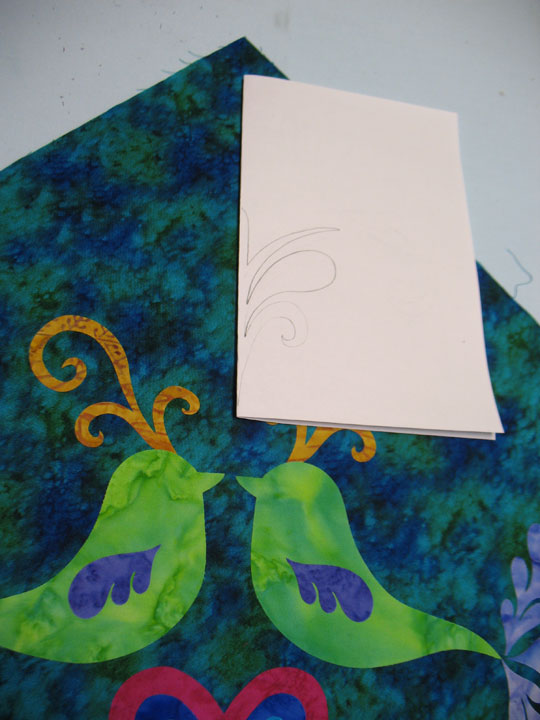
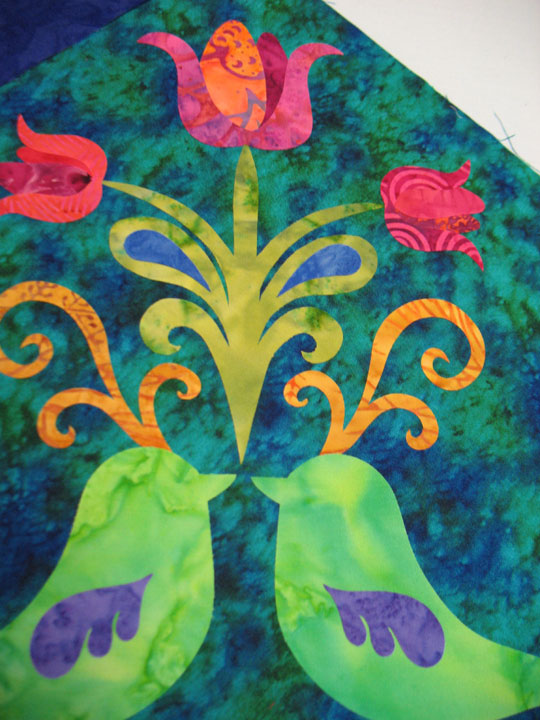
This is what my center block looked like once I got it back to Ohio. When I look at this block, there are 2 primary places where I have empty space that needs to be filled; the top portion above the birds and there is some space besides the tulips that needs work. Let’s start at the top section, and remember, there’s a soap line that divides the top section into an east and west territory, so we’ll use that soap line to guide us in placement. I began by fusing the swirl headresses in place, and again, that center soap line really helps me in placing those pieces. Next up, I took a piece of scrap paper and folded it in half, then placed it right up against that center soap line:

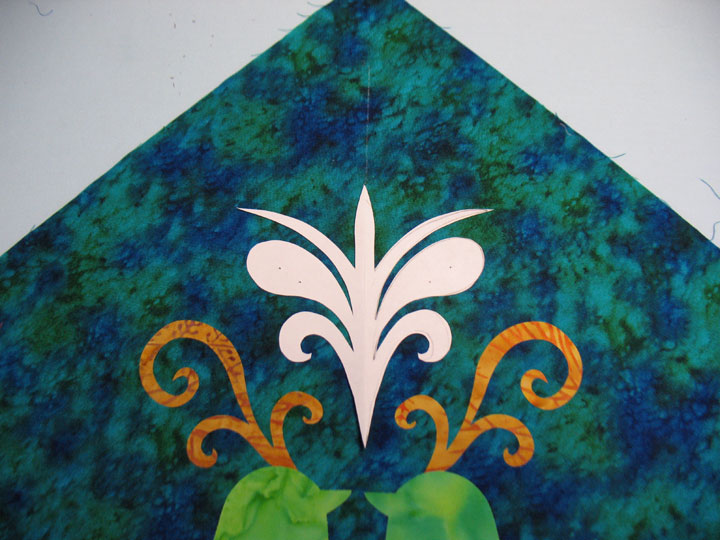
While it was in place, I drew a rough sketch of half of the splay that would arise from the birds. By doing a rough sketch with it in place, it’s easier to know that my new shape wouldn’t “over-ride” the headdresses. I finalized my sketch and then stapled the paper folded shut so it wouldn’t move as I cut it out. Once cut, I lined it up against the soap line to make sure it would leave me enough room to add some flowers flowing from it:

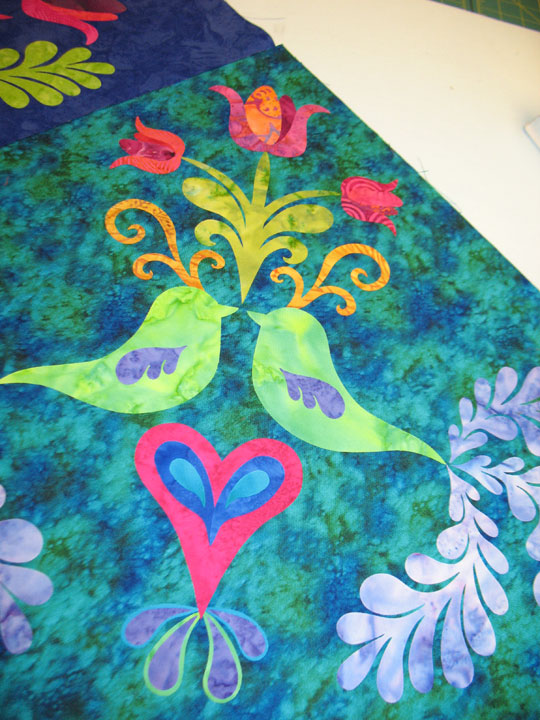
(I didn’t take a picture of it, but I placed the outer petals for each of the 3 tulips in place as well.) Once I knew it would work, I traced that shape onto Wonder Under, fused it to the wrong side of my fabric, and cut it out with scissors, the old fashioned way! Then I fused that new splay with tulips onto the top section:

…and then added the internal teardrops:

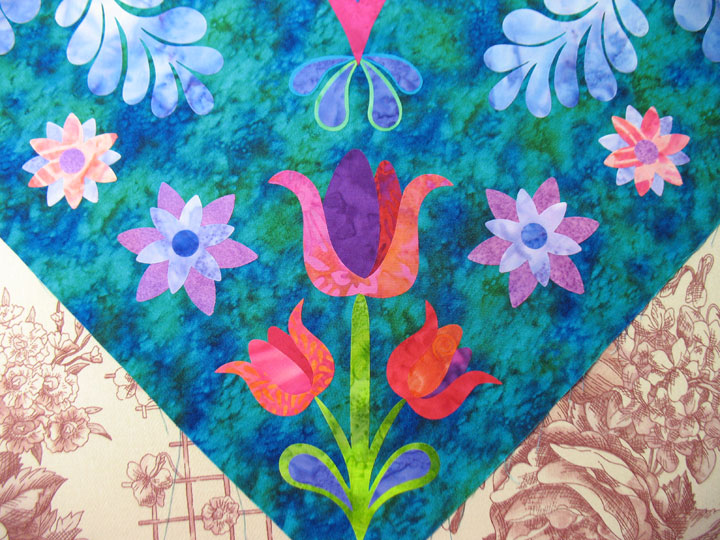
And the space at the bottom was easy to fill. I cut some flowers from a Sizzix die and just placed them across the bottom until it looked like the space was adequately filled:

Fusible Applique on the Go

July 12th, 2011

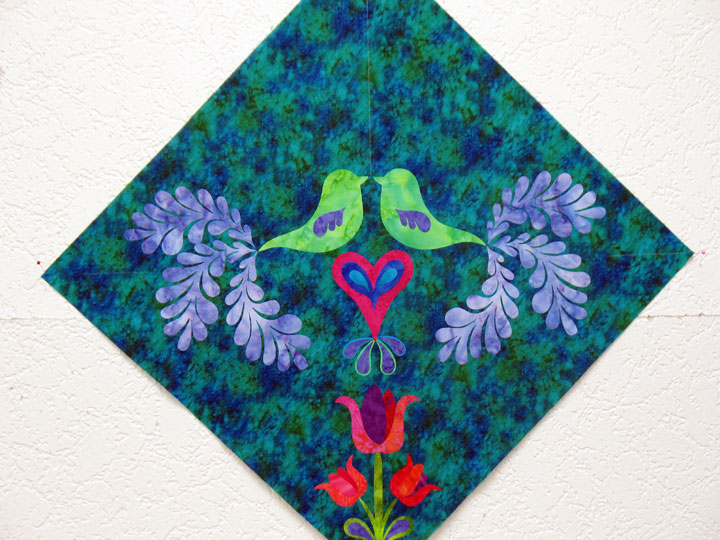
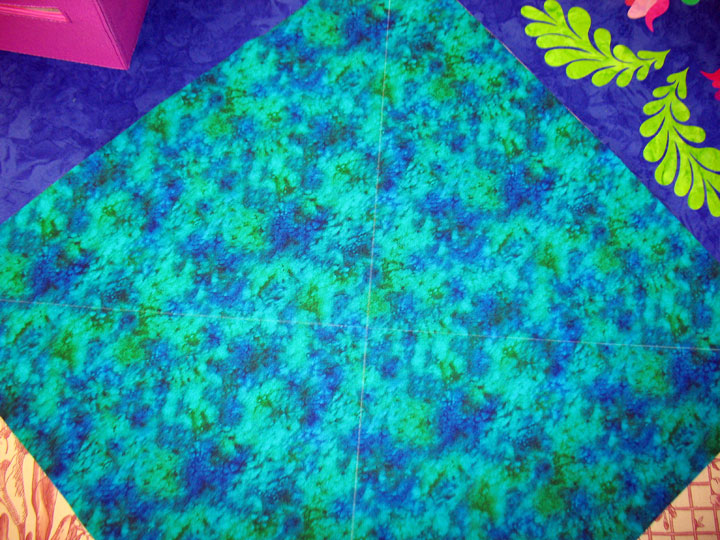
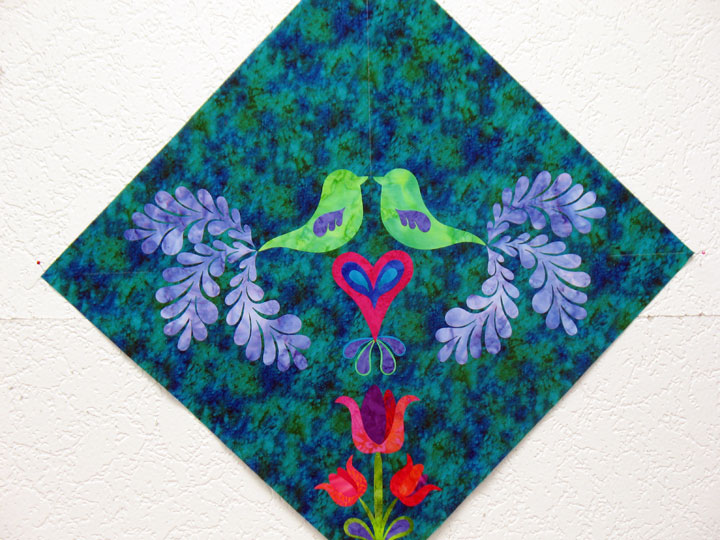
This is the center block for my new applique quilt, as it stands currently.  (It’s not done yet.)  One of the biggest challenges I have is that I’m always about to leave wherever I’m at, so I’m constantly having to pick up a project that’s only partway done to move it to a new location where I can work on it again.  This can be difficult, unless you can get a project to a point that you can move it and still have necessary landmarks in place without losing the ability to add on to it later.  I thought this block would be a good example of how I’ve learned to work.   As always, the first thing I do when I start a new block is to establish my landmarks with soap lines:

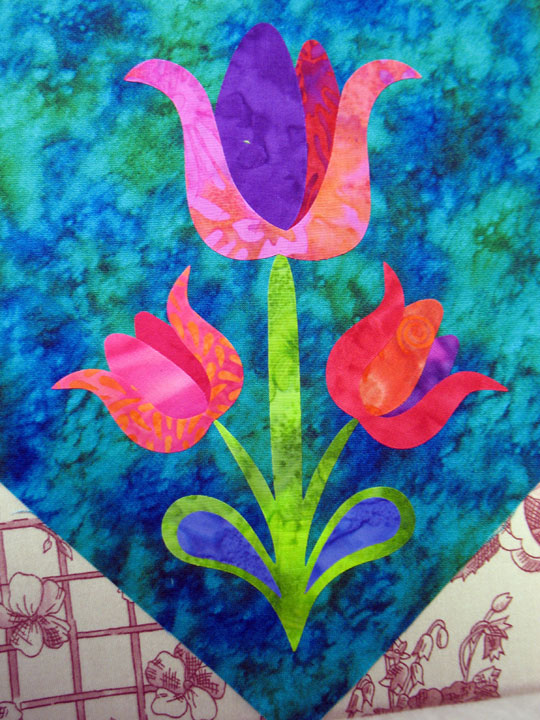
The first thing I did was to place the set of 3 tulips emanating from the base of the block, and this was easy because I had that center soap line as my guide:

(Again, you’re not seeing the soap line anymore since it disappeared when I touched the area with my iron to fuse the applique shapes in place.)  From there, the next thing I wanted to place were my 2 birds that kiss across the center line.  Because each bird has 3 tail feathers that splay outward, I knew I needed the widest part of the block for them, so I placed the pieces in the midsection of the block.  I didn’t fuse anything at that stage, since I couldn’t be certain of placement until I had something that kind of “anchored” those birds in place.  Enter Mr. Heart; I’ve found that hearts are always an easy fallback shape when you’re trying to anchor structures to something:

So now I was out of time and ready to fuse, but I didn’t have enough time to decide what color I wanted to make the headdresses for the birds.  This was a problem, since the bottom of the headdress needs to slip just underneath the bird’s head.  This is where you learn to buy yourself time so you can pick up and move a project in process.  I left the release paper underneath the top half of each bird’s head, so once I got to my next location, I’d be able to slip the next piece of applique underneath:

In my next post, I’ll show you how I picked things up once I got to OH!  In the meantime, though, I want to point out how much punch adding a little bit of extra detail can add to your applique:

Teardrops go a long way to making a simple heart look far more complex and they can even “juice up” a simple stem with stylized leaves:

And one more thing…if you are the very kind person who made an incredibly sweet comment about our YouTube videos, thank you so much and please know that your comment was much appreciated. My YouTube account is weird and 99% of the time, I’m unable to respond to a comment, so that’s why I couldn’t address that personally.