Spinning My Wheels

September 27th, 2011

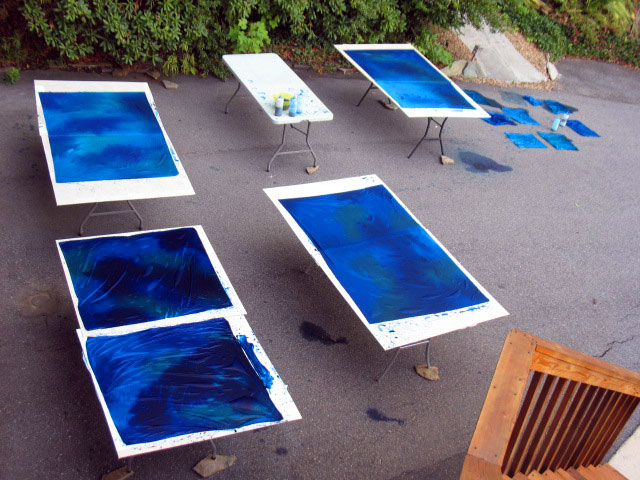
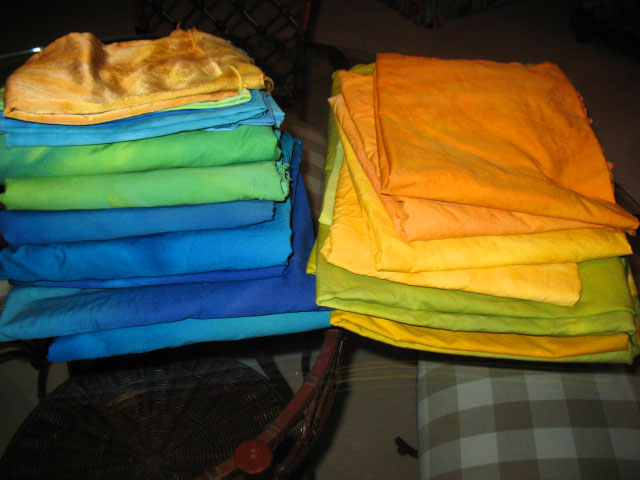
My hands have been in so many different projects over the last 5 days that even I am dizzy!  I am scrambling to get some large volume dyeing completed before the weather turns too cold.  I can dye all winter in the garage, but I need lots of larger yardage pieces (i.e. at least 2 yards each) and there isn’t space to dye large yardages unless I’m working outside.  These are Egyptian cottons that are great for piecing and every once in awhile I’m throwing in a  smaller piece of another fabric type to use up the end of a dye color:

I finished all the free motion embroidery and trapunto on the tulip quilt about 1 1/2 weeks ago and had to wait to bring it to NC so I could spray baste it.  Here’s a shot of the backside (the colors are very washed out looking as these are all printed commercial fabrics) and you can see that there’s a lot of trapunto.  Every applique shape except for the stems are trapuntoed, and those are free motion embroidered.  I used 5 different types of batting for the various trapunto shapes:

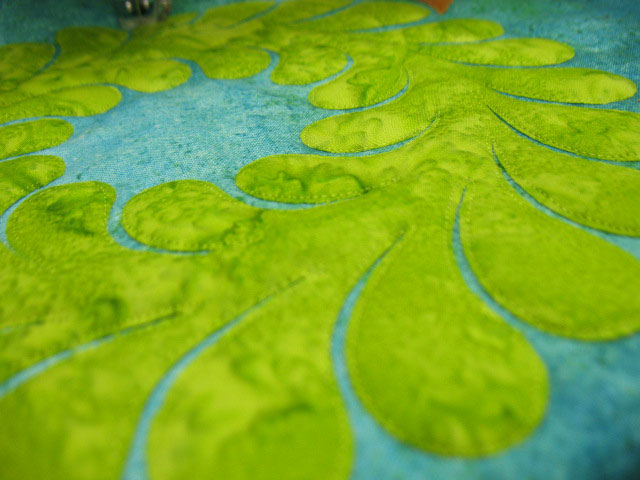
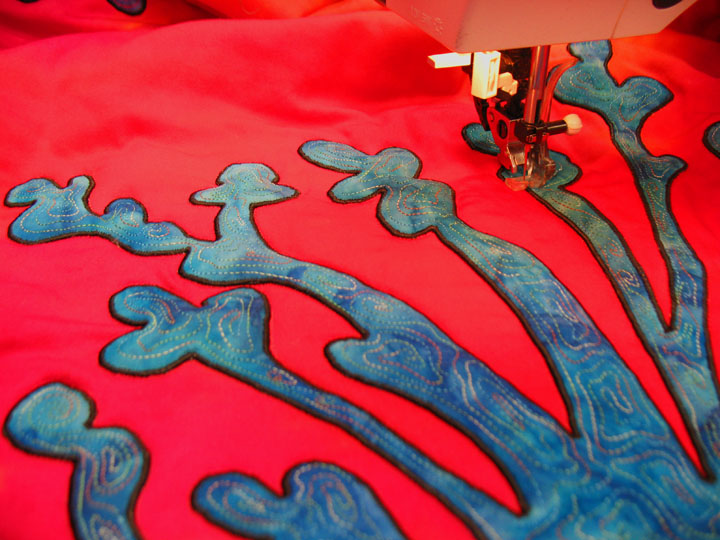
I’ve just begun the first phase of the quilting, and this involves zipping around all the applique pieces with invisible thread (Monopoly by Superior Threads).  I always find this phase very relaxing and it gets my head in a very good place.  One of the battings I used was a thin fleece batting and I am loving the texture it creates.  You can get a bit of a feel of the trapunto effect on this wreath, and remember, I have done no background quilting at all here, and that will make all trapunto more pronounced:

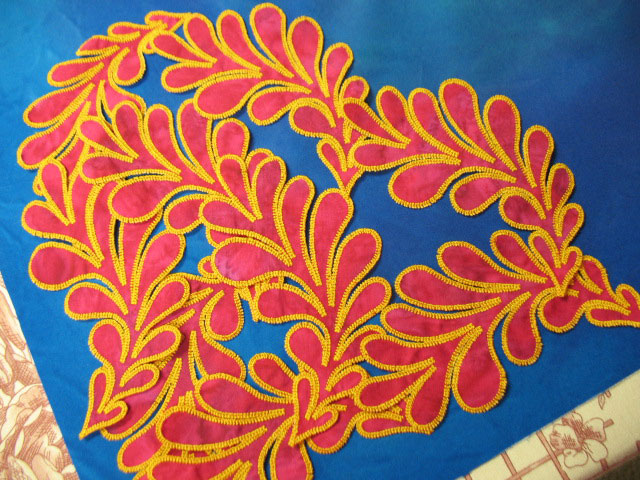
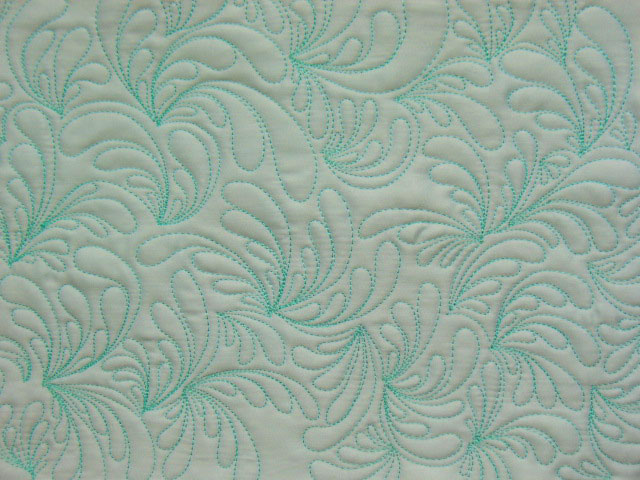
The other thing I have been doing is spending loads of time trying to teach myself how to digitize.  I am not a computer person at all, but I can’t believe how much I’ve learned!  I know that many quilters really have no interest in machine embroidery, but all I can say is you have no idea what you are missing out on!  For myself, I really think that a melding of my free motion work + machine embroidered applique=incredibly exciting horizons for my future!  Here’s  a peak into what machine embroidery can do for my feathers…wonder where these babies will end up?

Stay tuned!  I’m hoping to have my first machine embroidered applique quilt pieced in the next few days!

The Power of the Thin Black Line

September 19th, 2011

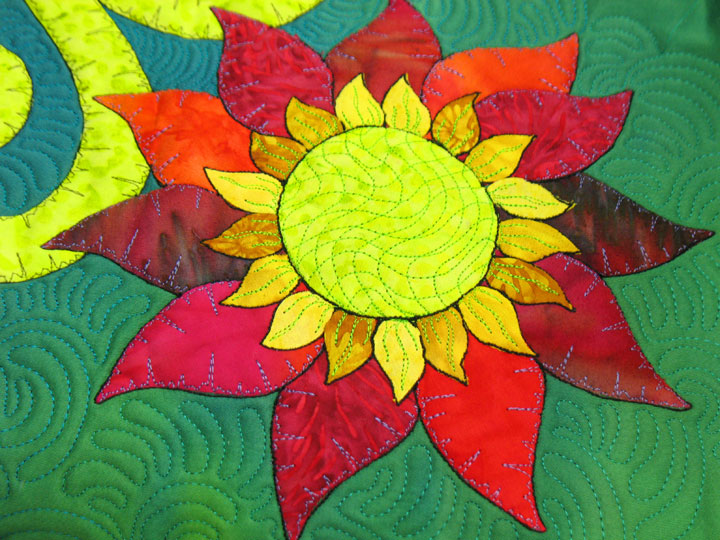
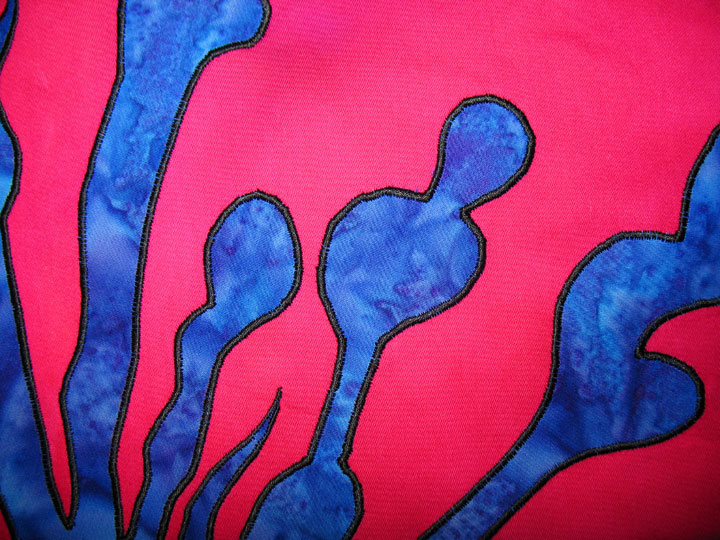
Can you see how the thin black thread line that outlines all the pieces of this applique really adds a nice definition to this quilt?  It’s just like the narrow black outline that we see so often in line drawings, and it’s stitched here using a very heavy black cotton thread.  Most of the time, I outline with invisible thread, but sometimes, adding that thin black line can really add a cool intricacy to a design.

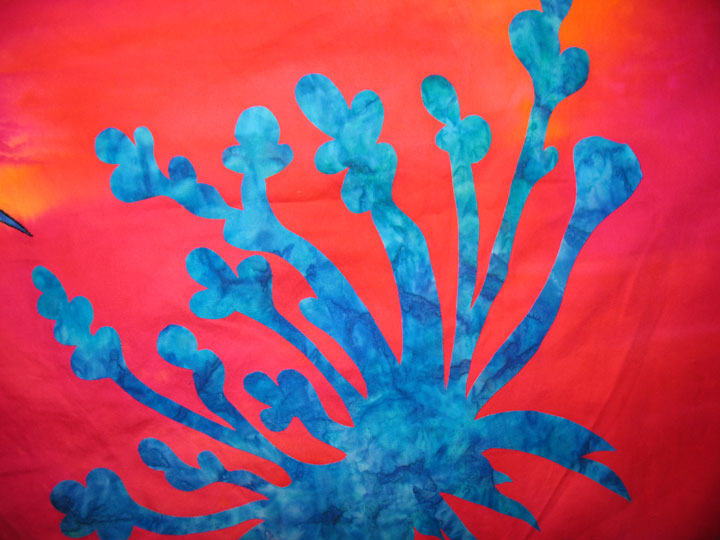
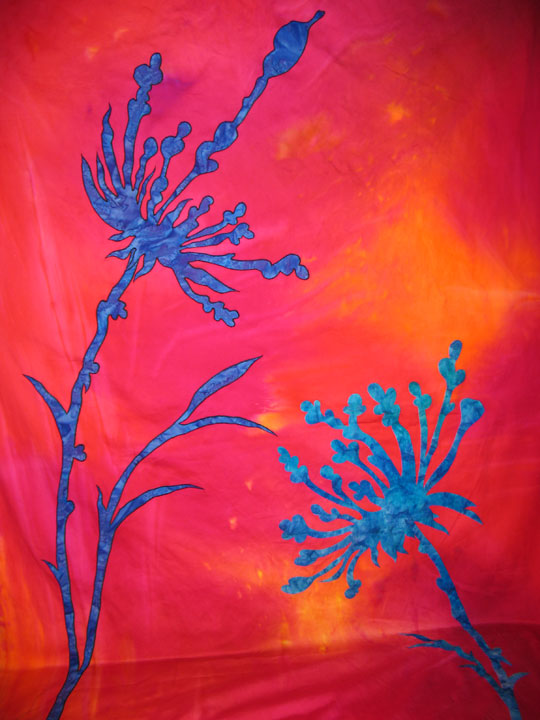
A couple years back, I started a large applique quilt that featured giant-sized Queen Anne’s lace.  I mean really over-sized Queen Anne’s lace, like each one is many feet long.  I wanted to add a thin black line to each of the applique shapes, except on that scale, that thin black line really needed to be a satin stitch that was fairly wide.  I put many feet of temporary stabilizer behind the quilt top and started embroidering it.  This first shot shows part of one of the flowers before I’d added the black line:


…and this next shot gives you a bit of a sense of how that black line helps define shapes:


Here’s a close up of part of the black-outlined Queen Anne’s lace:


Once everything was finally outlined in a black satin stitch, I tore away all the stabilizer, and I free motion embroidered the irregular swirl design inside  the flowers.  I then  decided that these giant flowers really needed to be trapuntoed.  I  was really kicking myself at that point, as I’d thought long and hard about the option of trapunto before I added that satin stitching (since I could do the satin stitching and add the trapunto layer at the same time), and I’d decided against it.  Rats!  So I pinned some batting behind all the applique and added a trapunto layer by outlining everything with invisible thread.  I cut away all the excess batting and then basted my final quilt sandwich together.   I’m picking this project back up now, and here is the beginning of outlining those large appliques, and you can see how the trapunto layer helps emphasize the applique shapes:


Fun, fun, fun!  And this is before the background fill stitching has even started!

Another Morsel for the Hungry Free Motion Quilter!

September 14th, 2011

I’ve been quilting feverishly and playing with my embroidery machine at the same time…why did it take me so many years to figure out I could do 2 things at once?!  SewCalGal has been encouraging me about ME (machine embroidery) behind the scenes and she has got me so juiced up about it that I’m lying in bed at night dreaming of what I could try to do with my embroidery machine.  She also wrote the nicest blog post about our DVDs that you can see here…thanks, Darlene!

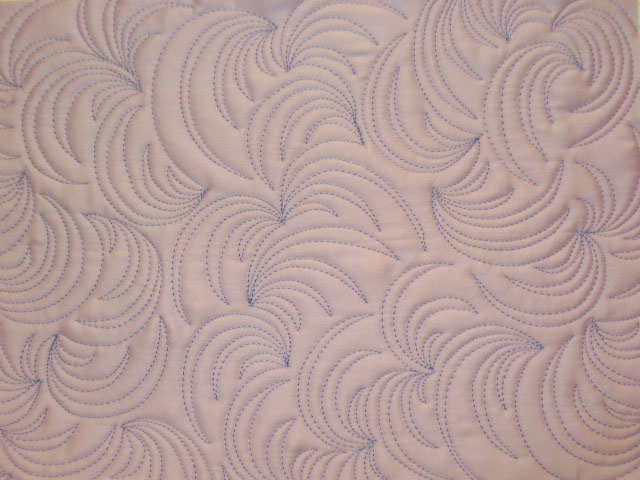
I’ve got a new quilt started that’s based on machine embroidered applique, but it’s in its infancy, so I can’t show it yet.  But, I’ve got a few fun background fill designs to show you.  This first one is called “spiders;” it’s not meant to represent spiders but it makes me think of them:

If you have some “empty areas” on your quilt that need a background fill design, this one lends a really nice sense of movement.  I liked this next one better when I drew it out on scratch paper, but it’s still an ok background fill design.  I call it “quivering octopus” because that’s kind of what it looks like:

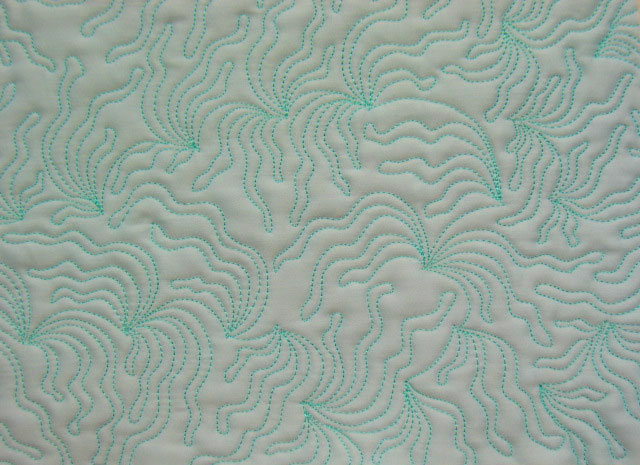
This third fill design is my new favorite.  It takes  along time stitch out, but man, is it worth it!  I call it “waterfall feathers” and it is ooh-la-la:

I also got to spend one morning this week playing with Kelly Jackson of I Have a Notion, showing her some fun stuff that I’ve learned on the embroidery machine.  She stitched out a gorgeous heart block based on Sarah Vedeler’s designs and got a taste of how powerful thread can be. I think that she, too, has now been infected with the ME bug, so watch out…you may be next!

Relief and Regret

September 11th, 2011

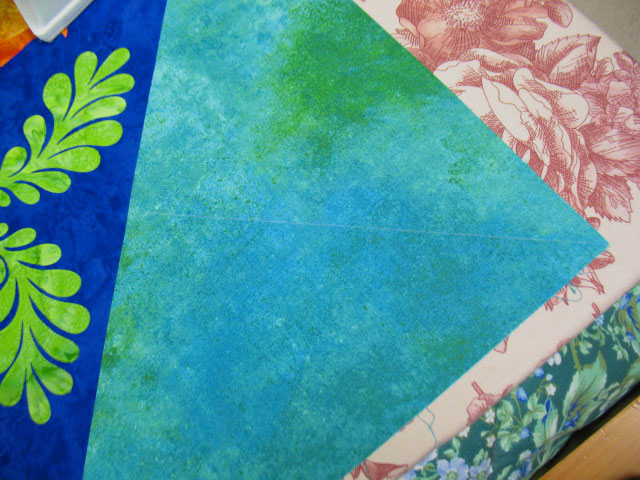
Sometimes, you just have to make decisions if you want to move a project along, and that’s where I was last weekend with my tulip quilt.  I am always caught in this cycle of travel, and because I only have a big fusing surface in NC, I needed to get the setting triangles attached and to figure out the applique designs for those triangles before I left for OH.  Here’s the quilt with the setting triangles attached:


You’re going to have to trust me here when I say that the colors here are not true.  The setting triangle fabric is much darker than it appears and it also reads much more as a green than a blue.  I laid it out on my “fusing bed” and started laying some appliques on it to get a sense of what to do.  I wasn’t wild about this first idea:


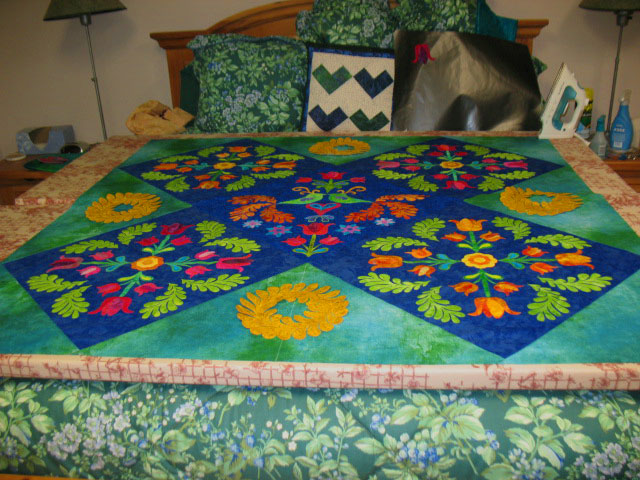
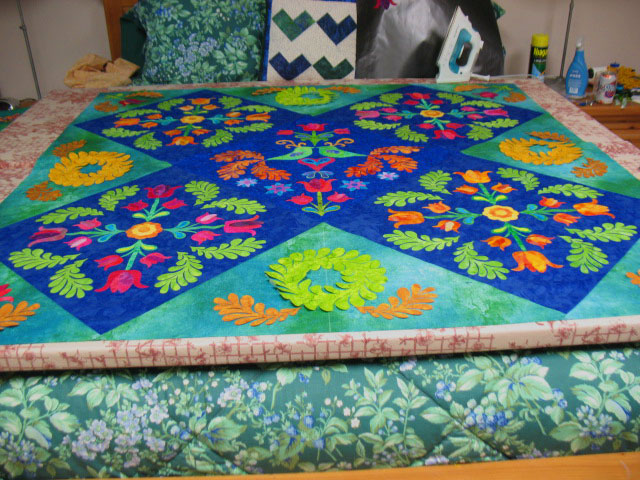
This bed is right by my Nordic track, so I like to gaze over what I’m working on as I’m getting a workout, and I kept jumping off the Nordic Track to swap out appliques!  I first changed the wreaths so every other wreath was green and I added a splay of feathers to each base:


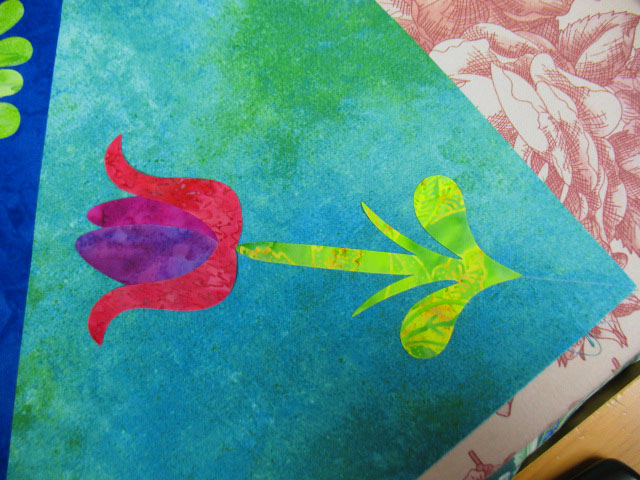
I had also drawn a soap line through the center of each corner setting triangle:


That line is a registration line…I placed a stem that was centered right on it, then added a tulip on top of the stem:


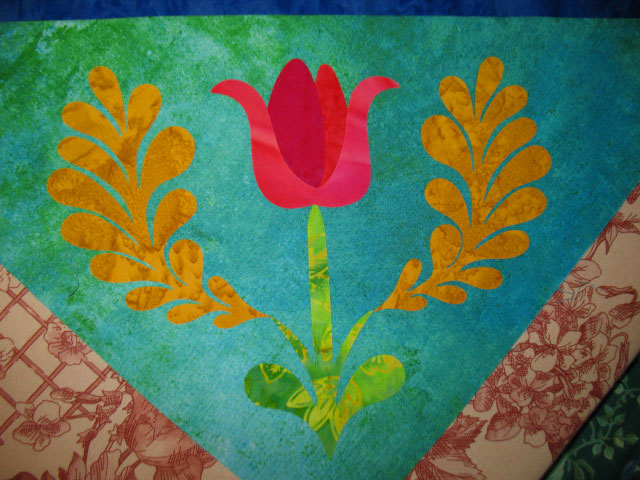
…and once those structures were fused into place, I added a pair of feathers to each corner:

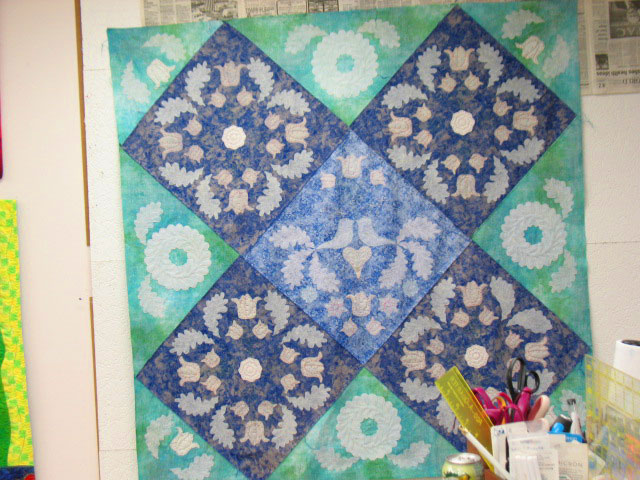
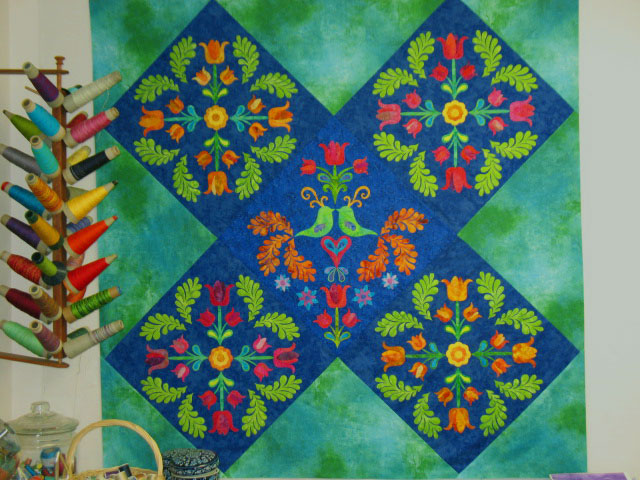
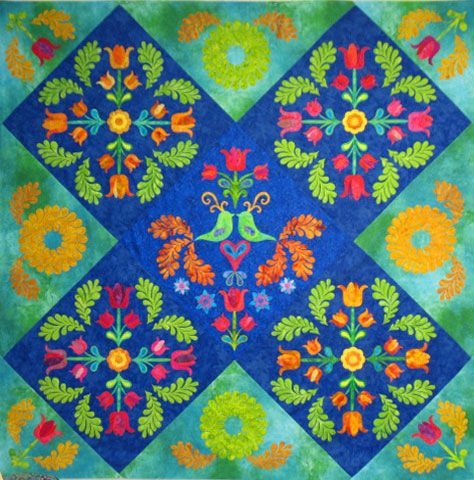
This brings me to where this project stood when I left NC…here it is on my design wall:


I like that the corner designs are quieter and subservient to the block designs, but I’m feeling twinges of regret that I opted for such subdued contrast between the corner appliques and the background fabric colors.  Overall, I’m still loving this quilt, so I’m trying to squash down my doubts.  I’m keeping my fingers crossed on this one!


Beginning the Trapunto on My Swirly Flower Quilt

September 4th, 2011

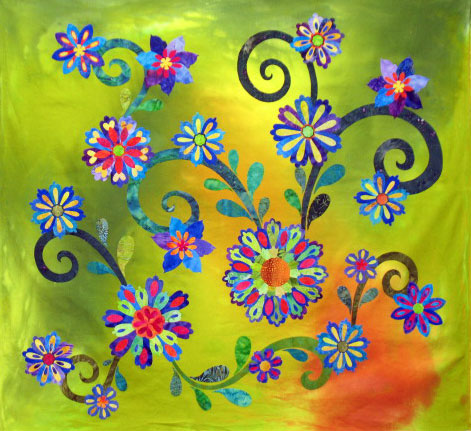
Remember this swirly flower quilt?  Well, I was able to start working on some of the trapunto late last week.  There really is a ton of thread work that needs to be completed on this top before it can be placed in a  quilt sandwich (and actually, I may add a border later as well, but that’s another issue).  When I have a top like this, it’s easy to develop somewhat of a defeatist mindset because the work ahead seems so overwhelming…I can’t let myself even go there or I’ll never get it done!  What I do, instead, is approach it with tiny goals for any given session.  This allows me to get the work done and feel really positive about it at the same time.  Here’s how I do it…


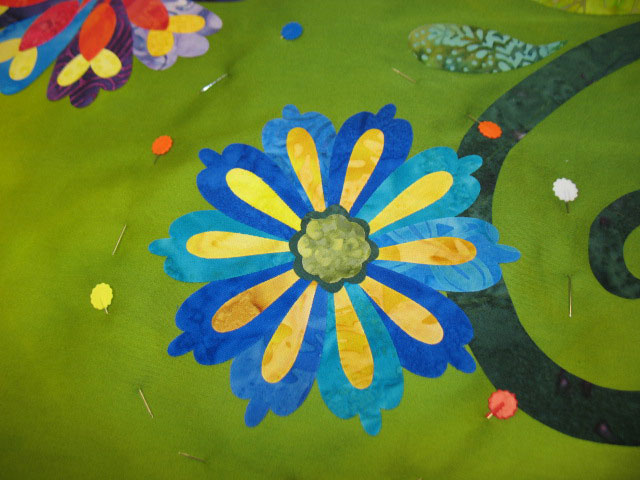
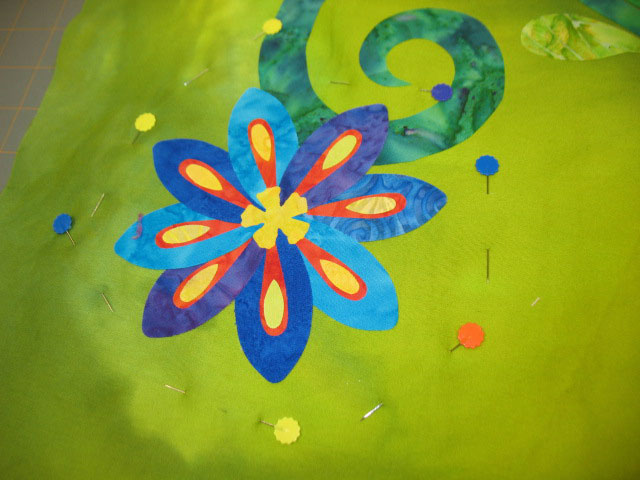
I pick 3 flowers that I’m going to embroider within a session and pin a scrap of batting behind each one, just like the flower above and this one below:


The third flower was similar to the first, just a different size, so I won’t post a photo of it.  But, what I do want you to notice is that these flowers have many colors in common.  (Actually, most of these flowers on this top have lots of colors in common, so it’s a bad example!)  My point is that if you had flowers that were more varied, you’d want to choose a few that had at least 2 colors in common to minimize your thread changes.

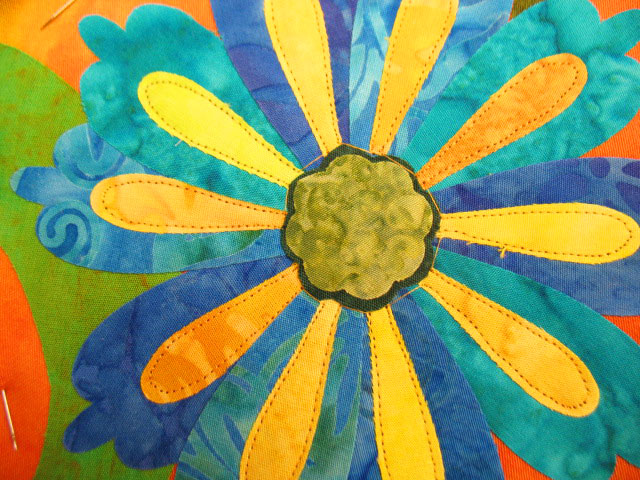
Next, I stitched just inside the perimeter of the long, skinny yellow applique highlights with yellow Invisifil thread.  Details like this are so fine that I would mess this applique up if I tried to do a satin stitch or any other edge finishing design, (but my new best friend Mr. Embroidery machine could do this!), so I’m just going in to stitch the edges down for functional, not decorative reasons.  I’m using that super lightweight Invisifil thread because I don’t want to draw any attention to this boring thread work, and once I finish the yellow appliques on the first flower, I stitch any yellow appliques on the others.  Here’s an example of what I just described:


Can you see the travel lines or jump lines at the base of each yellow applique?  If not, look at this closeup shot, and keep your eyes focused by the center section:

It saves time to just “jump” from one applique to the next rather than stopping the thread line, trimming, then starting a new thread line, so this is what it looks like once those yellow appliques have been in-lined. The only thing you’ve got to remember to do is to have some short, tiny stitches at the beginning and ending of each of those appliques.  You can see that I’ll also need to trim those jump lines before I do anything to the large blue petals, or I’ll leave a mess behind in my wake.


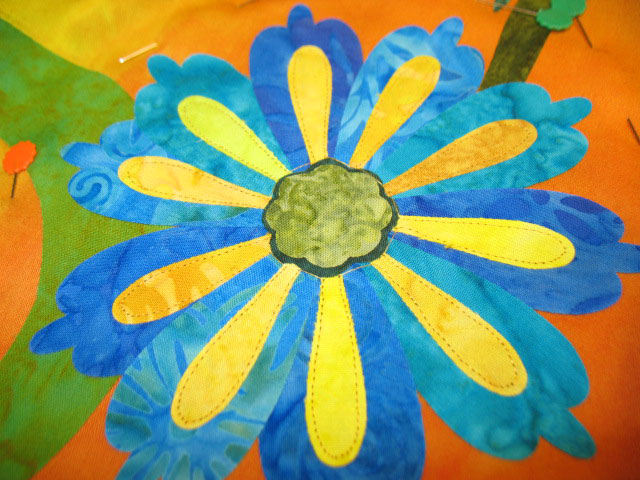
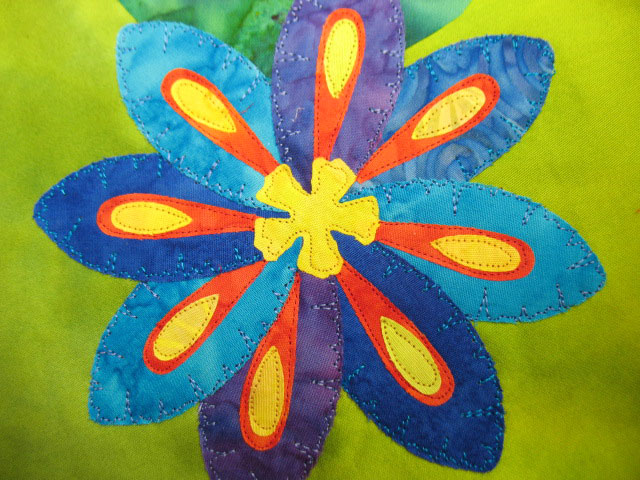
Once you finish all the thread work in one colorway for all 3 flowers, you flip to another thread color and begin all over again, moving from 1 flower to the next.  Here’s an example of a finished flower:

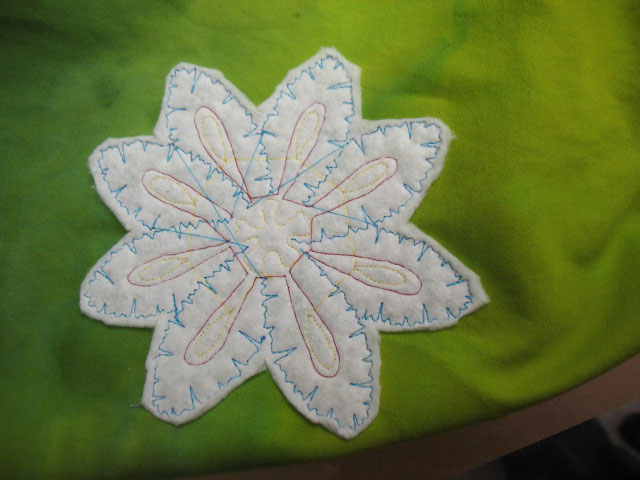
…and here’s an axample of what the backside looks like of  flower that’s done:

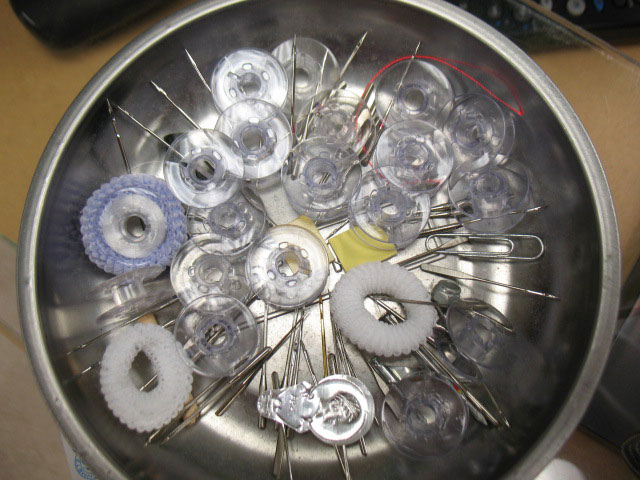
One of the best things about doing this kind of work is that it’s the perfect place to use up all those “short bobbins” where you have just a limited amount of thread left on a bobbin.  As I have been working on this top, I’ve also been working on the tulip quilt trapunto, so I’ve emptied out a ton of short bobbins.  This bowl had no empty bobbins when I started:


…and now I have a goldmine of bobbins, all ready to get back into the game!