May 29th, 2013
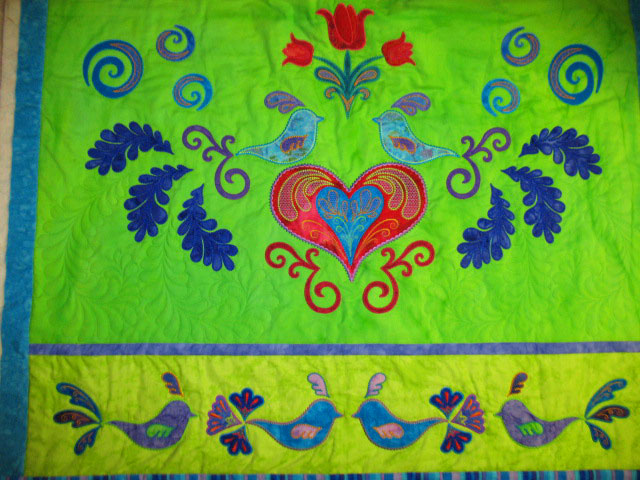
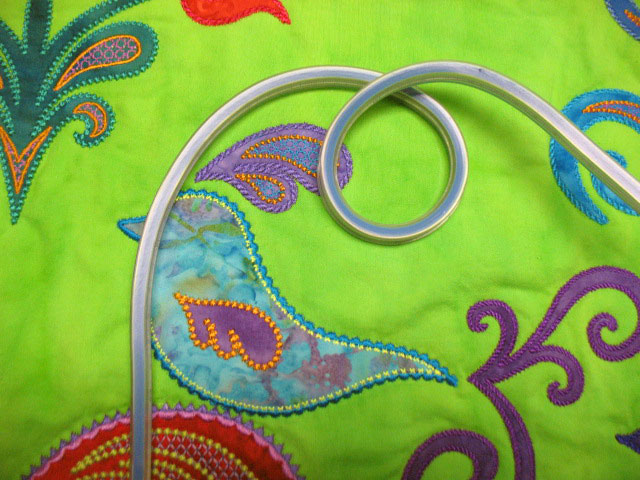
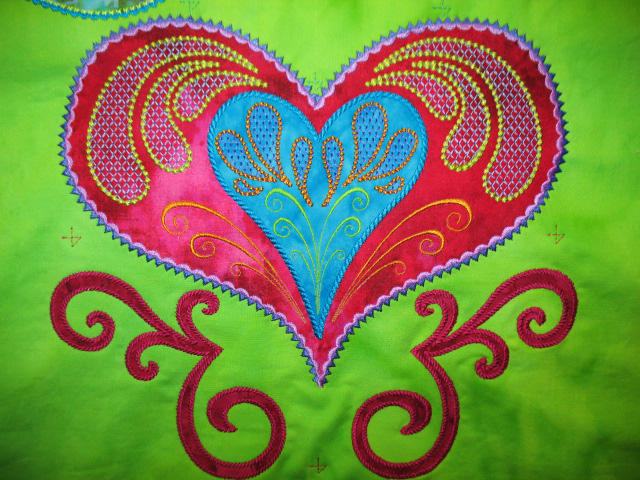
I haven’t posted on this blog in ages, so I thought I’d show a little of the quilting I’ve been doing. The quilt above is partially quilted. Once I’ve outlined all the applique shapes and stitched in the ditch w/invisible thread, my first goal in quilting is always to stitch all the “major” motifs that will kind of “ground” the theme of the quilt. Usually, these are motifs that work to re-affirm the message or theme of the applique shapes. The easiest one to start with here are the feathers. I wanted to play off the appliqued feathers to kind of “supplement” the tail feathers, so I placed a flexible curve ruler in the open space by the feathers and first got a curve I could mark for the spine guideline:
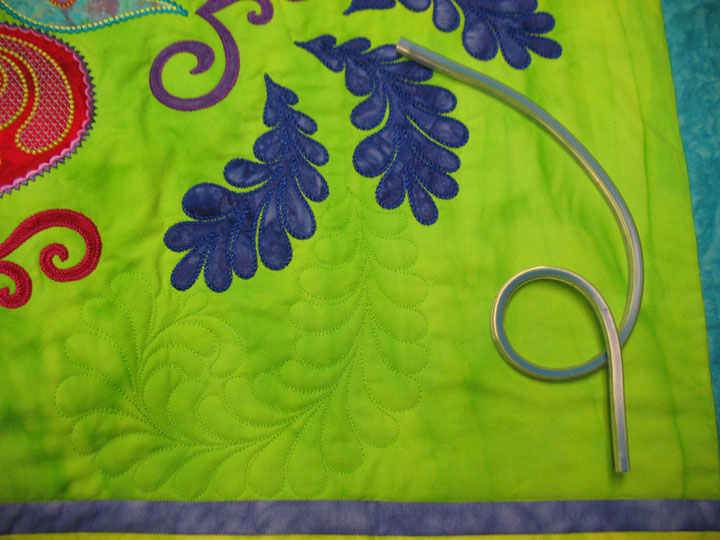
You can kind of see the curve marked here:
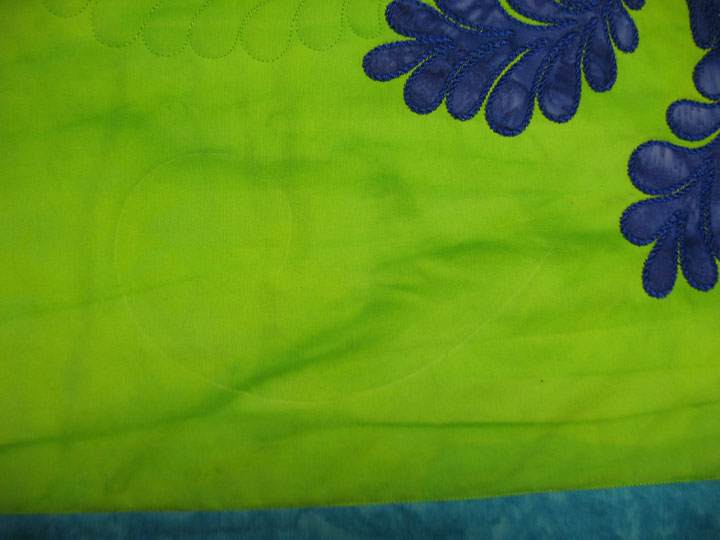
…and here’s a shot after feathers have been stitched:
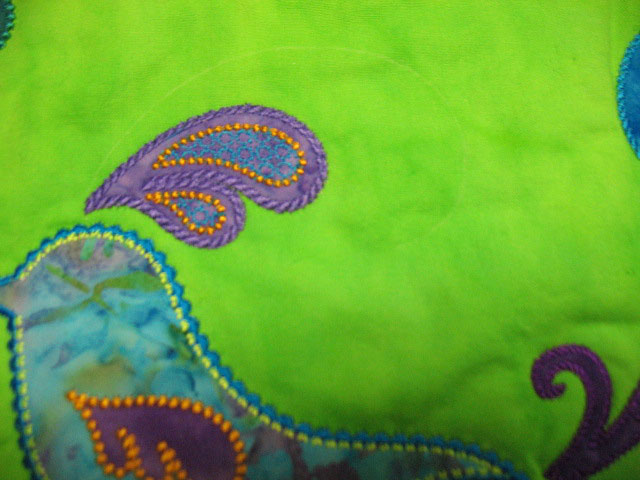
I will probably go back in later and add hyperquilting inside those feathers, but when I’m working to get all the important motifs quilted, I am pretty focused on getting that part completed. One of the nice parts of hyperquilting is that you can do it any time once the “base motif” has been stitched. I next moved onto the headdresses on the birds. This is another example of trying to “play off” of an applique shape. First, I used a flexible curve ruler to mark a curve:
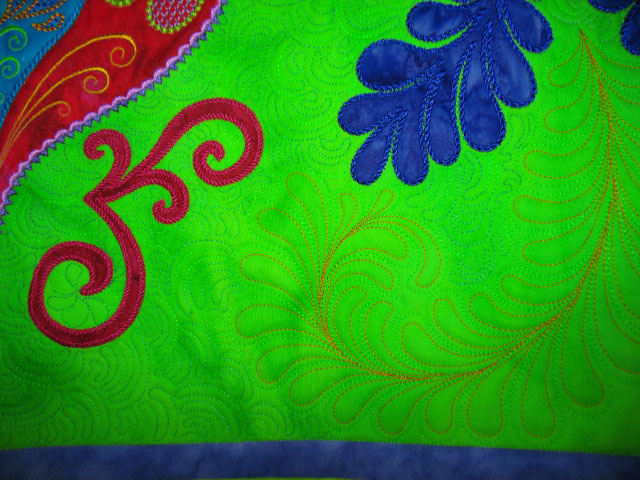
In this next shot, you can see the marked curve. This will be the basis for a swirly headdress that flows from the applique shape:
…and here’s the initial swirl headdress:
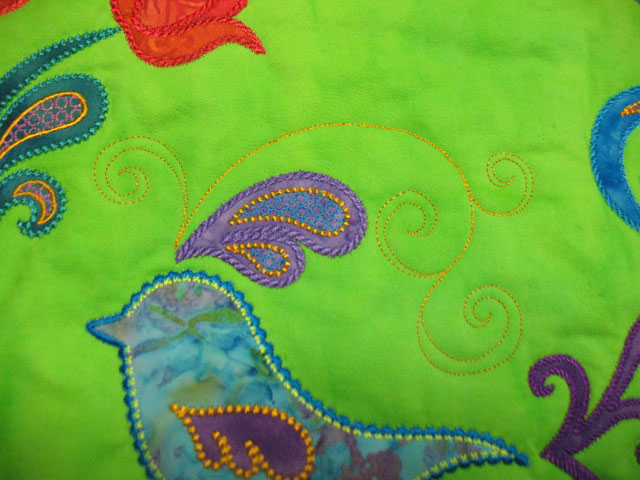
I liked it, but it just wasn’t enough. Sooooo, I went in and added some plumes coming off on one side. Notice that when you do something like this, you don’t want to destroy the delicacy of the swirl headdress, so you want to be careful about how you lay out your plumes. If you look closely at my needle, I didn’t carry those plumes all the way back to the swirl but instead left a short space between them:
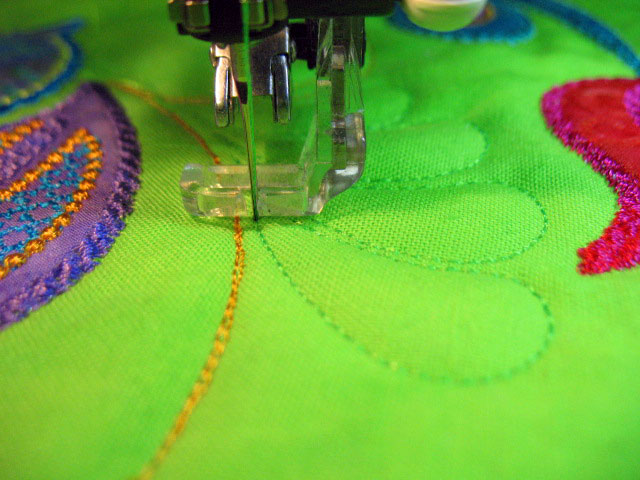
…and here’s what the headdress looks like at this point:
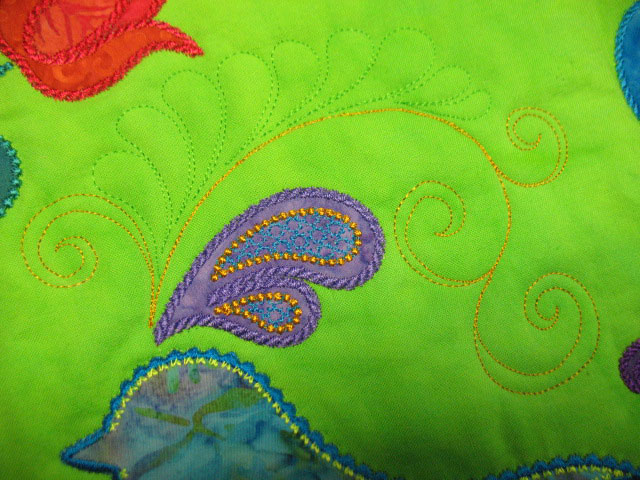
By this time, I was getting kind of bored and I’d added enough “grounding elements” that I could start with some background filler quilting. I opted to go Variations Polyester Thread by YLI (sadly, they have discontinued this thread line, so if you see any spools of it out there, grab them up while you still can!). The color I used here is called “Grass,” my favorite color of this wonderful yet discontinued thread line:
(and you can see that I went back in and hyperquilted the feathers!)
On another note, we are in the final days of a sale on all PTD DVDs, books, and Appli-K-Kutz dies. All retail purchases of these items are 25% off through 9am this Friday, 5/31/13 if you enter May 2013 in the discount code box during checkout. The discount won’t show up until the final step of checkout, but this is a great savings, so don’t miss out on it!
I also want to give a shout out for the 2013 Free Motion Quilting Challenge hosted by SewCalGal. She has just announced the newest challenge which is to make a project using border designs; you can read about the details here. For any of you who didn’t play around with the border design challenge from last December, this is something that really is worth doing. I heard from many quilters who were shocked by how easy it was to create a really pretty small wholecloth quilt just playing around with borders. There are also many different prizes available, and more importantly, this is a great way to hone your free motion quilting skills. Many thanks to SewCalGal for coming up with even more ways to spread the joy of free motion quilting!
how to buy viagra without prescription
Filed under
Machine Embroidered Applique.
May 3rd, 2013
If you read this blog, then you know I love to machine quilt. I’m pointing that out so you don’t think I’m abandoning that part of my life. It’s just that I spend so much time around embroidery machines that I just had to try out some quilting on my embroidery machine. I’ve barely dipped my toe into this arena, but below is my first experiment. I’d made a small wall hanging to use up a wreath block that I’d made in error and needed something to fill my 4 cornerstone blocks at the corners. The first shot is as the wreath was being stitched:
…and this next shot, the quilt is still on the machine but the wreath is done being stitched:
And here is a shot of what the blocks look like after being removed from the machine:
Isn’t that a pretty wreath? This wreath comes as a set of 3 wreath files in 3 different sizes and I bought the set here. In the above example, I did the quilting on the final quilt sandwich. In my next experiment, I decided I’d use the embroidery machine quilting to quilt a trapunto layer. I had made some 9 1/2 inch embroidered blocks that were flower wreaths. Here’s an example of one:
My plan is to set them on point and this means I’ll need an “every other” offset block for my “in between” rows, so that’s where my trapuntoed feathered wreaths will come in. I made a set of 4 like this and quilted the trapunto layer on the embroidery machine:
These wreaths are the largest size from the set. Want to hear something kind of sad? The embroidery machine can stitch out this wreath in something like 3 minutes…how’s that for making you feel inefficient?! Once I’ve pieced this whole quilt and placed it into the final quilt sandwich, I’ll stitch just outside the green thread and that will make the wreaths really pop out. Here’s a “mini layout” that shows how I’ll be using them, although I may have to swap out my side setting/corner setting fabric:
And here’s a teaser shot of a panel I just started working on. It’s 41 inches x 25 inches and has 13 hoopings from start to finish. This is how it looks at almost 1/2 done:
I love stitching something out for the first time, it’s so exciting to see it come to life!
amoxicillin generic
Filed under
Machine Embroidered Applique.