Our New Free Motion Quilting DVD is Here!

September 27th, 2015


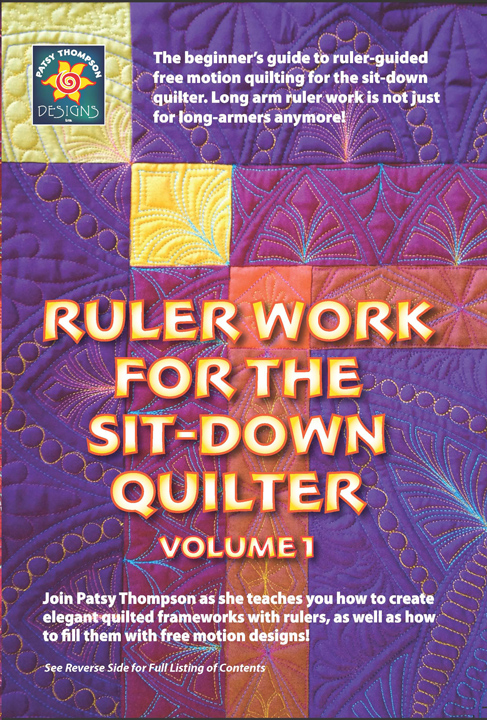
resized Ruler Work for the Sit Down Quilter Front Cover

It’s finally here!  Our Ruler Work for the Sit-Down Quilter is back from the replicators and ready for purchase in our online store, and hopefully, soon to be available from a quilt shop near you!  The goal of this DVD is to teach you the mechanics of how to do ruler work as a sit-down quilter AND to teach you some free motion quilting design ideas/skills to fill in or complement that ruler work.  The demos are done on several different home sewing machine makes/models as well as on an APQS George sit-down long-arm machine.   I also demo with multiple ruler feet, so you’ll get an idea of what options are out there and what you might like about each type.  You don’t need to be an expert free motion quilter to do ruler work, even a beginner free motion quilter can do this!  You’ll feel a bit like a fish out of water when you first start working with rulers, but the learning curve on this is much, much faster than with regular free motion quilting.  Honestly, this is just fun, fun, FUN!

play-5

If you’d like to watch a preview video clip of what’s covered on this DVD, here you go:


I was surprised by how few people actually guessed correctly about what the announcement was going to be, and it makes me wonder if we’ll even be able to sell any of this new DVD since so few people saw it coming!  The winner of the announcement give- away was Donna, who entered the give away on 9/18/15.  Congratulations, Donna!

felts1

Amish and Aztec Styles Collide!

September 22nd, 2015


aztec-quilt-wholeredder


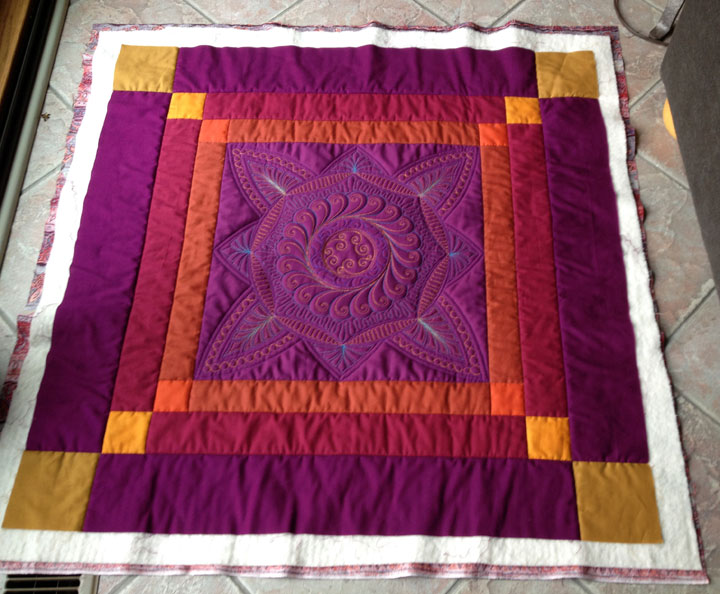
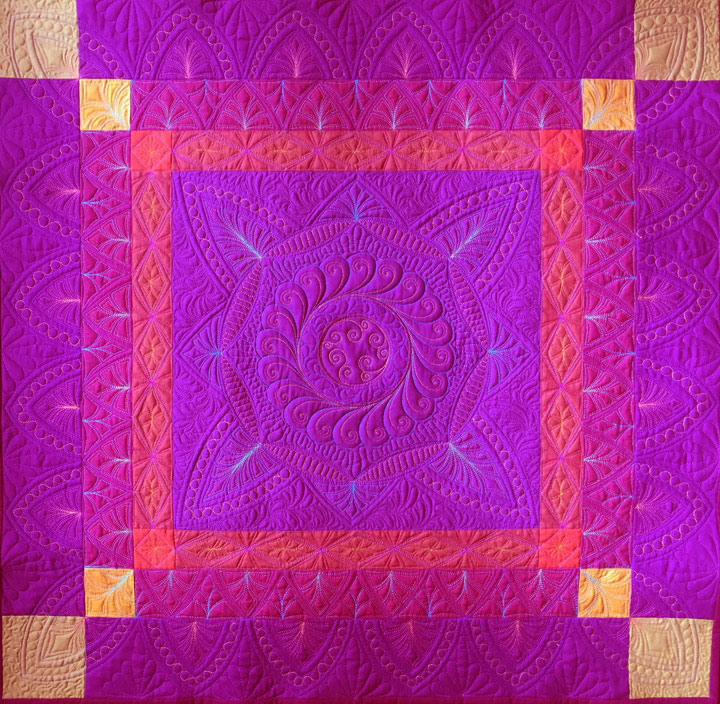
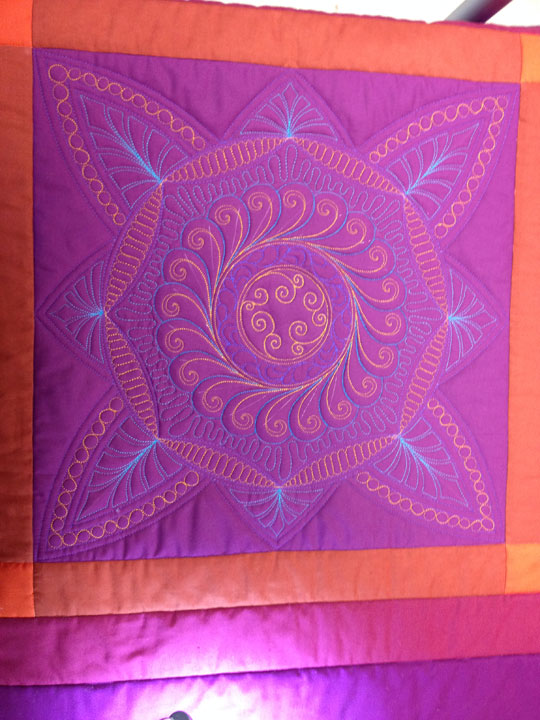
I finally finished the quilting on this baby a few weeks ago.  It began life as a simple Amish quilt but I think its personality has been transformed through quilting.  I threw it together so I’d have something to mess around with in trying out some ruler work ideas and I love how it came out.  It’s in warm colors and all my photos look a little different because they were all taken in different lighting, but know that these photos are all the same quilt!


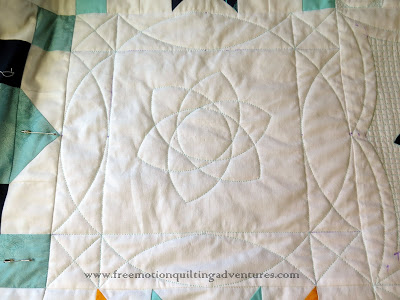
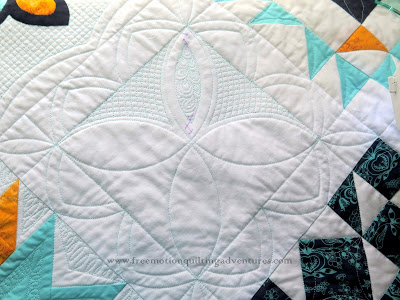
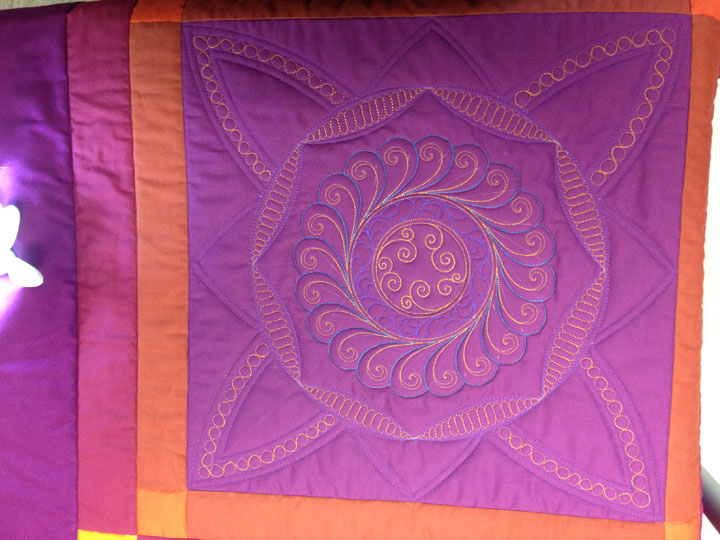
I began by playing around with framing a trapuntoed feathered wreath in the center block.  I drew a temporary circle around the wreath and then used that as my basis to create a ring of melon shapes with my Quilters Groove curve rulers that I later filled with “capsules.”  I used the same Quilters Groove curve rulers to then create a framework of arches that sprang from that ring of melon shape:
 

aztec-1


And here, some of the fill-in work has occurred:


aztec-2


And here the center section is done:


M1

I had no idea what I wanted to do in that narrowest border zone, so I left it blank as I forged ahead.  I again used my Quilters Groove rulers to create the short arches in the middle border zone.  Here, the arches have been filled with what I call “Aztec featherettes,” and then those Aztec featherettes have been hyperquilted:
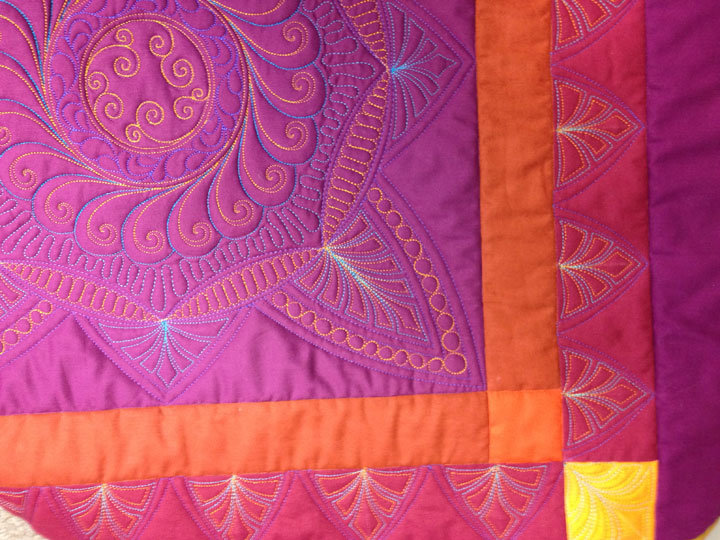
 

aztec-3

When I first made those small arches, I was only thinking about them in one orientation.  As I moved the quilt around during quilting, I realized that the opposite side had another type of “inverted arches” that was begging to be filled with featherettes as well.  These are very easy to quickly stitch as a fill in design.  Here’s a shot of how I set myself up  to get some stitching done fast by marking a temporary soap line down the center of each arch:
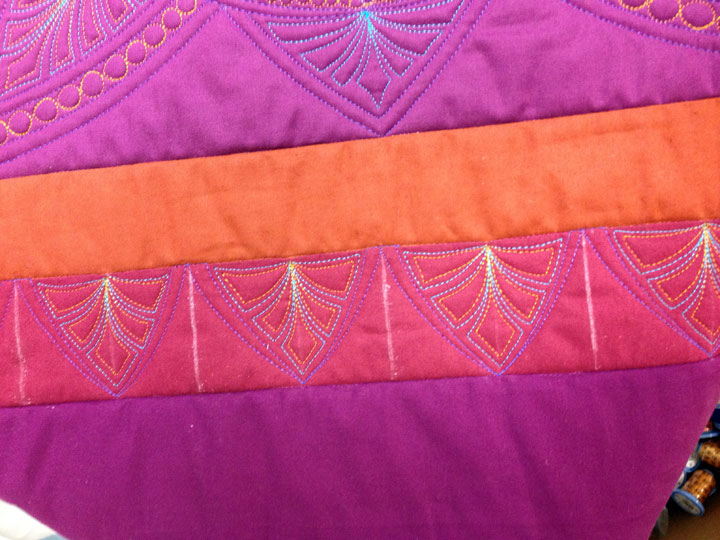
 

aztec-4

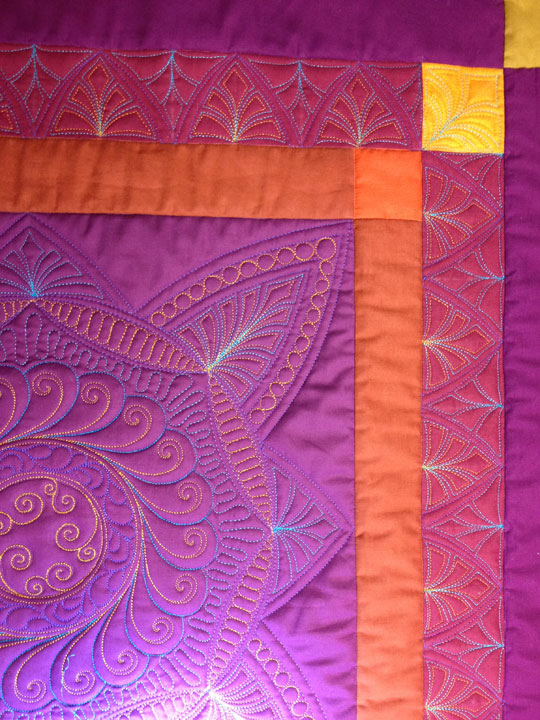
…and here’s what they look like once they’re stitched out:
 

aztec-5

I thought about hyperquilting them as well but then decided they looked more interesting if they were left alone and therefore made a border design that wasn’t quite “expected.”  Next up, I moved to the outermost border zone.  This was wider so I knew I had enough space to make larger arches that could have multiple channels, some of which could be filled.  The first step in doing this is creating all the channels within the arches along all 4 sides of the border, and I again made these arches with my Quilters Groove rulers as well:
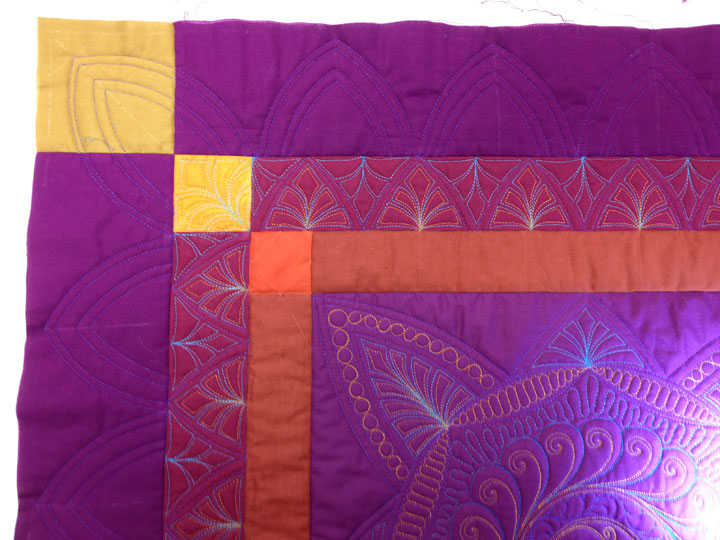
 

aztec6

Once that framework was up, it was time to start the fill-in work:
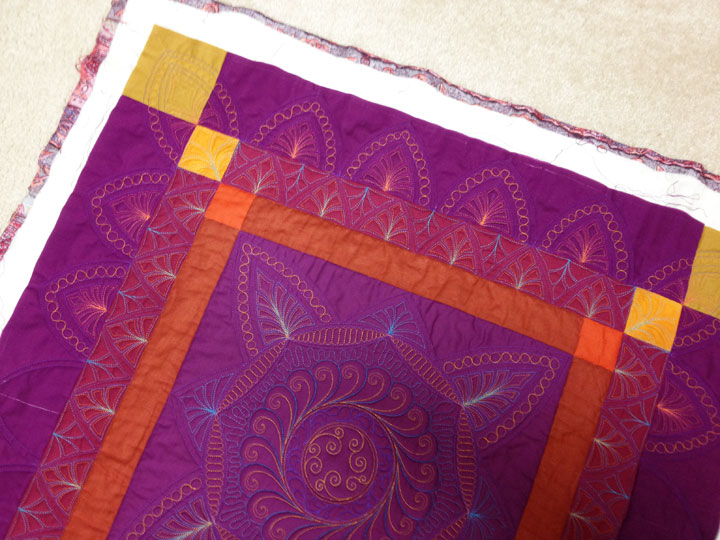
 

aztec7

Again, my “system” for filling in a space with any kind of featherette is always to mark temporary soap lines that run vertically down the center of the empty space.  (You can see that in the far left side of the above photo in the empty arches.)  I find that line to be very helpful in not only centering the design, but also in keeping me working “on the perpendicular.”    You can see that the corner featherettes are just a little bit different because the shape I was filling was different from the main border zone spaces:
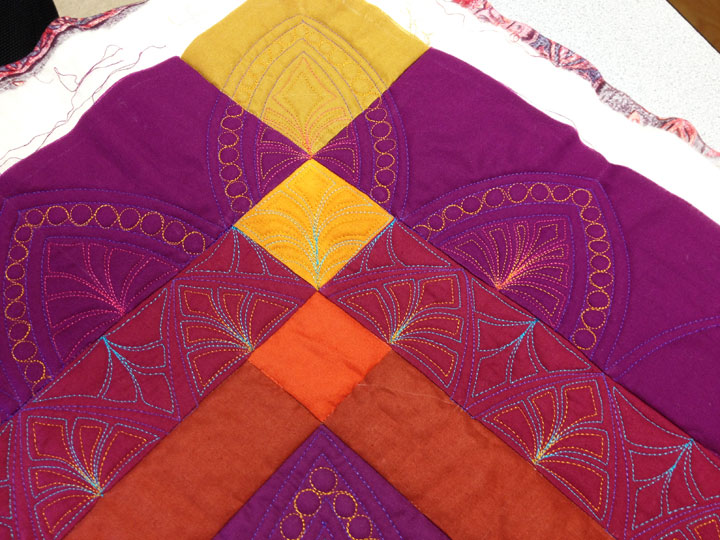
 

aztec8

I ended up filling the space between the arches with a basic traditional featherette and I was very torn about whether I should do this because it was not in keeping with the Aztec theme of the quilt.  Once they were in, I was soooo glad I’d stitched them because they really looked great!  I had not planned to quilt anything to fill the empty spaces within the centermost block, but once I’d stitched those featherettes around the outside edge, I realized that I’d have to fill in that area with stitching because it was too empty compared to all the dense quilting everywhere else.  I don’t have a photo for this phase, but in the finished photo, I’m referring to the outermost featherettes in the outermost border and also to the “plumify it” background quilting in the center block:


aztec-quilt-whole

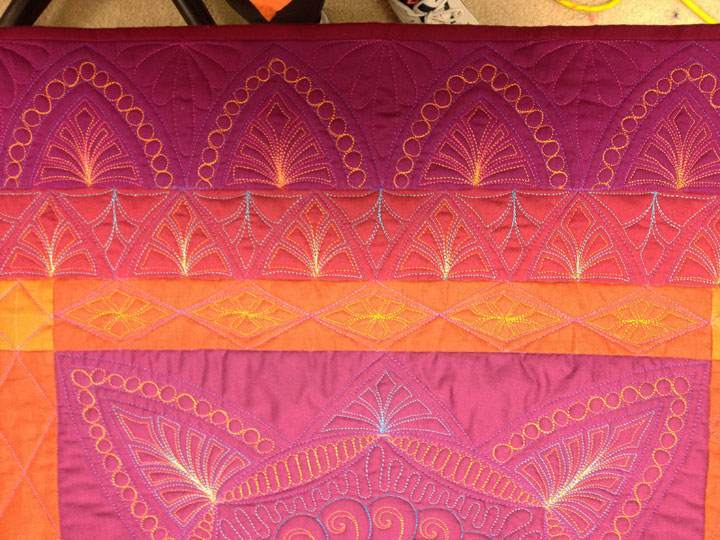
The final thing I did was to fill that narrow, innermost border.  I used my Line Tamer straight edge ruler for that (although any straight edge ruler would work).  I started by creating a simple diamond border:
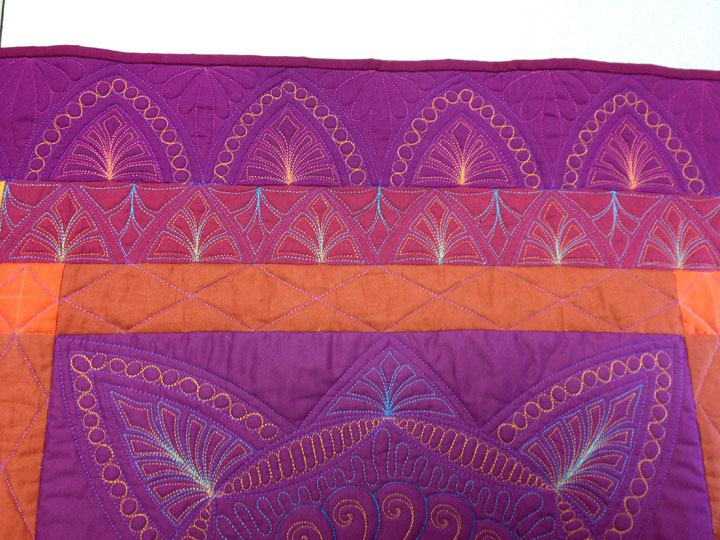
 

aztec-9

In the next round, I used the same color of thread and converted it to a double diamond border w/tapered edges, again using my Line Tamer ruler. (Sorry no picture of that.)  I then swapped to a high contrast gold polyester thread (Floriani) and filled the diamonds with an Aztec diamond shape:
 

aztec9.5


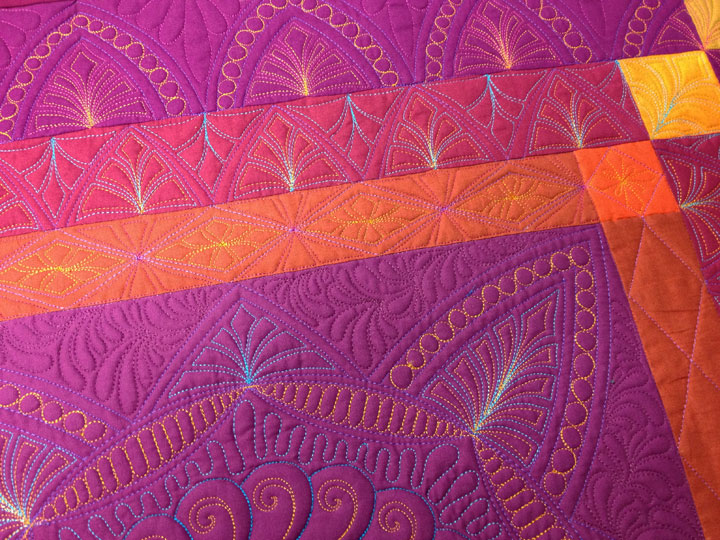
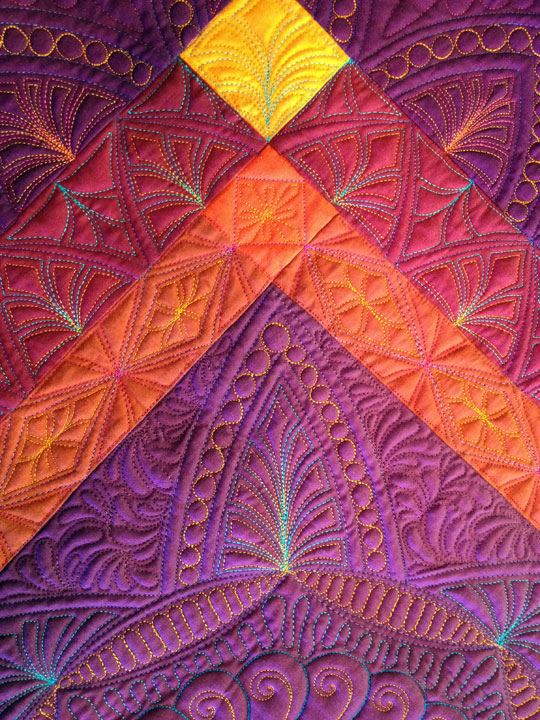
And in the last round of stitching, I swapped to another color of polyester thread and filled in the spaces between the diamonds with triangles:
 

aztec10


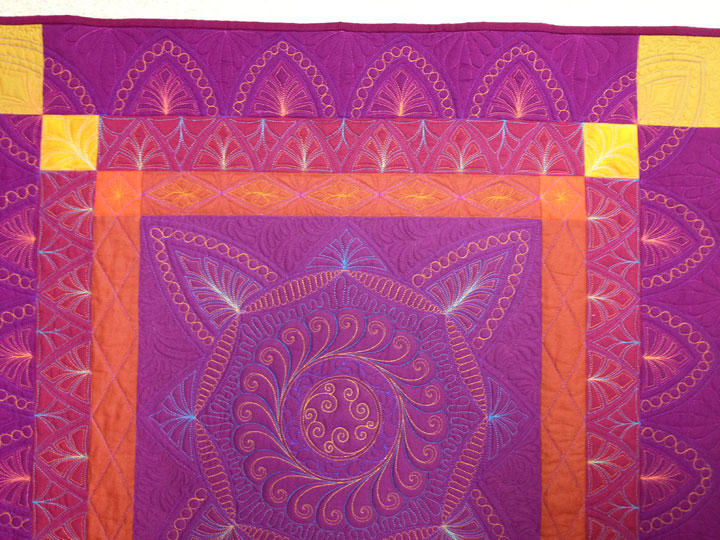
In this photo, you can kind of get a sense of the differences between completely filled border (center section) and border only partially filled with just the simple diamond border (both sides):
 

aztec11

It was so much fun to quilt this quilt and I’m kind of sad to see it all the way done because our time together is over, although I love how it came out at the end!  Before I go, just a reminder to enter our giveaway by posting a comment to my previous post about a big announcement toward the end of the week.  If you guess it correctly, you may win something very special and I’m paying the shipping, regardless of where in the world you live.  To enter, click on this link because you need to post a comment to this particular blog post!


Good luck, but remember, you must enter in order to WIN!!  Have a great week and keep on quilting!
aztec12


Class Review: Craftsy’s Class Called Machine Quilting with Rulers on a Home Machine by Amy Johnson

September 19th, 2015

amys ruler class


If you haven’t yet had the chance to watch Amy Johnson’s new Craftsy class about machine quilting with rulers, this class is great!  That really shouldn’t come as a surprise, since Amy has been teaching us free motion quilting skills and techniques on her blog for some time now.  Her new class is the first chance to really submerge yourself in Amy’s easy-going style for an extended series of lessons, and I found it to be a guilty indulgence for binge-watching!  Her voice is calm and reassuring and puts you at ease from the start.  I don’t know about you, but when the teacher seems “human” and down-to-earth, it’s much easier to “connect” and really “hear” what is being said and taught.


amys ruler work


As a loyal follower of Amy’s blog (click here to be directed to her blog), I wondered if there would be enough new info in her Craftsy class to make it worthwhile.  Rest assured that you will definitely get your money’s worth in signing up for this class!  Amy does all the demos on a home sewing machine so no matter what machine you are working on, this is all free motion quilting that is within your grasp!  This is what I would call a soup-to-nuts class in the sense that if you’ve never tried ruler work before, you’ll have all you need to start from the very beginning, but if you’ve already played with rulers, there’s a lot of great information for the experienced ruler quilter as well.  She shows how to create many different designs, from basic to difficult, including designs like curved crosshatching:


amys curved cross hatching

I feel personally indebted to Amy because I was really struggling to do ruler work as a sit-down quilter using “improvised” ruler feet that really didn’t work well and honestly weren’t even safe to use.  Through Amy’s generous information on her blog, I felt reassured and inspired that this technique could really be done, and done well, on a home sewing machine.  She also spear-headed getting valuable info out to the masses about different options for ruler feet.  I am happy to say that learning to do ruler work as a sit-down quilter has breathed new life into this free motion quilter and I owe much of that to Amy.  Amy is a friend of mine but I am heartily endorsing this class because it really is good!  Click here to sign up for this skill-building class!


Remember…ruler work rules!


quick1

Loose Ends and a Give Away

September 17th, 2015

My life got so hectic in the last couple of months that I’m ashamed to say that I left many loose ends dangling in the wake of “hurricane Patsy’s summer.”  Do you remember when I posted a photo of Gary Harvey’s beautiful circle of featherettes that he quickly stitched up during a quickie 3-hour class?  The photo below will hopefully jog your memory-isn’t his work fantastic?!


  Gary-Harvey's-Block-with-Featherettes

What he did here was to create temporary markings of triangles that rotated around a circle and then he went in and filled them with a basic featherette.  At my request, he sent me 2 photos of his completed project.  (I think he sent them to me, like the very next day!  This guy not only quilts beautifully, but he quilts really fast!)  Anyway, this next shot is of his 18 inch quilted block before he’s sewn it into a pillow sham.  I lightened it up a little so you could see all the details of his thread work:


gary0.5

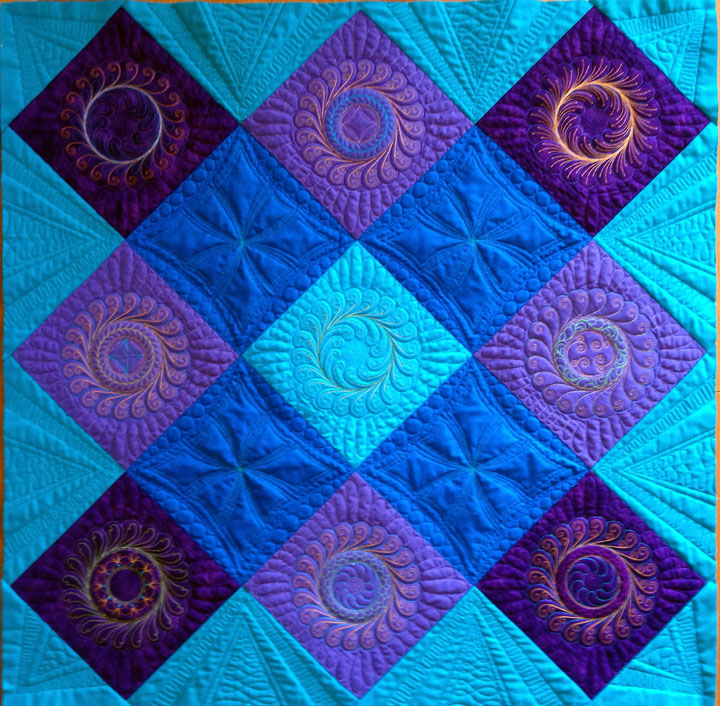
Isn’t it stunning?!  What he’s done in this 2nd round of stitching is to create a 2nd temporary circle that surrounds the original circle of featherettes.  He then filled in the “empty spaces” within the 2nd circle with another set of featherettes that are oriented in the opposite direction.  Look even more closely and you’ll see that he’s done 2 hyperquilting designs, one inside each circle of featherettes, and then he’s surrounded the entire design with the “plumify it” background fill design.  Here’s a shot of his final project, after it’s been sewn into a pillow sham:


Gary-2

What a great job he did!  Here’s a little tip for when you’re adding “layers” of featherettes onto a frame but you’re trying to create a cohesive design that “reads” as one design.  Even though the circle itself is never stitched, we “see” these designs as a unified whole because of simple outlining.  Here’s another example of what I’m talking about:

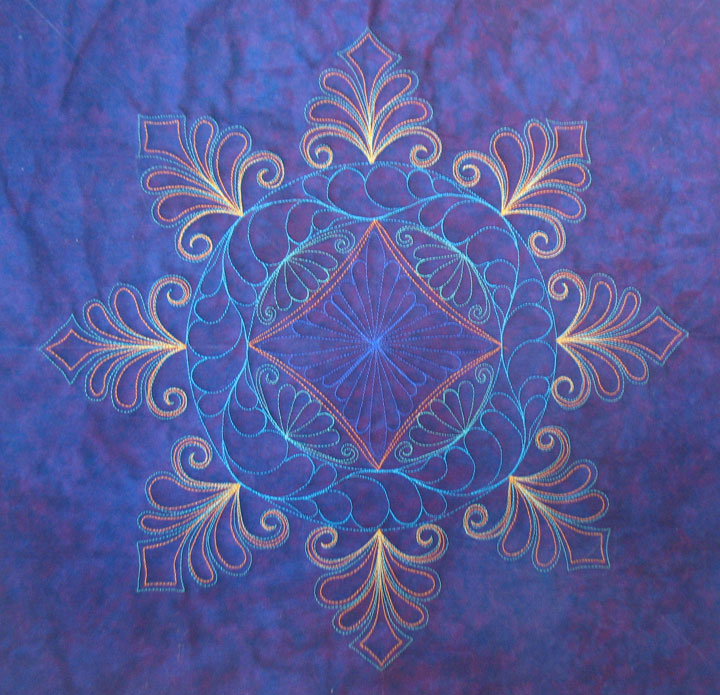
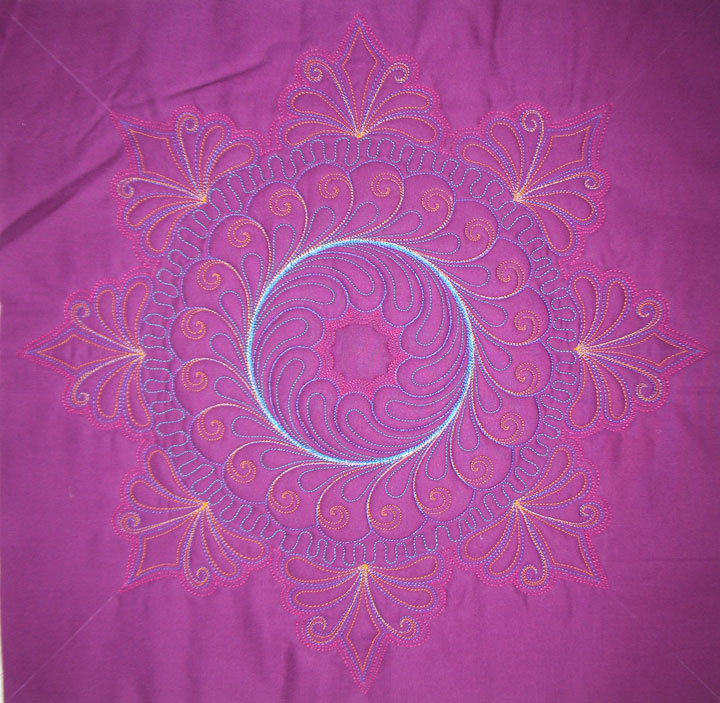
maroon-snowflake-wreath

Just like in Gary’s block, the featherettes actually just “float” because there is no stitched structure that actually supports them.  If you look closely, there are 2 lines of echo quilting that surround the entire “snowflake wreath.”  Who would have thought that some narrow lines of stitching could have such power to pull a complex design together?!


I can’t say anything yet, but I’m hoping to have some very exciting news in about a week…what could it be?! I’m happily offering up a free special gift to whoever guesses the right answer but you have to post a comment to this blog post to enter and your comment must be in before I make the announcement next week.  If you want to cover your bases, make multiple guesses of different announcements but make sure you do it as separate comments to be counted!  (I can’t tell you what the gift is or I’d give away the announcement, but know that it’s a nice gift and I’ll pay shipping, wherever you live in the world!)

***Note:  This give-away is officially closed as of 8:00 PM EDST on Sat 9/26/15***

Still Here

September 11th, 2015
 
BOP-framed
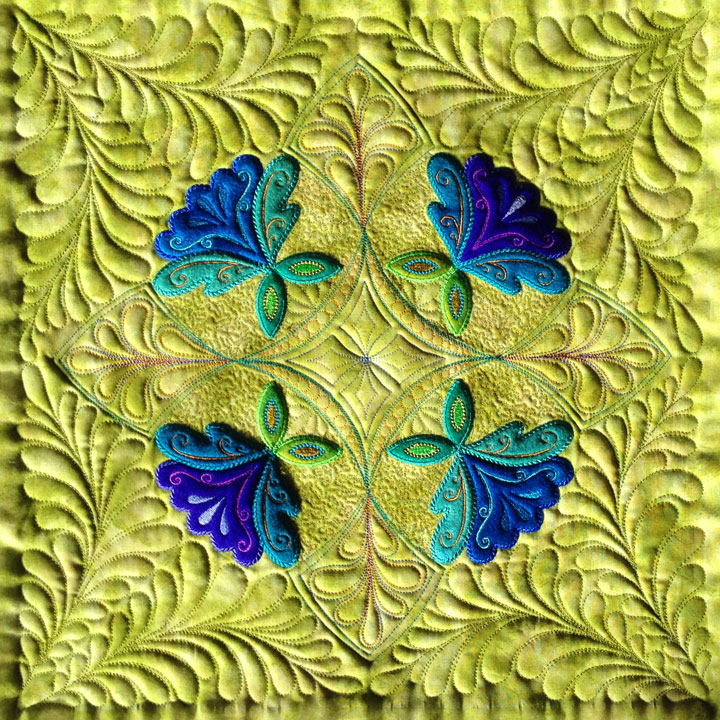
Wow, it’s been 1 1/2 months since my last post.  I guess I bit off more than I could chew and in my efforts to meet all my obligations, I had to let my blog waft in the wind.  Sorry about that, because I know how much I count on other quilting blogs for inspiration.  My schedule should be easing up somewhat so I am hoping to be posting more frequently.
 
I’ve been very busy and the mess in my sewing room is a testimony to that!  Here are some shots of a small quilt I made using up test blocks from when I was working on a digitized design block.  This first shot shows one side of a border and part of the center section after I’d made my framework using my Quilters Groove Rulers.  It still looks very empty but you’ve got to get your skeleton in place before you can add more stuff:
 
11
Notice in that photo above that my arcs don’t actually meet.  I point that out because the design will appear continuous before the stitching is complete.  Here are a couple shots where I’ve begun adding plumes to the arcs:
 
1
and here’s one from a different angle:
 
2
 
You can see that I’ve also hyperquilted the center design and all of the 4 middle featherettes in the borders.  I did that to kind of “marry” those design elements to one another.  I was excited to quilt a background fill design inside the circles because I thought it would really “set off” the ruler work but I was disappointed in the final result:
 
3.5
 
Another perspective:
 
4
 
In the last 4 weeks, I have traveled somewhere every 2-4 days!  That’s a lot of traveling for someone who is a homebody at heart!  I’m really glad to have that much travel behind me and you can expect more postings!