Revamping My Sewing Room – Part I
August 29th, 2016
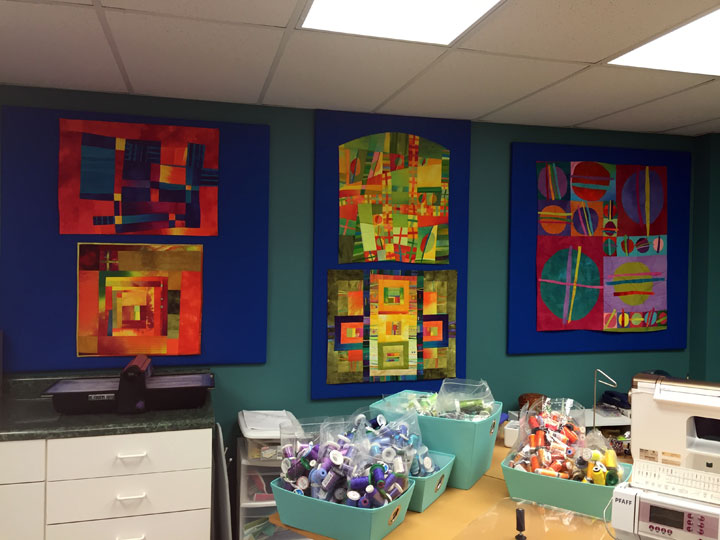 The first 8 months of 2016 have been a whirlwind and my head is still spinning from it all. In the midst of all that has been going on, we were on a waiting list to have my sewing room painted for a number of months. I have wanted to do this for eons but kept putting it off because of the sheer dread of having to move all the crap that’s in there so the painting could happen. The last time I painted this room I did it myself and it was around 15 years ago. The work involved in moving all this stuff lasted for days so I felt ok about paying a professional painter to do it because I went through enough “suffering” that writing a check seemed like the easy part! I took a bold step and went with a deep green (that has a lot of blue in it, as you can see above.) This color is a Sherwin-Williams color called “Lagoon.” The shot above is part of the main back wall that you see when you enter the room. Those small wall hangings are by Melody Johnson and they are mounted on felt-covered foam insulation from Lowe’s, and they are held in place with Command Strips that leave no marks when you later remove them. (That blue felt comes on a 72 inch wide bolt at Joann’s.) I love that the room now had a bit of an “art gallery” kind of feel to it, and words cannot describe the rush I get from being surrounded by such yummy colors.
 In the past, I always just staple-gunned a large piece of white felt to my wall to use for a design wall. Ernie said the room was now too nice for that, so I covered (2) 4 ft x 8 ft sheets of foam insulation with another color of felt, this time an aqua marine from Fabric.com (I don’t normally buy from them but it was the only place I could find this color of felt.). The shot above shows part of the new design wall before I’d put anything on it. Don’t think that covering these with felt is hard. Here’s a shot of part of one of them from the backside so you’ll know about the messy part that’s hidden:
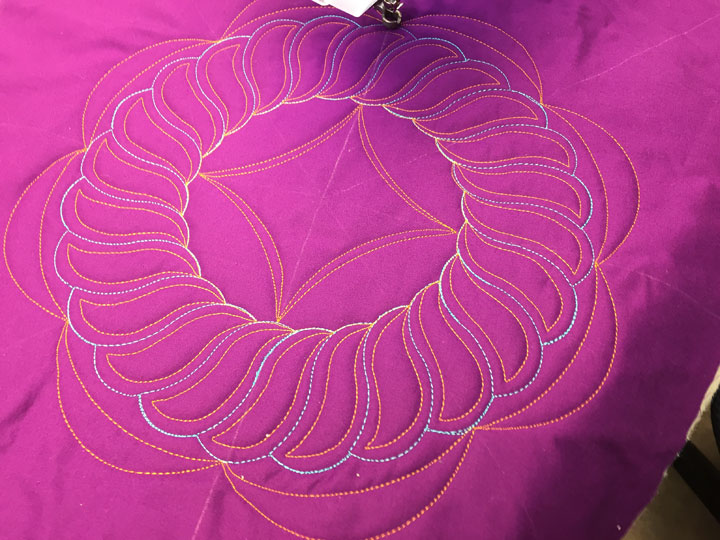
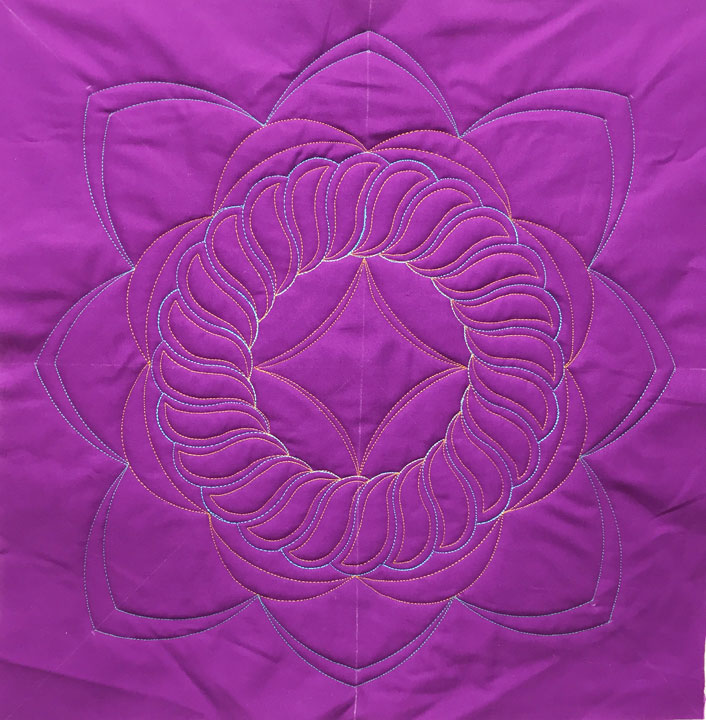
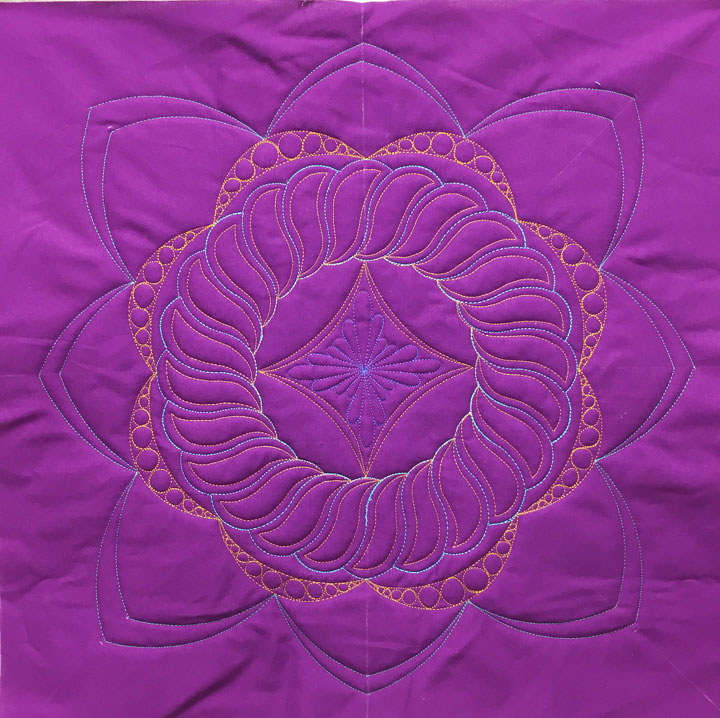
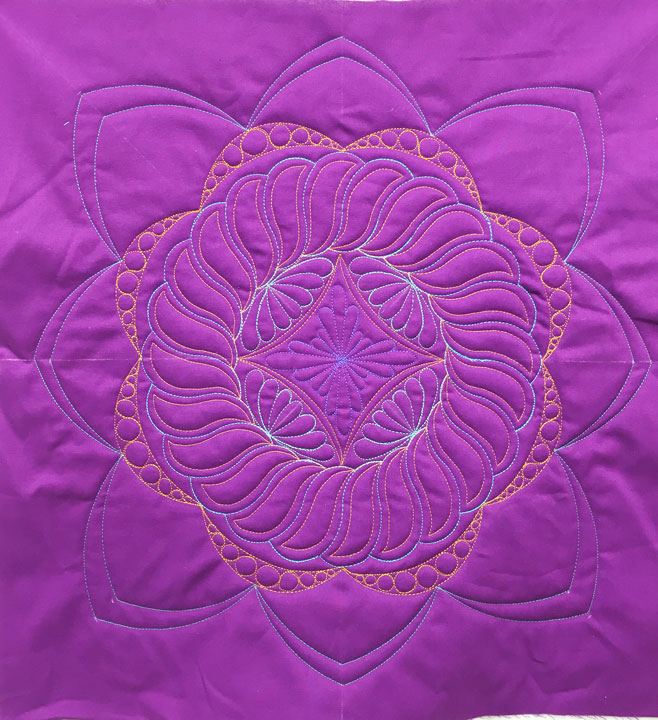
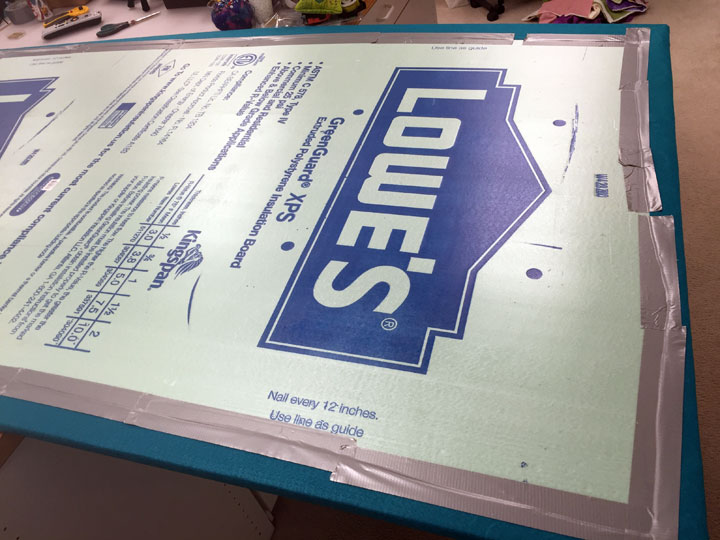 This next shot shows some pieces up on the new design wall. These are all “leftovers,” or test stitch-out pieces from when I did the first stitching of a new machine embroidery applique design. They are adding up so I’m trying to put some together into a hodge-podge quilt:
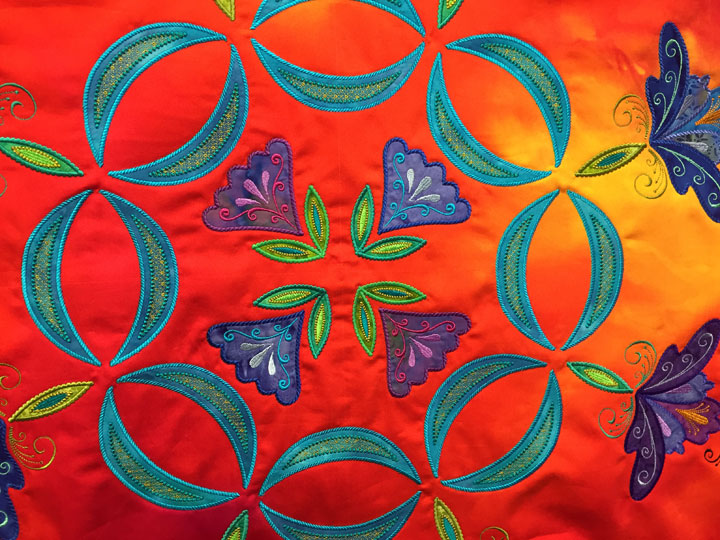
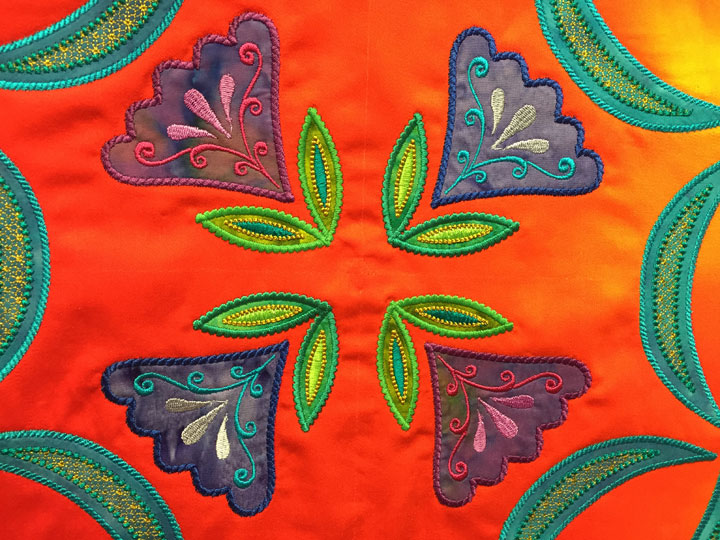
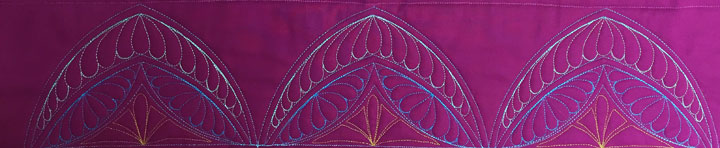
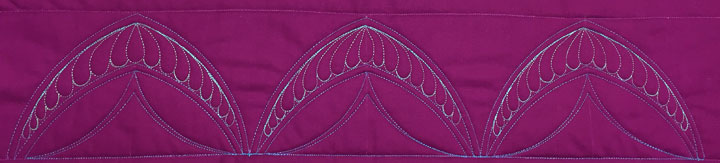
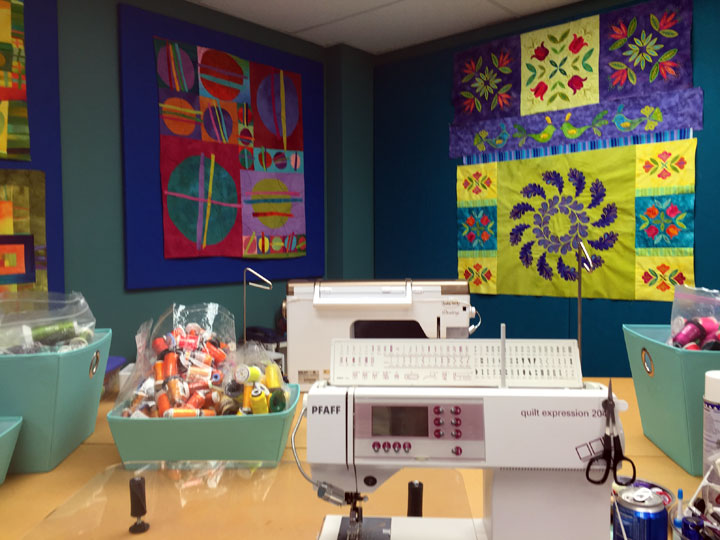 (This is also the view I have when I sit at my Pfaff and piece…pretty sweet, huh?!) This table is my main sewing table for piecing and quilting. I can tell you with complete sincerity that it hasn’t been this neat in about a million years! This next shot is the view from the other side of the table, as you look into the walkway to get to the other machine on the opposite side of the table:
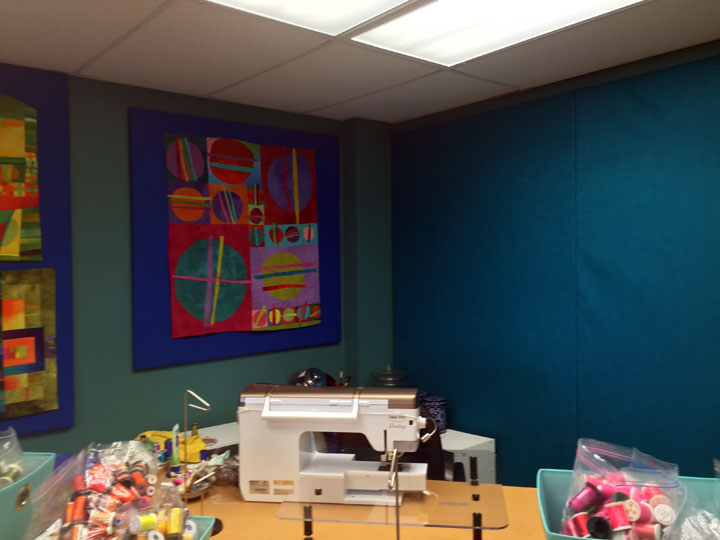
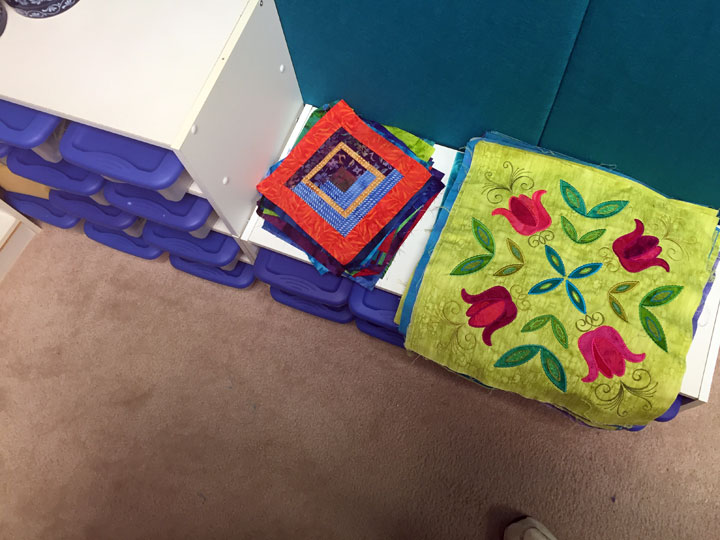
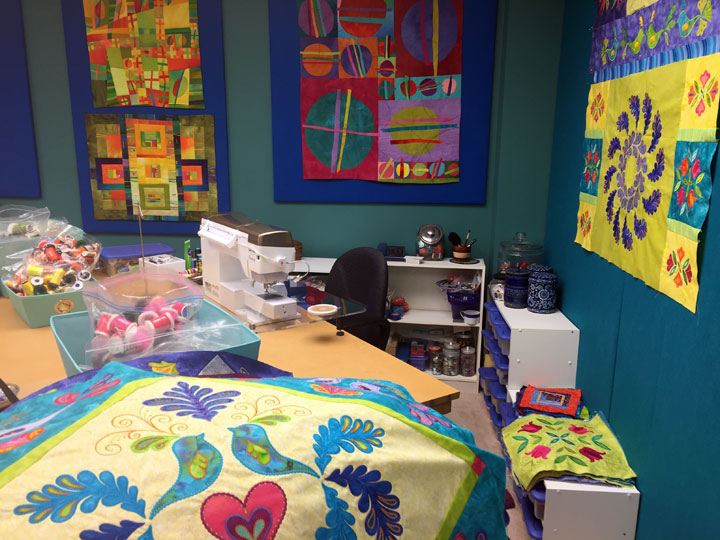 The white structures on that side wall are shoe stands filled with clear plastic shoe boxes of sewing notions and you can see that the shorter one is holding some completed quilt blocks that are currently “in play.” (I guess that means I’m still dreaming about exactly how I will use them):
 On the opposite side are some shelves and drawers that still need to be reviewed:
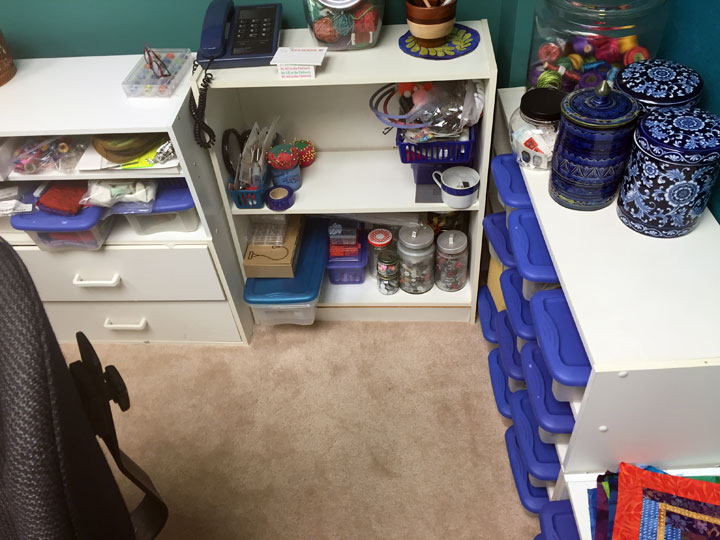 This large table is a very cheapo version of a sewing machine setup. There are 4 short file cabinets that are very lightweight and cheap and were purchased decades ago at Kmart. There is a hollow door straddled atop each pair of file cabinets. I sewed that way for many years and Ernie said he was slowly being driven insane by having to video tape me quilting on these vibrating hollow doors, so he talked me into placing a sheet of MDF (medium density fiberboard)on top of each door about 5 years ago. That was very good advice! I am embarrassed to show you how much thread I have but this will give you a sense of my “habit.” (In my defense, I really DO USE this stuff!). Here’s how I’m organizing my thread now:
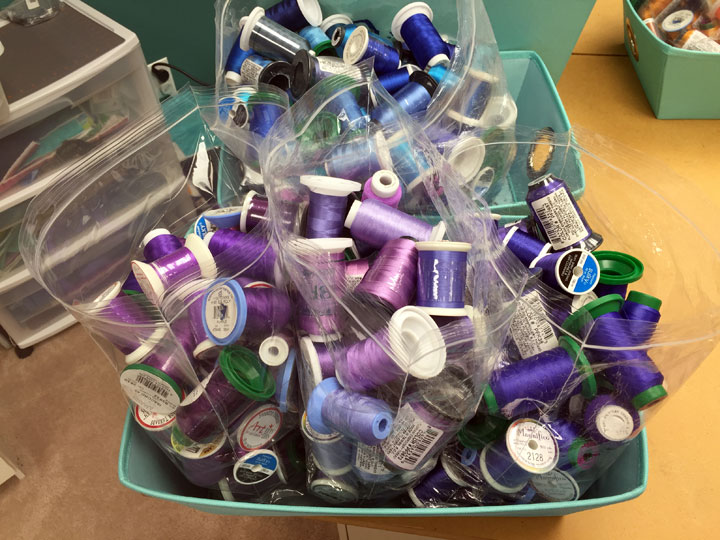
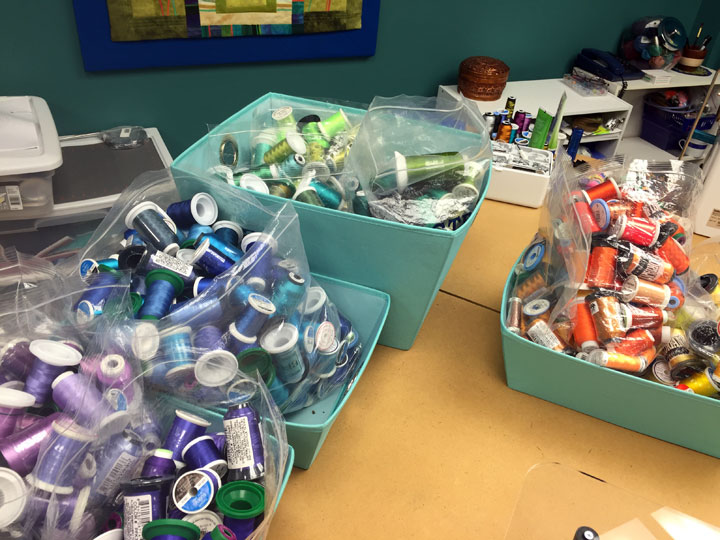 I had it just in large plastic zip lock bags for years but they frequently spilled, so I’d throw those bags into boxes to stabilize them. Once the room got painted and had such great colors, those boxes didn’t fit in, so I broke down and bought these fabric covered aqua tote boxes from Bed, Bath, & Beyond. (They always suck me in with those darn coupons…) I try to subdivide my colors so I can find them faster. As an example below, one bag had dark bluish purples, one bag has dark maroonish purples, and the center bag has light purples of any type:
 I’ll show you other parts of my revamped sewing room in future posts. I am one lucky person to have this wonderful space to work in.
In completely unrelated news, we are due to “go live” with our new web site later today (Monday, August 29, 2016). Please bear with us as there will likely be some hiccups. If you are having trouble finding something on the new site, please email me and I’ll see if I can find it for you!
I’ll show you other parts of my revamped sewing room in future posts. I am one lucky person to have this wonderful space to work in.
In completely unrelated news, we are due to “go live” with our new web site later today (Monday, August 29, 2016). Please bear with us as there will likely be some hiccups. If you are having trouble finding something on the new site, please email me and I’ll see if I can find it for you!