August 5th, 2021

I won’t dwell on the fact that I last posted over 1 ½ years ago; suffice it to say that I just haven’t felt like I had anything useful to say. For whatever reason, I do feel like I have something to share today, so I will!
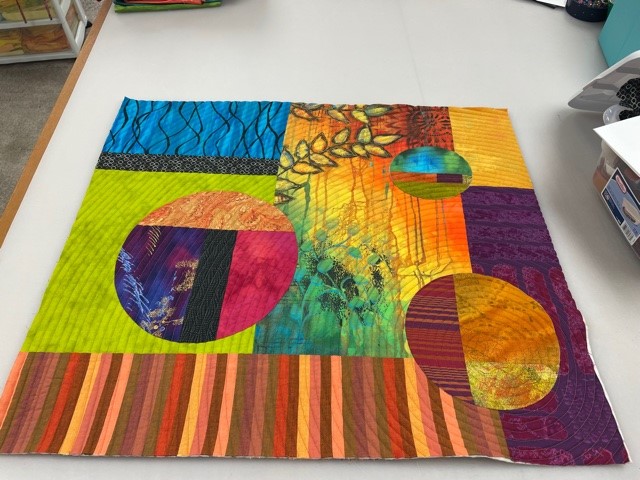
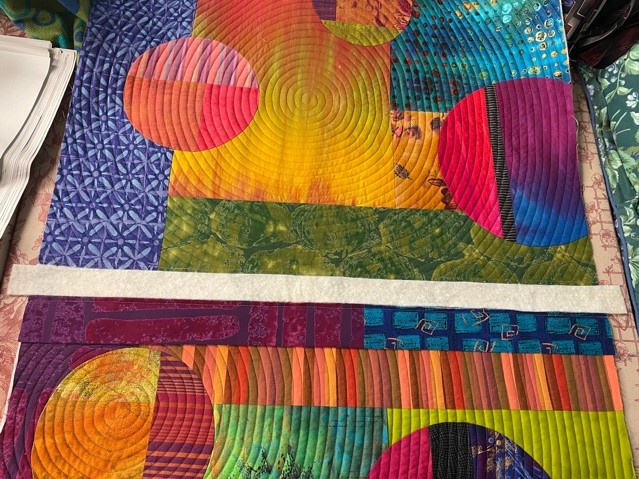
Do you ever start something new and get to a point where you stop because you’re really intimidated by the next step? I am quite enamored by the work of MariQuilts whose blog is called the Quilted Edge. You can find her blog by clicking here. Anyway, I love her color choices and her bold curves and lines and I have spent many an hour drooling over her work. A couple years back, I played around with some improvisational quilting in a similar spirit. I had never done “any quilt as you go” (QAYG) kind of work because I really love free motion quilting and am not bothered much by the bulk of the quilt anymore, so QAYG didn’t really offer me any gains. I did do it “halfway,” with this project, though, because I really like the look of the spiral quilting and that would be awful to do (if it were even possible to do) with a full size quilt. So, a couple years back, I made and then spiral quilted (using my walking foot) these 2 mini-quilts which were actually portions of a larger improve quilt that had yet to be made:
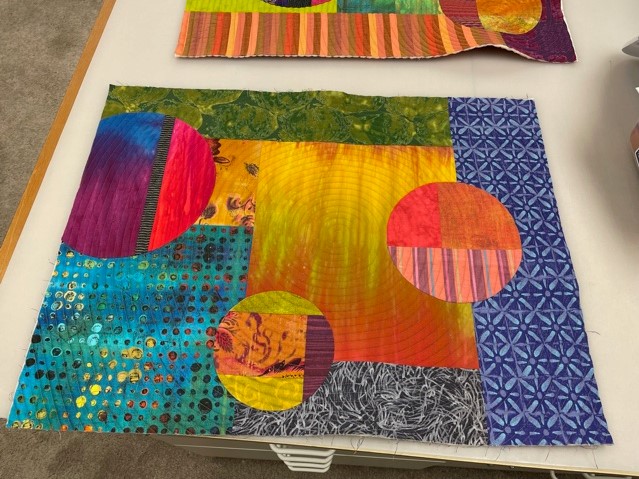
Above is piece one and below is piece 2:
These 2 pieces have been pinned to my design wall (along with other “lost souls made of fabric”) for the past 2 years! The reason why is because I was too chicken-hearted to try and join them! I know, just pathetic! It’s just freakin’ fabric! Mari has a wonderful, very clear tutorial on her web site that gives perfect guidance for every step (you can find that tutorial by clicking here) and I had read that tutorial about a million times but was so worried that I would screw it up that I just let it all be. I finally got up my courage last week and I could just kick myself for being so worried about what was actually a very easy process. After squaring up my edges, I cut my joining strips for the front and back and the batting strip, all according to the very clear directions on her blog. I pressed my top joining strip in half and then pinned it to the top side of one of the blocks. I also pinned one side of the bottom joining strip to the backside as those 2 strips are sewn on in the same seam. I was laughing at myself as I did this because in her directions, she said that one only needed to use 1 pin. As you can see in the photo below, I did not trust myself and pinned the heck out of it:
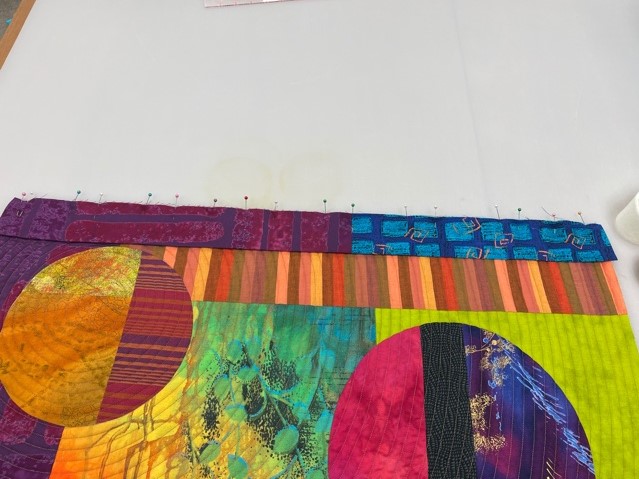
In the photo below, I have added the bottom joining strip to both blocks, and have sewn one side of the top joining strip to one of the blocks:
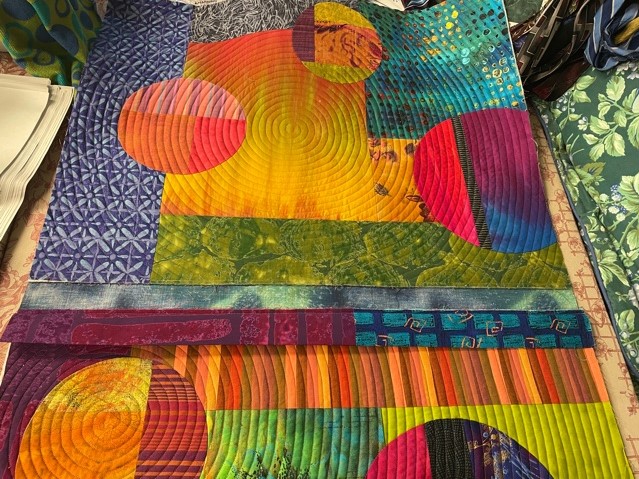
You can see there is an empty space above that bottom joining strip and eureka, the strip of batting literally fits perfectly in that space:
I carefully ran a thin line of Elmer’s Glue that would temporarily hold the folded top joining strip to the other block while I was sewing. I was cringing the entire time I did this…it felt totally unnatural and I was certain I would end up with smears all over the place. Instead, it was a very easy and neat process and most importantly, it allowed me to sew this top joining strip down without the use of any pins! Another eureka moment! Below is a shot of the joining strip pressed into place and held down with the glue:
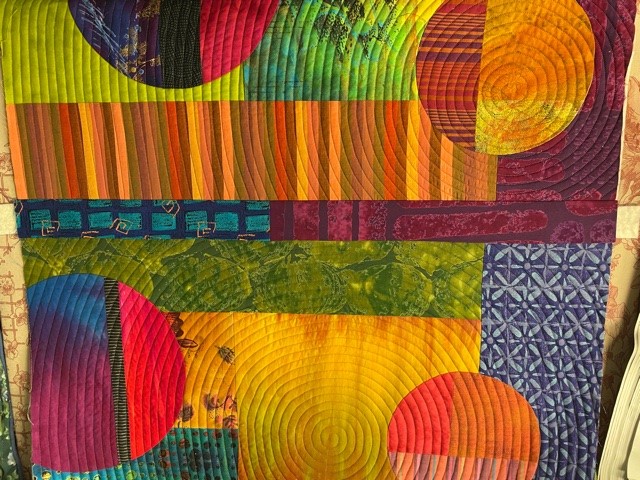
I know, unbelievable how well that worked! I took it to my machine and sewed it down and it wasn’t hard to do. Phew!! Here is a shot of the piece thus far, and it is not done yet:
Can’t wait to start some more improve piecing to create the next panel!!
Filed under
Free Motion Quilting.

