

Oct 21 16
On Feathers and Featherettes
Feathers come in all kinds of shapes, sizes, and conformations. In essence, they are structures where the plumes all flow from a spine:
…and sometimes, the spine is very fancy-schmancy and filled with decorative elements:
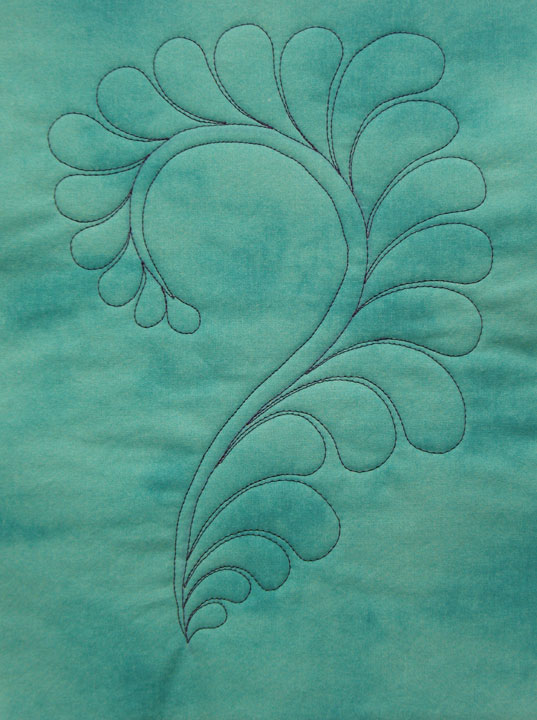
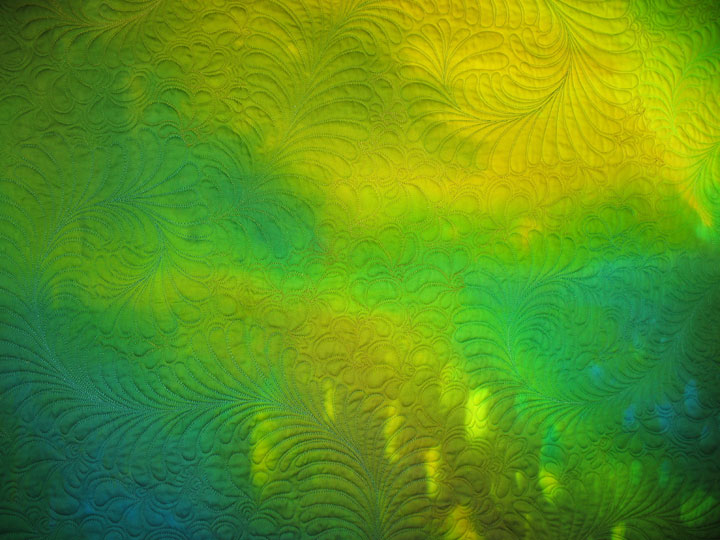
…or sometimes the plumes emanate from an “implied spine,” as in the free-form feathers below:
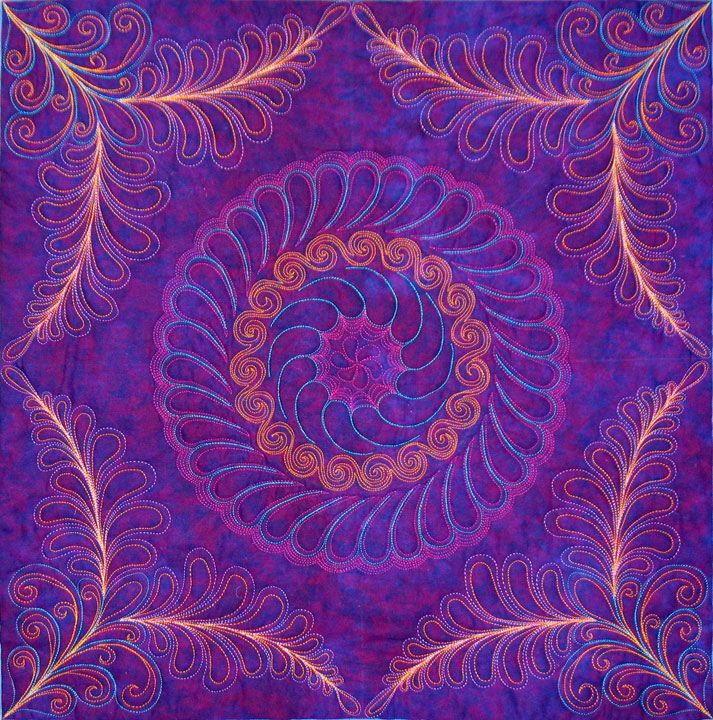
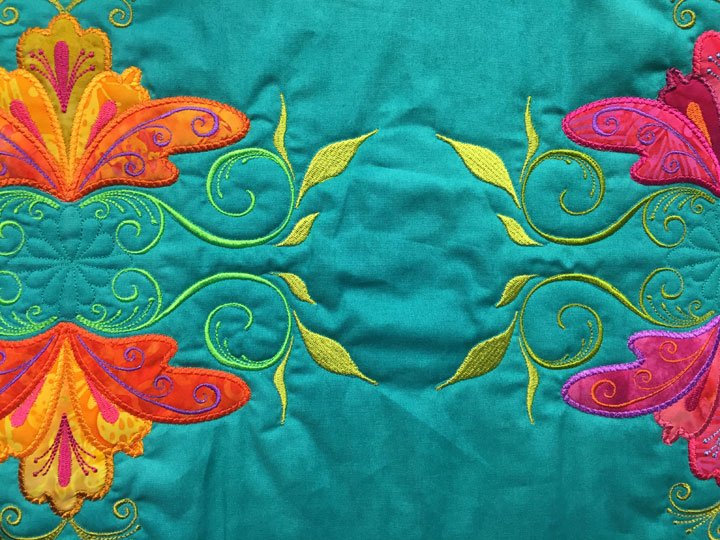
A featherette is a relative of a feather, but instead of the plumes flowing from the spine, the plumes of a featherette flow from a single point as in the photo below:
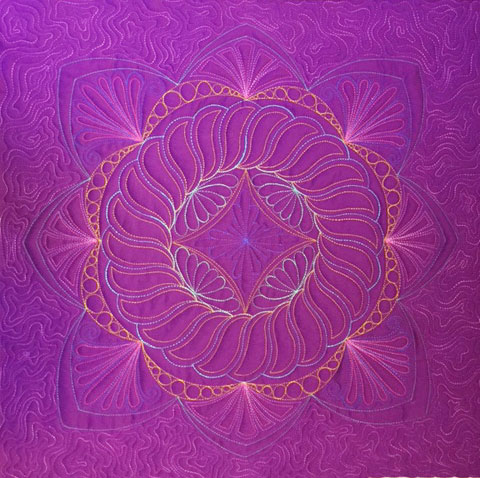
(There are actually 3 different types of featherettes in the picture above. Can you find them all?) Or as in this photo:
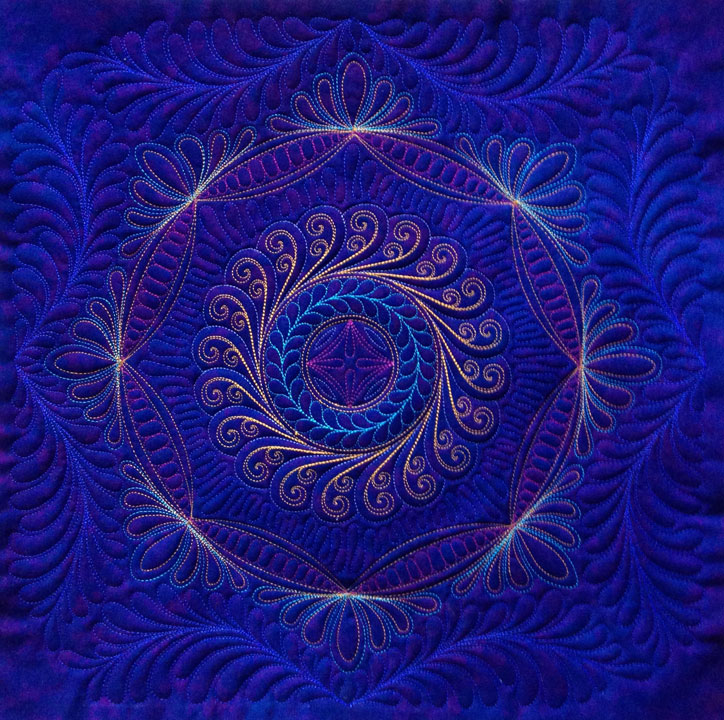
Featherettes can also be formed by plumes that emanate from a structure other than a spine, like:
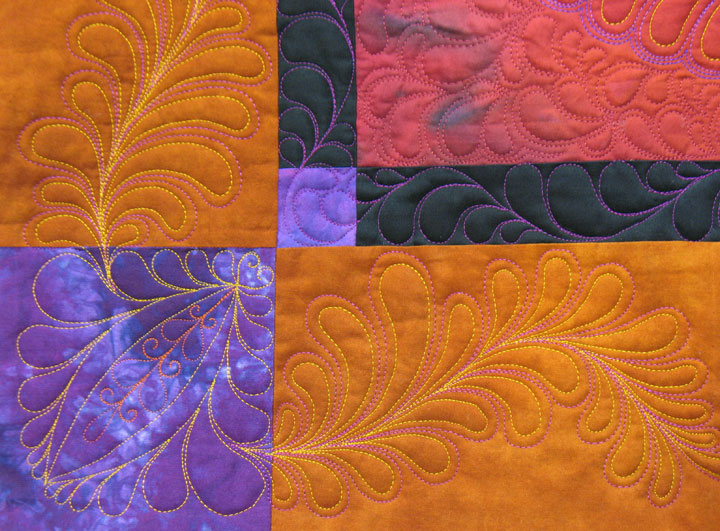
(The featherette in the above photos is the crescent or “football” shaped structure in the corner. Notice that in this case, we’ve used the featherette as the base point from which to flow 2 feathers!)
The key to creating featherettes that are “believable” is:
1. They are always highly symmetric and
2. If you go into the task understanding that the goal is to fill the bounded space to the max and you must do it in a symmetric way, it’s very hard to screw it up. The best way to approach it is to subdivide that available space (that must be filled) using a temporary marker. Once you begin stitching, your goal will be to stretch or contract the stitched line so that it reaches the marked boundary line.
This post began because a student in one of my Craftsy classes asked the following question:
Hi Patsy. I love the featherettes with the different shapes. I have a problem with rectangles for instance 3″ x 6″ or 3″ x 18″. Any suggestions?
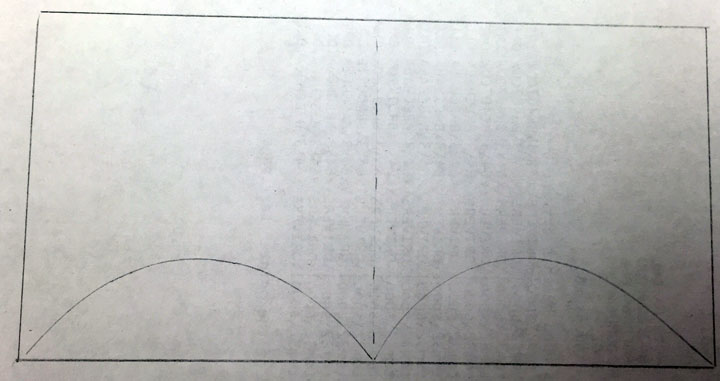
In this case, we’re going into this exercise with the knowledge that we need to fill a 3 in x 6 in rectangle. This concept will be easier to understand if we start by filling it with a symmetric feather. The first thing I would do is mark temporary lines at the midpoint of the rectangle and then mark mirror image curves that flow from that center base point:
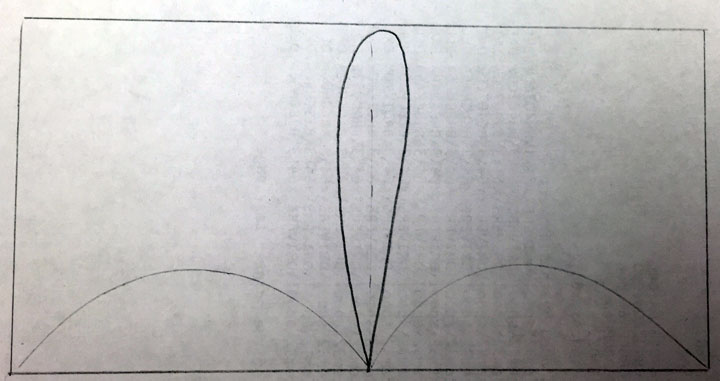
Next up, I add a central plume in the dead center. Notice that it reaches all the way up to the upper boundary of the space I need to fill:
The final step is to add the plumes onto that lightly marked spine guideline. As I do this, my goal is again to fill all available space with my plumes. Once I complete the first side, I go and do the 2nd side. These are not really mirror image sides to the feather, but they are close enough that they are to be mirror images, and this is therefore a “believable” motif:

(Notice that I used the freeform feather technique as I drew this. I point that out because the feather would look quite different if I’d used the bump-back feather method to add those plumes. There will be a teeny bit more on that later but if you aren’t familiar with these terms, then you need to take my Craftsy Class called Ultimate Free Motion Feathers!)
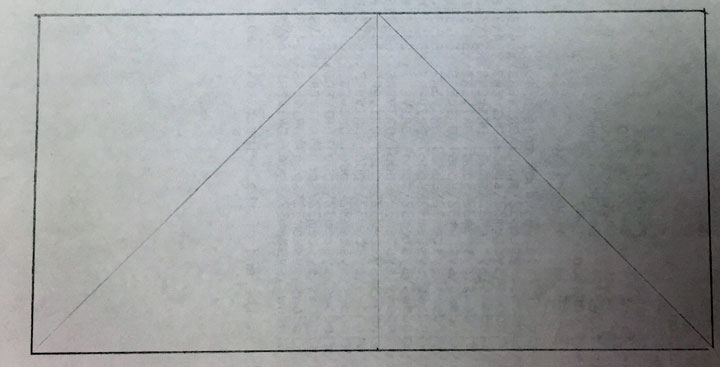
Now, let’s take those same principles and apply them to a featherette to fill the same space. First up, I subdivide that space that we need to fill. I’m subdividing it differently because I want you to know you can subdivide space in many different ways:
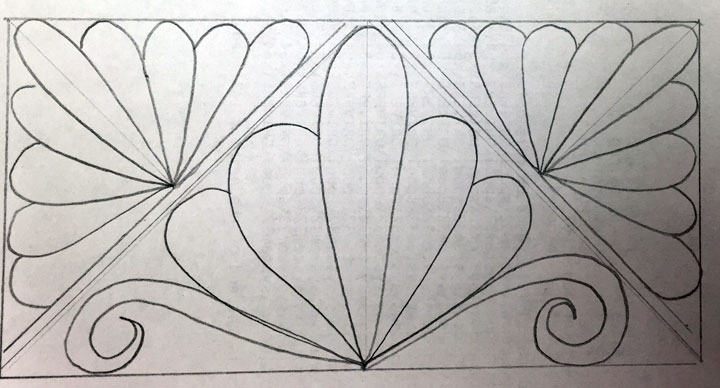
Now look what happens if I throw in a featherette in the center triangle section and then 2 smaller featherettes into the upper side sections:
Completely different look! Now let’s see a couple other ideas. If you’ve started playing with rulers, then you know the power of basic arc rulers:
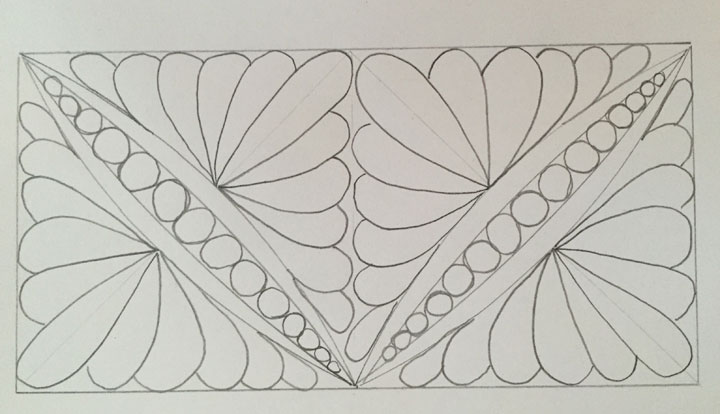
Again, totally different look, but we’re filling the exact same space! Here’s one more, and remember, all of these are filling that same 3 in x 6 in rectangular space:
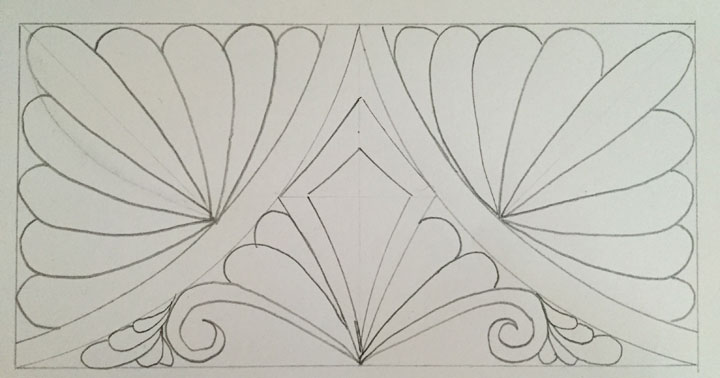
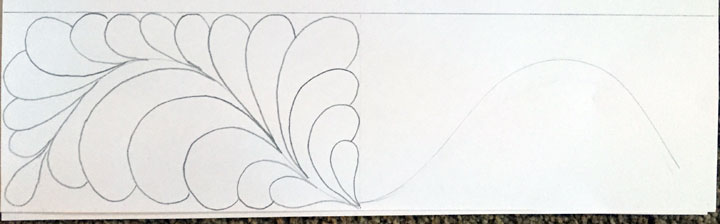
Can you see how this last one is fairly similar to an earlier one, but we’ve used arcs to subdivide instead of straight lines, and that really “softens” the look of the design. For the 2nd part of the question, what should one do with a 3 in x 18 in rectangle, the answer is basically the same answer. Each of the designs above would work in a “serial format” to fill that space, and the end design would look quite rich. Alternately, one could subdivide it into 2 sides, then fill it quickly with 2 mirror image feathers. In the photo below, I’ve filled in the first side with a feather and if I did the same with the right side, they would appear as mirror image feathers. (My paper is only 11.5 in wide, so this box is 3 in x 11.5 inches. If it were filling an 18 in wide space, I’d just have started with a spine guideline that had additional curves.) Note that in this example, I created the feather using the bump-back technique, and you can see how very different that feather looks:
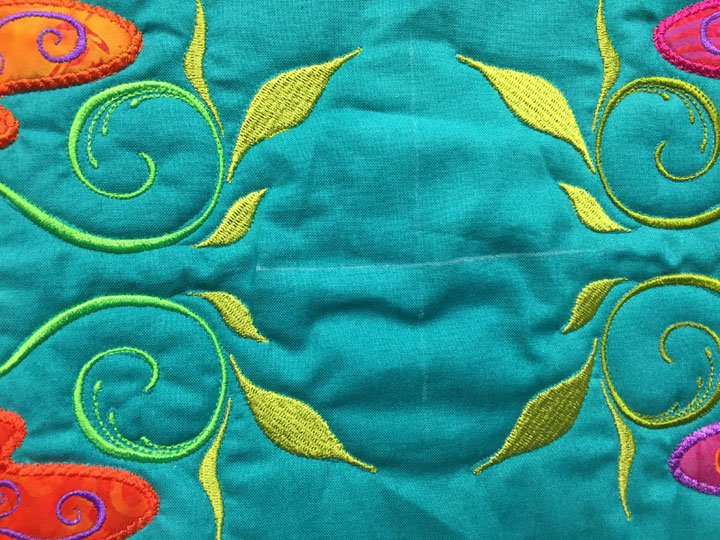
So, what I’ve done above is explain my approach to filling empty, defined spaces with feathers and featherettes. For me, the spaces I need to fill are usually not rectangles, but are odd spaces between applique shapes. In this case, I am generally filling spaces that don’t necessarily resemble anything. The good news here is that if you follow the strategies I’ve outlined above, you can fill these oddball shapes with symmetric appearing feather structures, and it will pretty much always be “believable.” For example, here’s a space created by neighboring applique shapes that I needed to fill recently:
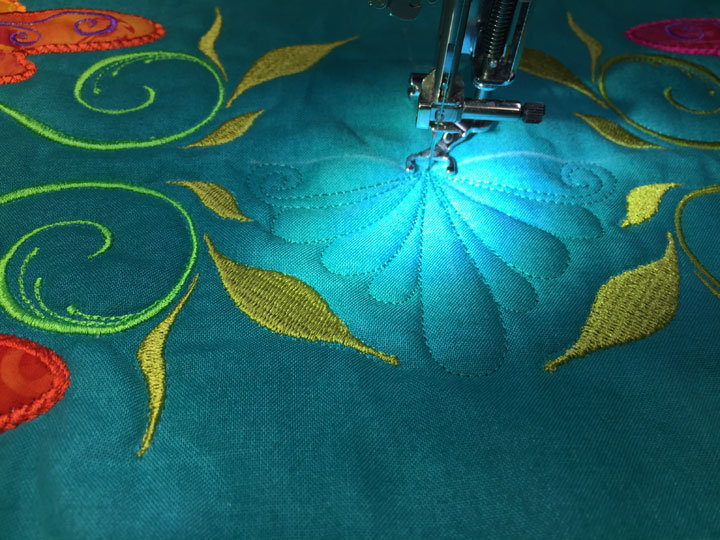
Kind of an odd one, n’est pas? I subdivided it with a sliver of soap:
…then stitched a featherette on the first side of it:
…and here’s how it came out once the second side was done:
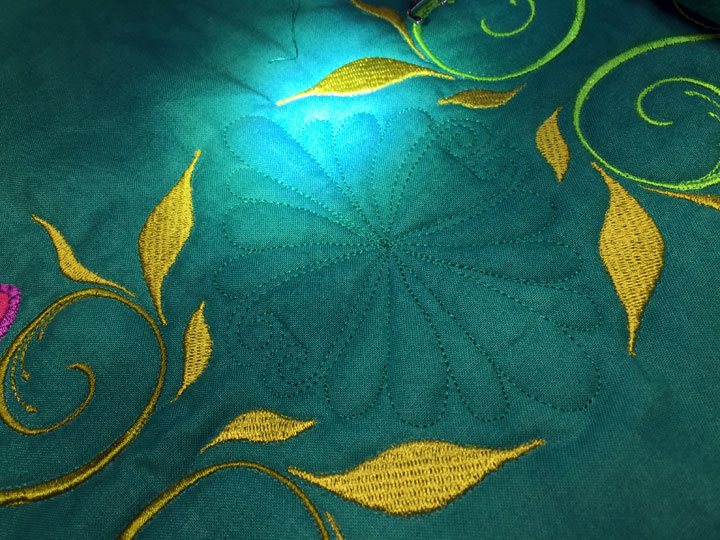
Doesn’t it look like that featherette was “born” in that space? That’s what I mean…it’s a lot easier than you think! Here’s another weirdo space to fill:
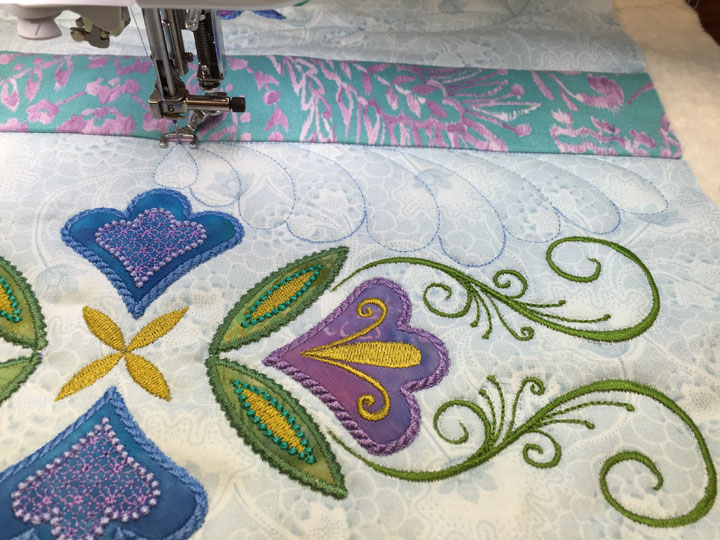
…and here’s how it came out at the end:

Now it’s YOUR turn! Learn how to do all this and more as Craftsy is offering a great deal on classes through October 31, 2016. Save 50% off the full retail price of both of my classes. This offer cannot be combined with other coupons or discounts. Expires October 31,2016. Click here to get the discount on my Ultmate Free Motion Quilting Class and click here to get the discount on my Ultimate Free Motion Feathers Class.
Stunning machine embroidery and free-motion quilting. Thank you for all the tips and inspiration. #CreativeGoodness
QuiltShopGal
http://www.quiltshopgal.com
Patsy, I am enjoying your class and am ready to take the plunge and purchase rulers. I like the swags and bump back feathers. In the ex. above (bump back feathers in rectangle) did you use the HQ Wave C Template? Would it be easy to calculate symmetry for any shape border? Would the Machine Quilting Ruler Starter Pack make the swags that you made in Lesson 5 Basic Featherette Work? Looking forward to your answer so I can purchase the correct rulers for the results that I want. Keep up the good work!! You do an amazing job.