Spinning My Wheels

September 27th, 2011

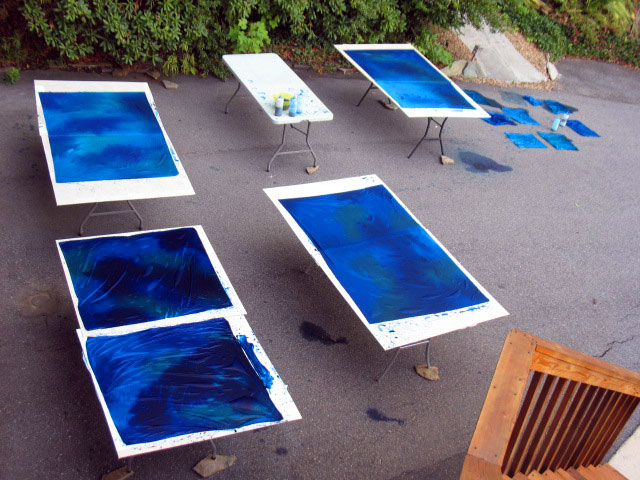
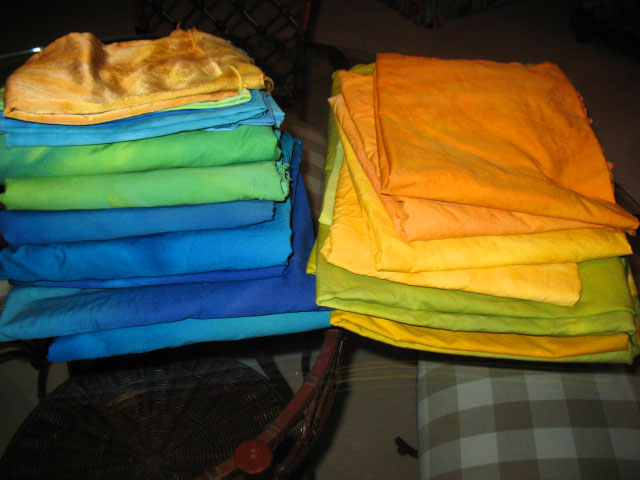
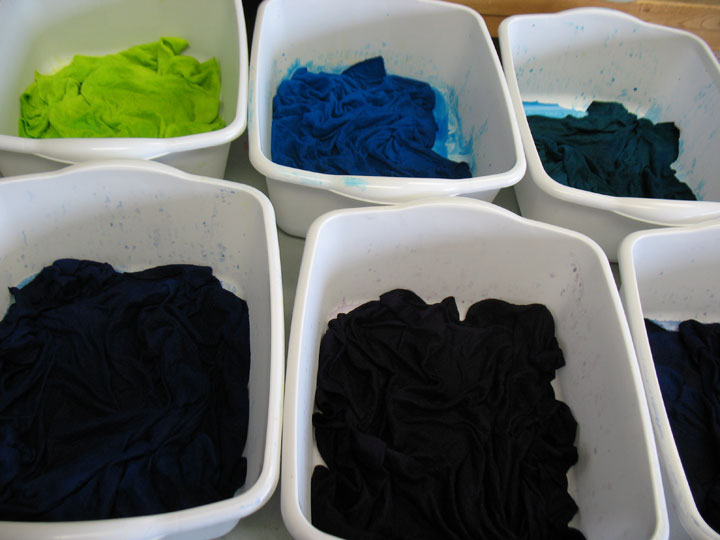
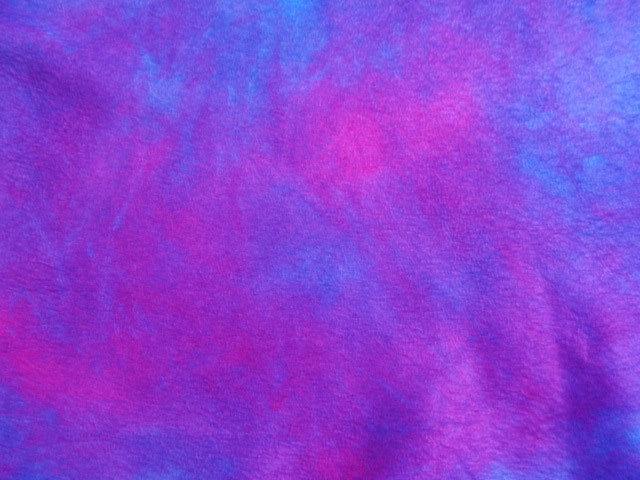
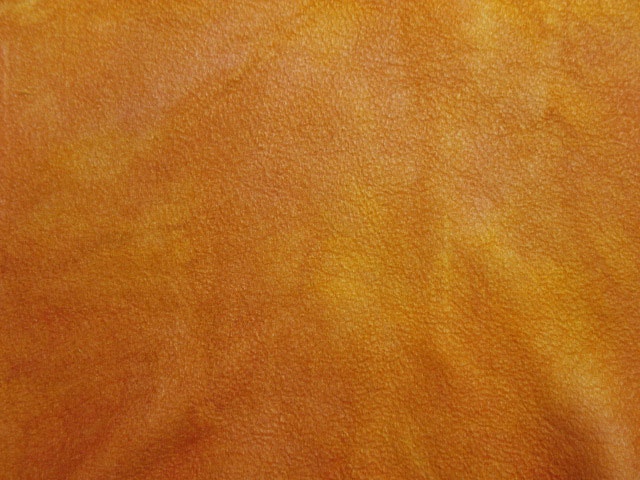
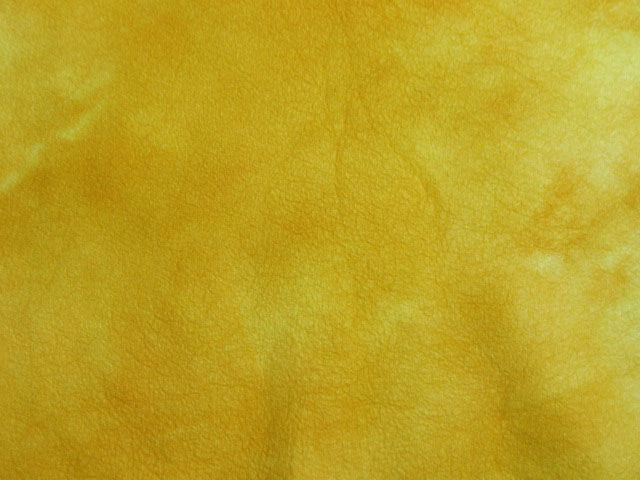
My hands have been in so many different projects over the last 5 days that even I am dizzy!  I am scrambling to get some large volume dyeing completed before the weather turns too cold.  I can dye all winter in the garage, but I need lots of larger yardage pieces (i.e. at least 2 yards each) and there isn’t space to dye large yardages unless I’m working outside.  These are Egyptian cottons that are great for piecing and every once in awhile I’m throwing in a  smaller piece of another fabric type to use up the end of a dye color:

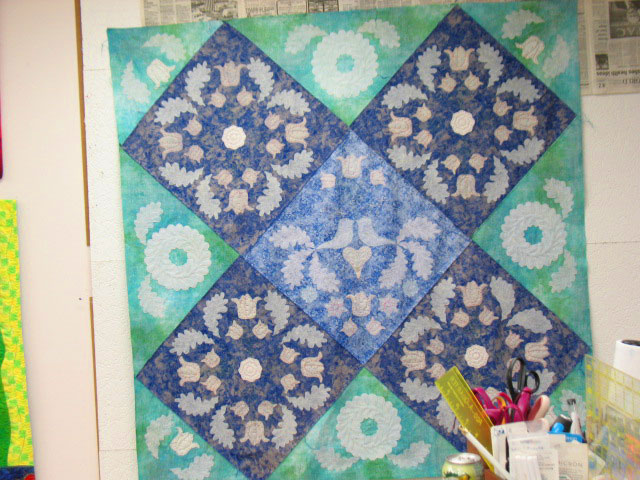
I finished all the free motion embroidery and trapunto on the tulip quilt about 1 1/2 weeks ago and had to wait to bring it to NC so I could spray baste it.  Here’s a shot of the backside (the colors are very washed out looking as these are all printed commercial fabrics) and you can see that there’s a lot of trapunto.  Every applique shape except for the stems are trapuntoed, and those are free motion embroidered.  I used 5 different types of batting for the various trapunto shapes:

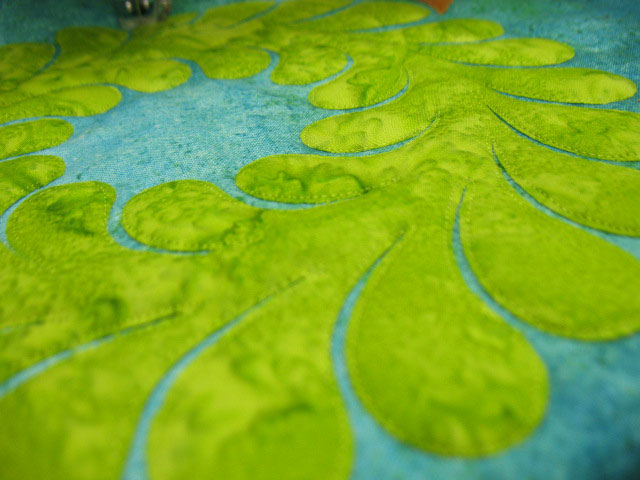
I’ve just begun the first phase of the quilting, and this involves zipping around all the applique pieces with invisible thread (Monopoly by Superior Threads).  I always find this phase very relaxing and it gets my head in a very good place.  One of the battings I used was a thin fleece batting and I am loving the texture it creates.  You can get a bit of a feel of the trapunto effect on this wreath, and remember, I have done no background quilting at all here, and that will make all trapunto more pronounced:

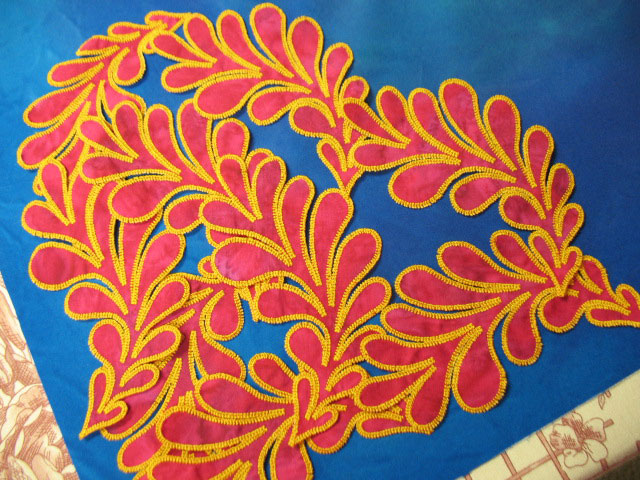
The other thing I have been doing is spending loads of time trying to teach myself how to digitize.  I am not a computer person at all, but I can’t believe how much I’ve learned!  I know that many quilters really have no interest in machine embroidery, but all I can say is you have no idea what you are missing out on!  For myself, I really think that a melding of my free motion work + machine embroidered applique=incredibly exciting horizons for my future!  Here’s  a peak into what machine embroidery can do for my feathers…wonder where these babies will end up?

Stay tuned!  I’m hoping to have my first machine embroidered applique quilt pieced in the next few days!

A Colorful Day and the Beam N Read Light Winner!

July 9th, 2011

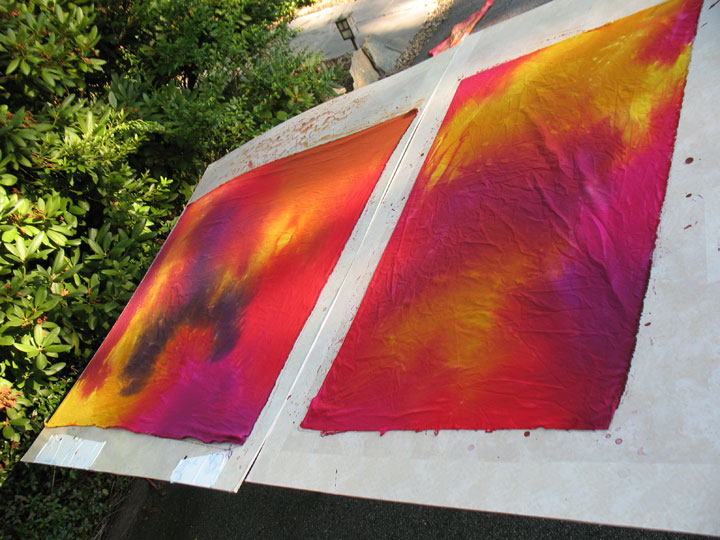
I had the pleasure of spending many hours dyeing fabrics before I left North Carolina. Dyeing is always an exhilarating experience as colors come to life right in front of your eyes:

…and these are created by direct application of dye to damp fabrics, resulting in subtle blending and bleeding of colors into one another:

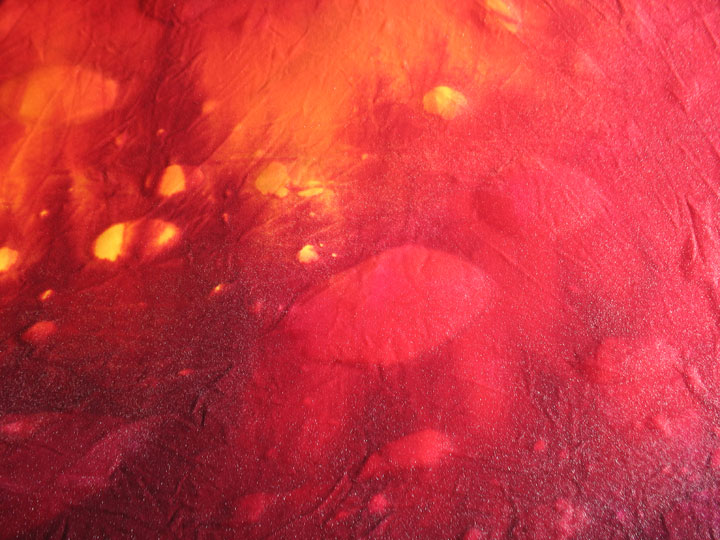
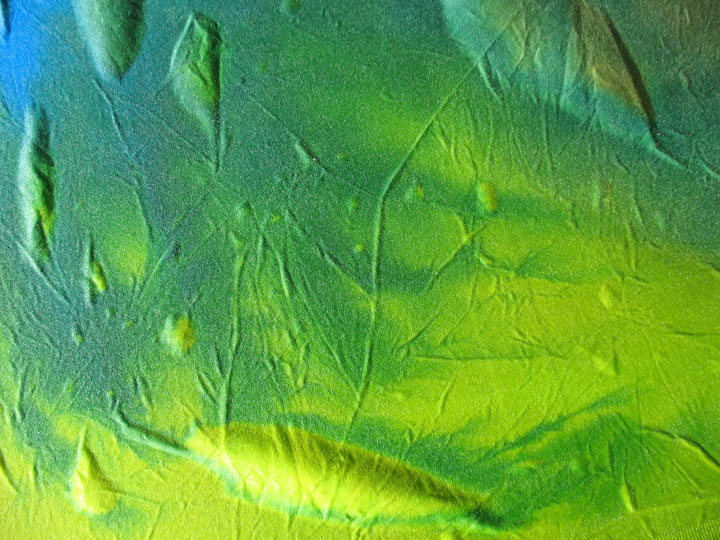
I just let these dye platters sit in the sun until they dry. Here are a couple of close ups of the wet fabrics as they bake in the sun. Notice the wonderful effects that occur from the air bubbles:

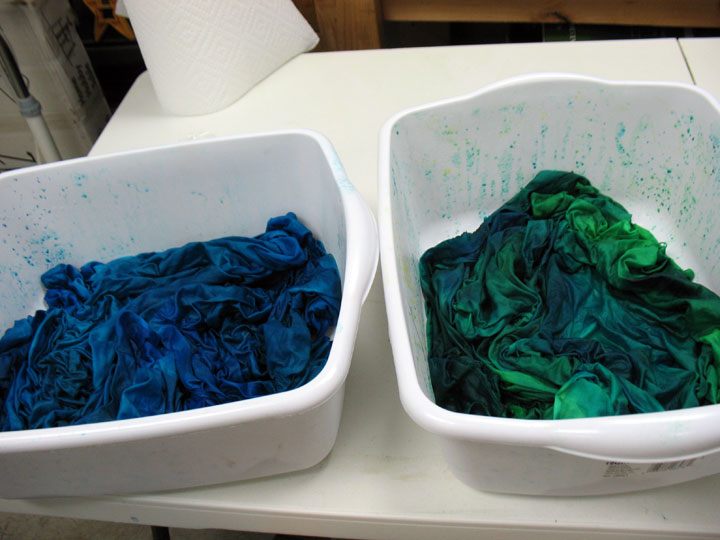
My favorite cotton sateen fabric for dyeing is now Ultra Sateen by Robert Kaufman. It takes the color so vividly (even the off white does) and it’s just a tad heavier so it has a wonderful drape to it. And here are some tubs of bamboo/rayon blended felts that are soaking up some great color as well:

I can’t wait until the next time I can get my hands into a dye bath!

In the meantime, I’ve heard back from the winner of the Beam N Read Light, so I can announce it here! Congratulations to Brita Pingry of Crossville, TN! Check out her blog to see all the fun quilting stuff she is up to!

Using up Old Mixtures of Procian Dyes

June 13th, 2011

The night before I left Asheville, I needed to clean out all the bottles of liquid dyes that were sitting in the fridge…these dyes had been mixed up 6-8 months earlier, so we’re talking really old dyes! I can’t bring myself to just throw out stuff like this, so I decided to use them up dyeing pieces of bamboo/rayon blended felt by National Nonwovens. Felts soak up a huge amount of dye, and bamboos and rayon fibers generally dye fairly vibrantly, so I figured this was my best chance to:
1. appease the guilt I had about throwing this stuff out and
2. give me the best chance of actually getting some real color, since these dyes were so old they probably had very little “dyeing power” left in them!

I started out by using my friend Judy Simmons‘ method for “dyeing by cooking:”

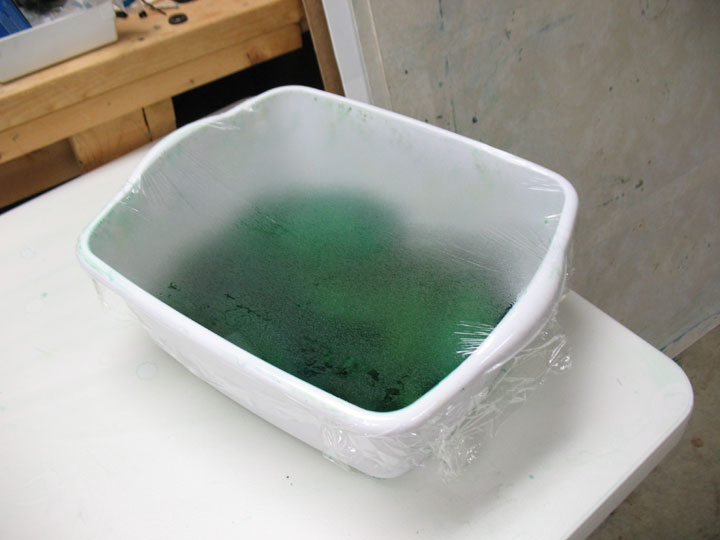
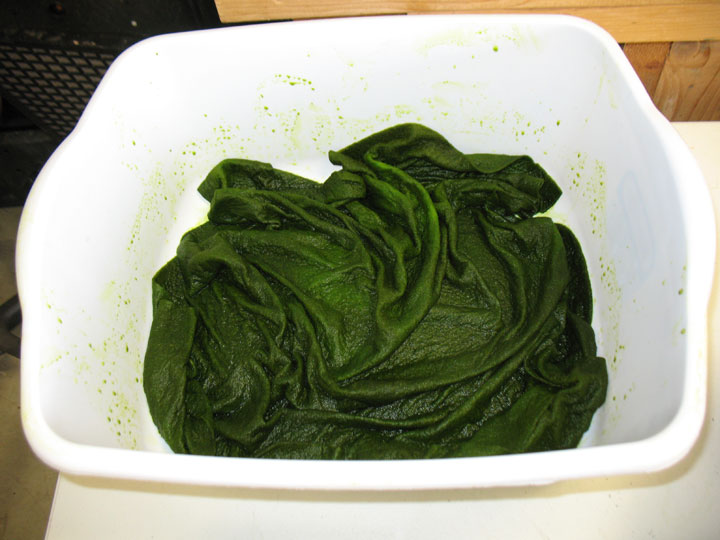
This involves placing the felt (or fabric) and dye into a tub and covering it with saran wrap, then cooking on “high” in the microwave for 3 minutes. Afterward, you let it steam for awhile like shown above, but you can’t let it steam more than about 3 minutes or all the condensation pools in the center and drips down, giving you a nice diluted dot in the center! This will give you an idea of how much dye this felt soaks up:

This dye was called “Avacado” and although the final color looks nothing like the original avacado, I really like how it came out:

Here’s how my lapis blue came out:

…and here’s the result of a mixture of turquoise and fuscia:

I love how the terra cotta came out…remember, this is really old dye:

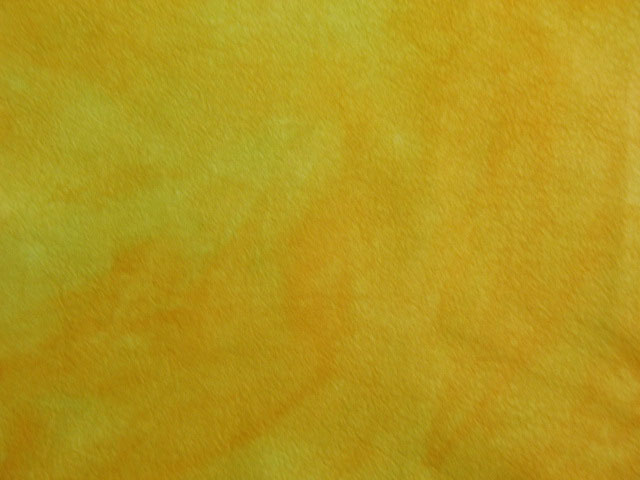
and finally, yellow and marigold:

Ooh, la-la…I can’t wait to start dyeing again the next time I get to NC! The season of dyeing is finally here!

Give-Away Winner, What’s on the Machine, & Fabric Dyeing

February 19th, 2011

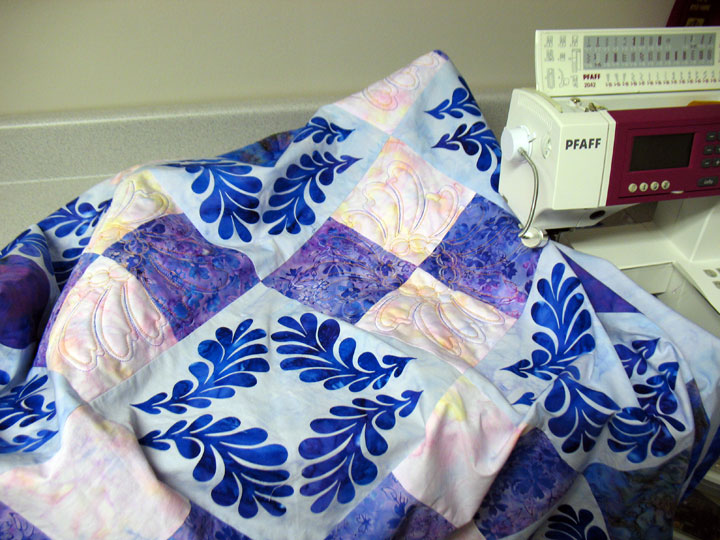
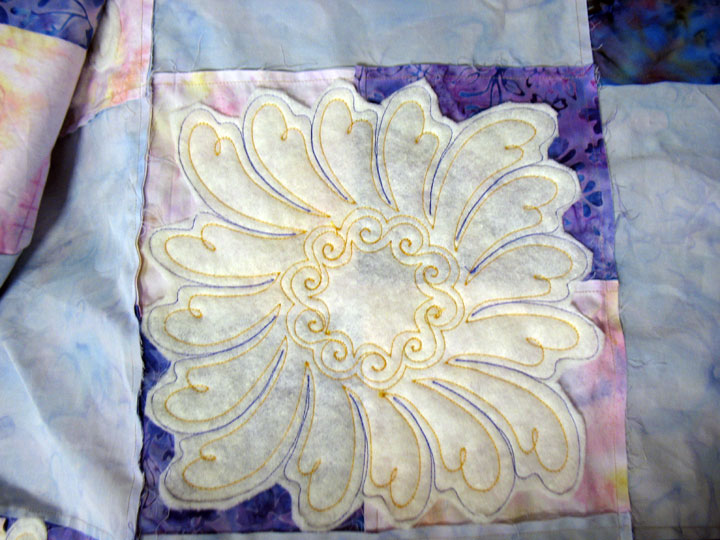
This quilt top is what’s on my machine bed today. It’s fully pieced but I’m adding a trapunto layer to the four patch blocks that are interspersed with the applique blocks. I usually do this before I even piece the blocks together, but I’m adding trapuntoed feathered wreaths that come so close to the edges of the blocks that it makes piecing difficult when that’s done after the trapunto layer is added. Here’s a shot of the backside showing one of the trapuntoed blocks:

Only 2 more blocks to trapunto and then the whole thing will be ready to be quilted!

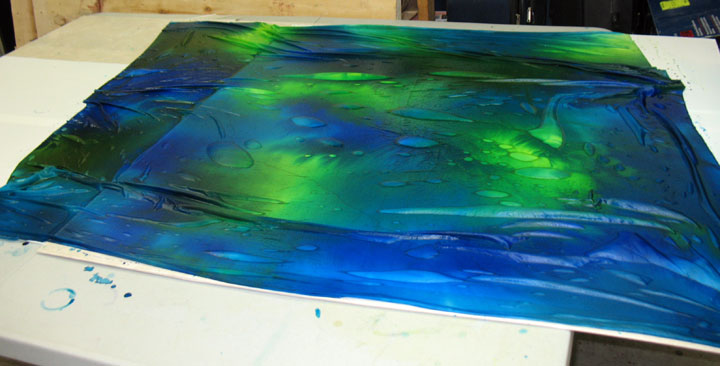
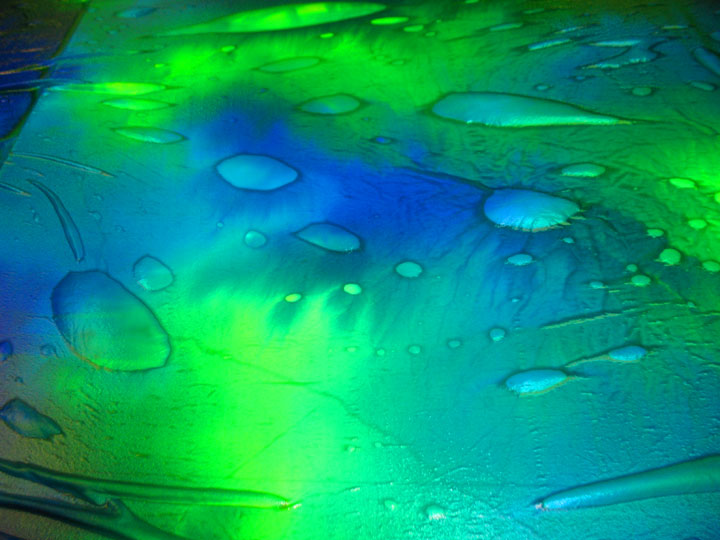
This is a large piece of silk charmeuse I dyed last weekend in the garage. Isn’t it really stimulating to see all that great color? It sure got my juices flowing again! Here’s a close up of some of those bubbles that cause the dye to pool:

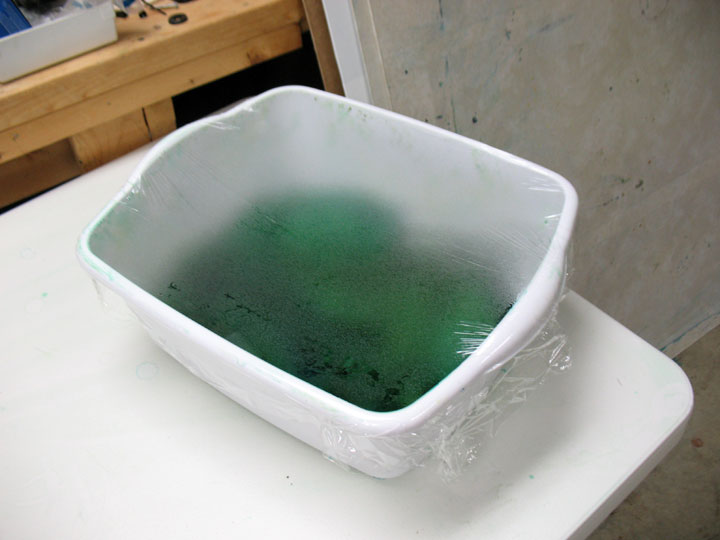
While I was at it, I dyed a few tubs of fabric in the microwave, each tub holding 1 yard of fabric. My friend, Judy Simmons, taught us a technique where you cover your tub in Saran Wrap and then microwave on “high” for 3 minutes. Here’s a tub just out of the microwave:

You leave the Saran Wrap in place for awhile so it can steam for a bit, but don’t just walk away and come back hours later. I did that the first time and all the condensation inside ran to the center of the lid and then drip, drip, dripped for hours into the center of the fabric “blob.” When I finally took the Saran Wrap off, the center of the fabric had been diluted to a very pastel color! Here’s a shot after I removed the tops of a couple of tubs:


Phew, no pastel centers this time!

And I wanted to thank everyone for so many warm wishes on our anniversary. Unfortunately, there can be only one winner of the $50 gift certficate, and that goes to Linda, from France! You can read her quilting blog here.

Color, Glorious Color!

June 3rd, 2009

Aren’t these just gorgeous? These are all 1-2 yards lengths of hand dyed cotton sateens, dyed last weekend in the driveway. People always ask me how I get these blending colors, and it is SO easy it should be illegal! If you enjoyed finger painting at an earlier time in your life, you will LOVE doing this! You can just about drive yourself nuts reading about how to dye fabric and frankly, if I had allowed myself to get too caught up in the directions, I’d never be doing this. I cut many corners and don’t measure out anything exactly, and yet I’ve been able to consistently get really beautiful saturated colors that are colorfast. Here’s how!

I begin with cotton sateen (from either Hancock Fabrics, the chain or Joann Fabrics; Egyptian cotton from Joann Fabrics, or silk charmeuse from Exotic Silks) and each is soaked in a tub of soda ash/water for a minimum of 10 minutes. What kind of a ratio of water/soda ash? I’m not sure…I don’t measure it out, but I’m guessing that it’s in the range of 1/2 cup soda ash to 3-5 gallons of water. Stir it so the soda ash is completely dissolved and then add your fabrics. When you’re ready to dye, wring the fabrics out really well so they’re barely damp. (BTW, save this soda ash/water solution and keep re-using it. The solution I used last weekend is now 4 months old and still going strong)! Once you’ve wrung out those fabrics, place them in the washing machine on the spin cycle. DON’T LEAVE THIS STEP OUT, because this step will hep ensure that your colors are very vivid. You are now ready to begin dyeing these fabrics!

You will use Procian MX dyes for the above fabrics; I buy mine at Dharma Trading Company. I mix 1 TBS of dye powder with 2 cups of hot water (out of the tap, not heated on the stove) and stir until it’s all dissolved. I pour each color into a squirt bottle, then rinse out my measuring cup before I begin mixing the next color. Once I’m done, I have MANY squirt bottles filled with luscious colors!

Next, I lay out a piece of fabric on a “dye platter.” This is a piece of hardboard covered w/contact paper. Using one of my squirt bottles, I squirt a color into a few “blobs” of color placed randomly on the fabric:

Using a gloved hand, I squirt another color onto the fabric, and then I start to “blend” these colors with my hand, just like with finger painting:

Can you see how this is creating several colors that just kind of “blend into” one another? So easy, so fun! See all the blotchy areas of color around the periphery? That’s messy and yucky, so I’ll need to clean up all that as I continue to work, but this is quite easy to do. Now, sometimes as you work, you are really blending these colors, and other times, you’ll want to let the colors “bleed” into one another. Here’s an example of natural bleeding that you don’t want to interfere with:

These kinds of bleed lines will look lovely once your fabric is done. Here’s a photo of that exact piece of fabric once it had been washed 3 times, and notice how much the bleed lines add:

Doesn’t that piece of fabric just make your blood boil?! Now here’s one more tip about this direct dye method: sometimes, as you’re working, you’ll develop bubbles like these:

Some dyers “spoon out” those bubbles but I don’t because I love them! Do you see how colors pool around the edges of those bubbles? This will create a really cool effect once the dyeing is done, so think of it as yet another way to make your fabric more interesting!

Now this direct dye method isn’t the only way to dye fabrics; here’s another one I did last weekend. Here, I placed a piece of silk in a tub and started squirting dye onto it:

In this case, I had a couple of yellow/gold colors that I kind of just worked into the fabric while it was in that tub. Sometimes, I will just leave this crumpled up fabric in the tub and then lay it out in the sun. In this case, I left each crumpled up wad of fabric right on the driveway to dry in the sun:

Here’s a shot of all the pieces of silk that I dyed last weekend; these make a big splash as applique figures because of that wonderful sheen of silk charmeuse:

The last method I’ll show you is how I over-dye commercial prints. Here is a 2-yard piece of a blue mottled cotton that I’ve placed in a tub with 4 cups of fuchsia:

Using gloved hands, really work that fabric into the dye, making sure that every inch of that fabric has been immersed in it:

Leave it out in the sun for a few hours and here’s the finished product:

Here are a few things I’ve learned that make the whole process easier and/or cheaper:
1. Don’t wash fabrics out by hand at the end-it’s very messy. Let every piece of fabric dry totally in the sun, then fold them up and throw them into the washing machine-no muss, no fuss! I wash once in HOT water, then 2 more times in cold water. With my particular water, they are colorfast at this point, but check on this wherever you live. You might need to wash less and you might need to wash more!
2. I don’t waste any money on Synthrapol for washing fabric, either before I dye the fabric or after. I use whatever commercial laundry detergent I happen to have on hand (currently “All” or “Tide.”)
3. I don’t cover my fabric in plastic as it’s dyeing-never found that to be necessary and it sure saves a big mess!
4. At times when I’ve run out of soda ash, I’ve just used baking soda. Everything I’ve read says it won’t work, but it’s always worked fine for me.

No more words of wisdom other than if you’ve never tried to dye fabric yet, give it a shot and you’ll be glad you did! And one more thing, here’s the added bonus! These are all “drip rags,” or fat quarters of Egyptian cotton that I used to “mop up” spillage around my dye platters: