Free Motion Embroidering a Block and Some Beautiful Quilting!

February 28th, 2011

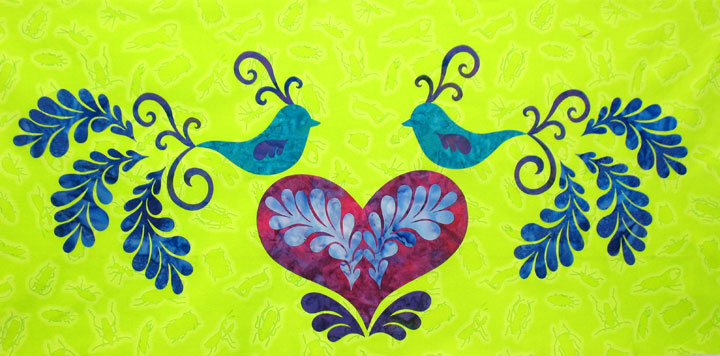
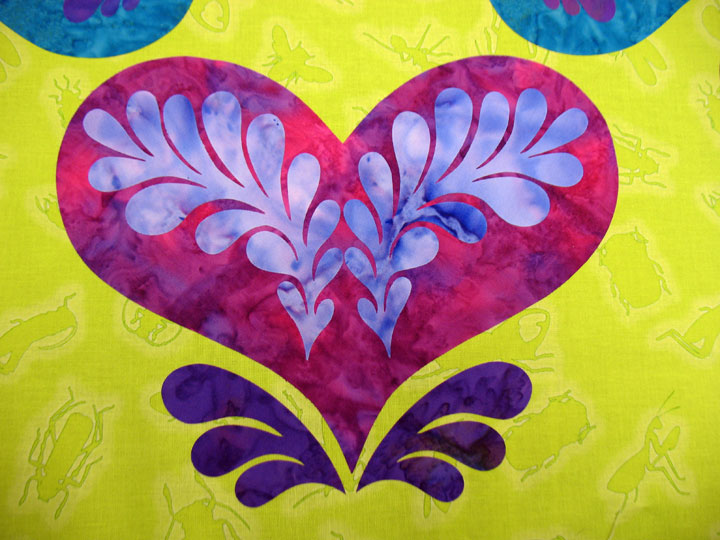
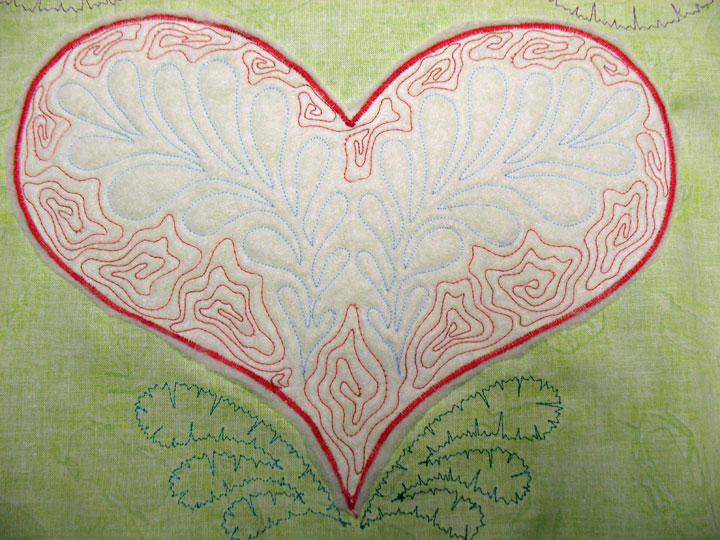
This large block will be part of a sampler type of quilt but I haven’t completely decided about the other blocks yet. So, I figured the best way to move this project forward would be to whittle away at this block. Parts of it will be trapuntoed and parts will be free motion embroidered before the top is pieced together, so I began by adding a trapunto layer behind the heart:

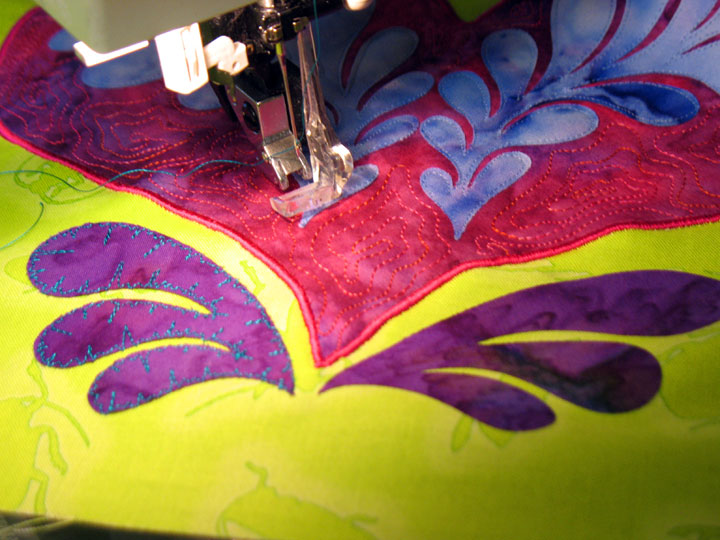
I satin stitched the heart’s edging with a solid rayon thread, then used Bottom Line Thread to stitch just inside the perimeter of the feathers:

I did an irregular swirl background fill design to finish off the rest of the heart and then I moved to the short one-sided feathers that splay open at the base of the heart. Those seemed kind of ho-hum to me, so I decided to finish off the edges with the EKG edge finishing design and I picked a bright turquoise rayon thread since it would be pretty “showy:”

Here’s what the back of the project looks like:

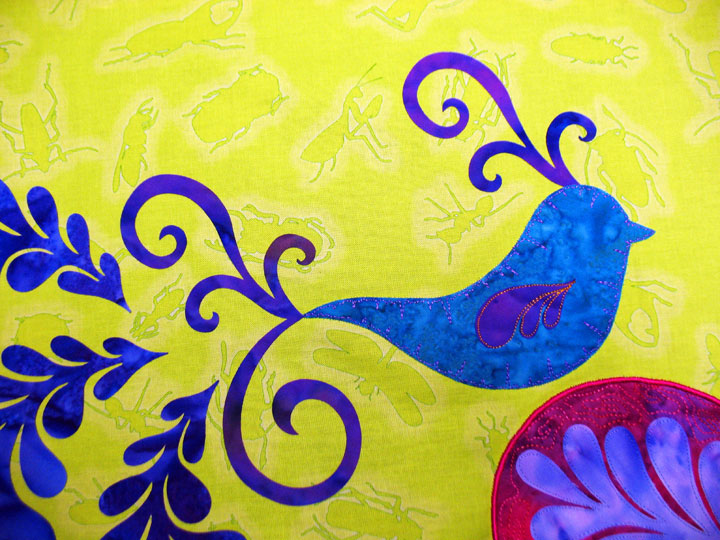
Then I moved up to those birds near the top. I did the EKG edge finishing but I used a thread that wasn’t too contrasty…I wanted to save the big bang for the wings! I stitched the plumes inside the internal wings with solid gold rayon thread and I really like how it came out:

…and then my heart skipped a beat. I realized that I’d intended to place a lightweight trapunto layer behind the birds but I forgot to do that before I did all that embroidery. Drat! I went back in and added that lightweight batting using invisible thread in my top needle. Thank goodness there is almost always a way to salvage a mistake like that!

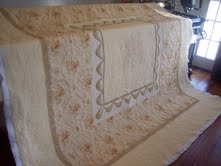
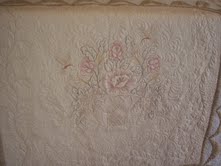
And now, I want to show you some photos of really incredible quilting that were sent to me by Lisa Burmann of Burmann Studios. Just look at these photos of a quilt she’s working on:

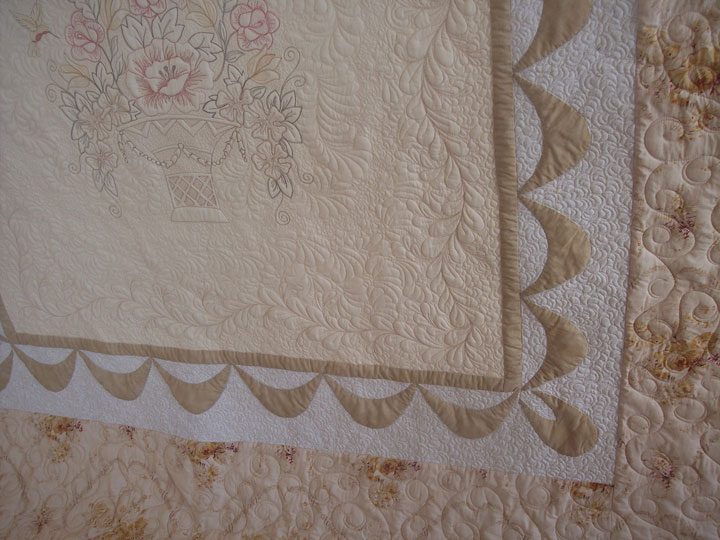
This next one is my favorite…look at the beautiful way she has handled the corners. Your eye is just drawn to follow all the luscious curves of those feathers:

Notice how her dense quilting sets off the swags and gives them almost a trapunto-like effect:

and last but not least, a shot of the backside:

Lisa is a longarm quilter who obviously does a fantastic job! To check out more of her work, visit her web site here. Take the time to scroll through her different galleries; there are all kinds of quilts but they all are beautifully quilted!

20th Anniversary and a Special Give-Away!

February 10th, 2011

Twenty years ago today, I married the greatest friend I’ve ever had.  Ern and I met in med school and were close friends for 8 years before we became romantically involved.   I guess we both were too focused on getting though medical school and residency to allow ourselves to give in to the romance, but once we were done with training…look out!  I can honestly say that I love/like this guy more everyday.  He has a kindness about him and a sense of humor that still has me laughing all these years later.  He brings out the best parts of me and I know that  I am one very lucky woman!

Because I am feeling so appreciative of my good fortune in meeting and marrying  Ernie,  I want someone else out there to have some good fortune.  In honor of our 20th anniversary, we are having a give-away of a $50 gift certificate to our online store.  All you need to do to enter is to leave a comment to this blog posting by 11:59 pm eastern time on Thursday, Feb 17th, 2011.  Good luck!

Oh, and two more things…  since Nikki took over our weekly sales newsletter,  I have been terrible about placing any sale info in this blog. We have a sale that begins every Friday at noon in our online store.   She is planning a very special sale in honor of our 20th anniversary and Valentine’s Day,  so check your newsletter email tomorrow (Fri) to hear about it.  To sign up for the sale newsletter and to receive  information about new products by Patsy Thompson Designs, go here. (We don’t share up mailing list with anyone else.)  Happy Valentine’s Day!

And one last thing…I’ve been getting lots of email questions about these birds and feathers and many of the other things that you’ve been seeing on this blog.  Just know that in the months to come, you will also be able to create these appliques as effortlessly as I have been doing.  This is just another wonderful offshoot of Ernie and me teaming up together.  Stay tuned and sign up for that mailing list if you want to be amongst the first to learn of this kind of thing!  (I’d tell you more, but then I’d have to kill you!)

Some Progress!

February 8th, 2011

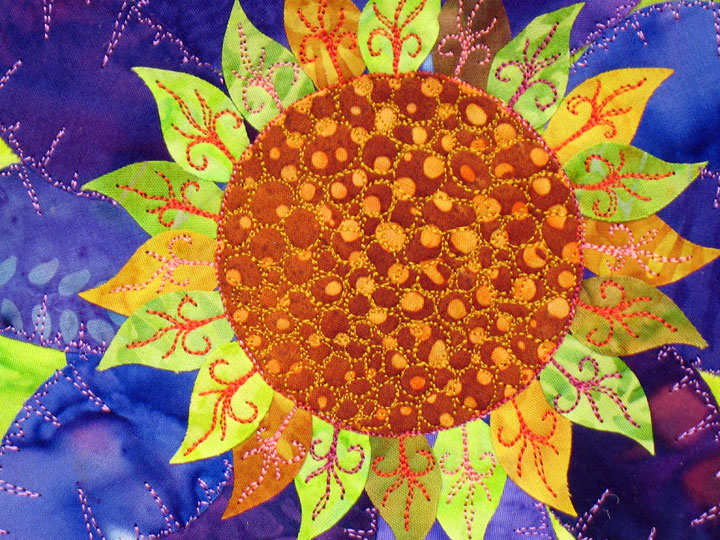
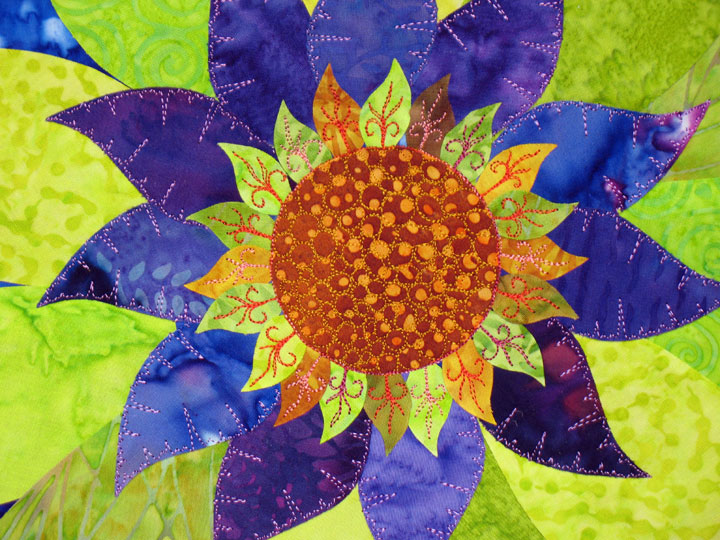
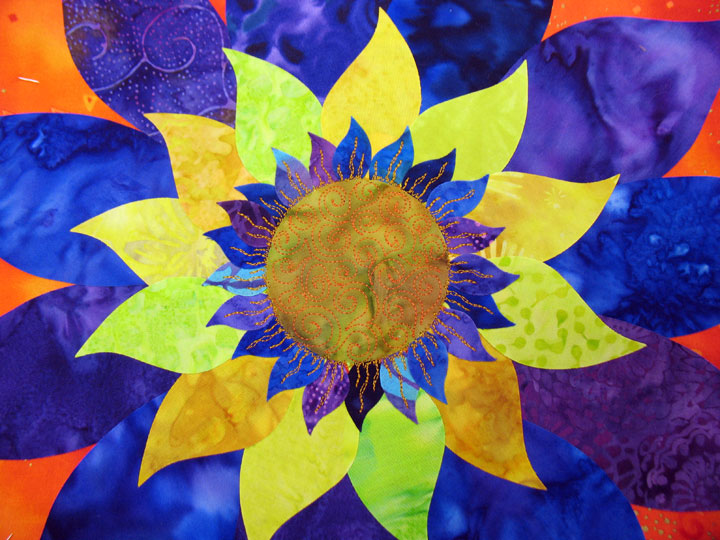
My wrist is doing better and I’m now out of the splint during waking hours, so I was able to get back to my large flower blocks. What I’m showing you here is just a single block with a trapunto layer; I’ll be able to get more depth/texture once this quilt is actually pieced and I quilt around each part of every applique shape with invisible thread. I quilted the center with pebbling and then made this doodle-design in that first row of petals. This design is not rooted in reality, but since these are made up “fantasy flowers,” I’m kind of looking at this as if pretty much anything goes! Next up, I just did the EKG edge finishing design in the next row of petals:

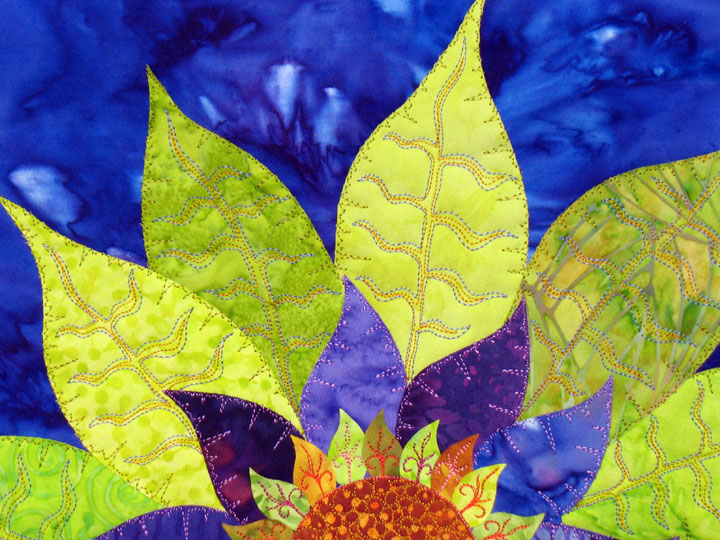
I used a solid color 40 wt rayon thread in a related color but one that didn’t match. Since the edge finishing design was the only stitching in that zone of petals, I needed to do something that would show. I was pretty stumped on that last row of big petals. I started out by stitching some vein lines:

Whoa…talk about a dud of a design! This just seemed totally boring to me! I ended up in-lining the veins with gold rayon thread (24 karat gold by Robison-Anton). Once this quilt is in the final quilt sandwich, I’ll stitch just outside those vein lines with invisible thread and this will make the veins protrude outward and it will look much more interesting. I also did the EKG edge finishing design along the inside of the leaves and used a not-so-contrasty olive green thread. Because there was so much action in those large petals, I didn’t want to overdue things with the edge finishing:

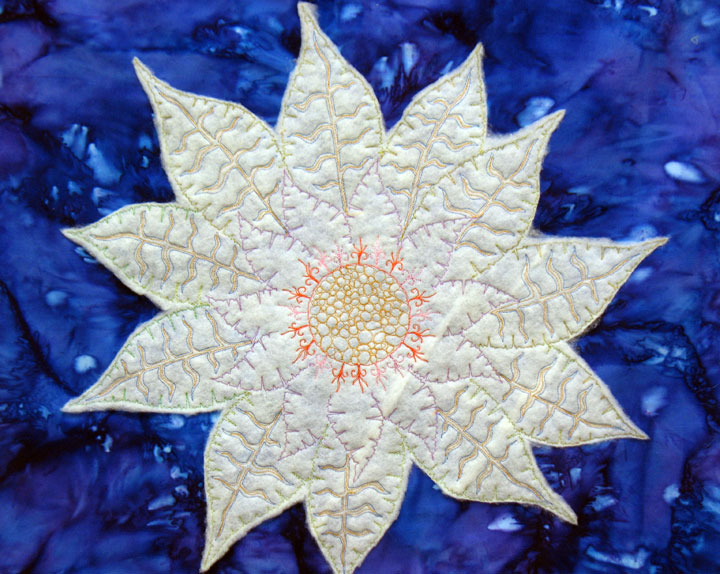
And here’s what the backside of this block looked like when I finished:

The best part of this was that I was able to empty 7 bobbins with small amounts of thread when I embellished this block with thread work! That’s another upside to trapunto… since no one will see the backside, it’s a good place to use up those bobbins that have so little thread they’re a nuisance. It’s always so invigorating to empty out a bobbin, but 7 in one afternoon…sweet!

New Video Tutorial, New Table Runner Finished and Another Give-Away!

January 18th, 2011

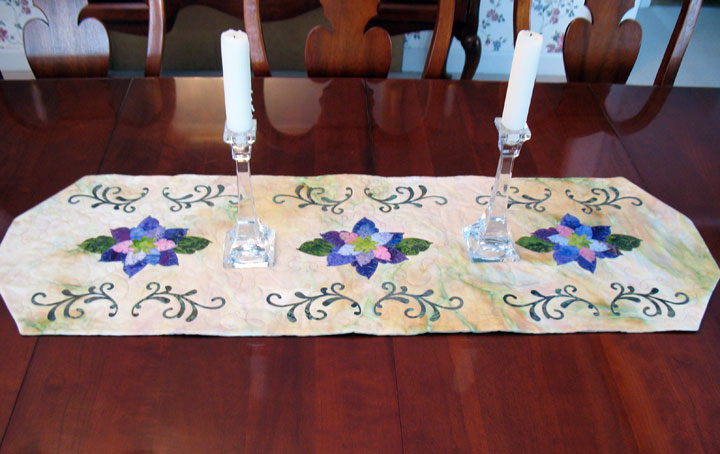
This table runner was created pretty quickly by cutting all the applique shapes on my Sizzix machine. I used this project to illustrate how to cut applique shapes on our newest free video tutorial. You can find that tutorial here, on the homepage of our web site, and down the road, you’ll also be able to find it on the “free video tutorial page” by accessing the education tab on the homepage of the web site. If you’ve ever wondered about how a fabric cutting machine might help you in your quilting endeavors, this tutorial will show you the ropes of how it’s helped me with applique. I never would have guessed it, but I have had more fun in the last few months appliqueing my brains out, and it’s all because of this little machine!

What I really like about this table runner/door banner is the intricacy of those applique shapes:

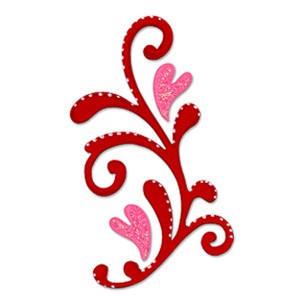
That flourish is from this Sizzix die:

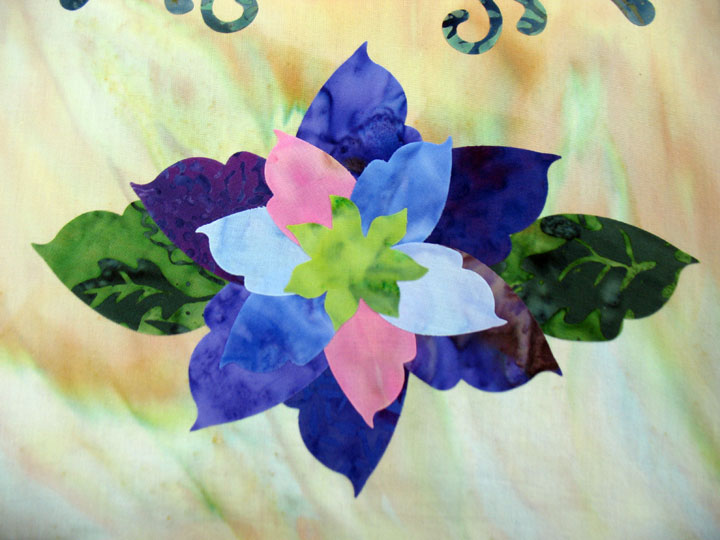
…and the center flower is from this Sizzix die:

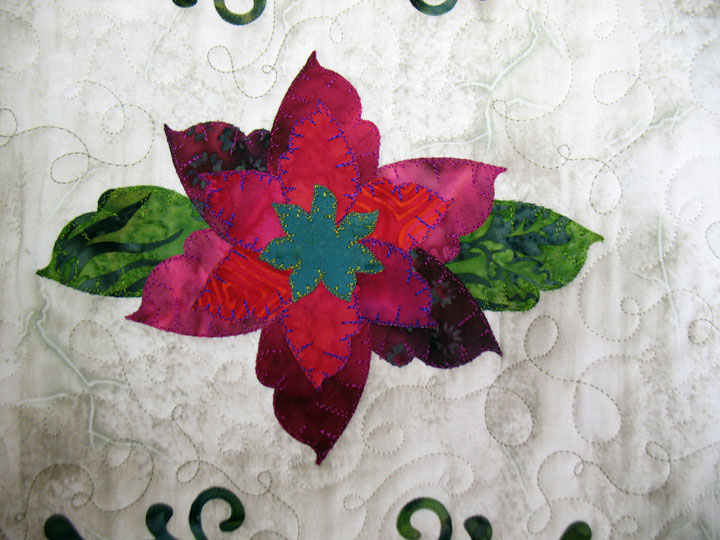
You can play around with these dies some to arrive at the flower-look you want. You can see that I didn’t use as many petals in that bottom petal layer, and I also cut those same petals in green to create leaves:

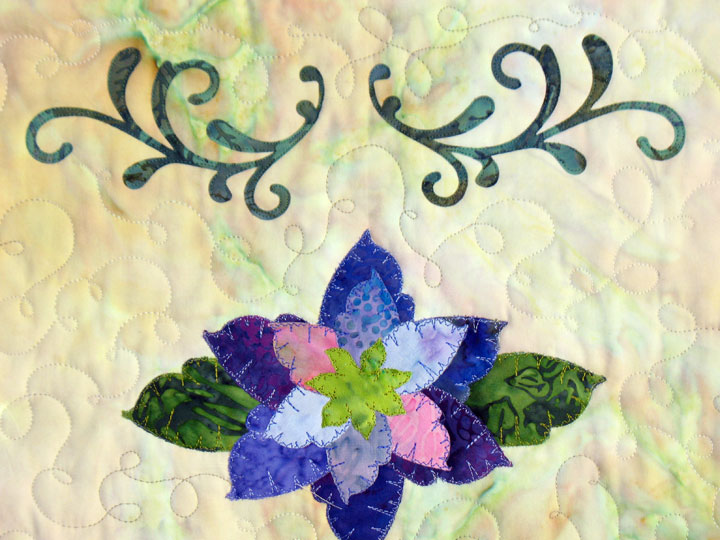
…and you can see that a little thread work adds a nice pop of “zing” to the flower:

Notice that you can’t see any thread work on the flourish itself. That’s because when I have an applique structure THAT delicate and narrow, thread work will really only “junk it up,” you know what I mean? In that situation, all I want to do is enough stitching to secure the applique, so I quilted just inside the perimeter of the flourishes with green Invisifil thread. See how well that blends in? I guess that’s why they call it Invisifil! And one more thing…look at how changing your fabric colors can totally change that flower’s look. I did the same table runner in reds/burgundys and it’s definitely got a nice Christmas feel to it:

If you’re getting into doing applique with your Sizzix machine, we got some new dies in this week, and you can find them here.

And thanks for all the emails commiserating about needing to clean out the sewing room and sewing “stuff” that is taking over the house…I guess I’m not the only one with this problem! I made a lot of headway and I’m guessing that about 70 lbs of fabric left this house on Saturday, not to mention a lot of art supplies. I saved a few things to give away on the blog and here’s tonight’s give away offering:

This is a border print with 2 companion fabrics. I didn’t measure it but I’m guessing there are 4 to 4 1/2 yards of fabric here, so a retail value of about $40. I’m going to ask that whoever wins this pays shipping, so if you’d like the fabric for free and will pay shipping, post a comment to this email and you’re enetred in the drawing. If no one wants it because no one wants to pay shipping, then I’ll give it away locally. Comments on this give away are open until Wed 1/26/11 at 11:59 pm. Good luck!

Q & A

January 12th, 2011

Hettie wrote:

I notice you did not stitch anything around the edges of your first row of petals where you stitched the gold swervy lines. Would these be secure enough to withstand washing in a machine?

Good question, Hettie!  Remember that here, I am working only on a quilt block.  At this stage, I am adding decorative stitching only to jazz up this piece and also to anchor the piece of scrap batting behind it.  You are correct that I need to stitch around the outer perimeter of those inner petals to secure them fully, but I will wait until this block has been pieced into the full top and placed into the final quilt sandwich to do that stage of stitching.  When I get to that stage, I’ll stitch around each individual piece of applique  using invisible thread in my top needle.  This will allow me to showcase the wonderful textural effects of the trapunto, as each applique piece will pop out a bit.  Here is a photo of a smaller flower that has been trapuntoed:
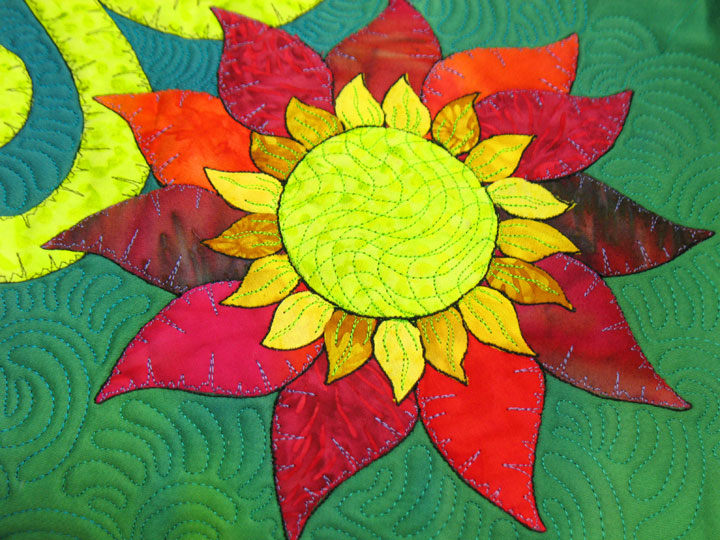
For this flower, I used a heavy solid black cotton thread to outline each individual piece.  It makes each piece protrude out just a bit, but by using black thread, it also adds that cool, thin black line around everything.  Another good example of how thread can really alter a piece!

Connie also wrote in a question about this large flower:

Beautiful background for your fantastic flower! I can’t remember if you mentioned this before but do you do free-motion when you do the zigzaggy edges or is that a special stitch on your machine? Always love seeing what you are working on!

The finishing stitch on the yellow petals are what she is asking about:
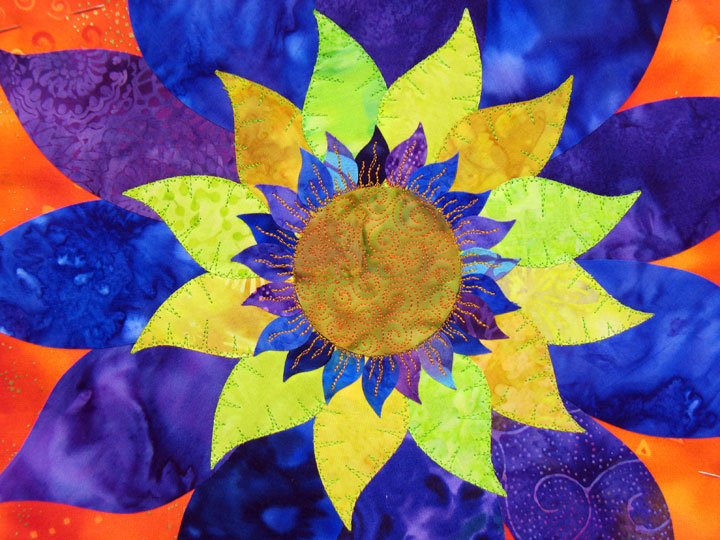
I call that edge finishing stitch the “EKG edge finishing design” since it looks like an EKG rhythm strip.  It’s not a programmed stitch on my machine; it’s created by placing the machine in straight stitch, free motion mode and then gently rocking the quilt back and forth to create those “V” shapes.  If you’re interested in learning the ins and outs of creating it, you can see it in action on one of our free video tutorials on the home page of the web site by going here and then scrolling down to the video called “Free Motion Quilting-Intermediate I.”  If you don’t already know it, there are several free video tutorials on the home page and you can access them by clicking on the education tab, then on “free video tutorials!”

Now Betsey wrote in about another quilt, one that I’ve just finished and I’m calling this one “Love Songs:”

Didn’t this turn out just great? I’m really loving how this simple applique quilt came out! Here’s Betsey’s question:

Thought process,  please,  if it is not giving away trade secrets. I know that the
background fill had to be done in order to get the quilted/ embroidered feathers to
pop out. But how did you decide to do that particular type of background fill- kind
of a scrolly McTavishing vs loops or plumes or just plain meandering. I would be so
afraid of getting 1/4 of what you’ve done and decide that the two were incompatible
and that I’ve just ruined my whole wall hanging. Or does it really matter what type
of background fill one does, as the object is TO FLATTEN the background using any
type of fill? Or is it that you’ve done so much of this and have learned from past
experiences (good or bad) what type of fill would enhance what type
quilting/embroidery? I’ve noticed on some of your work and on others like Ricky T.
that there can be several types of background fill patterns and it all blends and
looks great. Again,  what is the thought process to change and how do you integrate
one pattern to the other? It can’t be as simple as I’m board with doing one type of fill
lets try something else? Thanks for sharing!!!


Talk about a loaded question!  There are actually many points within this question that deserve discussion, but for tonight, I’m going to focus on the issue of how does one choose a background fill design that will add, rather than detract, to the surface design (in this case,  the applique scene) of a quilt.  Let me again have you focus on just the applique scene of the entire quilt:

This applique scene itself is actually very simple and basic, so I needed quilting designs that would make it look more interesting than it really was.  First, what is the most striking feature of the applique?  It’s definitely those tail feathers on the 2 birds, so my first goal was to devise a way to “showcase” those tail feathers and to make the viewer’s eye linger on that part of the quilt longer.  Coming to that decision was easy…all I needed to do was to quilt more feathers, and to deliberately stitch them in an orientation that made them seem like they were part of the appliqued tail feathers. In this way, we have added complexity and interest to the scene already. Here’s a shot of the feather area:

The next step was to come up with a background fill design. Know that many, many background fill designs would work here. Because I was trying to get my biggest bang for my buck on those voluptuous feathers (both appliqued and quilted), I knew I wanted a fill design that was very curvaceous. More curvaceousness meant adding a wonderful flowing sense to this quilt. Look again at the background in the photo above-do you see how your eye is just drawn to those swirls? Your eye wants to follow them, to make sense of them, so you are left with this wonderful sense of flowing movement. That background fill design is my version of McTavishing, except that I have placed a very heavy emphasis on the swirl portion of the design as this gives even more movement than my everyday McTavishing. Did I worry that this design would not work? No, I was certain it would work before I began stitching. (And by the way, this is such a dense background fill design that I wouldn’t have risked it if I hadn’t been sure ahead of time, as it would have been AWFUL to pull out!) How did I know that ahead of time? Because of all the reasons I laid out above, and I have learned these tricks simply by playing around with as many background fill designs as I can. For me, deliberately trying many, many quilting designs on different quilts has really opened up my creativity. If you haven’t messed around in this way, you are missing out on a lot of fun, and your quilts will probably become more interesting if you take the time to experiment!

Now one more thing before I end this post…Here is a close up shot of the background quilting:
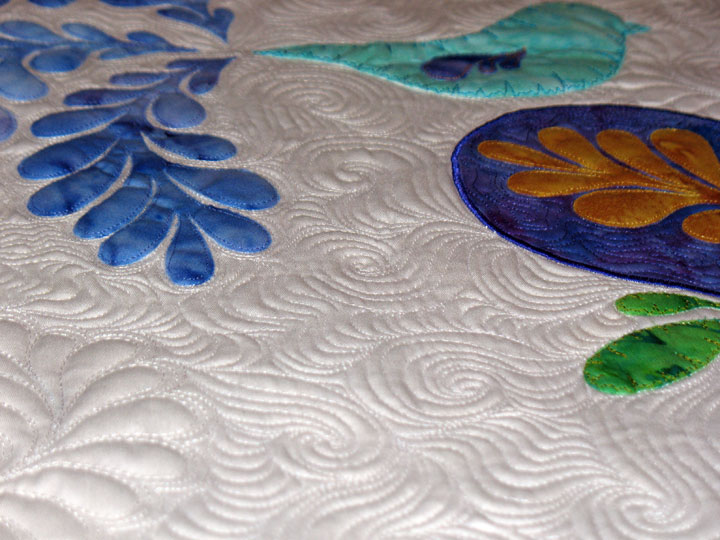
Do you see how this almost looks like the frosting on a cake? This part was easy! Instead of using a plain cotton fabric for the background, I used cotton sateen. Sateen has just a hint of a luster to it, so when you quilt it, it throws of incredible shadows. Because of that shadowing, your quilting adds an extra level of richness, kind of like going from a regular Oreo Cookie to a “Double Stuff Oreo Cookie,” and who doesn’t like that?!