Color Fix!

January 8th, 2011

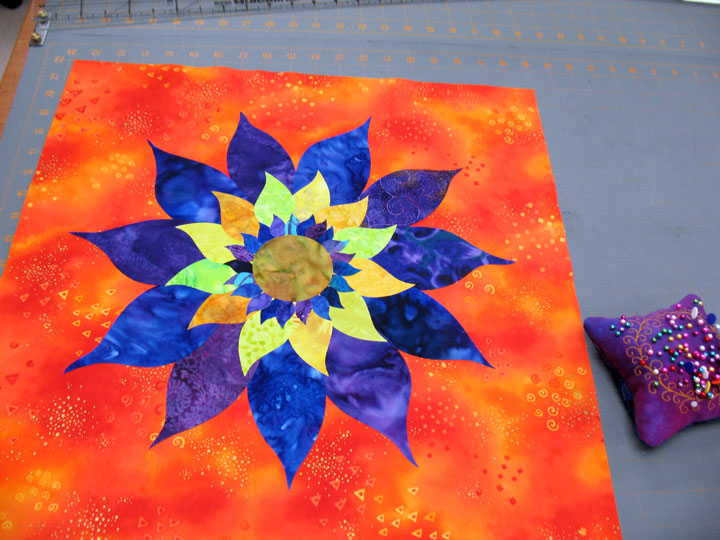
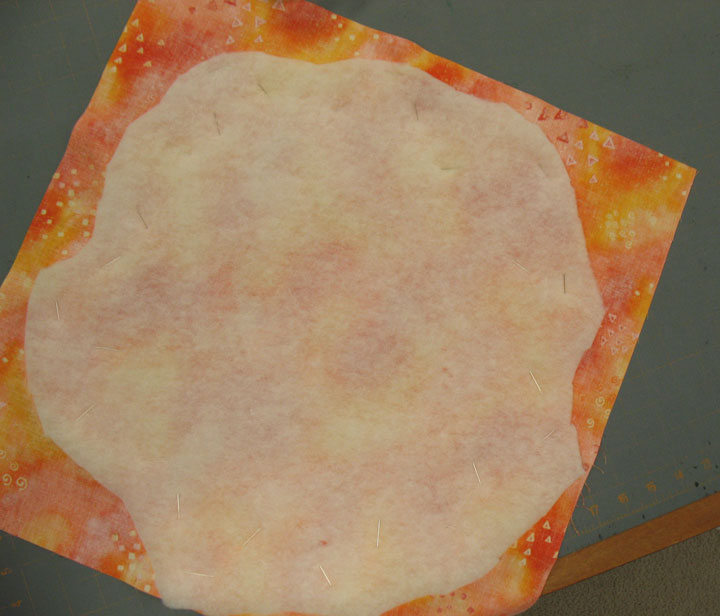
I have 3 quilting projects that have occupied most of my sewing time the last couple of days, and they all involve working with mainly white, off-white, or pastel fabrics. They’re pretty projects and I’m enjoying the work, but by today, I was aching for a color fix! I needed something bold, bright and saturated, so I treated myself to a little play time on my large flower blocks. The block I worked on today will be trapuntoed, so the first thing I did was to pin a scrap of wool batting to the backside of the block, ensuring that the entire flower was covered by batting:

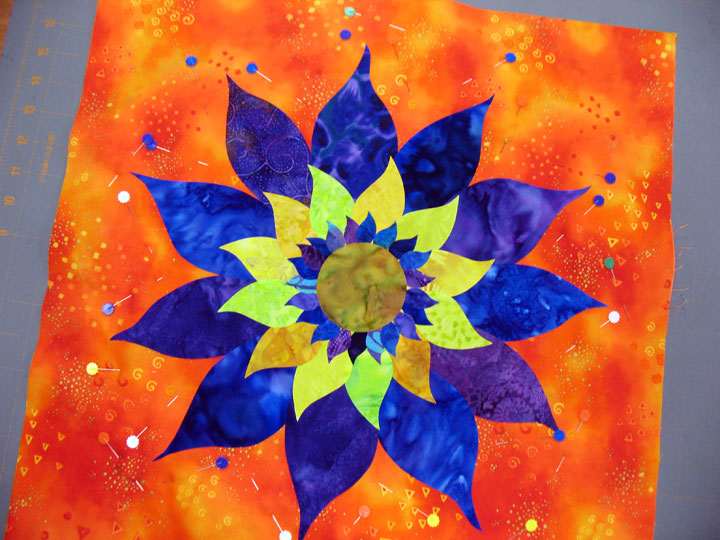
Here’s a shot of the front side. The key is to pin close enough to the flower that you don’t have lots of excess batting, but far enough from the flower that those pins won’t get in your way once you start stitching:

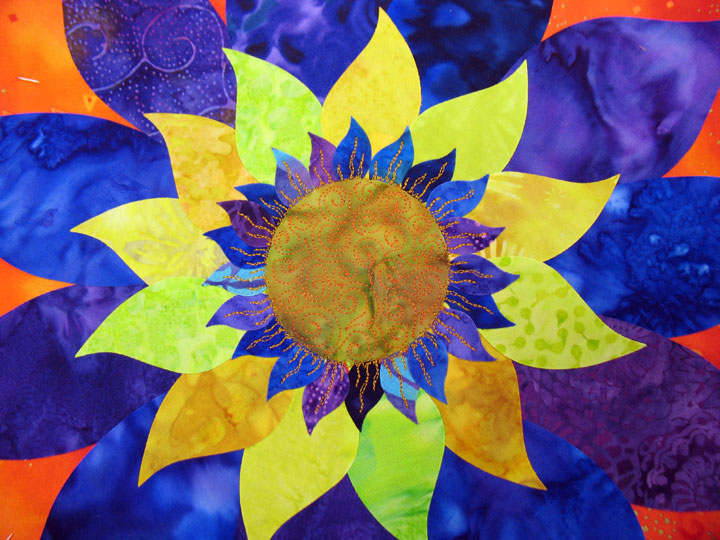
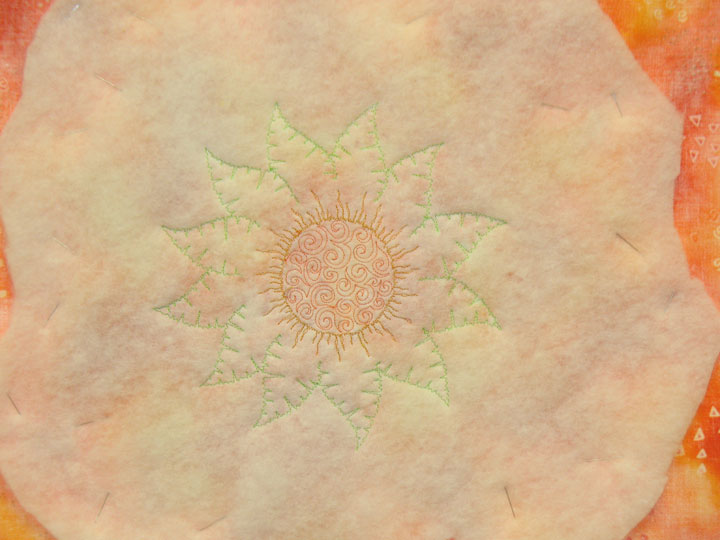
I always begin stitching in the center of the object I’m trapuntoing, so first I stitched different sizes of swirls in the center-most section. I used solid colored rayon or polyester threads for every section I did:

…and then I added some gold swervy lines to the first row of petals:

…and then I finished the edges of the yellow petal zone with bright green polyester thread:

Here’s what the back side of the block looked like when I ended the day:

Hopefully, I’ll get to work on that block again this weekend. And in parting, here’s a photo of my view today from my sewing room:

Tidbits of Work

January 5th, 2011

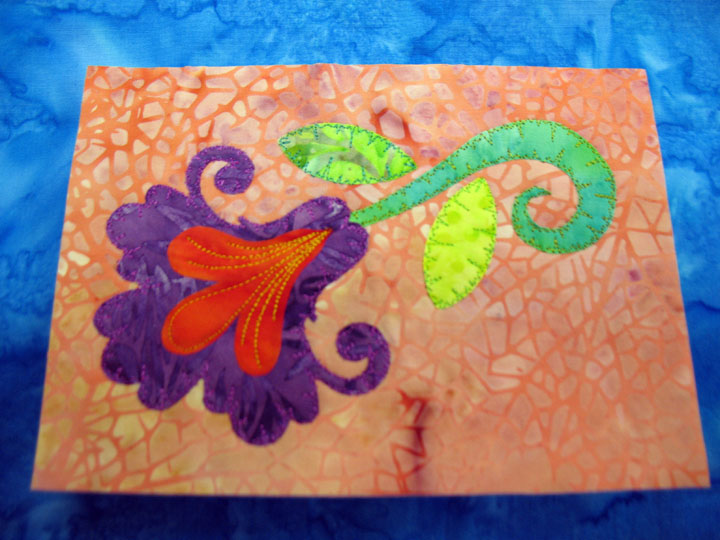
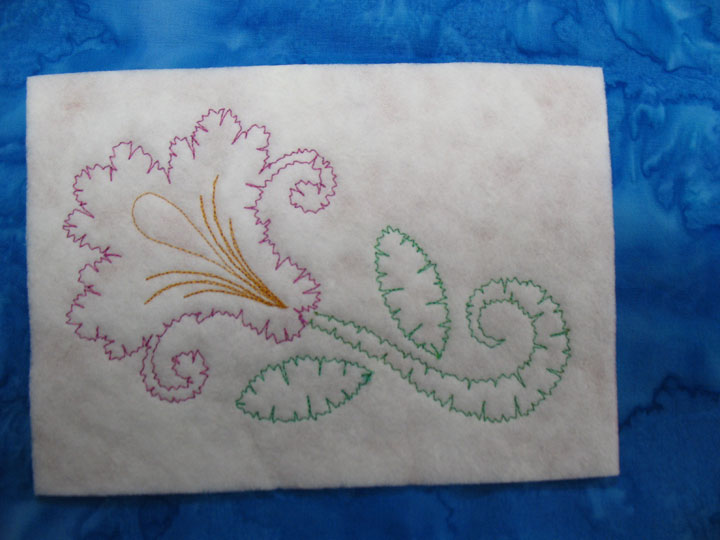
I made this fabric card today and I kind of hated to cover the backside of it because that side looked kind of interesting:

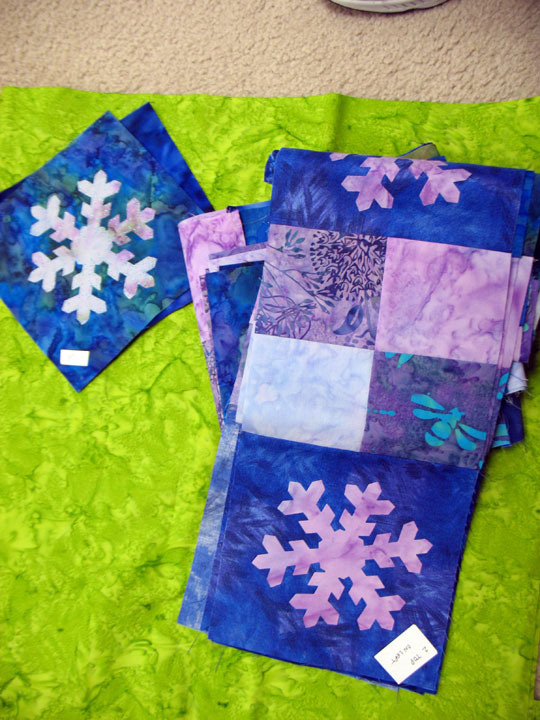
..but I covered it anyway! I also did something today that I rarely do. I’ve had part of a quilt on my design wall for about 3 months and that quilt just doesn’t excite me. I’ve tried and tried and tried to motivate myself to move forward on it, but it just seems really ho-hum to me right now and I needed that space for another big quilt I’m working on. I felt terrible inside to be doing it, but I labeled all the diagonal rows (it’s made of snowflake blocks set on point alternating with 4-patch blocks set on point) and took it down:

I really do finish almost every quilt project that I start… almost every project. At any given time, I have about 8-12 projects that I’m working on and as long as I keep taking them back and forth in my suitcase, I’m plugging away at them and they will really get done at some point. This project is going into a box and that’s not a good sign! (Either I’ll unearth it in a few years and re-bond with it  or someone else will find it after I’ve died, hopefully a long time from now. You know you don’t have much hope for a quilt in progress if you box it up with enough coordinating fabric that an ancestor will be able to finish it!) But I feel like a weight has been lifted now that it’s off my design wall and can move forward with other projects.

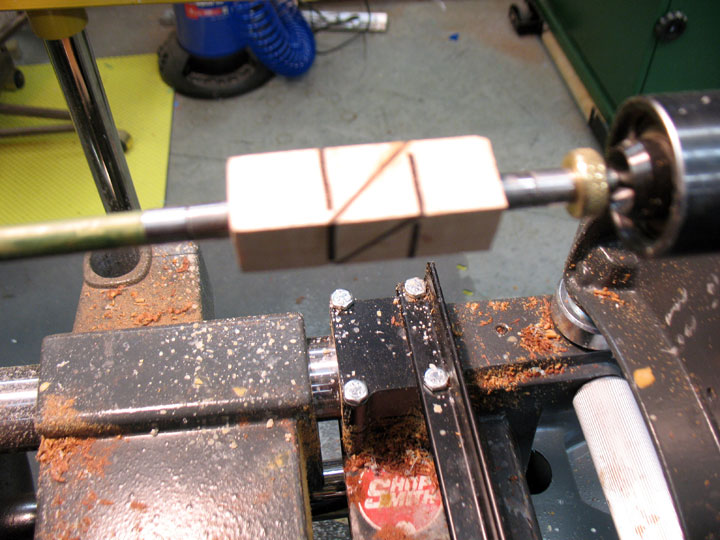
I’ve got to show you something cool. You know how you can make cool quilts using celtic knot designs? When we’re in NC, Ernie is working in a woodshop that neighbors my sewing room, and we’re always walking back and forth to see what the other one is making. Well, yesterday, he was turning pens on his lathe and he was creating a celtic knot on one of the pen barrels. Here’s the wood “blank” that ultimately will become part of the pen: (notice that I’m using official woodworking lingo!)

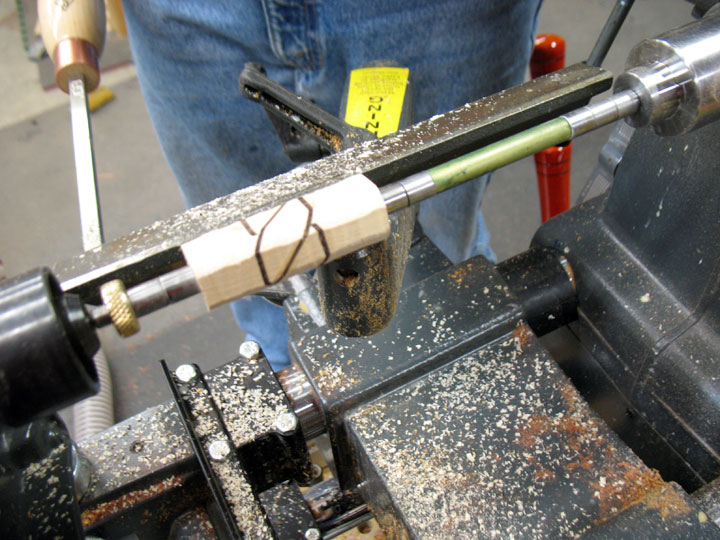
Here, he’s done just some early “rough turning” on the lathe:

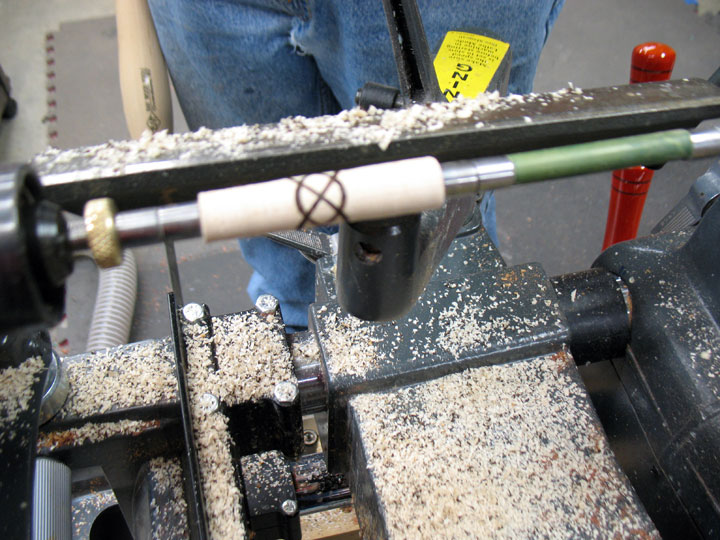
..and here it’s a bit further along. Notice how the pattern of the inlaid wood is going through a transformation as the shape of the blank changes from rectangular to cylindrical:

…and here it is close to finished. Those pieces of inlaid wood have now formed a celtic knot:

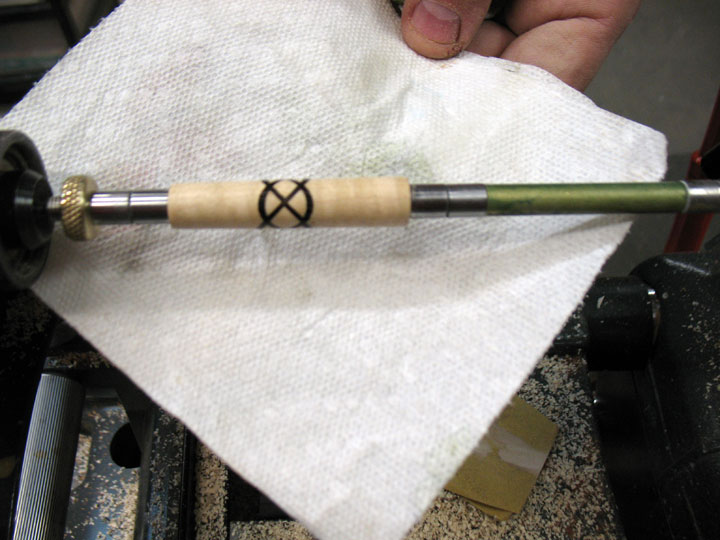
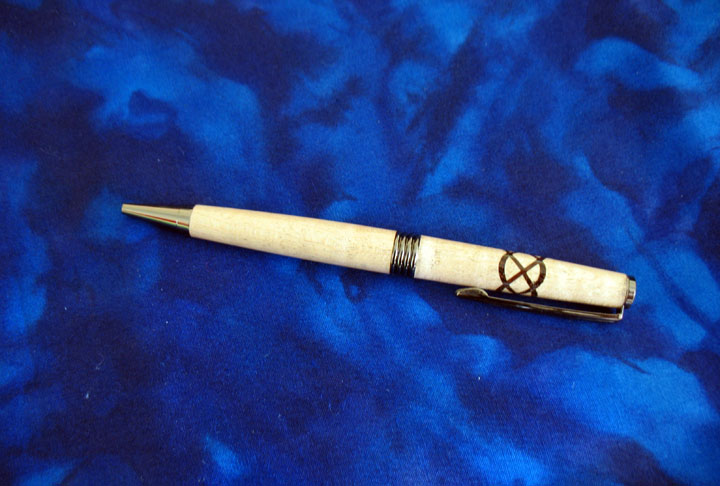
And here is the finished pen:

Who figures this stuff out?!! Totally cool!

A Clarification of My Last Post

January 3rd, 2011

Wow, I have received enough emails in the last 2 days to know that my last post thoroughly confused a lot of people! I am so sorry about that! The post intermingled 2 very different techniques but the pieces I was working with look alike in the photos, and that’s what caused such a mixup. Let me start at the very beginning…

There are 2 main ways you can use a Sizzix or Accuquilt fabric cutting machine:
1. To cut strips or squares, triangles, etc for piecing. In this case, there is no fusible attached to the fabric; or
2. To cut applique shapes. In this setting, you may bond a fusible web to the wrong side of the fabric and then cut out all your shapes, or you may cut your applique shapes without any fusible web. If you chose the latter, you will need to machine applique the pieces (i.e. finish the edges to anchor the pieces down to the background fabric) because there is no turn-under allowance built into these dies. (In other words, you can’t use these dies to cut applique shapes for hand applique.)

For me, I use my machine to cut applique shapes for fusible applique. Every piece of fabric I cut has already been bonded to Wonder Under before it is cut. Here is my system:
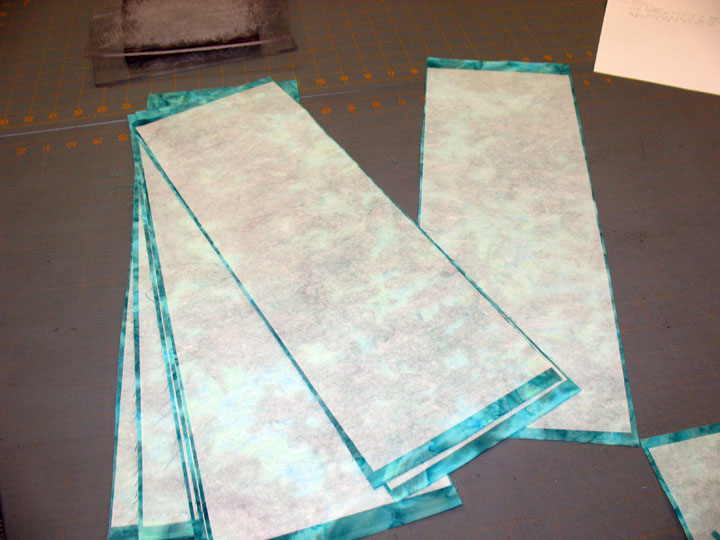
Wonder Under comes in a 17 1/2 inch wide bolt. I cut lots of 6 inch wide strips of it and fuse these strips to 6 1/4 inch wide fabric strips. At any time, I have about 70-90 pre-fused pieces of batik fabrics in all different colors, just like these in the above photo. (Why batiks? For the same reason that I use mainly batiks for all my fused applique…they tend to be very tightly woven, so they’ve got the best chance of not fraying at the edges.) They’re ready to go because I am cutting so many shapes these days that I don’t want to take time to stop and fuse! Now if you look at this next photo below, you’ll see that when I go to actually cut with a die, I’ve sliced up that long strip into pieces that maximize the use of fabric:
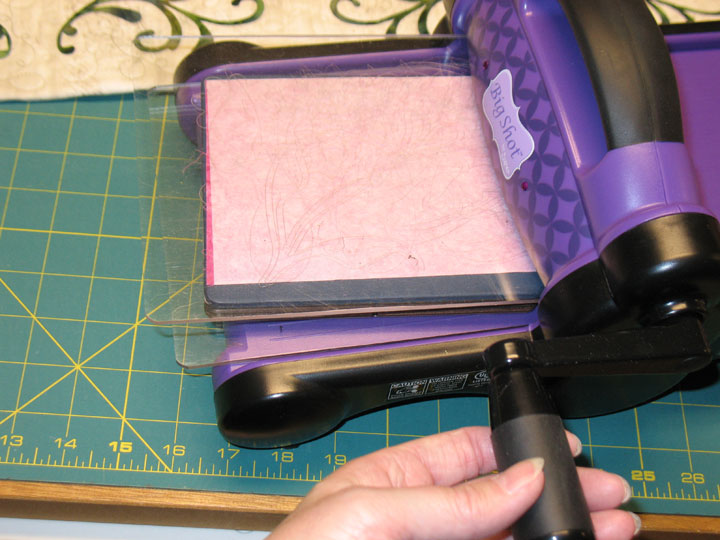
You can’t tell from the photo, but there are several layers of the fabric/wonderunder pairing loaded into that die sandwich. So, the #1 question that people wrote to me about is answered: I always prefuse my fabric to Wonder Under before it is placed into the Sizzix machine.

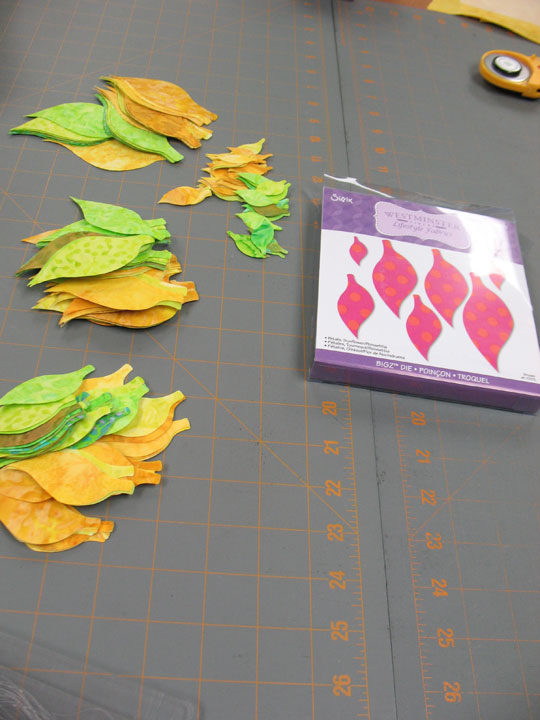
Now…for the next question…what’s all this about using up scraps? In the photo below, you can see the remnants of many pieces of fabric that have been run through my Sizzix machine:
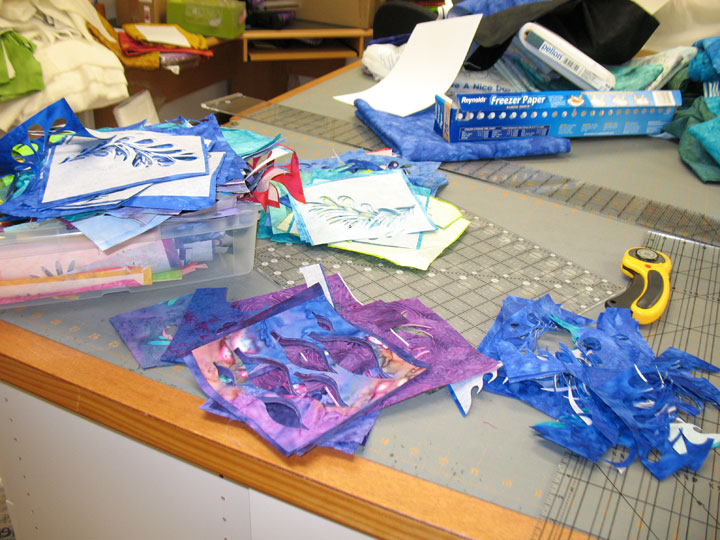
These scraps are golden; you would never want to throw them away! By looking at the scraps toward the back of the photo, you can tell these scraps are all bonded to fusible web, so they are ready to be cut again. All those small areas can be cut into the smaller shapes on the dies, so when I said I had cut out a couple hundred of the small purple petals, I was talking about the small purple petals next to the very center of this photo:
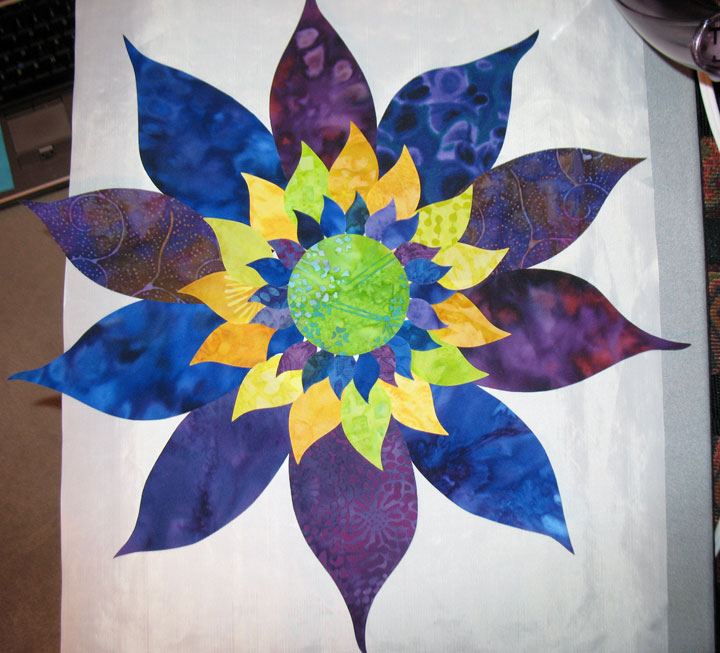
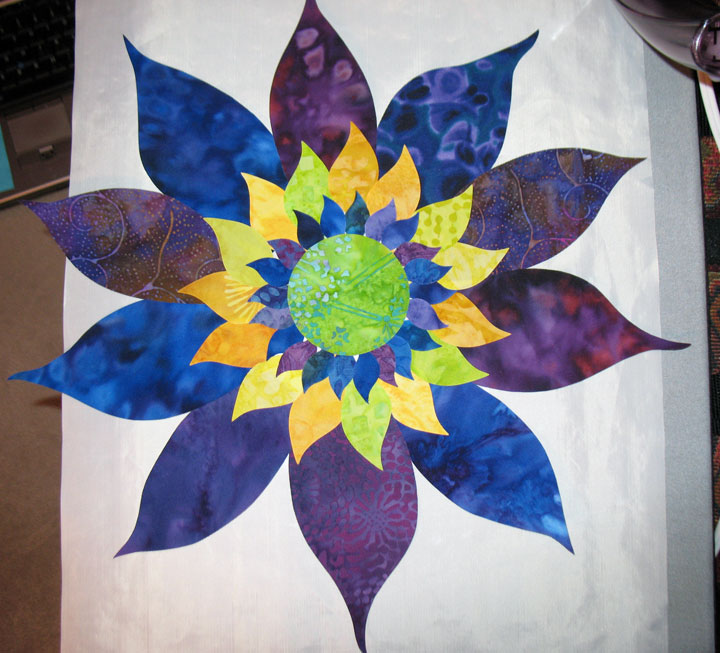
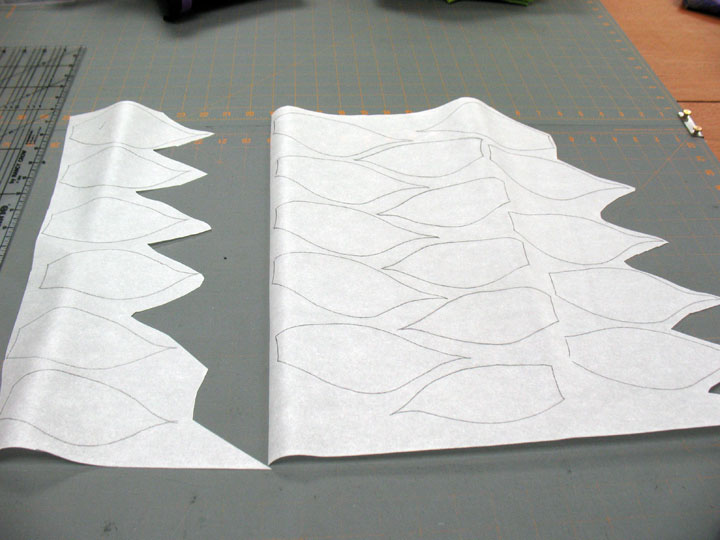
Do you see those large purple and blue petals on the outside of the flower? Those are very large…probably 6-7 inches long and they are much larger than any of the petal sizes that come on the die. Those are the petals that I traced onto Wonder Under and then cut out by hand:

So, these flowers were created by mixing die-cut petals and hand-cut petals, and that’s why I was able to make such large flowers. Know that when you are using a fabric cutting machine, there is no need to trace out anything!

Hopefully, that clears up all the confusion. In my defense, all I can say is that I had spent that day working in my sewing room while watching an all-day marathon of “The Real Housewives of Beverly Hills.” Have any of you seen this show? How is it that all these women don’t know how ridiculous they sound?! I guess when you watch that kind of programming it kind of turns your brain to much!

And The New Year Begins…

January 2nd, 2011

My New Year has gotten off to a really nice start, although it was rocky at the outset! We drove 9 hours to arrive in Asheville yesterday evening and when we arrived after dark, our car could not make it through the snow on our driveway! Our home here is on the side of a mountain and the driveway is very long and very steep, and there’s about a 15 foot long section that doesn’t ever get sun, so that snow takes a longer time to melt. Forget that it was about 50 degrees when we arrived last night, that gosh darn snow was still there! We got out of the car and slip/slided our way up to the house and got our trusty snow shovels and shoveled the driveway clear. I have to say, doing this in the dark at 50 degrees was much nicer than doing it in daylight 2 weeks ago at 15 degrees! We got back in the car and made it all the way up and had a nice New Year’s eve together by the fire.

I got busy in my sewing room today and started off by cutting out many yellow and light green petals using Sizzix Die #656672:

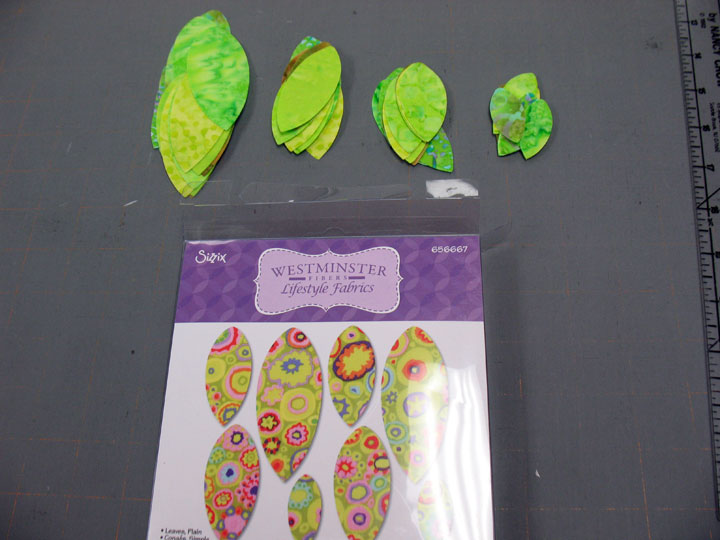
…and as long as I had those colors of fabric ready to go, I also cut out lots of leaves using Sizzix Die#656667:

(I don’t need any leaves for any current projects, but I’ve learned that it’s handy to have many leaf sizes available to throw into projects spontaneously, so I want to have more on hand.) My goal was to get all my materials prepared so I’d have “handwork” ready to work on after dinner when I was sitting with my husband. I always like to get a jump on the next day’s sewing adventure by fusing up small components or cutting out fabric pieces while we watch tv. Anyway, I traced all the large size petals onto Wonder Under:

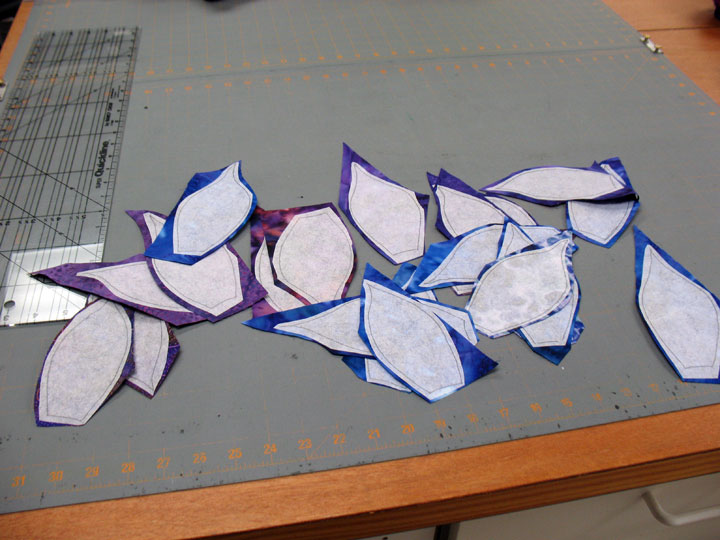
…and then once I fused those to the wrong side of my purple and blue fabrics…

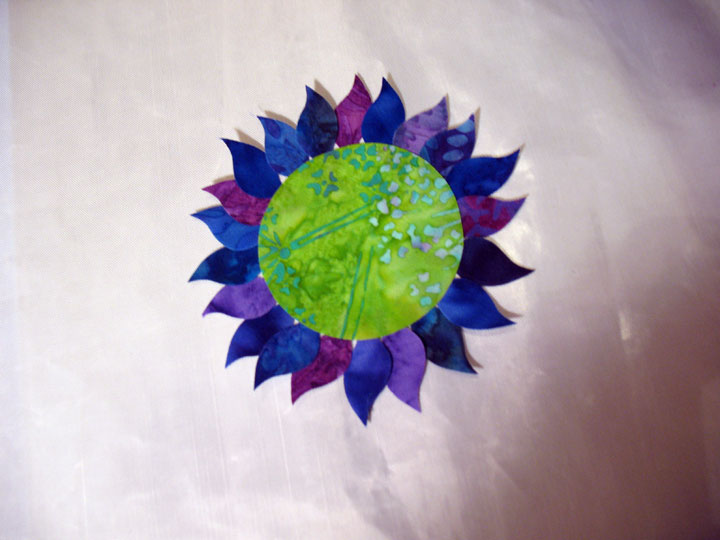
…I was ready to go upstairs to make dinner. Once we’d finished eating, I began my night of fusing. I began by adding many small purple and blue petals to the center of my flower-to-be:

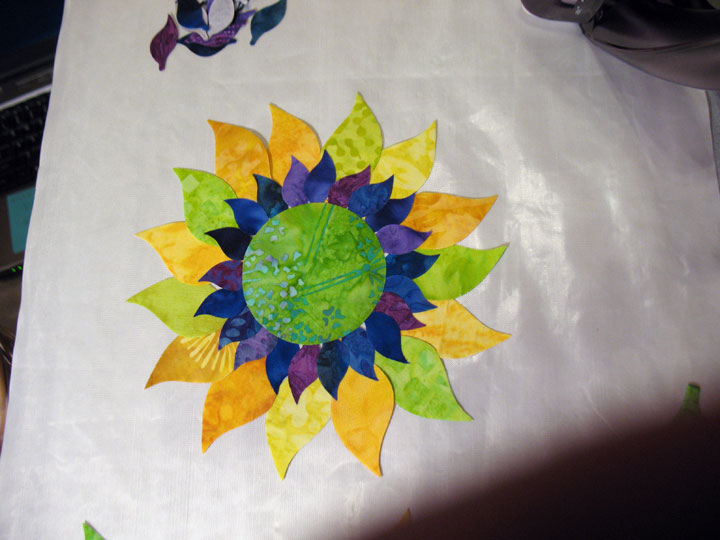
I didn’t take any pictures, but I cut all those small petals (and probably a couple hundred more!) just by cutting up old scraps on my Sizzix machine. It is very easy for me to get all this fusing done while watching tv with Ernie because I just place an Applique Pressing Sheet on top of my Omnigrid Cutting/Ironing Pad and I’ve got a nice little compact work area that fits in front of the couch. I then added my next layer of yellow/green petals:

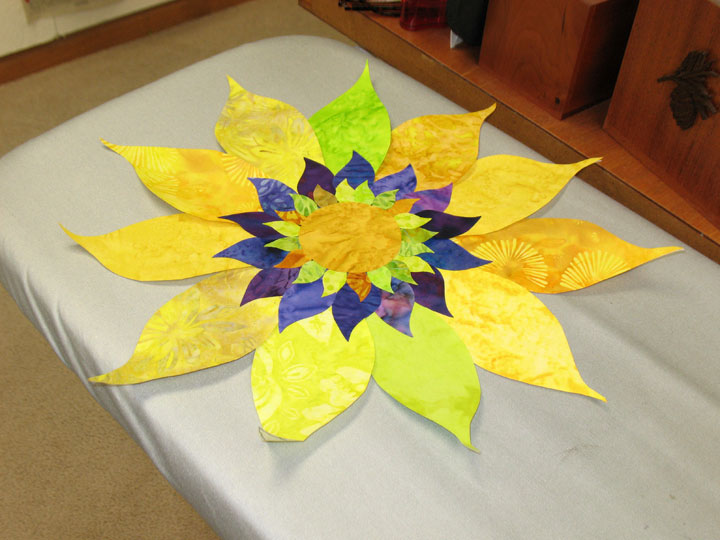
and then I added the final layer of dark petals. Here are my 2 newest bad boys. each one is about 14 inches in diameter:

They are cousins to their yellow counterparts…

…and they’ll all be part of the same quilt someday soon! I sure hope your new year is filled with all kinds of colorful and fun sewing projects!