A Colorful Day and the Beam N Read Light Winner!

July 9th, 2011

I had the pleasure of spending many hours dyeing fabrics before I left North Carolina. Dyeing is always an exhilarating experience as colors come to life right in front of your eyes:

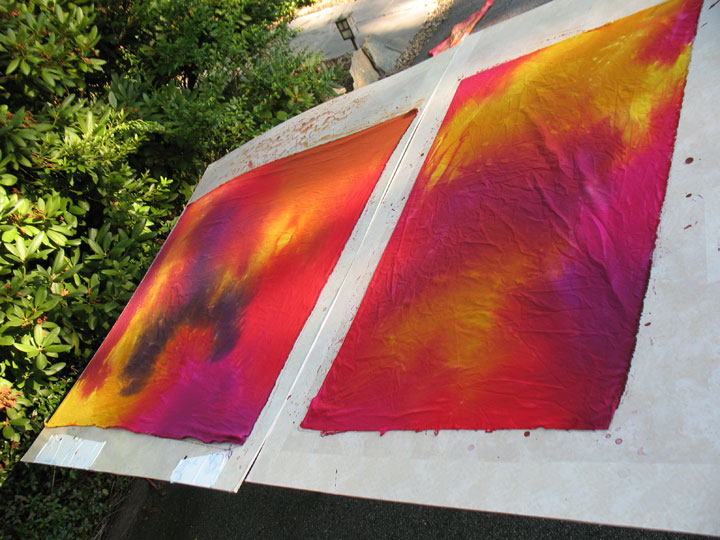
…and these are created by direct application of dye to damp fabrics, resulting in subtle blending and bleeding of colors into one another:

I just let these dye platters sit in the sun until they dry. Here are a couple of close ups of the wet fabrics as they bake in the sun. Notice the wonderful effects that occur from the air bubbles:

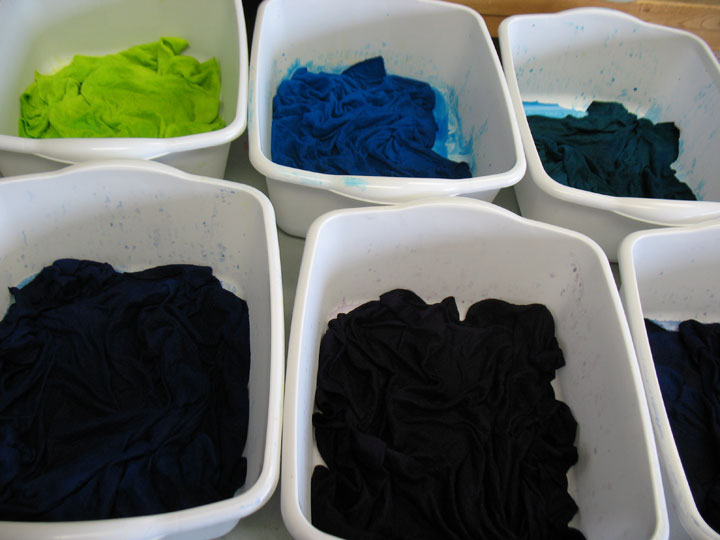
My favorite cotton sateen fabric for dyeing is now Ultra Sateen by Robert Kaufman. It takes the color so vividly (even the off white does) and it’s just a tad heavier so it has a wonderful drape to it. And here are some tubs of bamboo/rayon blended felts that are soaking up some great color as well:

I can’t wait until the next time I can get my hands into a dye bath!

In the meantime, I’ve heard back from the winner of the Beam N Read Light, so I can announce it here! Congratulations to Brita Pingry of Crossville, TN! Check out her blog to see all the fun quilting stuff she is up to!

New Quilt Being Born

July 3rd, 2011

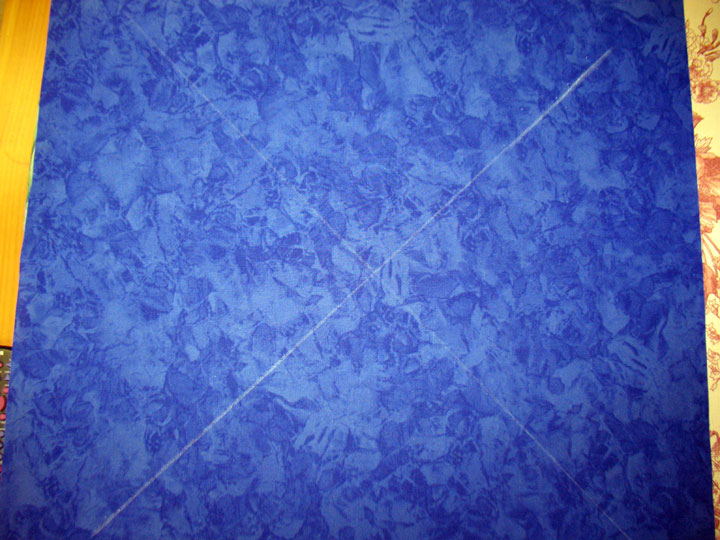
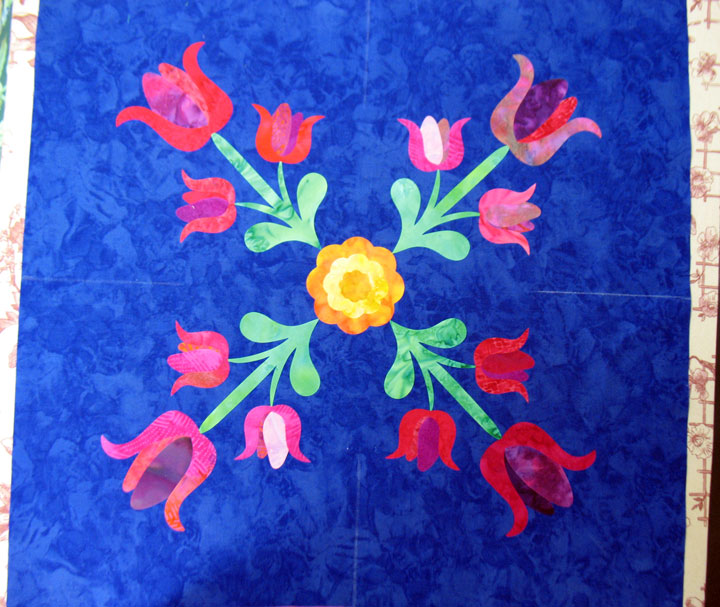
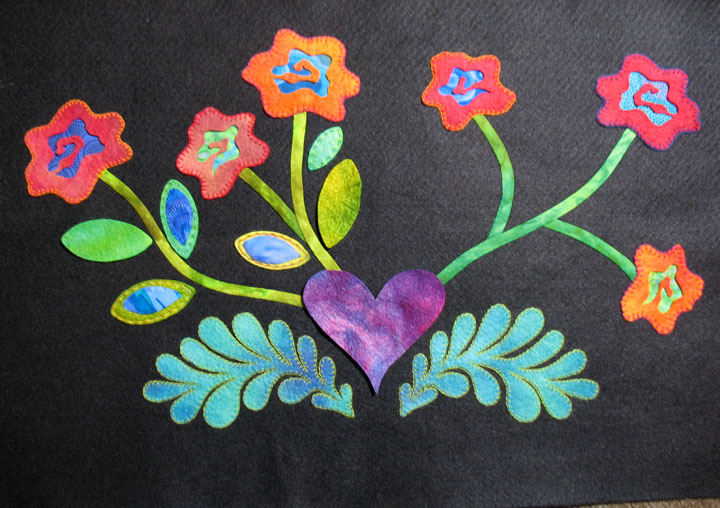
I’ve started working on a new quilt, and the block above is the first block. Actually, it’s not quite finished…there are 2 more things that I’ll add later on, but it’s close to being done. A block like this looks like it would be hard to place things exactly where you want them, but I’ll show you my tricks for fusible applique blocks like this one. It all boils down to a couple of registration lines. To begin, iron your block flat and make 2 diagonal marks, from each corner to the opposite corner, like this:

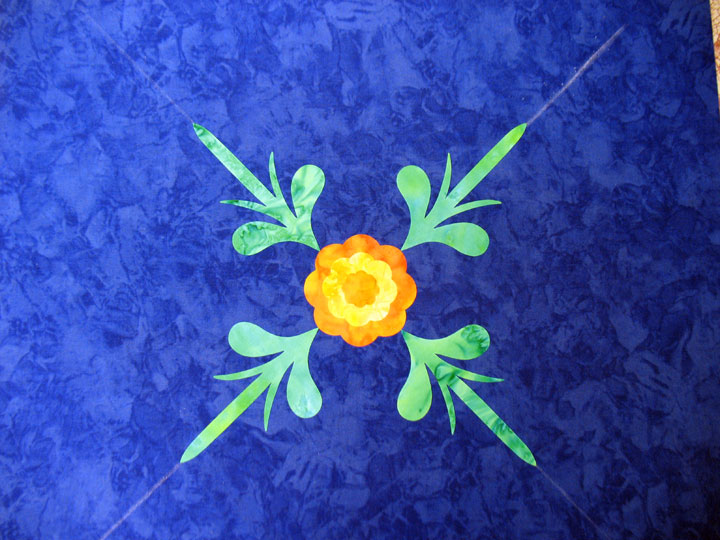
Eventually, I’m going to start fusing shapes in place, so it’s really important to carefully choose your marking tool. What I use in this situation is a soap sliver from the shower (white Dove soap, specifically), and I sharpen the edges with a vegetable peeler that I keep in my sewing room. (I learned that tip from my friend, Mary Stori, and it really makes the soap sliver a more precise marking tool.) I’m deliberately using soap, because when my iron touches it, (that’s unavoidable in fusible applique), the marks will go “poof” and disappear! Anyway, the intersection of the 2 lines is the center of the block, so we begin by fusing that center flower right in the dead center:

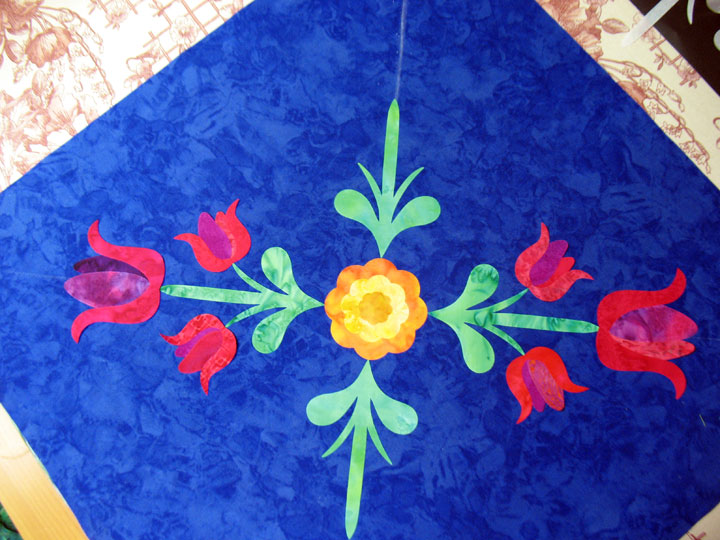
Next up, we place the 4 flower stems, aligning them right over the marked lines. Once satisfied with their placement, I fuse those babies as well:

From there, I added the red tulips on the 2 sides of the block and fused them in place:

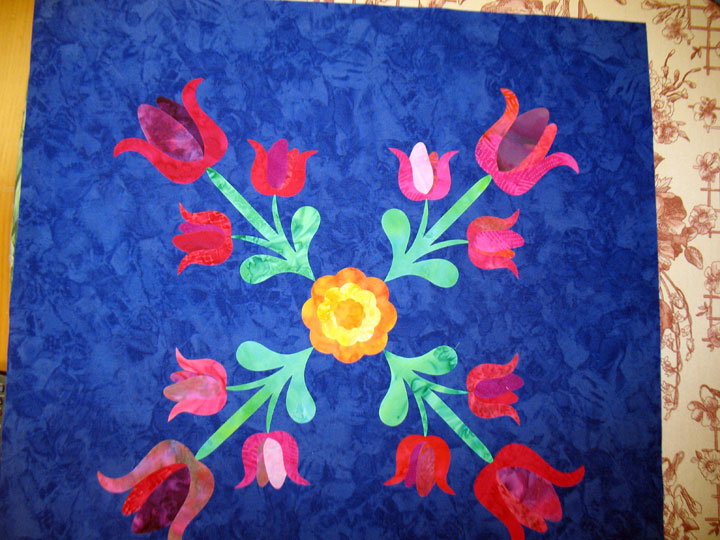
…and then I added the pink tulips to the empty stems. When I am using flowers made of multiple pieces like this, I pre-fuse the flowers together on a teflon applique pressing sheet; this makes it easy to move applique pieces around on my block easily. Notice that all the soap lines are gone in this next shot, just because I touched them with my iron when I fused the tulips in place:

Now I’m ready to place my feather pairs, but I need some new registration lines for these. For this, I make 4 new soap marks. Each of these 4 lines marks the center of one block side:

I simply line up my feather pairs so they “face off” across my marked registration lines, and fuse those feathers in place:

…and the block is nearly complete!

Beam N Read Blog Hop!

July 1st, 2011

Thanks to Kelly Jackson of I Have a Notion and the folks that make the Beam N Read Light, I had the opportunity to try out this light and review it, and you’ve got a chance to win one for yourself! Now let me tell you why this light is so fantastic! Here’s what it looks like:

This battery-operated LED light comes with an adjustable neck strap so you can position the light really close to your work, leaving your hands completely free to stitch. It also comes with an orange filter and a red filter, giving you the option of determining the lighting that’s easiest on your eyes. Lastly, it comes with an optional magnifier that clips right onto the light, and I know that my aging eyes really appreciate that feature!

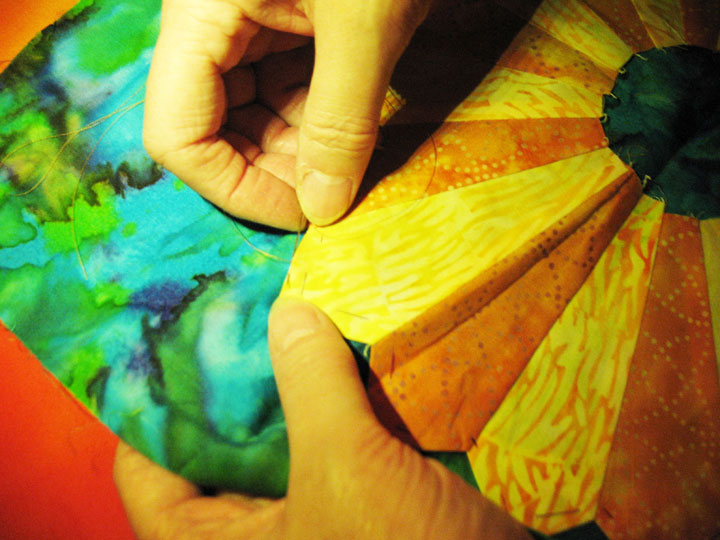
Think of all the sewing/quilting related tasks we do routinely that could benefit from this light, like hand applique:

or for doing the hand embroidery stitches of wool felt applique:

or sewing the binding to the backside of the quilt, or sewing a label onto the back of a quilt,…the list goes on and on. One thing that’s really impressed me about this light is that it makes it possible for me to complete my hand work in places where it’s previously been impossible to do so. Now I can do hand applique on long car rides after dark, or when I’ve traveled to teach and am spending the night in a hotel room with lousy lighting. Thanks to the Beam N Read Light, I can reclaim these lost hours and turn them into productive time!

Now that you’ve heard about this light, it’s totally understandable that you want one for yourself. Come on…you really need one for yourself, so here are 2 ways to get one! The first is to head on over to The I Have a Notion online store and pick one up for a great price! The other option is to leave a comment on this blog post by 12:01 am eastern time on Friday July 8, 2011 telling me how this light might help you, and you’ll be entered into a drawing for a free light, courtesy of the mighty generous folks who make this wonderful light! In order to make this drawing available all over the world, the winner will pay shipping from Ohio, USA. And while you’re still here, make sure you zip over to Kelly Jackson’s blog at I Have a Notion to read her review of this light as well. And while you’re at it, you might just want to read every review within this blog hop, and enter each blog’s drawing! Here’s the lineup of all the reviews and opportunities to win a light:

  • June 27:
  • June 28:
  • June 29:
  • June 30:
  • July 1:
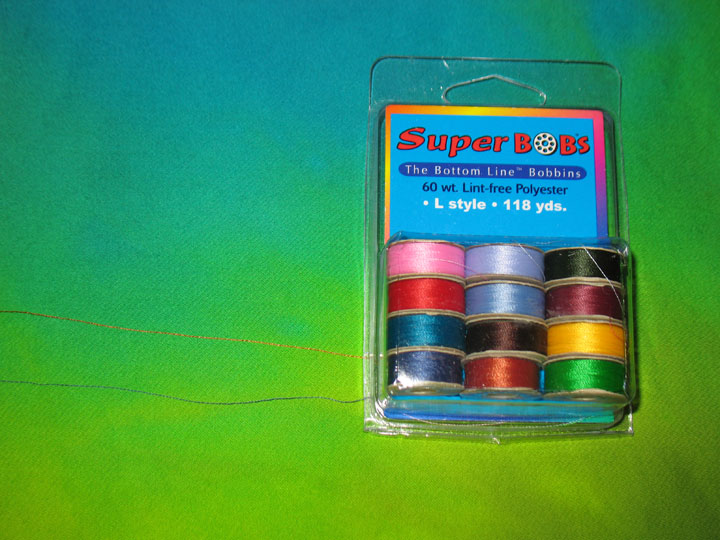
  • And here’s my hand sewing tip to pass along…I use Bottom Line Thread by Superior Threads for hand applique and sewing the bindings onto my quilts.  I sew a lot when I travel and I carry the “Super Bobs” pre-filled bobbins in their plastic packaging.  I deliberately leave the threads hanging out of the packaging so all I need to do is gently tug and draw off as  much thread as I need for my project.  It keeps things neat and I don’t have to fumble around trying to pull out the correct bobbin!  Here’s an example of what I’m talking about:

    Now go have a happy 4th of July!