April 18th, 2013
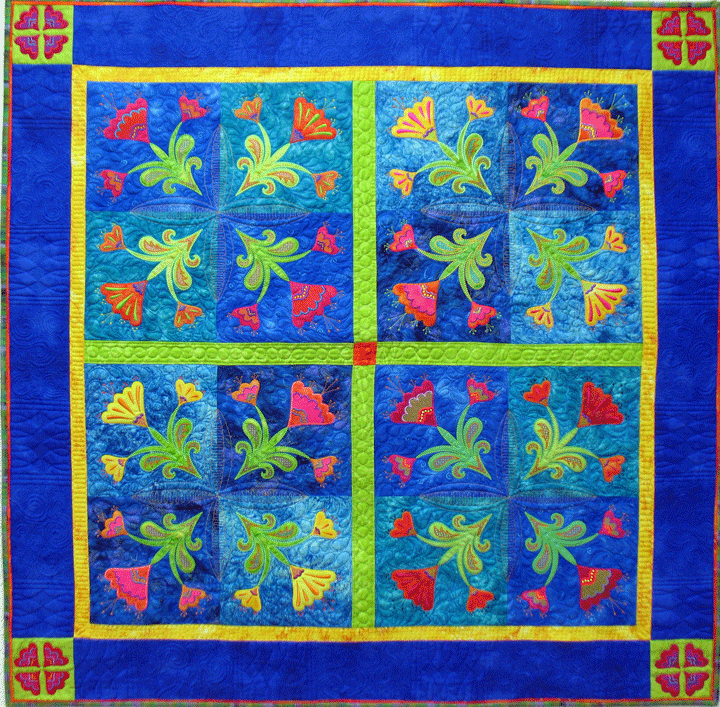
I finished this quilt about a month ago and never posted about it. It has a lot of texture to it, which I love. Here’s a shot of it lying on the floor near a window. The color is not right, but it shows the texture pretty well:
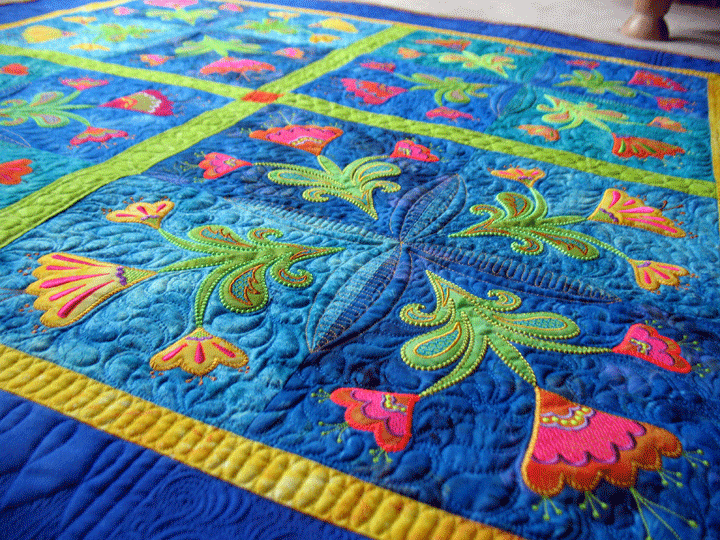
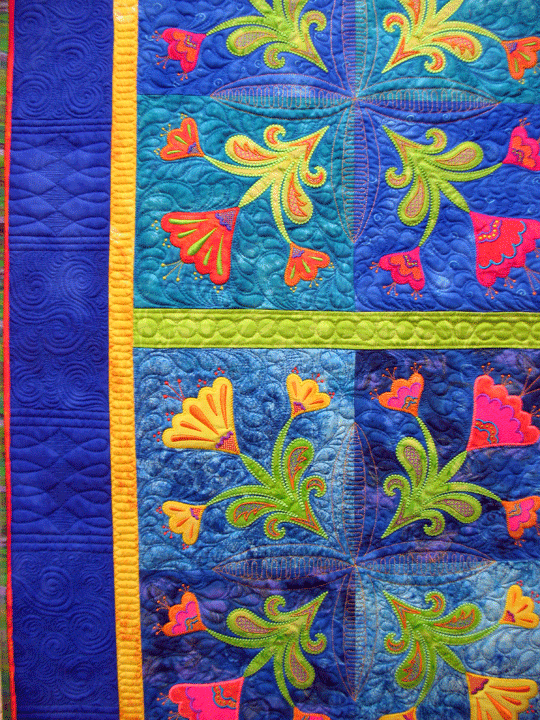
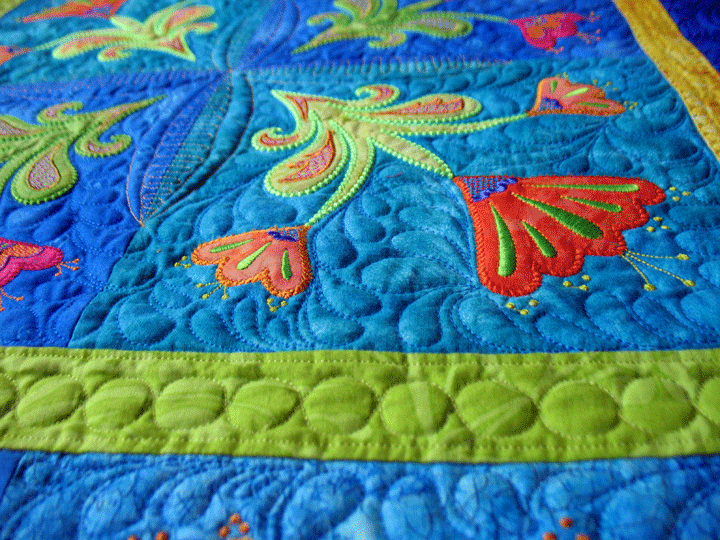
Here are some other shots that are closeups of different areas. The deep blue is more a reflection of the true color, but I had to take some shots without a flash to show the wonderful texture:
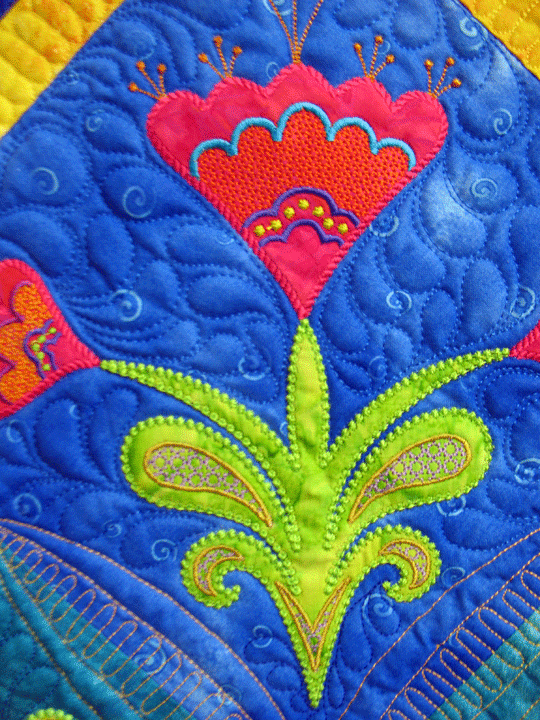
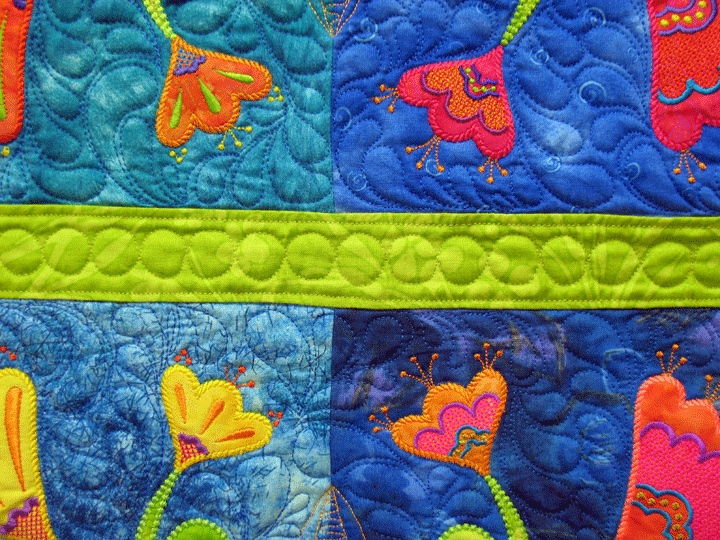
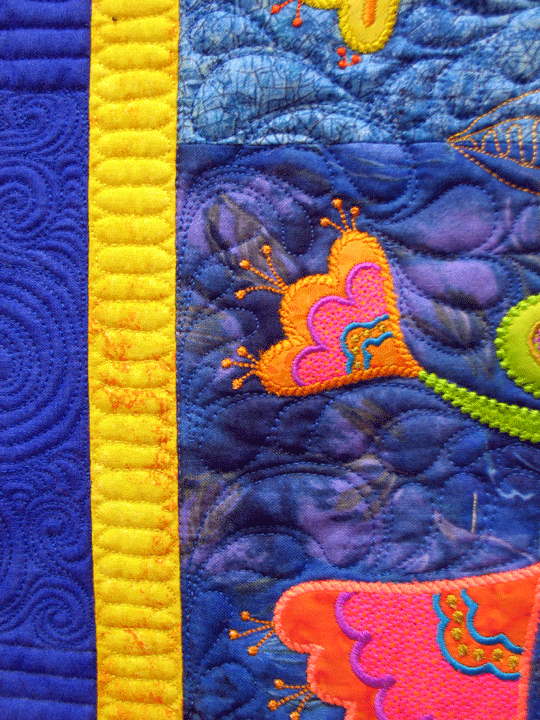
I love how the outer blue border came out. I need to do more stuff like this down the road:
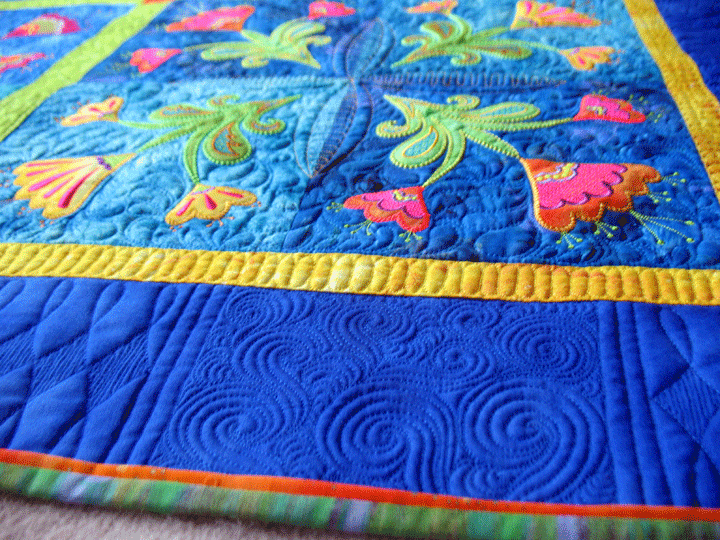
I felt kind of dumb at the end because I had been really careful to mark a border line about 1/2 inch from all edges to be sure I didn’t quilt into the area that would ultimately become the binding. Once I went to bind it, I felt like it needed a little punch of color right at the edge, so I added that narrow orange channel along each edge. Of course, this covered the edge of the quilted design…GRRRRR!!!!:
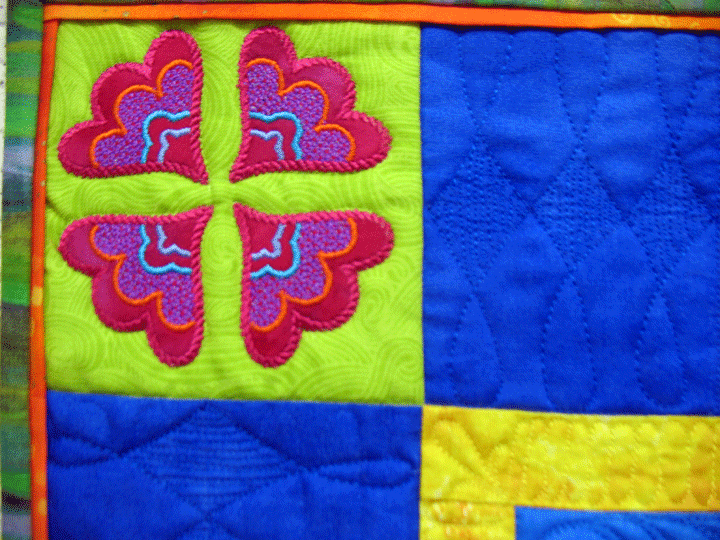
The appliques were all cut on my small Sizzix Big Shot using the Appli-K-Kutz Stems 2 die and Petals 4 Large die. Totally, totally fun to make!
Filed under
Appli-K-Kutz Fabric Cutting Dies, Free Motion Quilting, Machine Embroidered Applique, Site Updates, Sizzix.
April 13th, 2013
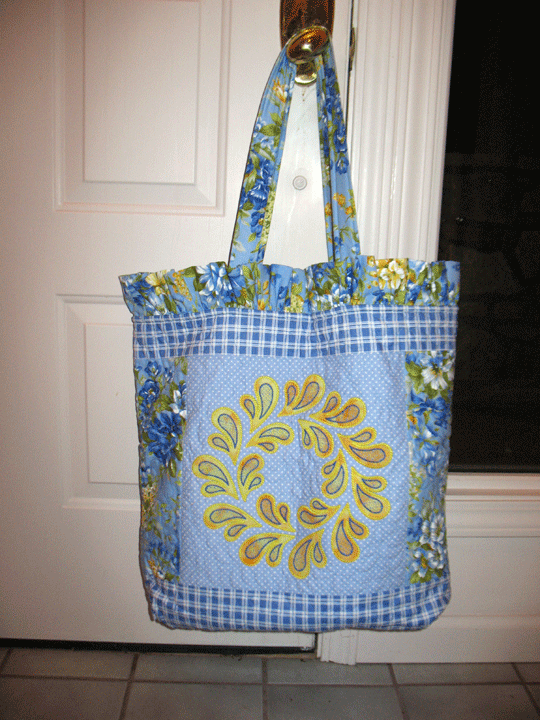
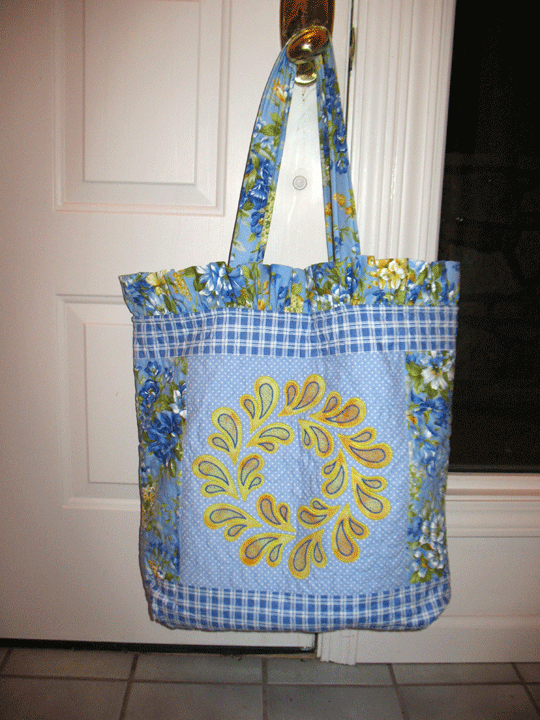
You might have noticed that I have been absent from my blog for awhile. I was really sick, sicker than I’ve ever been in my life, and I didn’t do anything other than lie around for 1 1/2 weeks. I’ve been really fortunate and never been ill like that before, so it was quite an experience. I’m glad to say that I feel back to my old self now and am ready to go! This first post back amongst the living is of a quilted tote bag I made about a month or so ago:
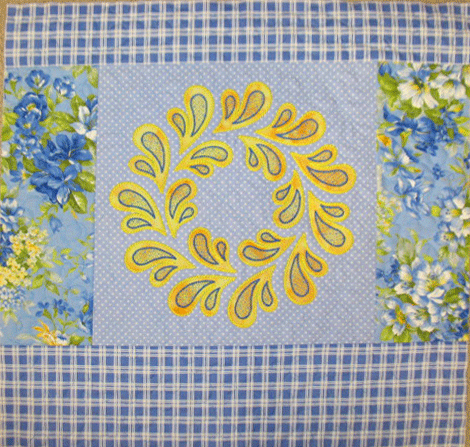
I started out by creating the center block of the bag using machine embroidery applique to make a feathered wreath (this is the 10 1/2 in wreath made with the Appli-K-Kutz Plume Family die) and then added top and side fabrics to make 2 of the front/back blocks below:
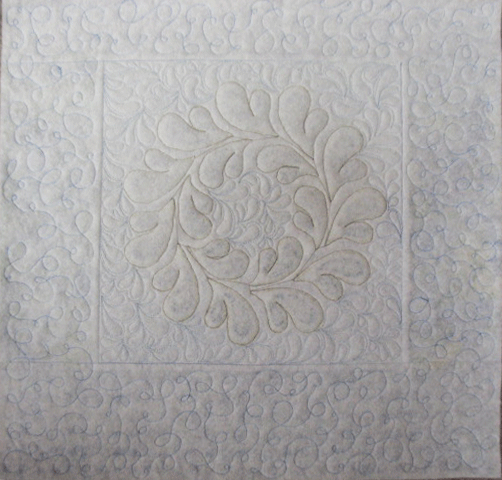
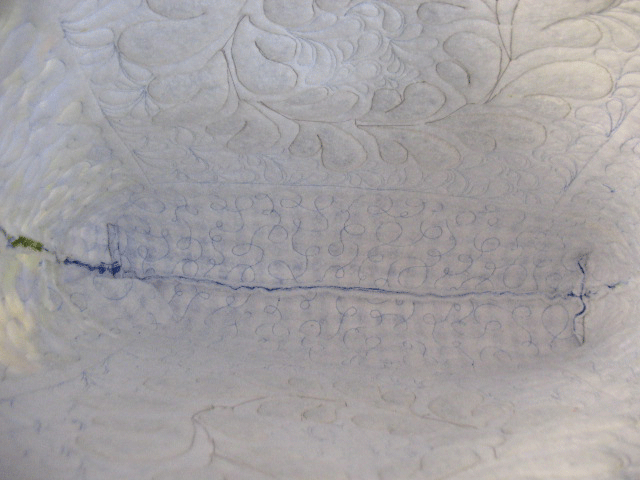
I quilted each block, but did not use a backing fabric. Here’s the backside of the front block:
I sewed the front and back together, then made the bases into box corners. I turned it inside out so that the good side was on the outside again, then gathered my ruffle and pinned it to the good side and then pinned my straps in place on top of the ruffle (this way they would fall inside the ruffle in the final bag):
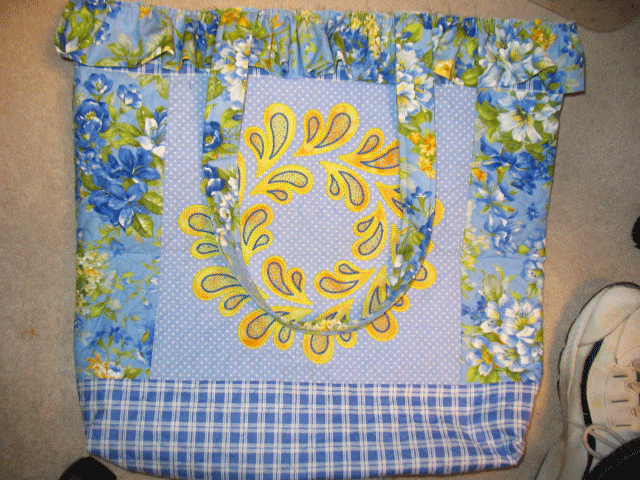
Here’s a closeup of what the top looks like after these layers have been stitched together:
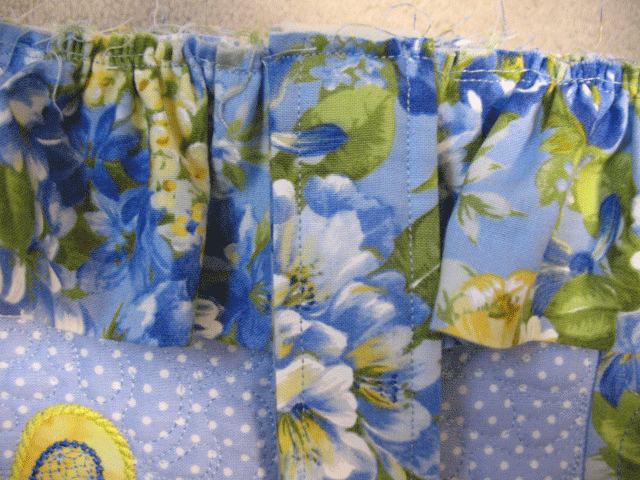
…and here’s what the inside looks like at this point:
Next, I created the lining. I do this by fusing the front and back lining pieces to fusible interfacing. (I do this to give them more body.) I cut my pockets twice as high as I want them to be and fuse those pieces to interfacing as well. I fold over the pocket so the front side of the pocket is actually 2 layers (more body and more stable if you’re someone who likes to really stuff your pockets full of stuff!). Here’s a shot of the lining and I placed some tv remotes inside them so you could see them better:
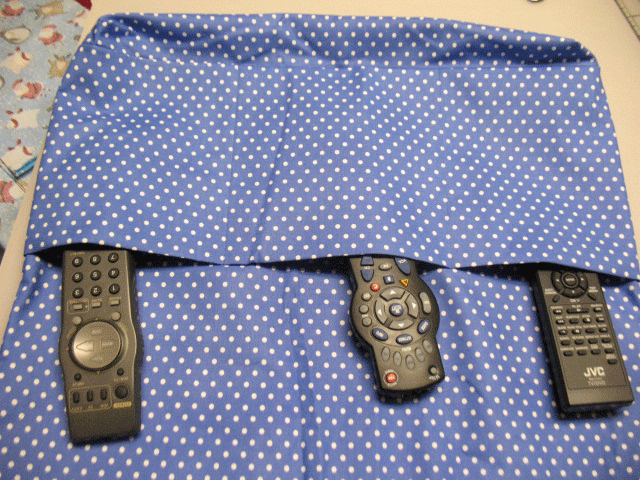
(In the photo above, the front and back lining layers have been stitched together and the bottoms have been turned into box corners just like the front/back of the tote bag were.) Next step is to place tote bag front/back unit inside of the linign unit so that the good sides of each are facing one another. That’s what you’re seeing in this next shot and you can see that the top edge has been pinned in anticipation of sewing them together forever:
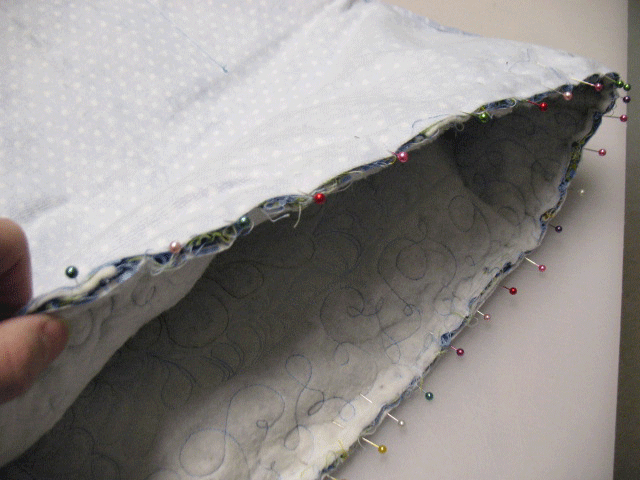
They’ve been sewn together in this next shot, but you can see from what I’m holding that there’s a small area of the top edge that was not stitched together:
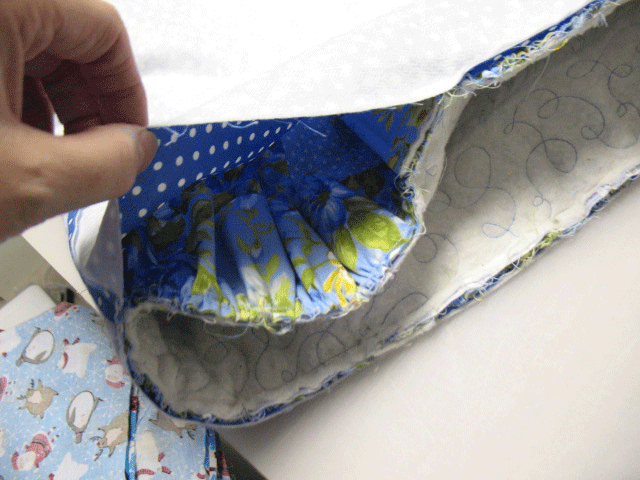
You just slip your hand into that opening and begin pulling the “good sides” from the inside to the outside…here it is in a half-in/half-out stage:
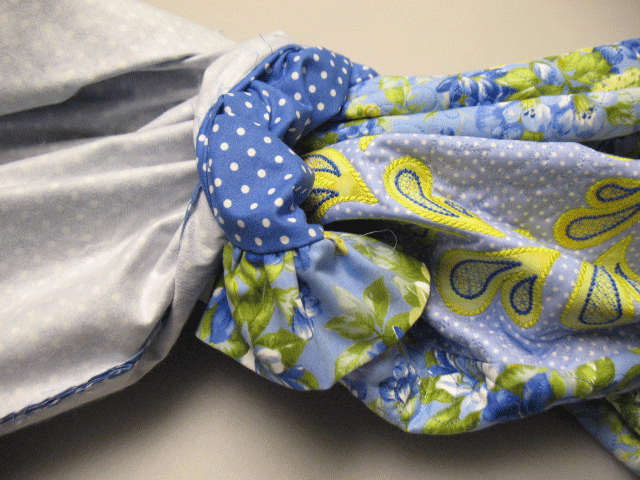
Once it’s all been turned inside-out, you simply pin that small opening shut and then whip stitch it closed for good. I then pin all along the top edge and then topstitch it all together at the end:
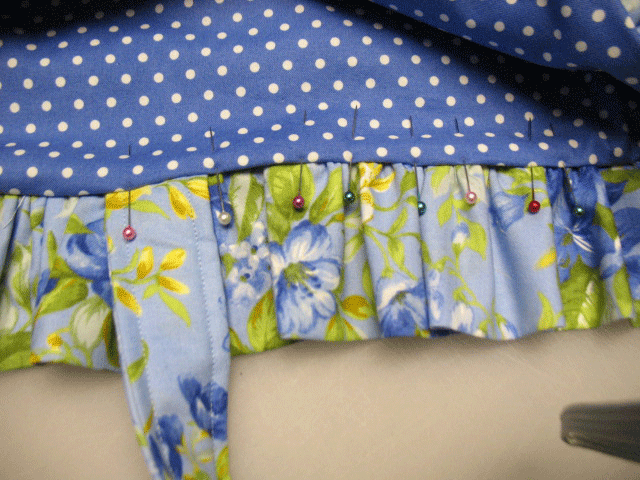
…and here it is in all its finished glory:
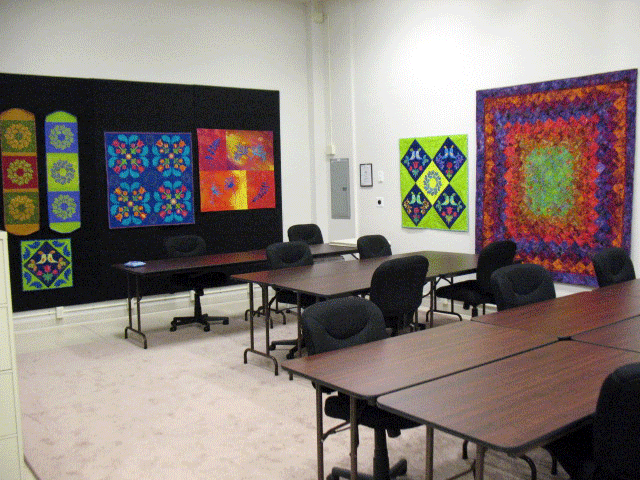
A lot of people have emailed me to ask about classes at the warehouse. They were supposed to start later this month but we had to cancel them because I lost so much time from being sick. We WILL be having classes in May, though. The classroom is all ready for some fun quilty stuff:
canada pharmacy
Filed under
Machine Embroidered Applique.


