Please Join Me at the Road to California Show in January 2014!
July 17th, 2013
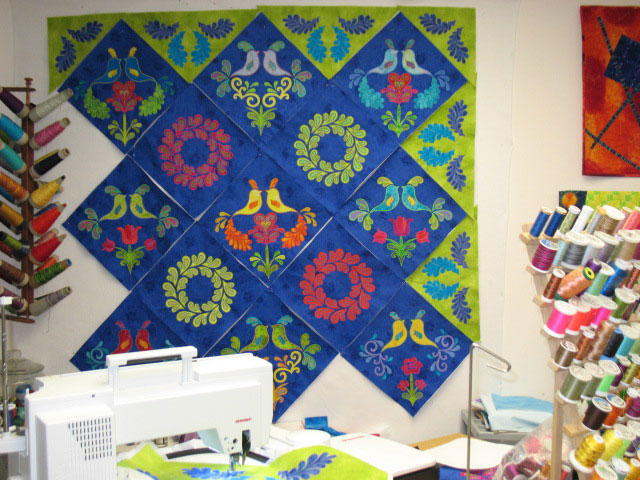
 This quilt is made of multiple different bird block designs, like:
 …and another one:
 …and another one:
 and another bird block that I don’t have a photo for. Of course, there are also some wreath blocks:
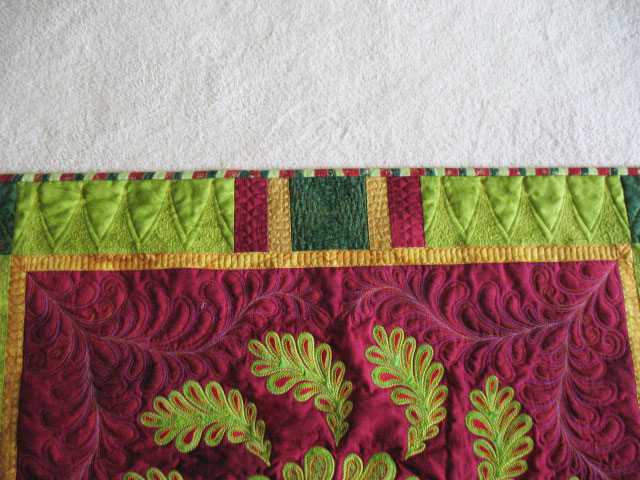
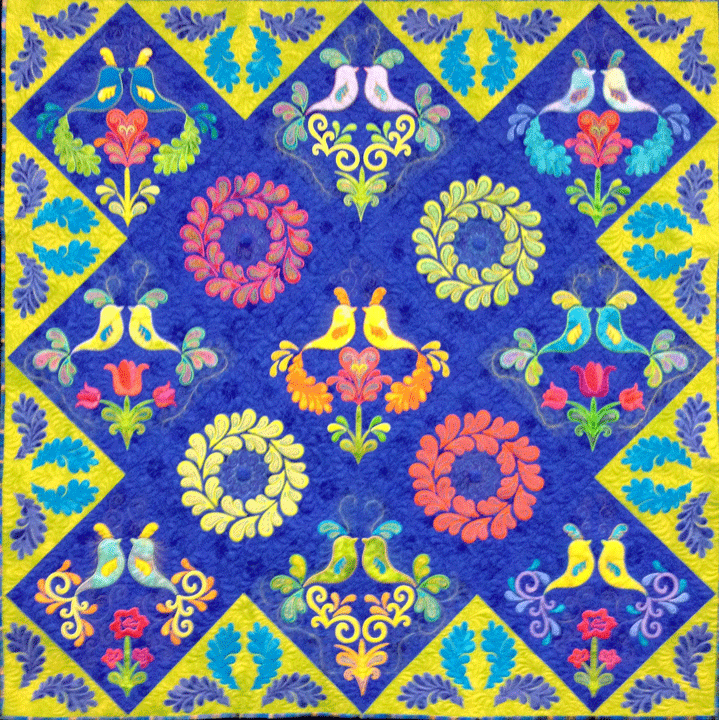
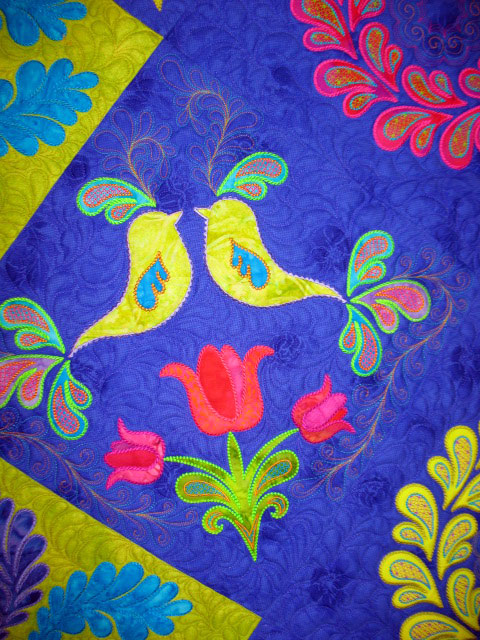
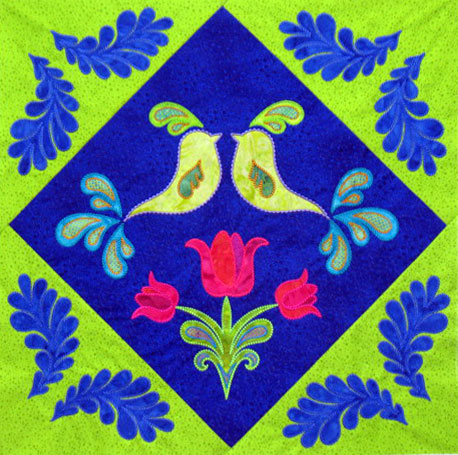
 All the blocks in this quilt were created using machine embroidery applique and they have incredible texture because of all the luscious thread work! This quilt is way too much to create in a workshop but I’ll be teaching an abbreviated form of it at the Road to California Show in January. This will be a 2-day workshop where you’ll learn how easy it is to create complex MEA blocks like this one (4 hoopings for the center block) and we’ll finish this into the Love Birds Wall hanging which is pictured below:
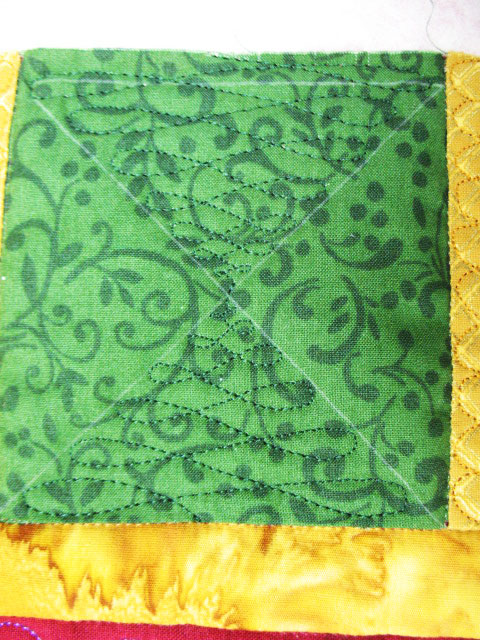
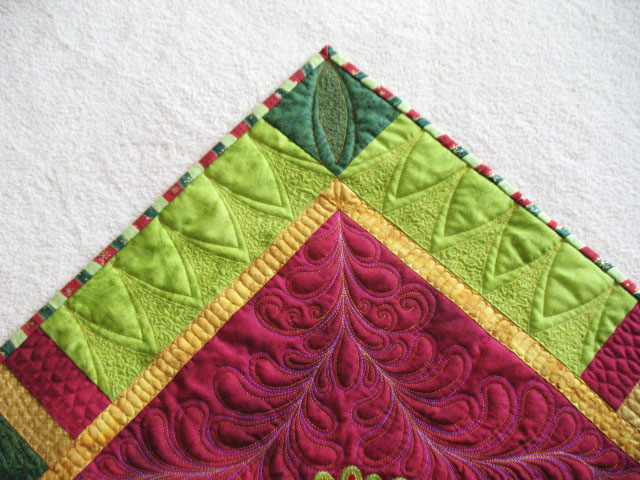
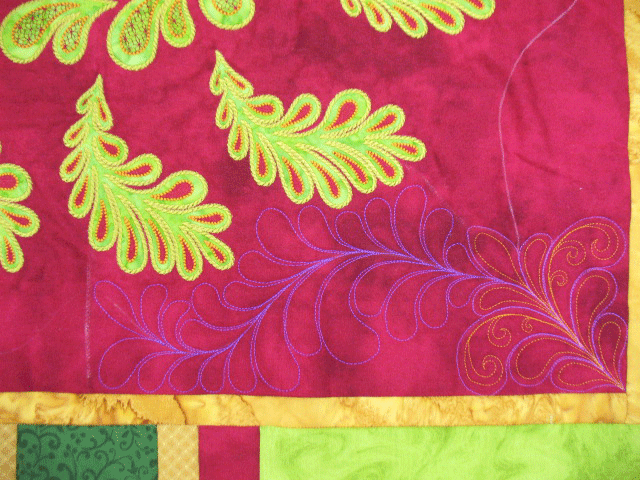
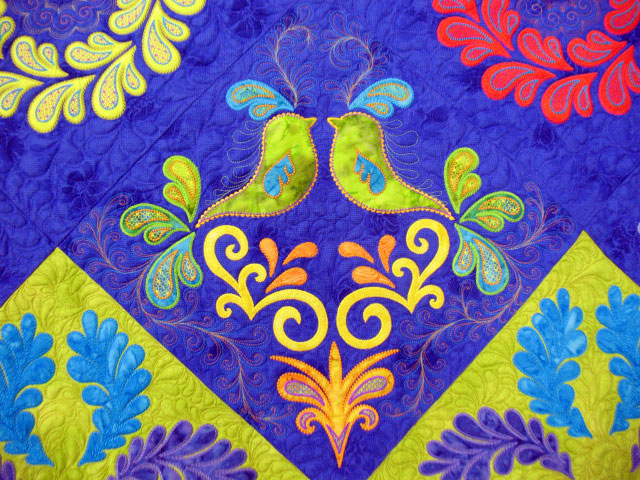
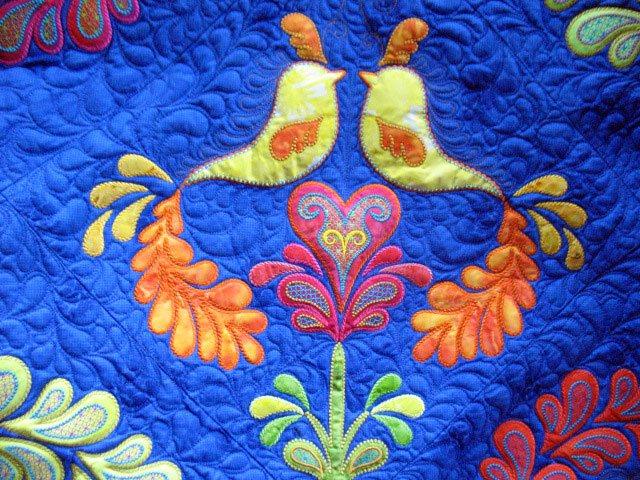
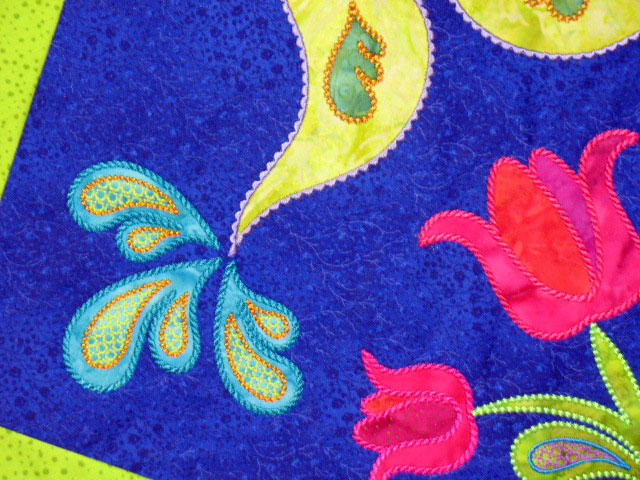
 Yep, you’ll get to work with some intricate feather shapes as well, and what quilter doesn’t love feathers?! Here’s a close up of some of the embroidery to get you interested:
 As complex as this wall hanging MEA is, you will be able to complete it in this workshop, even if you’ve never done machine embroidery applique before and you will be provided a fabulous Brother embroidery machine to use in class! (Can you beat this?!) If you’re scratching your head, wondering how this is all done, here’s a video that will show you just how easy it is to create the center block:
http://www.youtube.com/watch?v=GfK-dK1Y6KA
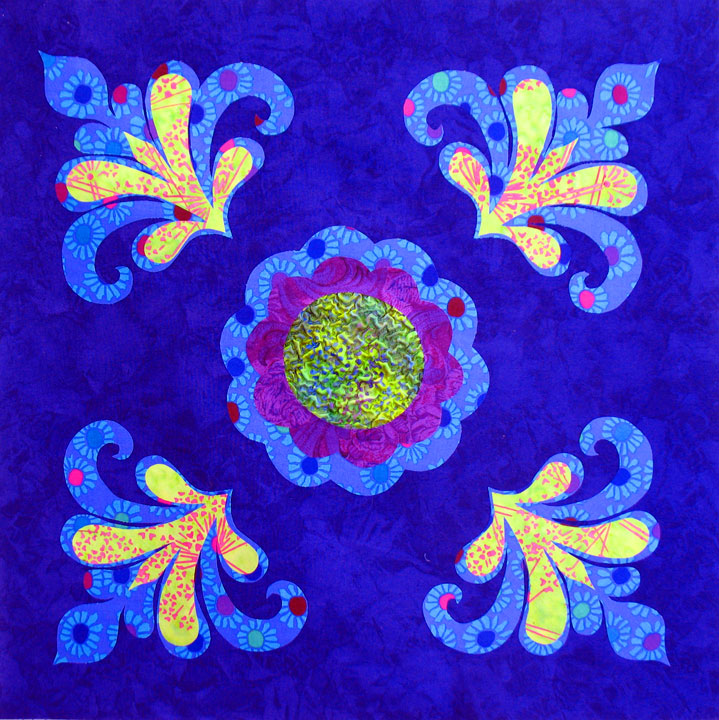
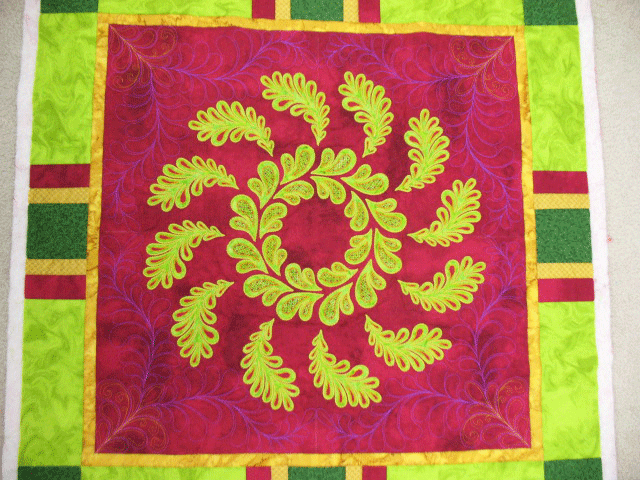
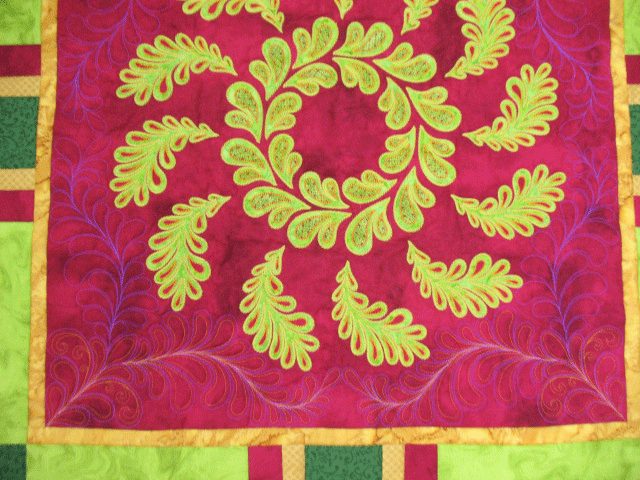
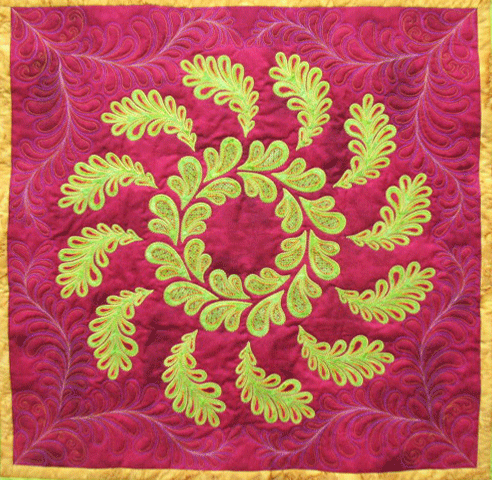
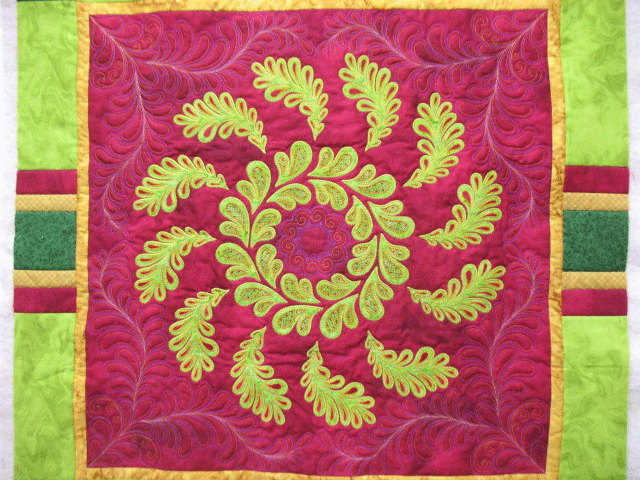
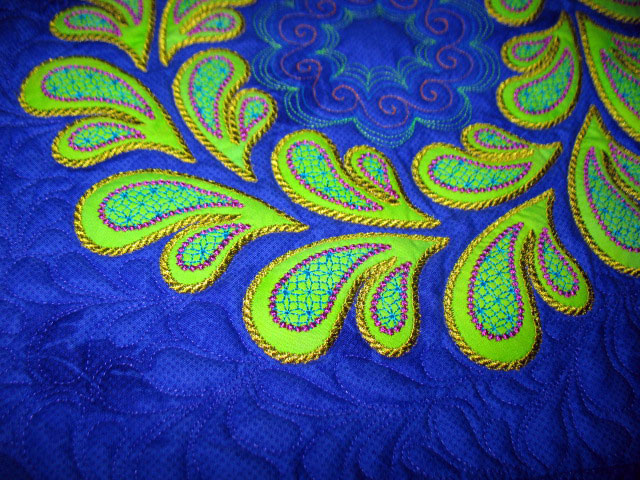
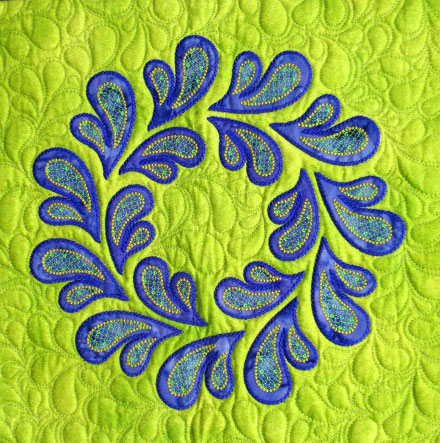
If you’re looking for a shorter class, I’ll also be teaching a 1-day class in creating a machine embroidery applique feathered wreath block like this one:
As complex as this wall hanging MEA is, you will be able to complete it in this workshop, even if you’ve never done machine embroidery applique before and you will be provided a fabulous Brother embroidery machine to use in class! (Can you beat this?!) If you’re scratching your head, wondering how this is all done, here’s a video that will show you just how easy it is to create the center block:
http://www.youtube.com/watch?v=GfK-dK1Y6KA
If you’re looking for a shorter class, I’ll also be teaching a 1-day class in creating a machine embroidery applique feathered wreath block like this one:
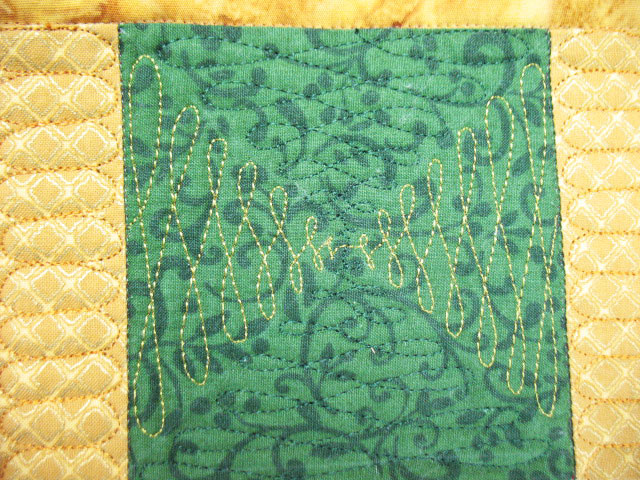
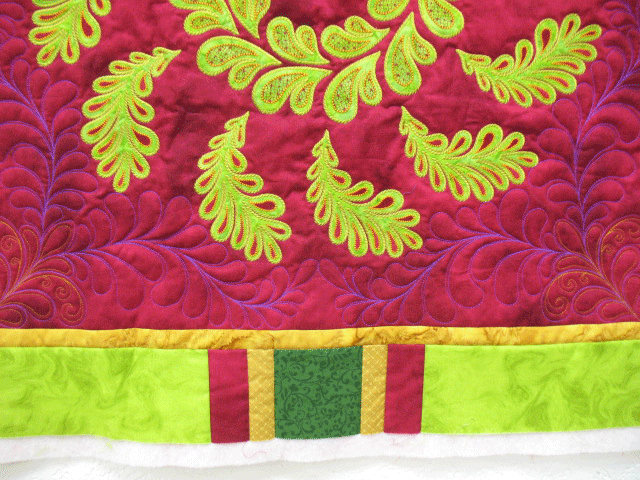
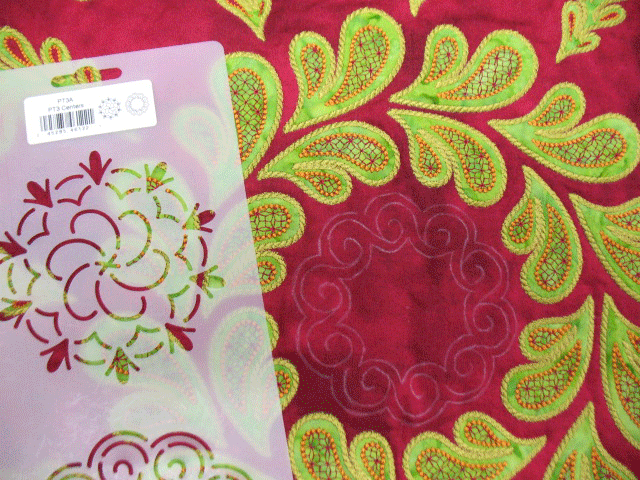
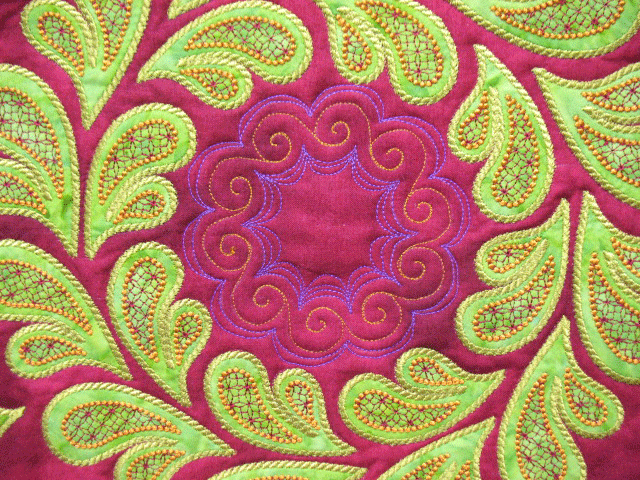
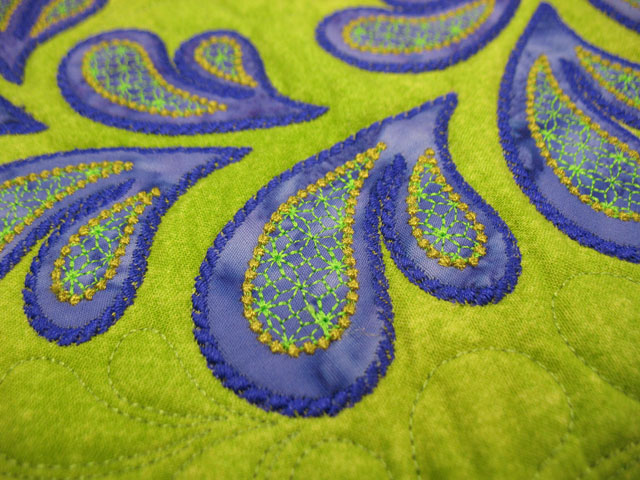
 This block can be used to make a tote bag, table runner, pillow, or whatever you’d like! I’ve got to throw in a close up shot to entice you…check out that texture:
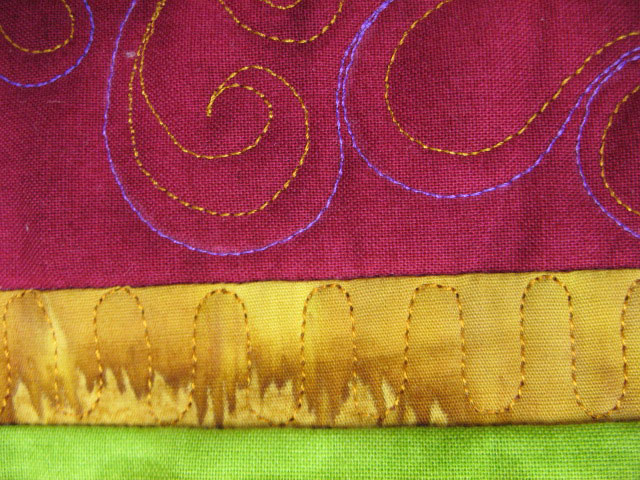
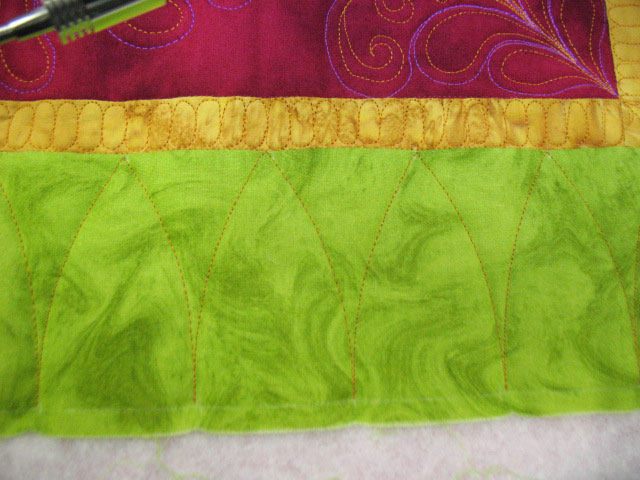
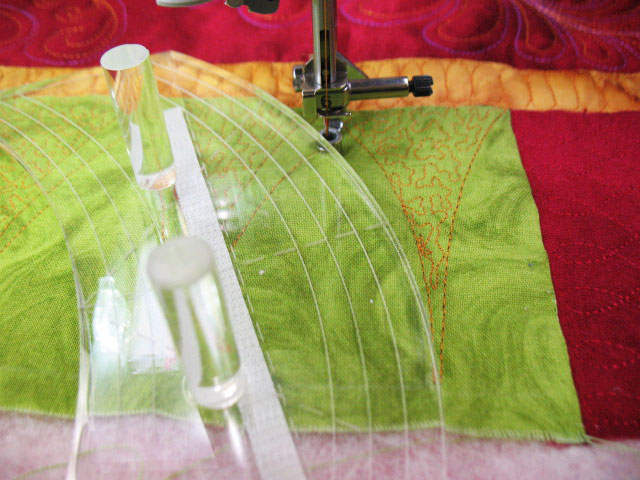
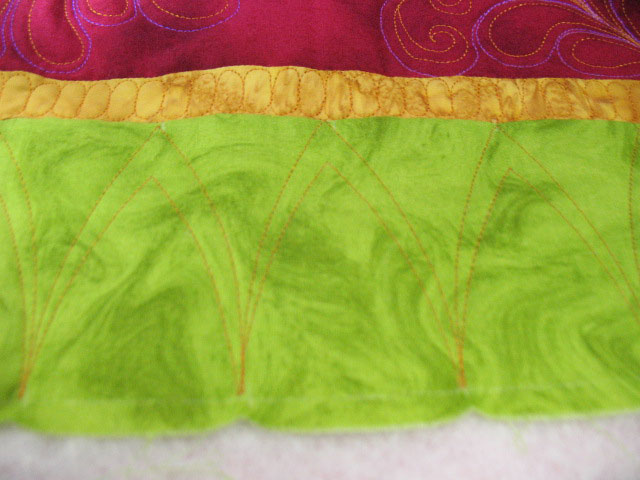
 Ooh-la-la! I’m also teaching a 1-day class on free motion quilting feather designs but that one is full, so I won’t tell you how much fun it is or how much you’ll learn! Please join me in CA for one or 2 days (or even 3!) of machine embroidery applique-I promise that you’ll enjoy every minute of the class! I am a quilter at heart and never dreamed that I would get into embroidery, but this is totally addictive and the perfect way to blend quilting and embroidery. If you’d like to join in on the fun and sign up, you can register for classes here.
I´ve been using these products to treath erectile dysfunction for a few months now, and I’m very happy to say that my symptoms have disappeared completely. Buy generic viagra cialis! Through years of experience we know which medications work well and what price it the best for you.