APQS George Sit-Down Quilting Machines

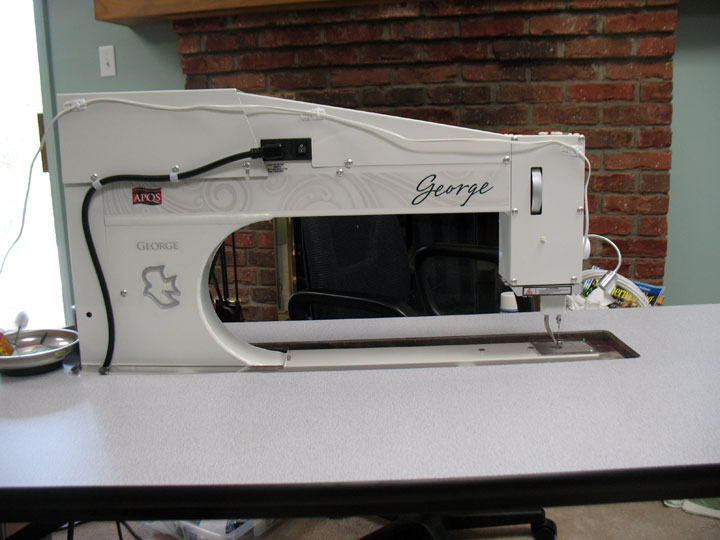
I’ve been getting some questions about my APQS George sit-down quilting machine so I thought I’d do a little post about it. A year ago, I purchased a used George from Laura Davies of Tanderwen Quilts and you can find her blog by clicking here. Laura is a professional quilter who was using her George to quilt customer quilts and she decided to move to another APQS long arm system that could be used on a frame because it would save her time. I bought her used machine as a semi-impulse buy and initially, I had a fair amount of guilt about it. Laura lives in Winston-Salem, NC and the George I bought from her is called “Georgette” and she lives in my NC home:
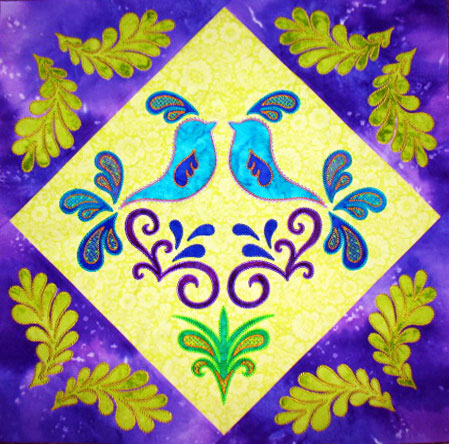
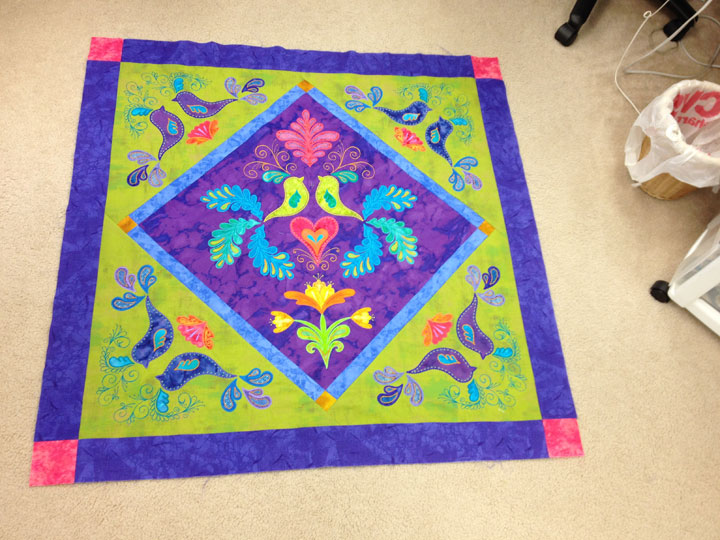
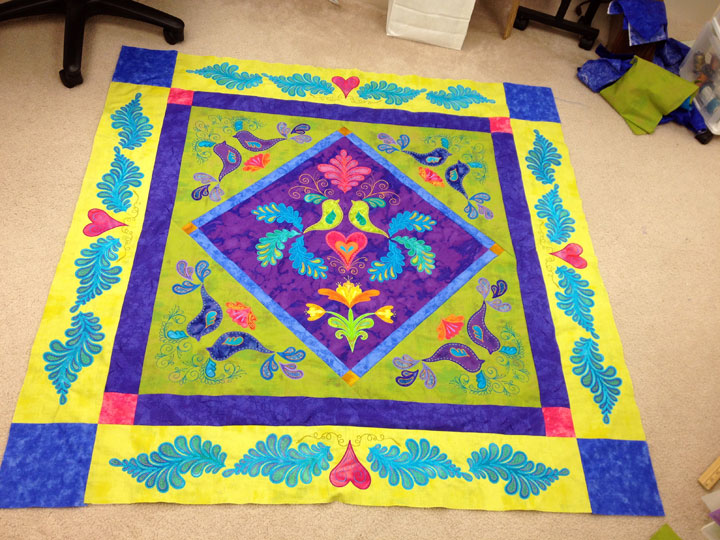
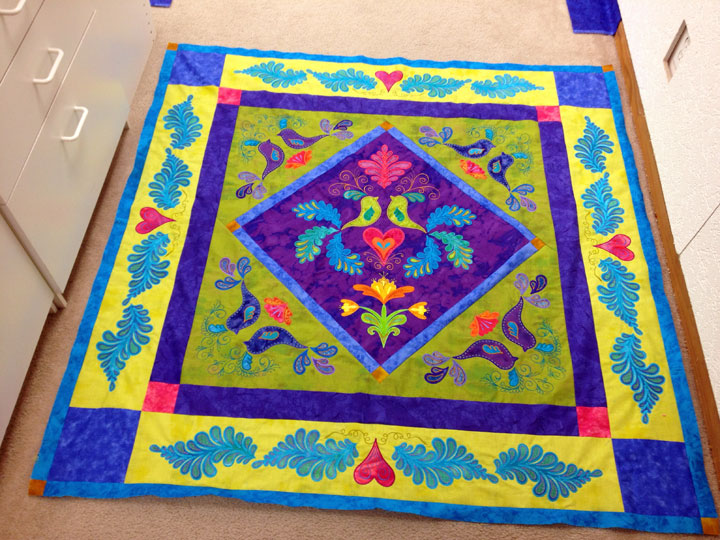
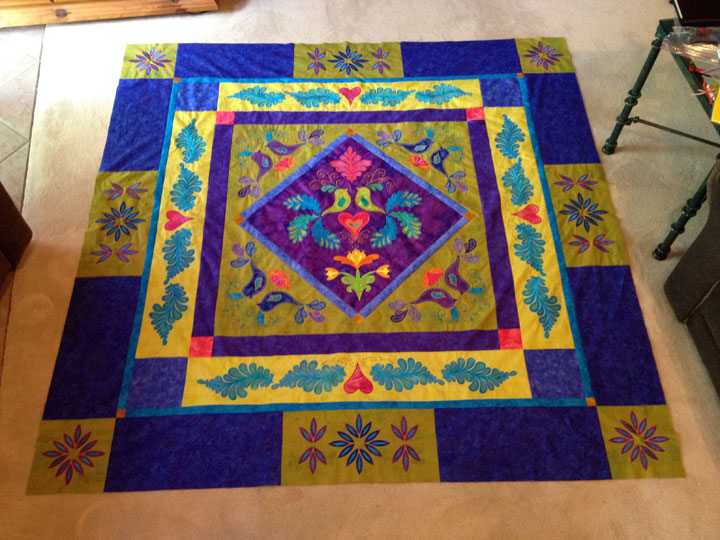
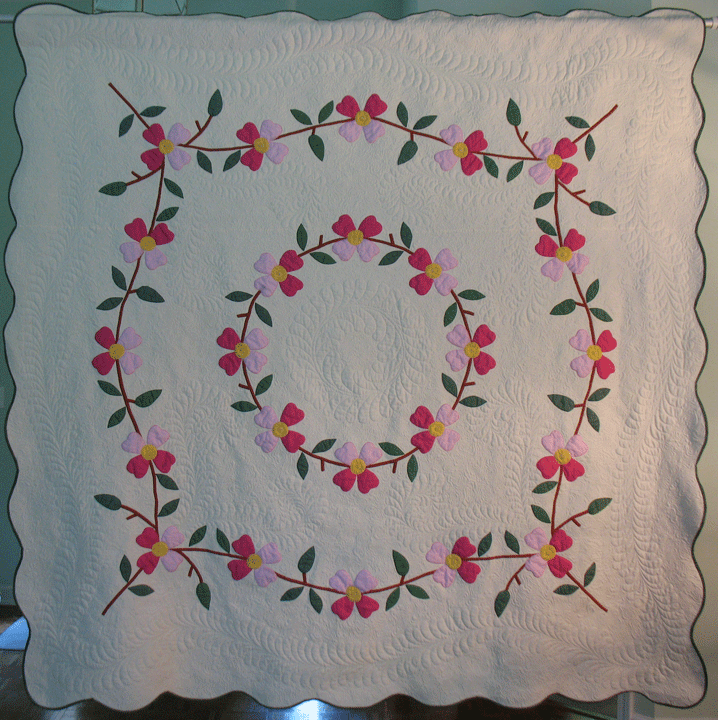
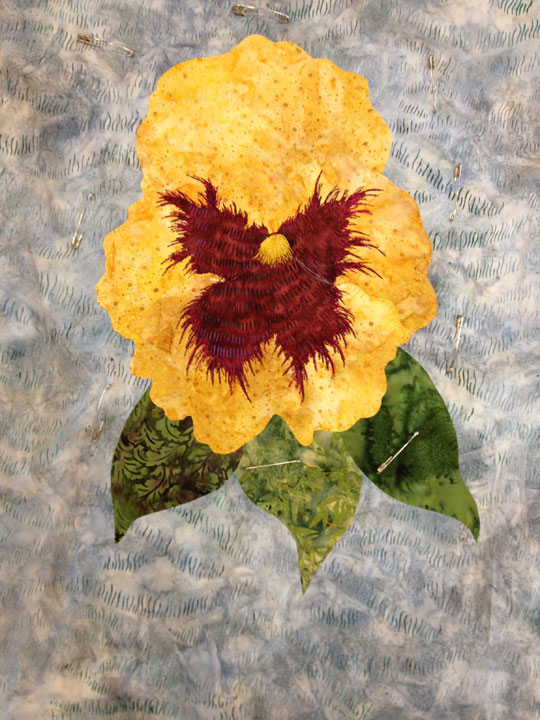
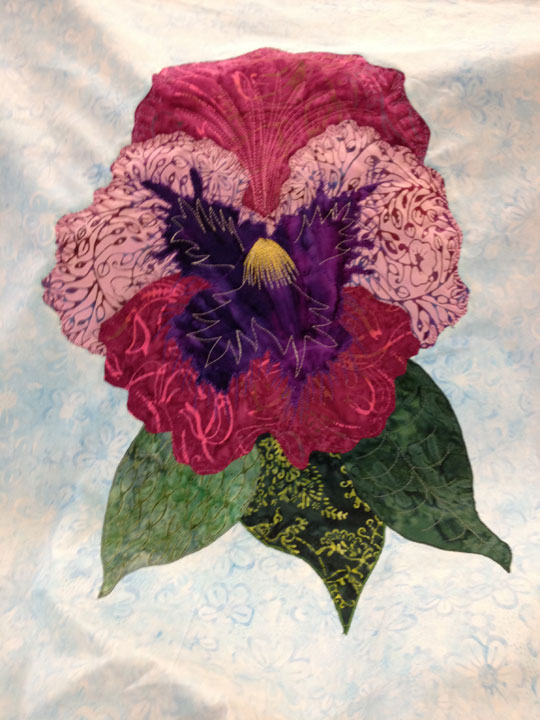
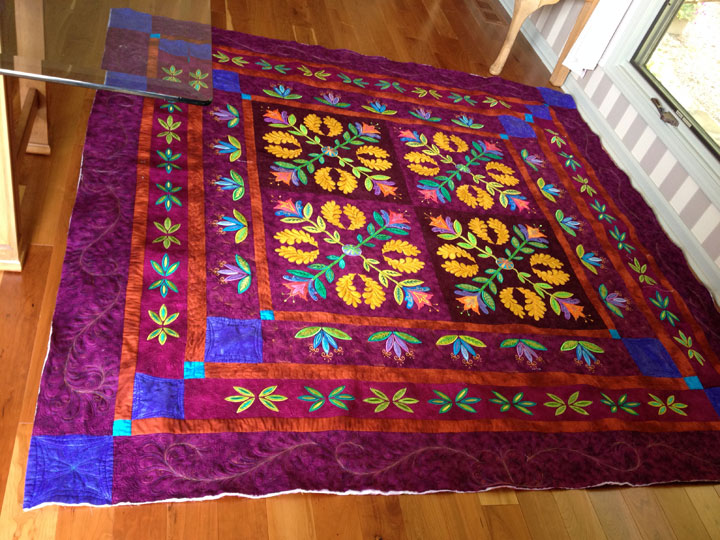
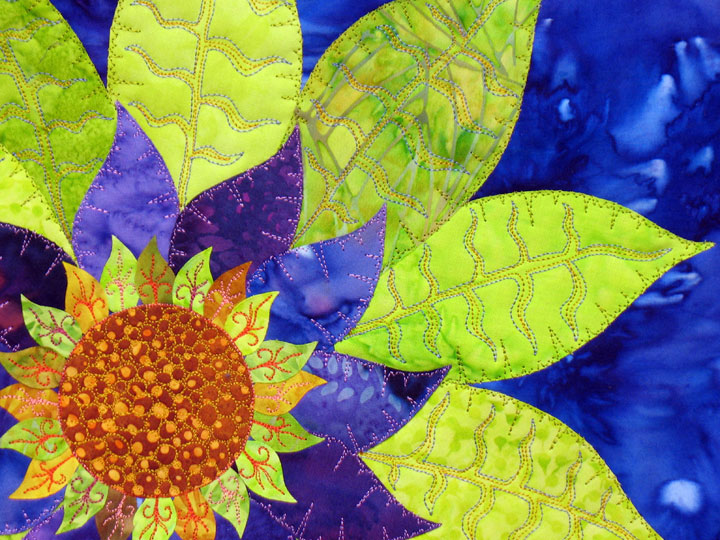
I quickly grew to love Georgette and especially fell in love when I was rushing to finish quilting an extremely large and heavy machine embroidery applique quilt last fall:
There was simply no denying that having a huge 20-inch harp space made sit down quilting much, much easier. (By the way, all mid arm and long arm machine manufacturers talk about that harp space width, but the other thing that isn’t mentioned is the harp space height. That extra height is also more room and it’s nothing to sneeze at! Taken collectively, you could easily shove a couple of king sized quilts into that space and still be able to quilt easily!) Anyway, I grew to love Georgette so much that when I was in OH and needing to quilt a large quilt, I really missed the convenience of having that huge space. By then, I’d gotten over my guilt to the point that I was able to justify to myself that it was ok to get a 2nd George for my OH home, and I did! Meet Georgie:
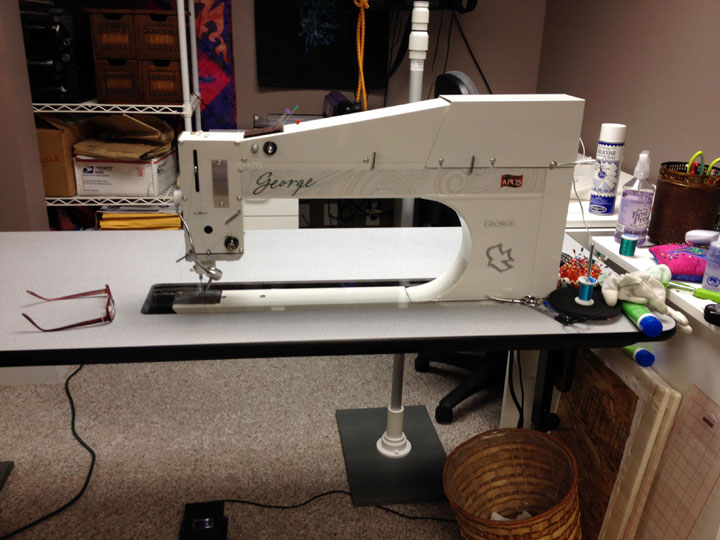
(Georgie is more of a free-spirit than Georgette!) I do still harbor some guilt about this, but it was SO worth spending this money. I know a lot of you are “on the fence” about investing in a mid arm or long arm sit down system, so I want to show you how I use mine. First, the machine is SO LONG from one side to the other that my arm can barely reach my pin cushion. I use pins frequently in 2 ways as I machine quilt:
-I use a pin to pull up my bobbin thread every time I begin a new line of stitching; AND
-I use a large eye needle to move thread tails to the backside if a thread breaks or bobbin runs out and I need to start a new line of stitching partway through a stitched design.
So, since I need quick access to pins regularly as I quilt, how did I solve this problem? I placed a piece of one of those adhesive furniture felts for furniture legs on top of my machine and placed a few long pins and large eyed needles in it:
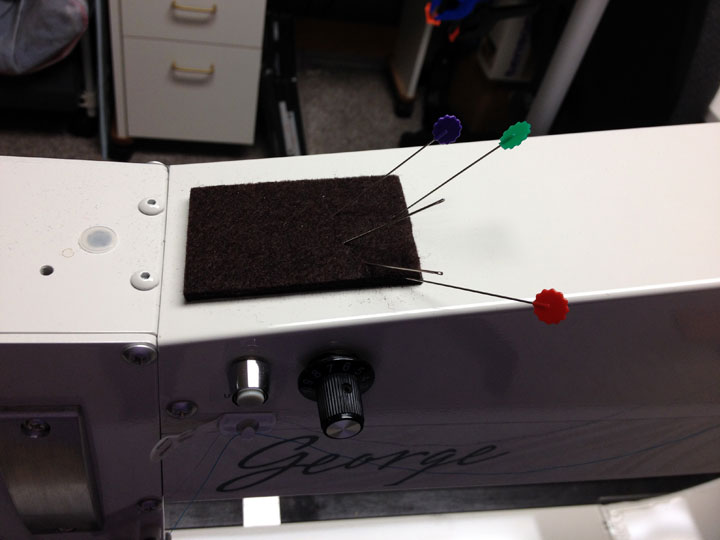
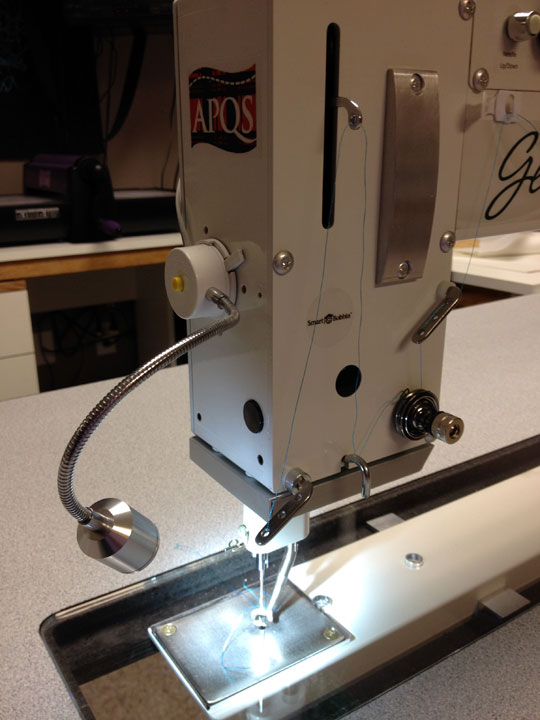
This works perfectly! Next up, I modified the lighting. The lighting that comes w/the George is great, but I’ve reached a stage in my life where I crave light, regardless of how much light is around me, so I threw a Bendable Bright Light onto the front of my machine:
A general purpose closed-toe free motion foot comes standard with a George machine. There is an optional case of 3 additional feet that comes in this adorable (and oh-so-convenient) zippered pouch:

Is that not the cutest little foot case you’ve ever seen? Anyway, the feet inside it currently are a closed toe ruler foot, the general purpose free motion foot, and an open toe ruler foot. (The optional open toe free motion foot that came in the it is mounted on the machine.) If you’re thinking of buying a George, you REALLY WANT to get this optional set of feet! Both my machines LIVE with the open toe free motion foot and the open toe ruler foot mounted on them; they are WONDERFUL feet!! In fact, my Georges have spoiled me so badly with the open toe ruler feet that I have cut out portions of my Janome ruler feet now as well because I just find a closed toe foot of any kind a major inconvenience!
I also set up a suspension system next to Georgie and you can kind of see it behind the machine here:
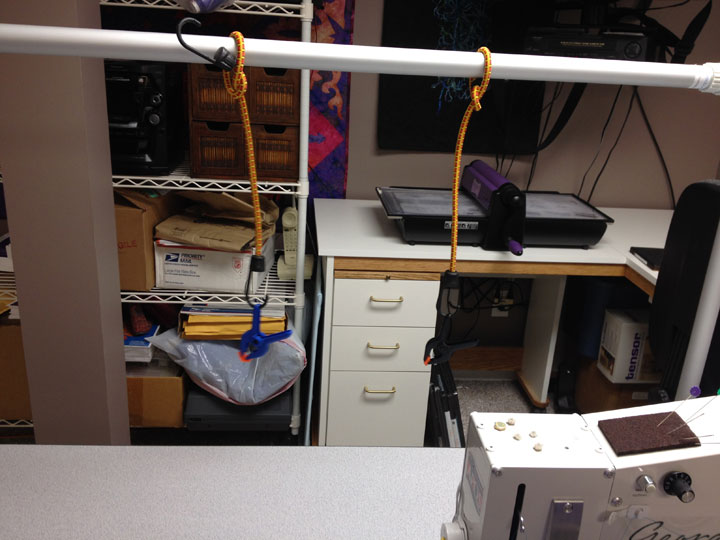
It’s the same quilt photography set up I use in NC and it has 2 bungee cords that hang from it with clamps attached. You only need to have your quilt a couple inches off the table to remove all weight from it and that is a real game-changer when you’re doing sit down quilting. (Suspension systems like this work exactly the same way for home sewing machines.)
If I’m being honest, (and I am), I must tell you that I had 2 reservations about the George, both of which have been dismissed. I was very worried that the width of the table that comes with the machine was too narrow:
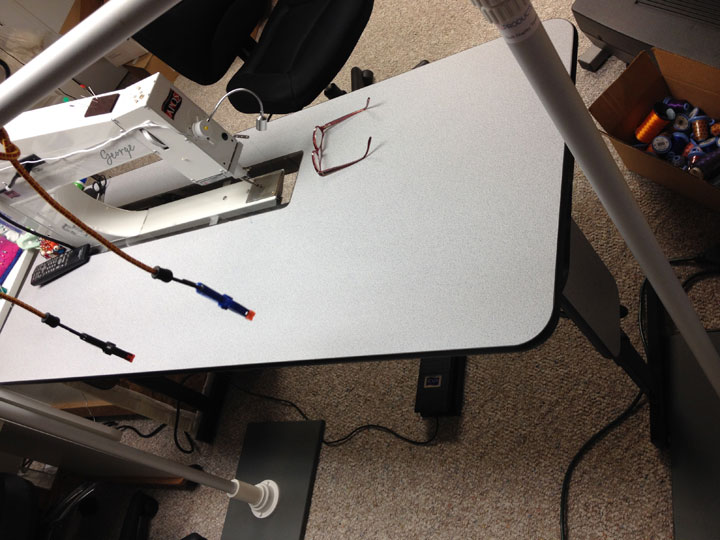
It is not, and I’ve actually come to appreciate that it’s not super wide because the whole system takes up less space. The other thing I worried about was the bobbin winder. I prefer to wind my own bobbins (George accepts pre-wounds and I’ve found that nearly everyone except me uses those). My machines came with the Simplicity Side Winder:
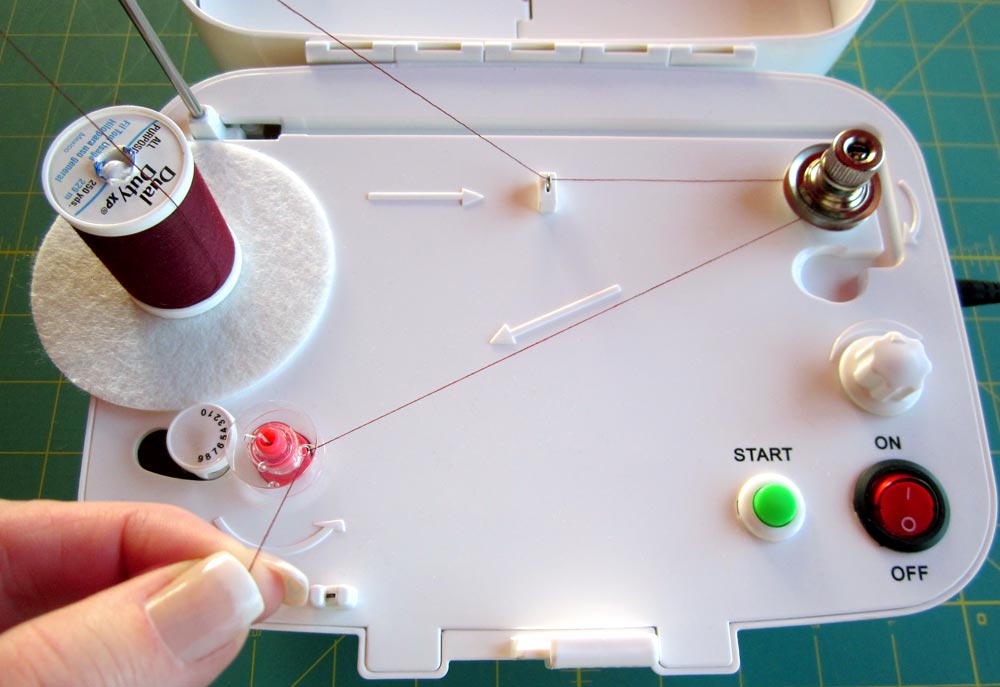
I took a bit of a snobby stance and worried that this plastic bobbin winder would be an “el cheapo” kind of thing that might last a couple months at best. Both of my sidewinders have performed very well and I use them a lot. So, if you like to wind your own bobbins, rest assured that the Sidewinder will do the job for you!
I think it’s worth saying something about allowing one’s self to purchase an expensive piece of equipment to get work done more efficiently/more easily. I’m fortunate and have been able to save money, so that was not holding me back. I have a bit of a spartan attitude and feel guilty about spending money for things that are not necessities and are somewhat of a luxury. My first 20+ years as a quilter, I used the same $60 Singer sewing machine I saved up for and purchased as a tween. I then felt guilty in my late ’30’s when I bought a completely plastic Singer sewing machine on sale at Sears for $125. Several years later, I made the plunge and bought a store demo model of a Pfaff machine. That was the first time I used a “good” sewing machine and I have to admit that my quilting/sewing were better by virtue of using a better machine.
About 10 years later, I got into machine embroidery applique and if you don’t embroider, let me tell you that embroidery machines cost much, much, more than sewing machines! But, they do some pretty incredible things. In my “elder years” (I say that in jest because I will be forever 27-28 years old in my head), I’ve been able to justify purchasing some very expensive embroidery machines (most of them in a “used state,” but they’re still pretty expensive.) My point is that the work I’ve been able to accomplish has really gotten much more involved and much better by virtue of having a machines that allow me to do better work. In the case of deciding to purchase a George, I had more guilt than I had about any of these other machines. I didn’t think I deserved it, I had guilt about allowing myself the convenience of a large harp space when I teach others to quilt on a home sewing machine, etc., etc. Fortunately, reason won out over emotions and I bought that first George and am very glad that I did. Ironically, in the last 4 months, I’ve spent TONS of time playing with rulers on my regular sewing machines because I want to teach other people how to do it, but I have to say that EVERYTHING is easier on a George. I can use invisible thread with ease (many long arm and mid arm machines cannot handle invisible thread) and every polyester, rayon, and trilobal polyester thread that I’ve tried has worked beautifully. (I can’t give any feedback about cotton thread because I never quilt with cotton thread.) I guess my message is that if you’re thinking of getting a George, DO IT!!!!