Feb 11 10
Ooooooh-Lah-Lah!!!!
(Click on all images to enlarge-I promise it will be worth the effort!)
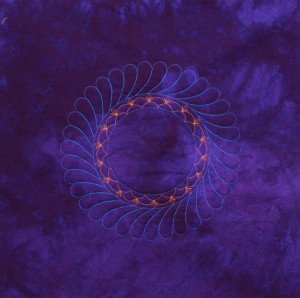
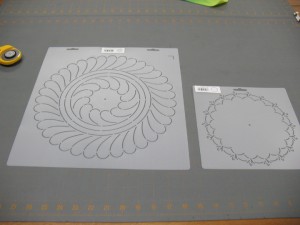
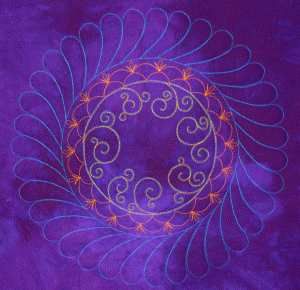
Wow! Do you ever make something and then you’re just like “Wow, did I really just make that?!” I had 1 1/2 hours this morning before I needed to get in the car and make a 10 hour drive from NC to OH, and when I went to bed last night, I was hoping I’d have time to stitch out a design that had been in my head for a few months. This design looks like it would be tough to make, but honestly, it was not! I started with this as my “baseline” wreath skeleton:
Again, this was kind of a no-brainer because I kind of cheated by using our 12-inch feathered wreath stencil and then I chose that cool spine design as below:
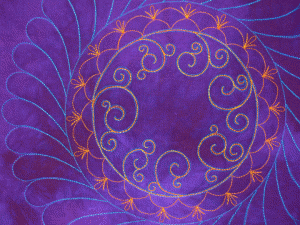
Next, I drew a small circle that was my boundary line for the inside design. I wanted to preserve the sense that this was a feathered wreath, so I needed to make sure none of my swirls crossed that line. If you look at the next picture closely, you’ll see that inside circle I’m talking about (If you enlarge this picture the line will be obvious):
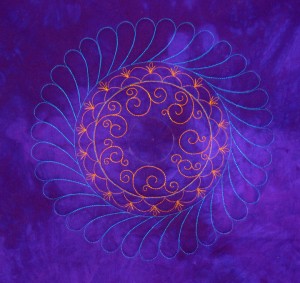
I LOVED my wreath at this point, but I have a problem with thread in that I just want to keep adding more and more of it, and there’s a part of me that was thinking I’d probably want to go back later and hyperquilt some kind of design inside the outer plumes. If I were to do that, I’d probably use the same gold rayon thread, and the gold that forms the swirls was so loud that I though it might be too much to add more gold later on. Soooo, what’s a girl to do to tone it down? I went back in and very closely echo-outlined the gold swirls with turquoise thread. In that way, the contrast between gold and purple wasn’t as stark because now the turquoise thread was laying next to the purple:
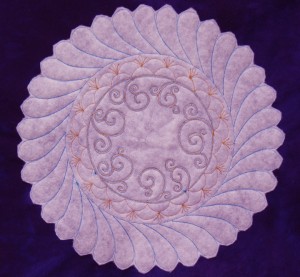
Boy, that turquoise sure makes everything look more intricate, doesn’t it?! At that point, I needed to get in that darn car and start driving, so I never did hyperquilt it, but there’s always time for that later! This wreath is part of the center block for a larger quilt that hasn’t been pieced yet. It is trapuntoed and that makes doing all this detailed stitching easier. Here is the backside at present:
It will probably be quite awhile before I get back to this quilt, but dreaming about it made that long car ride go a lot faster!


Beautiful!!!
(you’re right – it *was* worth the click – even in my just before work rush!)
Wow indeed…worth the click for sure. It is stunning you go , girl!!
Yum! Is it possible for quilting klutzes to ever learn how to do this? I’m really glad that you have set the bar though… your posts ensure that I will never be satisfied with mediocrity!
I am so impressed with this one. There’s some serious quilting in this piece!
I love it! I can’t wait to see the hyperquilting, so please don’t wait too long. 😉
Beautifully done!
Patsy,
This is just lovely. What batting are you using over all and what are you using for the trapunto?
Caryl