Sep 06 10
Rush Job
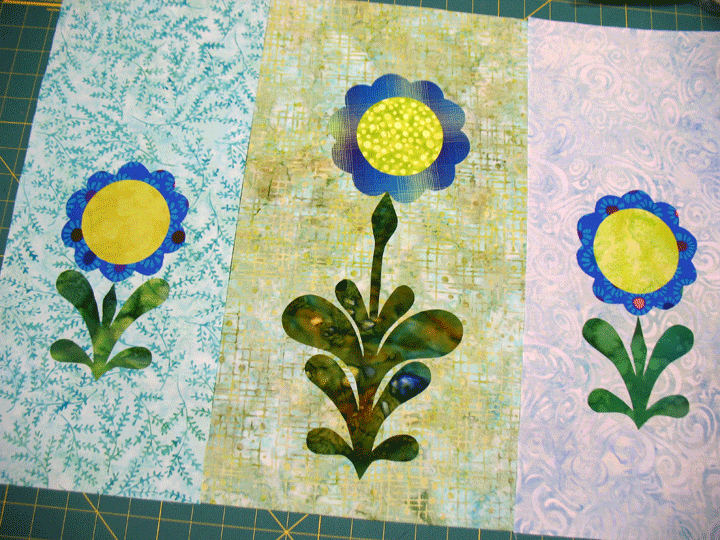
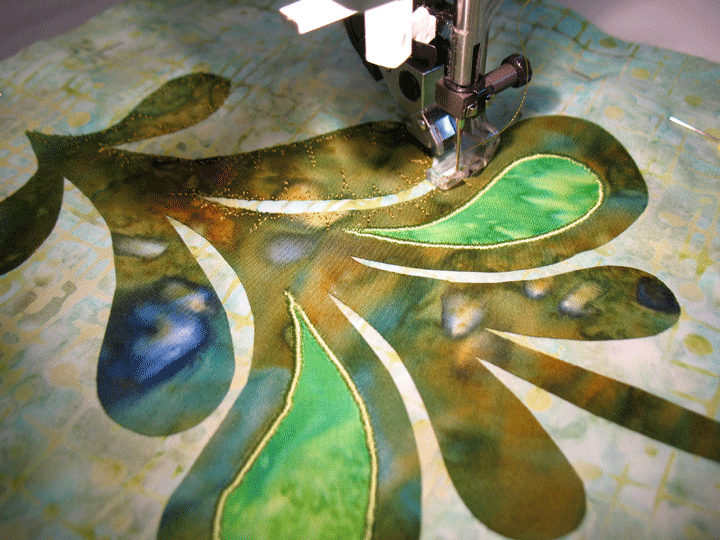
Remember that block I posted about in the previous post? I was going to throw a border around it so I could use the border zone to demo some hyperquilting at the Checker Open House. My plans changed, though, because my eyes were drawn to the “cast off” parts of that center flower design, and I used them to make the outer 2 “panels” in the above photo. I figured that I could throw together this little threesome of flowers, trapunto them, add a border, and then get all of it quilted except that outer border zone, and that would be ready to go for my demo at Checker. I started on this project at 4:30 on a Saturday afternoon and needed the project to take to Checker at 10:00 am on Sunday, so I needed to revise things, just a bit! (Isn’t it amazing all the things we really believe we can actually accomplish in a short time span?!) Anyways, I settled on just that center panel, and here it is on the machine bed as I’m starting to add the embroidery around the perimeter of the stem:
In this next shot, you can start to appreciate just how much simple thread work can add to the overall piece:
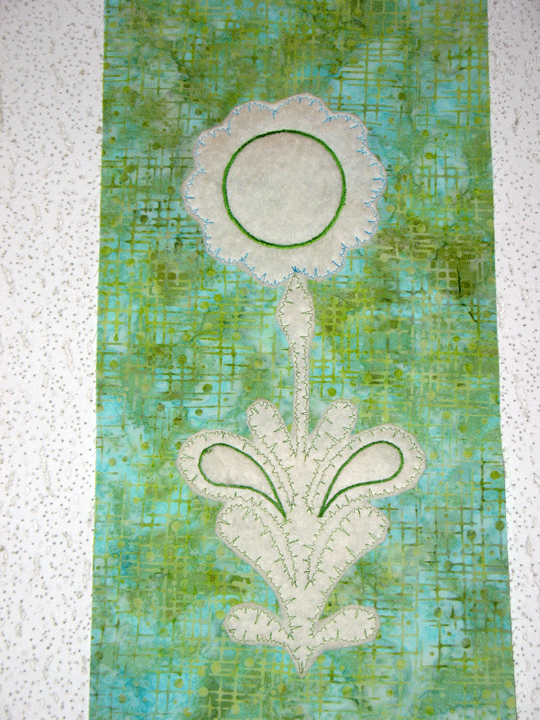
…and because this flower is trapuntoed, here’s what the backside of the piece looked like at this point (notice that the border hasn’t been attached yet. It’s always easiest to work on the smallest piece possible, so I do all this thread work before the piece is large):
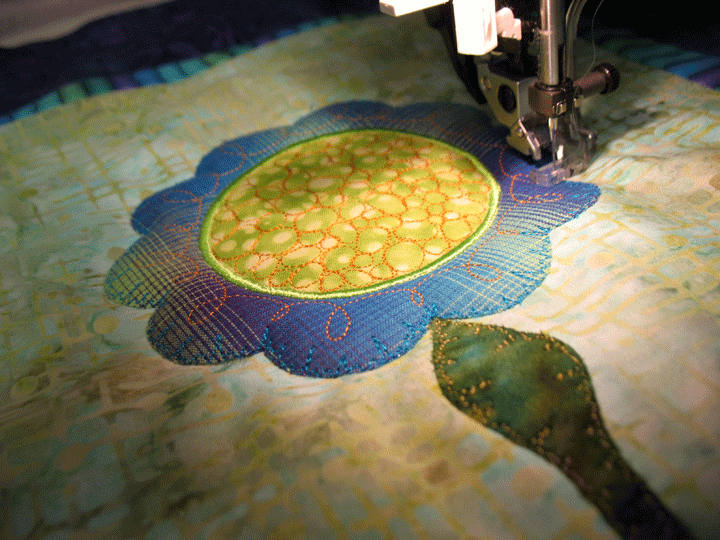
I ended up going back and adding a bit of loop-d-loop design inside the flower petals and pebbling inside the flower center; this kind of work is pure fun for me and it always adds so much interest:
…and here she is on the machine bed after I’d added the borders and was now quilting the final quilt sandwich. You can just start to appreciate the trapunto effect as I was outlining the applique shapes with invisible thread:
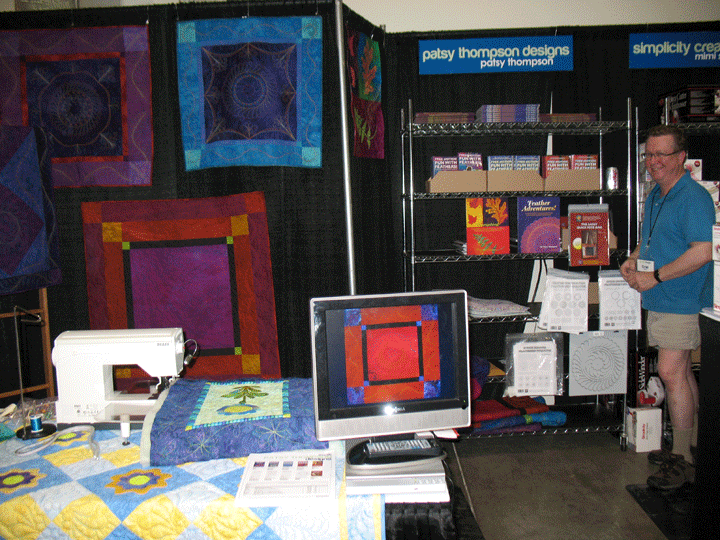
Now this is our booth at Checker the next day as we were setting things up…notice Ernie in the corner there? You can also see I’ve started the first round of stitching in the border zone of the wall hanging by the machine, so it’s ready for a hyperquilting demo:
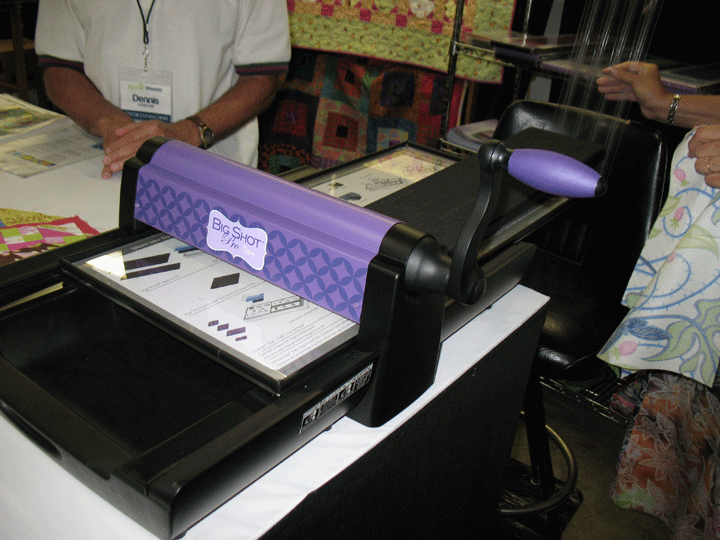
We got to wander around to the other booths during set up, and it was a really big treat to finally get to see and learn about Sizzix cutting machines:
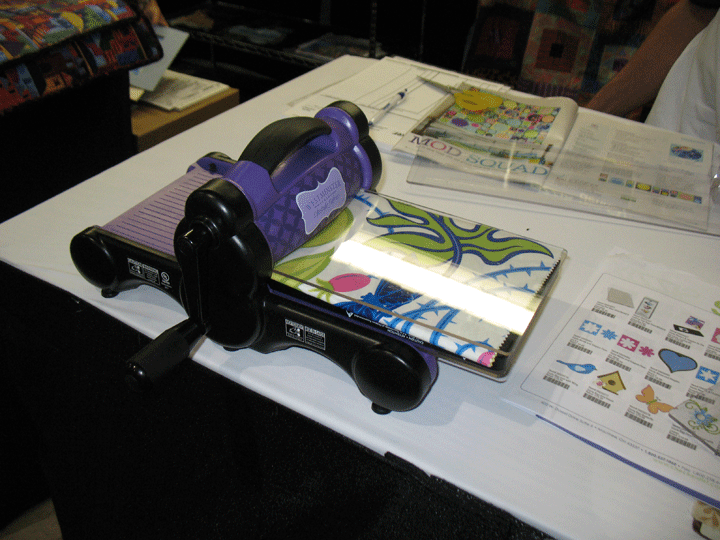
This first pic is the Sizzix Big Shot Pro and this next one is the Sizzix Big Shot, already loaded with some fabric to be cut:
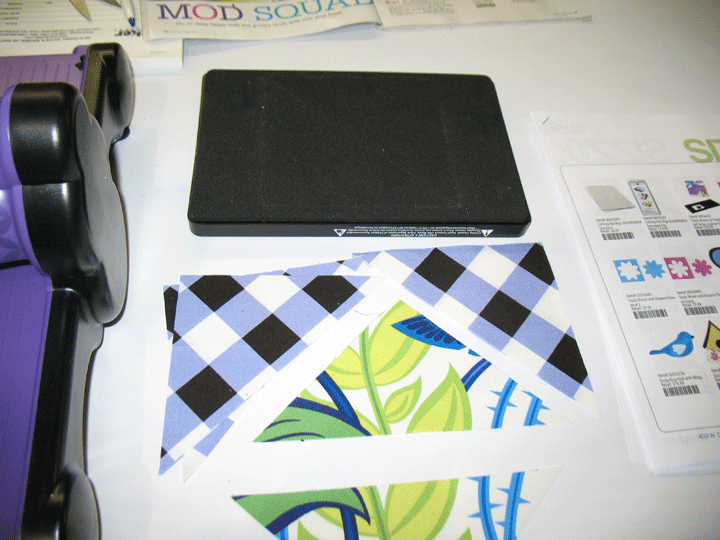
And here you see some perfect triangles, cut lickity-split:
Does this remind you of an Accuquilt cutter? It should, because they both cut fabric, but the Sizzix does so much more and costs so much less! The Sizzix machines can also cut paper, chipboard, lightweight metals, and balsa wood, but cost a fraction of the Accuquilt cutters. You’re going to be hearing lots more about Sizzix machines in the months to come!
But back to this little wall hanging…here’s a shot of the hyperquilting around the border zone…Don’t you love how much the binding adds to this wall hanging?
And in my rush to get the first part of the binding sewn on, I didn’t pay attention and accidentally cut 1 1/4 inch away from the binding instead of adding 1 1/4 inch for the bias seam…drat!
…looks like I’ve got some ripping out, cutting and re-sewing in my future!




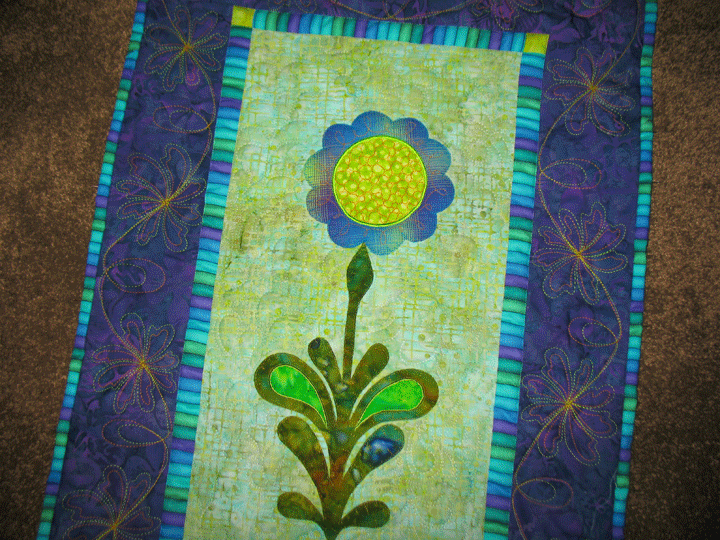
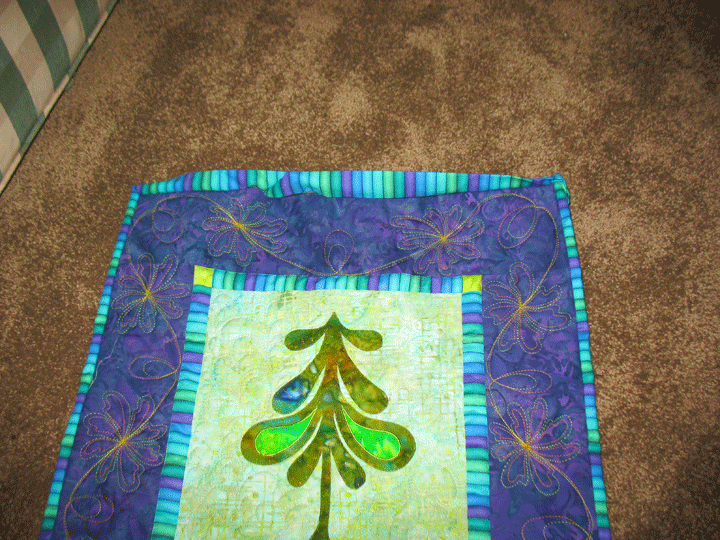
Well, it might have been a mistake; but, it looks good. Narrow binding looks good on small pieces.
Love the stripe!
Great design and wonderfully enhanced by your fabulous quilting!!!
Love it!
Dear Patsy, Doesn’t it drive you nuts to make these silly mistakes…it always happens when you have so little time to spare…luckily it was a stripe fabric on the binding…it would not show a join very easily.
kind regards,
Dorothy Minett
Hi!
I just discovered your site and see I will be visiting often! Please excuse my ignorance, but may I askhow do I use your quilt designs? I looked at one of the designs (the loops) and wonder, do I trace them on my quilt ? Or how else do you go about it. With a quilting machine I know how to ‘follow’ the pattern with the little laser light, but how do you learn to do the designs on a home sewing machine?
Minette