Sep 04 11
Beginning the Trapunto on My Swirly Flower Quilt
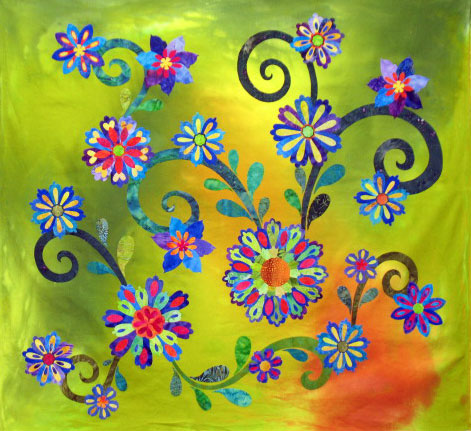
Remember this swirly flower quilt? Well, I was able to start working on some of the trapunto late last week. There really is a ton of thread work that needs to be completed on this top before it can be placed in a quilt sandwich (and actually, I may add a border later as well, but that’s another issue). When I have a top like this, it’s easy to develop somewhat of a defeatist mindset because the work ahead seems so overwhelming…I can’t let myself even go there or I’ll never get it done! What I do, instead, is approach it with tiny goals for any given session. This allows me to get the work done and feel really positive about it at the same time. Here’s how I do it…
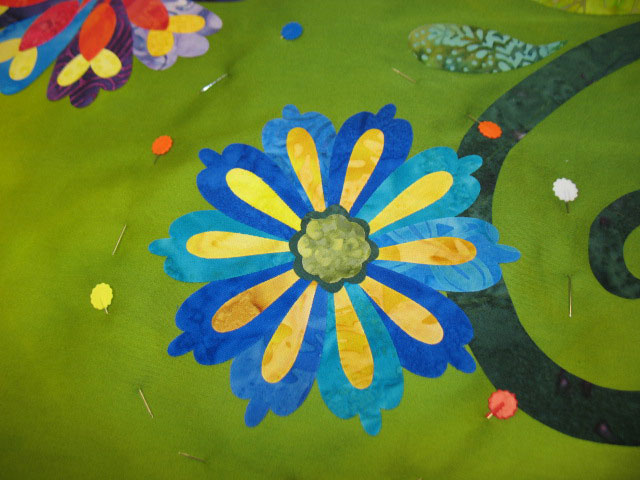
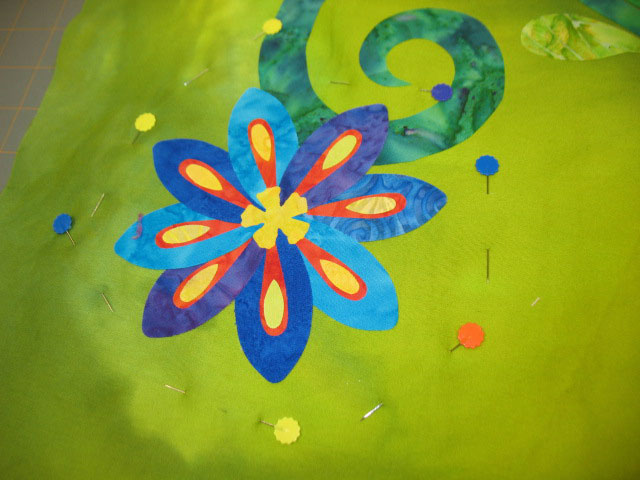
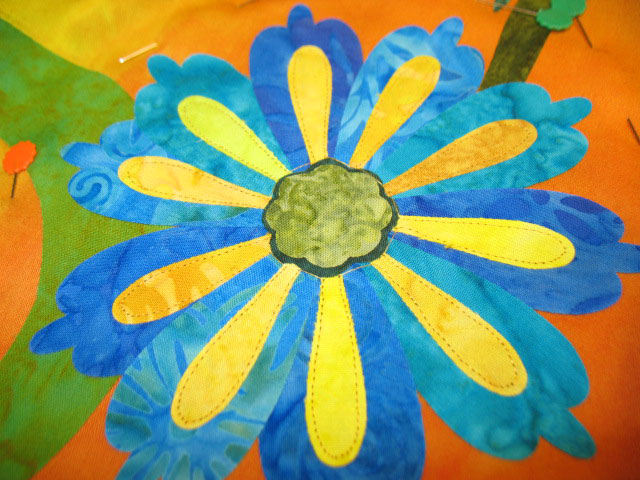
I pick 3 flowers that I’m going to embroider within a session and pin a scrap of batting behind each one, just like the flower above and this one below:
The third flower was similar to the first, just a different size, so I won’t post a photo of it. But, what I do want you to notice is that these flowers have many colors in common. (Actually, most of these flowers on this top have lots of colors in common, so it’s a bad example!) My point is that if you had flowers that were more varied, you’d want to choose a few that had at least 2 colors in common to minimize your thread changes.
Next, I stitched just inside the perimeter of the long, skinny yellow applique highlights with yellow Invisifil thread. Details like this are so fine that I would mess this applique up if I tried to do a satin stitch or any other edge finishing design, (but my new best friend Mr. Embroidery machine could do this!), so I’m just going in to stitch the edges down for functional, not decorative reasons. I’m using that super lightweight Invisifil thread because I don’t want to draw any attention to this boring thread work, and once I finish the yellow appliques on the first flower, I stitch any yellow appliques on the others. Here’s an example of what I just described:
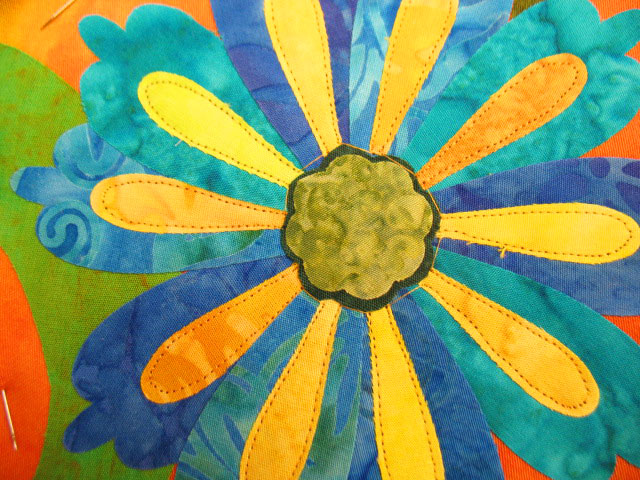
Can you see the travel lines or jump lines at the base of each yellow applique? If not, look at this closeup shot, and keep your eyes focused by the center section:
It saves time to just “jump” from one applique to the next rather than stopping the thread line, trimming, then starting a new thread line, so this is what it looks like once those yellow appliques have been in-lined. The only thing you’ve got to remember to do is to have some short, tiny stitches at the beginning and ending of each of those appliques. You can see that I’ll also need to trim those jump lines before I do anything to the large blue petals, or I’ll leave a mess behind in my wake.
Once you finish all the thread work in one colorway for all 3 flowers, you flip to another thread color and begin all over again, moving from 1 flower to the next. Here’s an example of a finished flower:
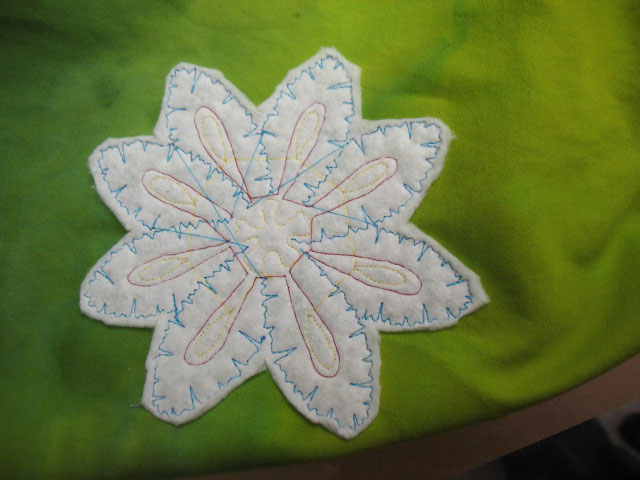
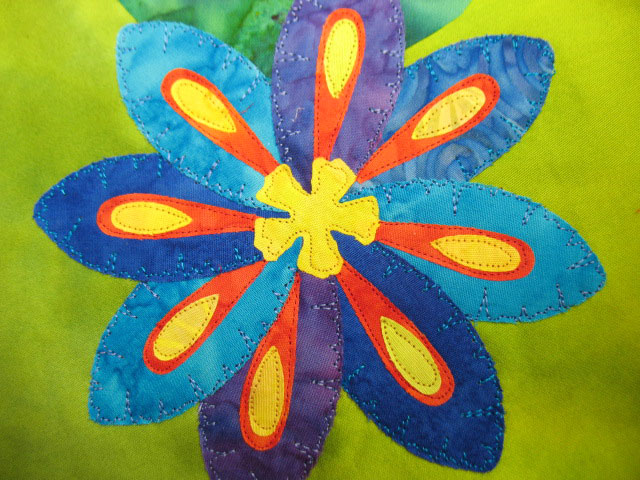 …and here’s an axample of what the backside looks like of flower that’s done:
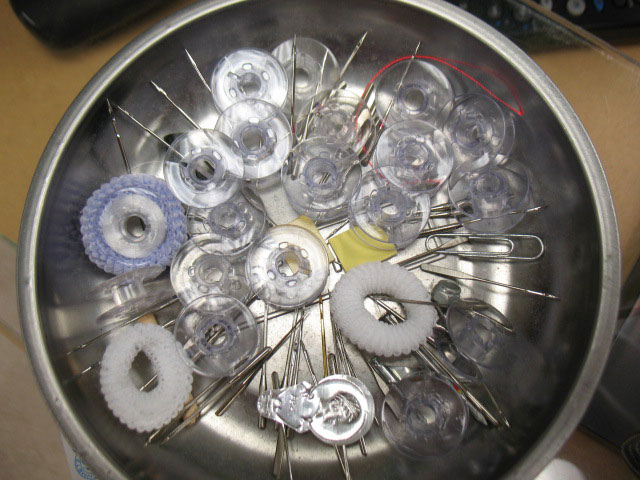
One of the best things about doing this kind of work is that it’s the perfect place to use up all those “short bobbins” where you have just a limited amount of thread left on a bobbin. As I have been working on this top, I’ve also been working on the tulip quilt trapunto, so I’ve emptied out a ton of short bobbins. This bowl had no empty bobbins when I started:
…and now I have a goldmine of bobbins, all ready to get back into the game!


Thanks for this demo, I would love to try this method of quilting.
That is too funny…..my new best friend Mr. Embroidery Machine. I’m still laughing about that one. Beautiful quilt, as usual.
I do hate stopping and starting when I machine quilt and applique, like that idea.
Debbie
Patsy,
What I want to know is how you manage to get your stitches on the outline of your fabric so nice. I don’t seem to be able to do that and I really want to learn.
I love your trapunto….beautiful.
I’m so excited about your upcoming class 🙂
Smiles,
Kelly
Great job Patsy. This quilt will look great when it’s all finished! Also wanted you to know that my Mom is doing really well 🙂
lovely.hugs