Oct 03 11
Quilting on my Newest Quilt Project
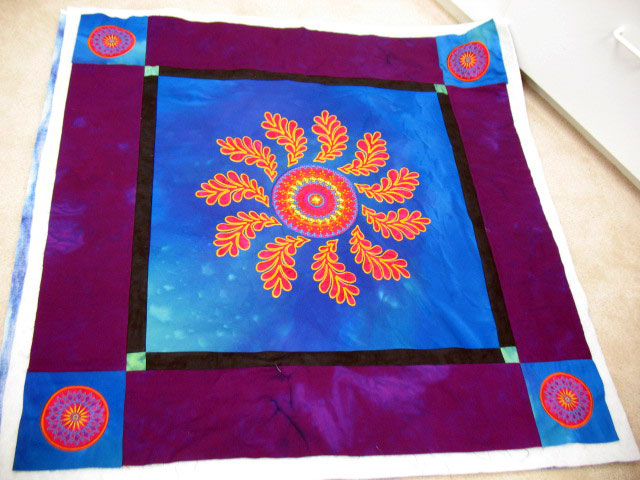
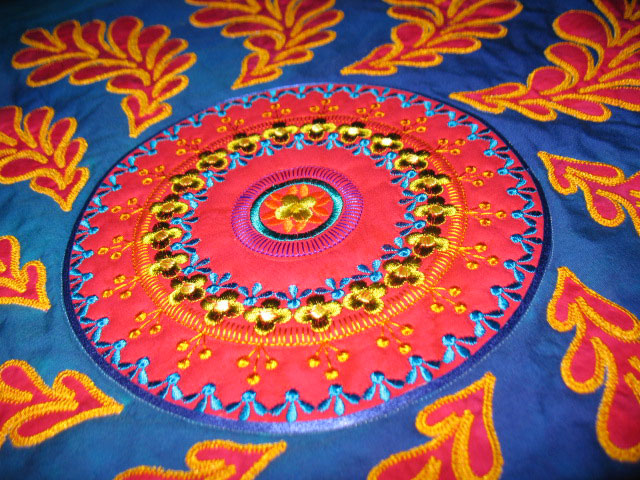
I’m still outlining all the applique shapes on the tulip quilt with invisible thread, and I’ve also just started the quilting on my newest quilt, which is a learning tool for me to develop some machine embroidery skills. Here it lies on the floor of my sewing room:
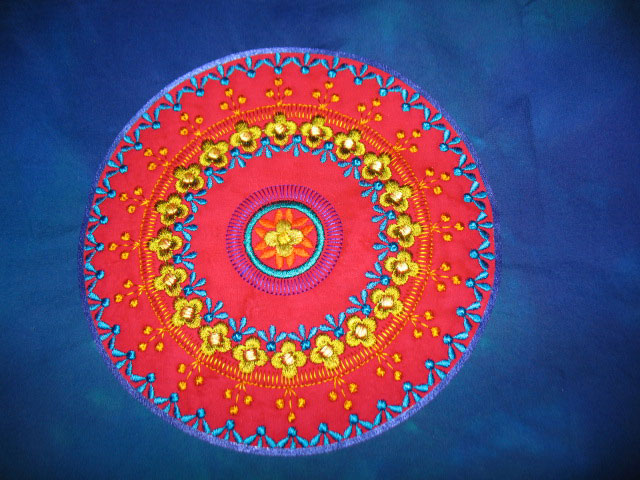
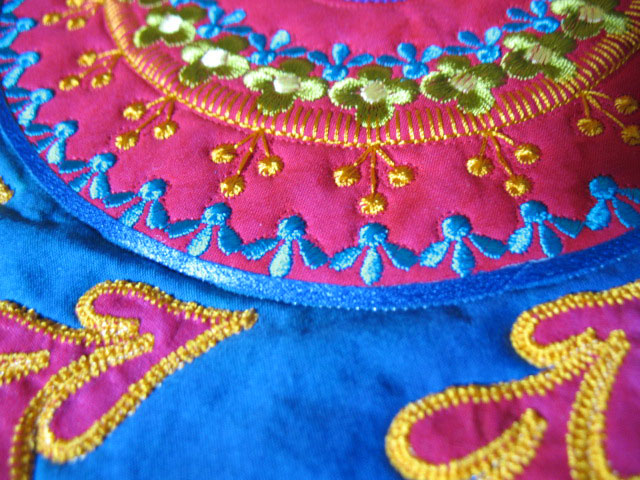
I made the center by doing the embroidery on a red appliqued circle in the center of my blue block. Here’s a closeup:
It never would have occurred to me that one could adapt a traditional embroidery file into an applique design, but I learned about it by reading the Why Machine Embroidery blog and you can find it right here. I have learned a ton and been inspired a ton by this blog, so if machine embroidery is starting to become intriguing to you, start reading this blog! Anyway, my circle was not perfectly centered for the embroidery, so the edges of my circle weren’t quite right. If you look closely, you’ll see the problem. I tried to cover it up/distract the viewer by using a product called Hot Ribbon Art. It comes in all kinds of colors and comes as very narrow (I believe they are 1/8 in wide) slices of ribbon backed by fusible web, and you attach them with a clover mini iron. It was super easy to do this around a circle. Anyway, that’s the blue edge finishing with a sheen around the perimeter of the center circle. (If you were trying to really jazz up your piece, you might choose a contrasting color. As I was trying to cover up a mistake, I chose a matching color!)
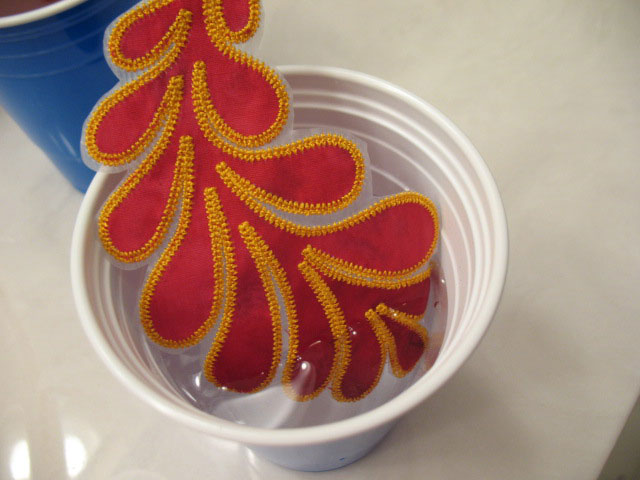
Next, I embroidered all my feathers onto water soluble stabilizer. Once done, I trimmed the stabilizer and then dropped them into a cup of water like this:
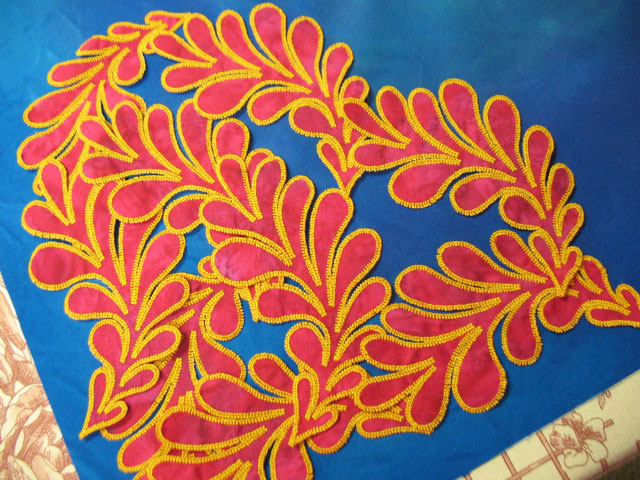
(Do you see that “film” around the edges? That’s the water soluble stabilizer and it all dissolves in the water.) Once I dried all my feathers, I had a nice pile of feathers, all ready to be placed where I wanted:
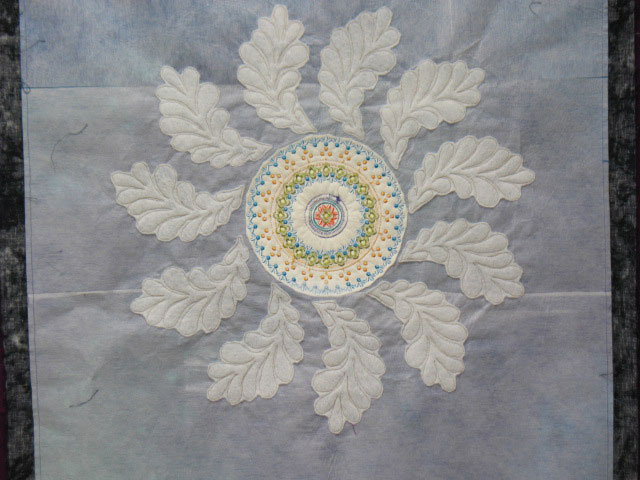
There was still some remaining fusible web on the back of each feather, so I fused them into place on the quilt top. I wanted to trapunto those feathers, so I placed a layer of batting behind each one and then free motion attached them to the top using invisible thread (Monopoly by Superior Threads) in my top needle. Once I cut away the excess batting from the backside, here’s what it looked like:
(Notice that the center also has a layer of trapunto…I did that by placing a batting layer in the hoop when I embroidered that center circle at the very beginning.) Once I pieced the rest of the top, I placed it all into the final quilt sandwich and started the quilting part. I wanted to create some additional texture in that center circle, so I preferentially outlined certain stitching zones within it. I did this using Invisifil Thread by Wonderfil Threads. I chose it instead of the Monopoly because the sheen of the Monopoly would make the “invisible thread” very “visible” in this setting:
By using an ultralightweight thread here, and matching the color fairly closely to the background color, you can hardly see that thread unless you’re actively searching for it. My pictures don’t show the textures created by this internal stitching, but it’s added a nice depth to the center:
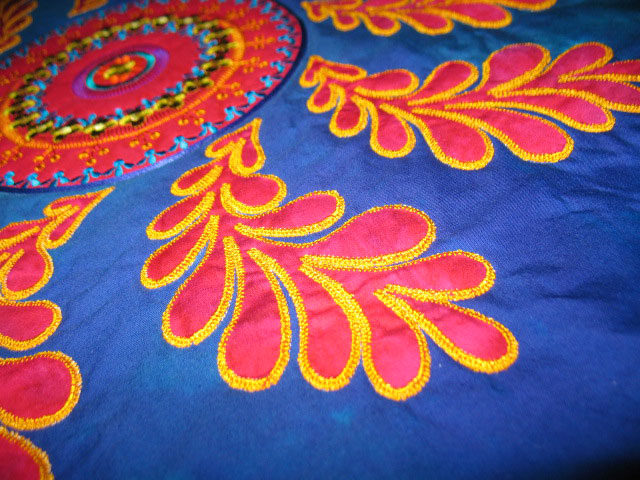
…and this photo kind of shoes how “plumped up” the feathers are:
More to follow as I get further into the quilting!


This is looking so good!
I’m using your trapunto method on my latest applique quilt, it’s working so well. I’m only using it to highlight the bits between each fabric but I’m very very pleased.
Thank you!
Coming along beautifully! Love the blue and reddish purple tones, too.
I am really enjoying learning about your process and seeing the evolution with technology. Astounding!
Patsy…I need to go find my socks…they’ve been blow off!!! Not only is your design absolutely beautiful but the machine embroidery really rockets it into another rhelm.
Stunning!!!
Giant Smiles,
Kelly
This is stunning. You never cease to amaze me. I love the detail in your explanations and your use of photos.
Ditto what Rose-Marie said. Gosh, it is so intricate and beautiful. I figured you only sleep an hour a night…! Lovely work!
I love Invisafil thread! It’s perfect for when you want stuff to disappear and let embellishments shine through.
Looking forward to meeting you in class tomorrow @ Sonflower!
Using machine embroidery on the edges of the templates has given them new dimension.
Adding an extra layer of batting has really made them pop.
I’m just waiting now to see the finished quilt
I like it!
Dorothy