Dec 18 11
Thread Questions
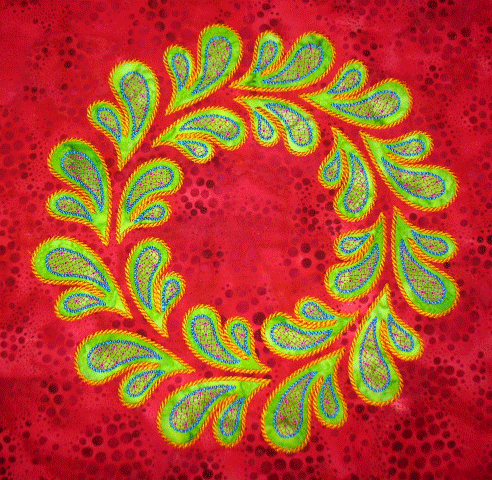
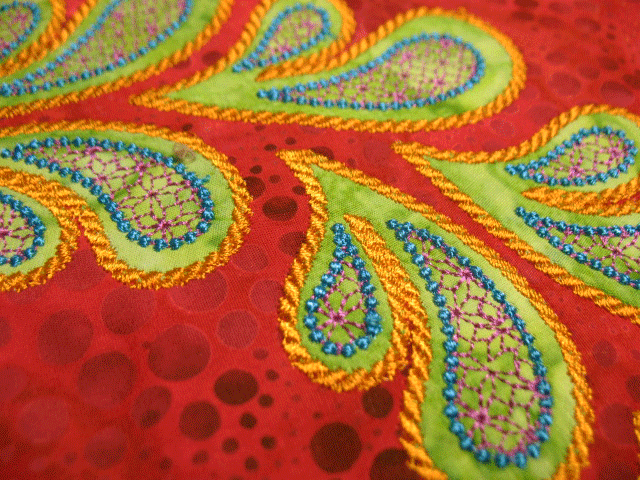
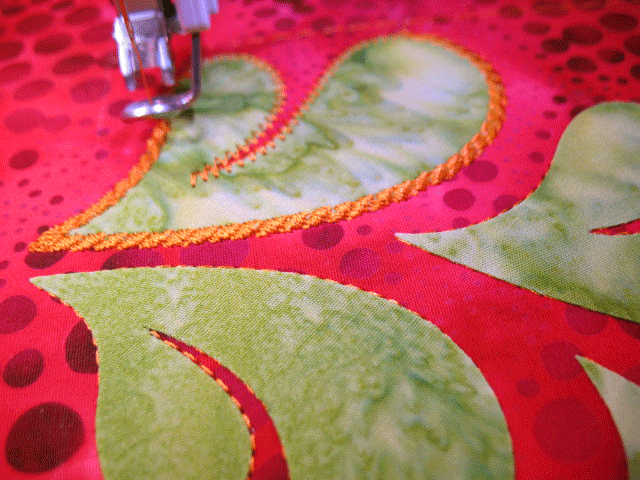
My last post generated many questions about how these thread effects were achieved, so I figured it would be good to answer those here. A lot of people asked about the rope-like cabling stitches that finish the edges of the plumes in these wreaths:
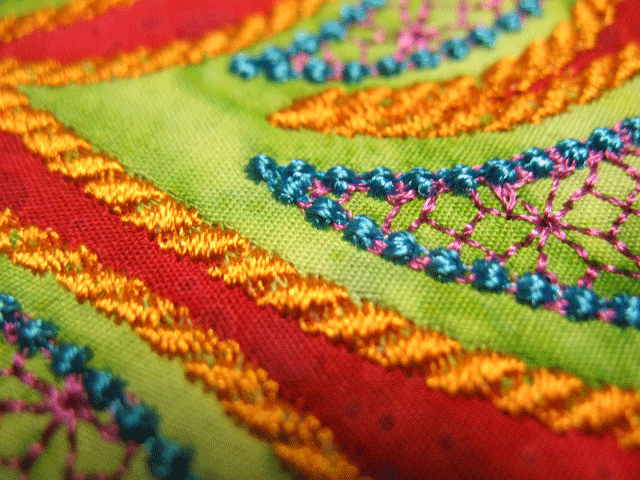
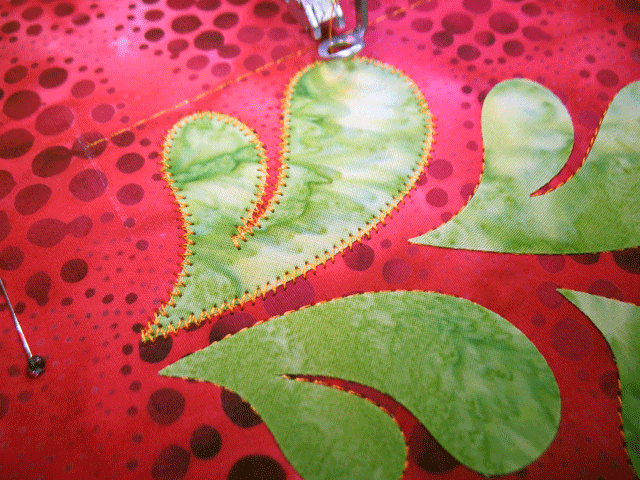
I wish I could claim credit for this cool looking stitching, but it is generated by the sewing machine. If you look at this close-up shot, you’ll see that it’s really kind of a satin stitch that’s stitched repeatedly in short chains along a diagonal:
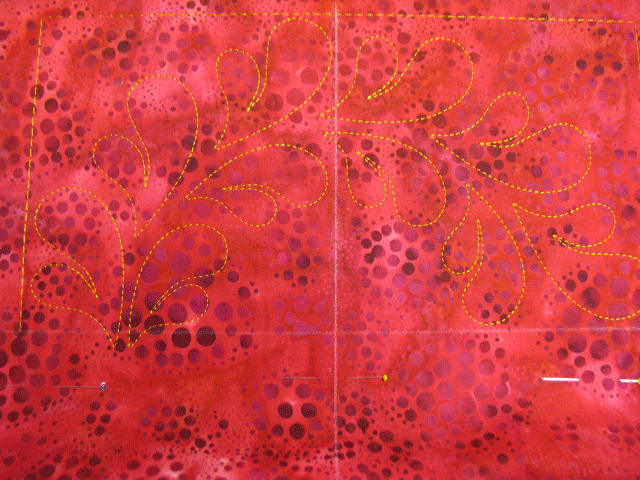
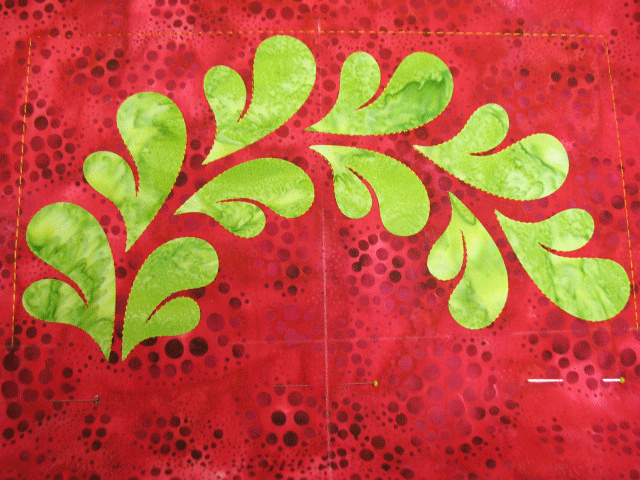
A lot of people wondered if this “roping” had been couched on and the reason it kind of appeared that way is the raised or “plumped up” look it has. If you think back to how these machine embroidered appliques are created, you can see how this “plumping up” effect occurs. In the first phase, the machine stitches placement outlines telling me exactly where I need to fuse my applique shapes so the stitching will line up perfectly:
…and as long as these shapes are fused just inside the stitched lines, things will line up just right:
The next step is where the machine does a “tack-down stitch” along the edge of the applique shape:
Now, that tack-down stitch is probably not really necessary here, since these applique shapes are fused into place, so they really shouldn’t move around. BUT, those tack-down stitches do something cool here, because they create another layer of stitching beneath the decorative roping, and help to give us that cool “plumped up” effect:
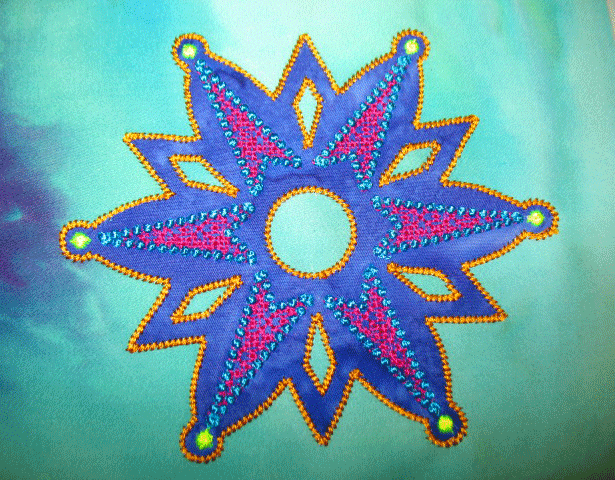
Now, many people also asked about the blue “bead like” structures that line the outer edge of the internal plume designs. That is also a programmed embroidery stitch called the candlwicking stitch. Most sewing machines have it as one of the programmed embroidery stitches and it looks like a very dense star when you see a drawing of the stitch, but when you stitch it out, they look like raised beads:
You can alter the size of the star and also how close together the candlewicking designs are to one another when you stitch them in a line. Here’s another example where they’re a bit larger:
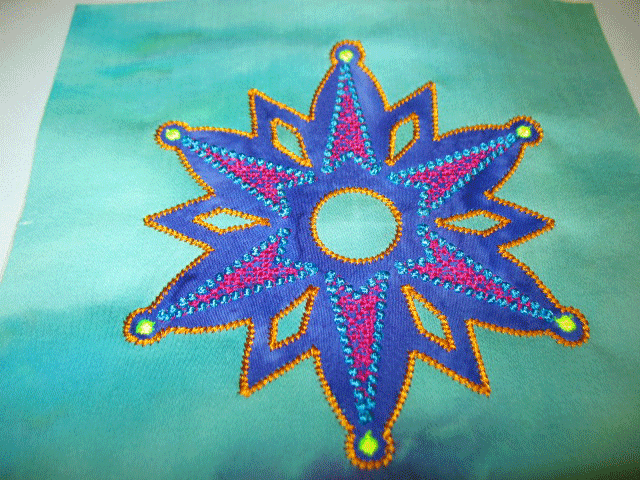
In this particular snowflake, those same candlewicking stitches are used in singlets and in a larger version at the tips of the snowflakes, as seen in the yellow here:
Both of the blocks shown here were stitched using Floriani Polyester embroidery thread in the top needle and Superior Threads Bottom Line thread in the bobbin. I got a number of emails asking what size thread this is and it’s only a 40 wt thread, which is pretty average sized thread. The lesson here is that the 3-dimensional nature of this kind of thread work is a function of the programmed embroidery stitches, not the thread weight or size. The wonderful thing that this thread does offer here, though, is a great sheen. I mean a really great sheen! I you’re thinking of trying out some Floriani thread, know that Kelly at I Have a Notion is having a great sale on Floriani thread during this holiday season and you can read about all her Floriani specials here.



Tantalizing!
Love, love, love this embroidery work. I appreciate all your information on the thread and the stitches. My questions are: Did you do the digitizing yourself? Is this an embroidery design that can be purchased? If so, where?
Totally tantalizing AND amazing!
Beautiful Patsy. Glad to hear your feedback on Floriani. Kelly has some great prices on Floriani products too!
SewCalGal
http://www.sewcalgal.blogspot.com
Hi Patsy,
Your beautiful quilts are a real pleasure and tonic to look at, thank you. I really appreciate the detailed photos and descriptions that you post on your blog. I have had alot of fun with your dvd’s on quilting and am now trying to get my head around digitizing. Do you use one or two programs for your feather embroideries? Also what machine do you use? Thanks
Denise