Sep
16
12
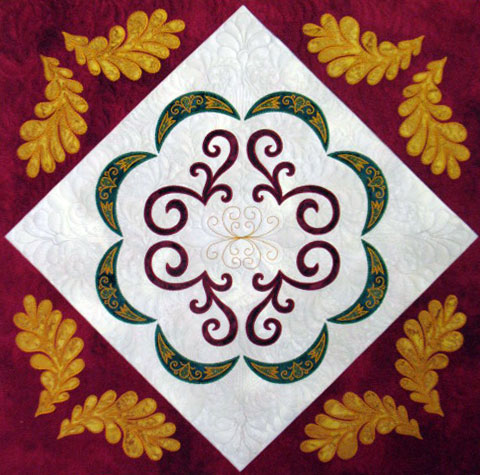
This wallhanging/table topper was really fun to make! I think I’m getting hooked on these smaller projects because it is so gratifying to complete a project so quickly. The circle of applique shapes was cut from the Appl-K-Kutz 4-inch swag die, the swirls were cut using the Bird, Simple or Fancy die, and the outer feathers are from the Small Feather die. All the pieces were cut on my Sizzix Big Shot machine. It’s always fun to come up with ideas of what I can quilt in all the “blank areas” that surround applique shapes so here’s how I attacked it…
Once I’d outlined all my applique shapes with invisible thread, I used portions of this stencil to create a design in the dead center of the block:
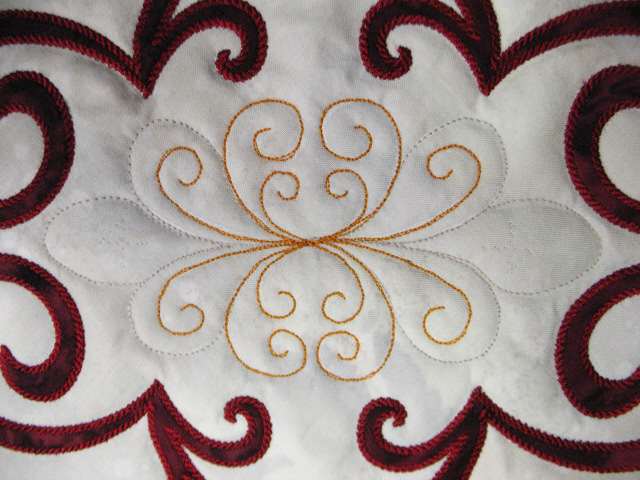
(The “basedesign” was stitched in a solid colored thread, just a tad darker than the background fabric, and the hyperquilting was done with my old favorite, 24 karat gold rayon thread by Robison Anton. I then began “filling” the surrounding blank areas with the rudimentary version of the “plumify it” background fill design. I know, I know; I use that filler a lot, but I love stitching it and it works so well in many of my quilts. Here you can begin to get a sense of it in the inner-sanctum-sanctorum of the quilt:
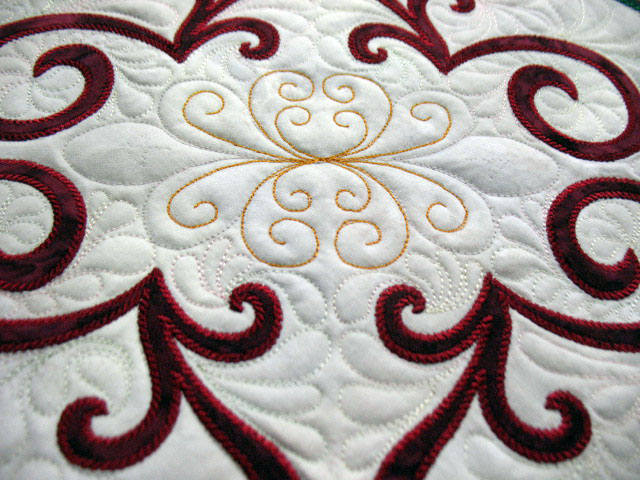
…and here’s a shot of it as stitching was completed inside the circular swag area:
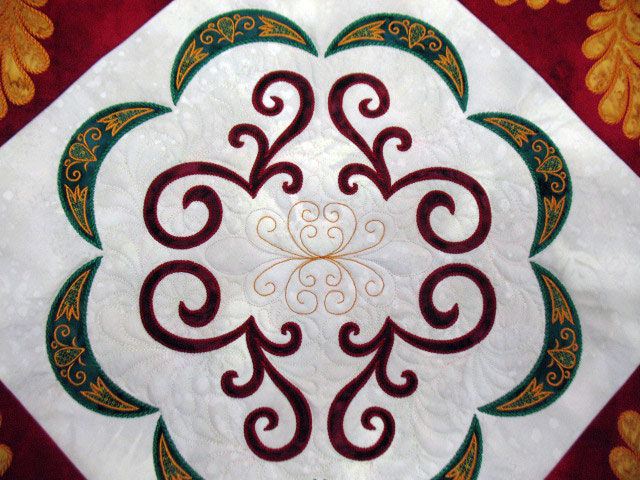
…but this tangential shot gives you a better sense of the quilting:
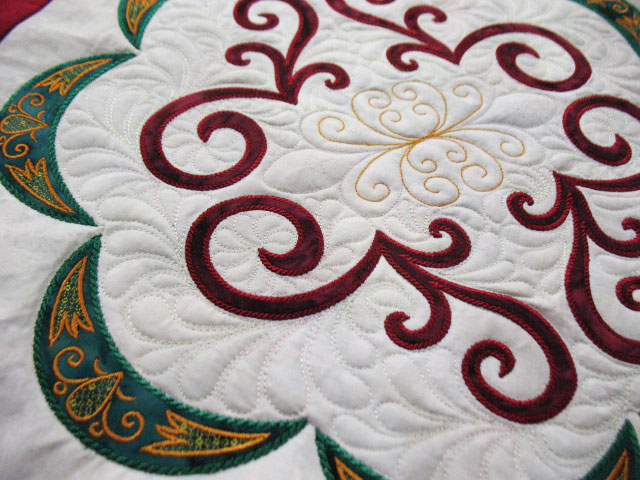
So far, all of the background quilting has been done using a very subtly variegated rayon thread whose colors match the background fabric (i.e. off white with pale rose, pale green and a little pale yellow.) Once I moved to the zone outside the circle, I wanted to accentuate the 4 corners of the block, so I decided to do some more stencil work. This time, I used a portion of this stencil by Barbara Chainey:
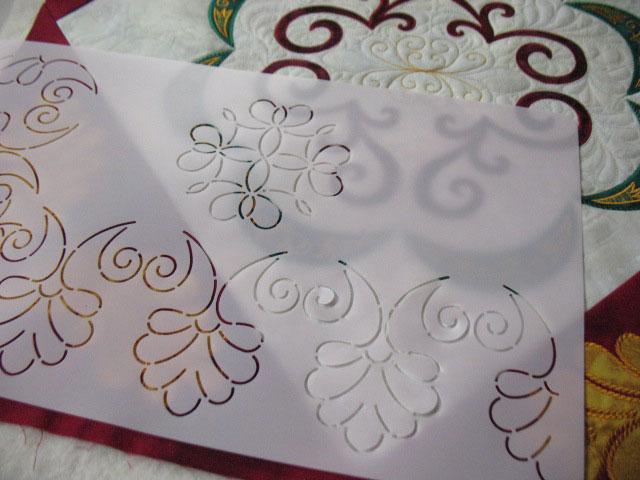
It’s really easy to isolate a design on a stencil (in this case, from a border design) and then line it up so it up so that it fits nicely into your work. Once traced into each of the 4 corners, I stitched these 4 designs in the solid thread that I had used earlier in the very center of the quilt. Then I switched back to my subtly vaiegated thread and began filling in “empty areas” like below:
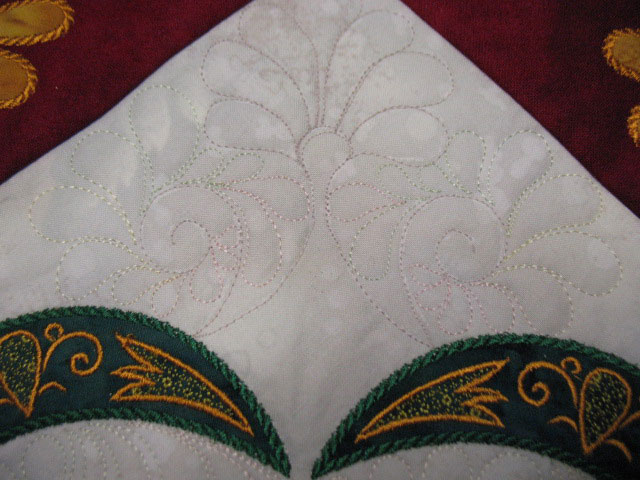
…and then I just kept filling in until all of the center block was filled with quilting:
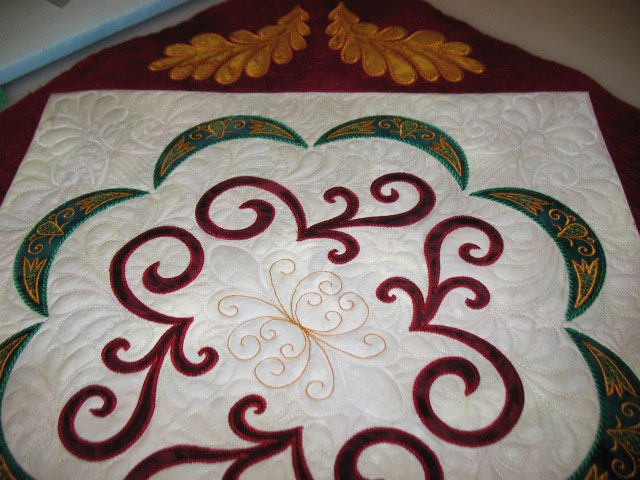
All that was left was to quilt the 4 burgandy corners:
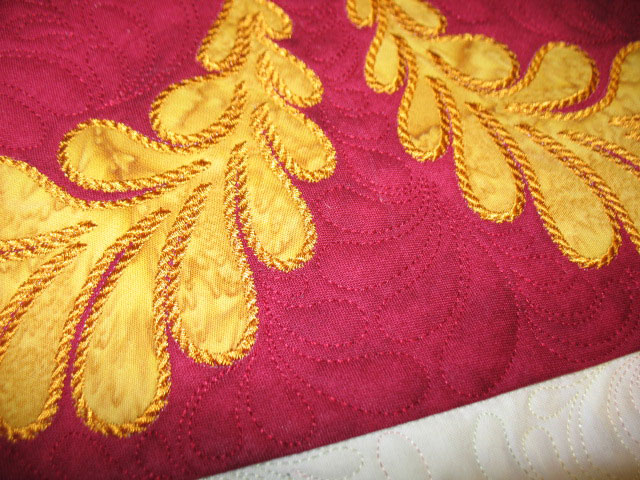
…and the whole thing was done:
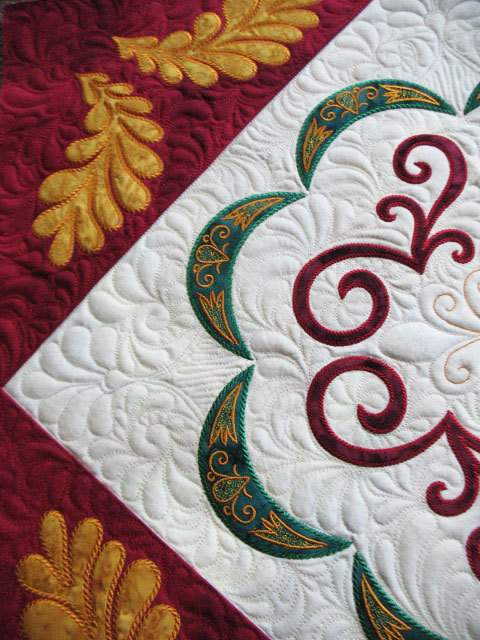
If I can find the time, I think I’d like to make a large quilt composed of these over-sized blocks. I think if they were alternated (i.e. a block with red corners next to a block with green corners next to a block with red corners, etc), it might look very striking and the feathers would form a nice “circle” where 4 blocks came together. Now, if I can only find the time to do this…
viagra buy drug
Filed under Sizzix.


Oh that looks wonderful! Just a beautiful classic look. Thanks for sharing!
As always….Stunning!!
Richly Victorian…..a heartthrob in my books. Sounds like a “Someday” project….is that folder overstuffed?!?! LOL! Hugs, Doreen
I really love that piece and the rich colors and quilting you have done.
Debbie
Patsy – this is beautiful (again)… thanks for sharing.
Karen
What a delightful little quilt. I agree it would make a beautiful large quilt. Time like gold, is really precious and hard to find isn’t it?
This Quilt is absolutely fabulous…I love the embellishing that you do these days…time consuming but well worth it.
Kind regards,
Dorothy