Jan
08
13
I finally finished quilting this wall hanging that I started about 11 months ago:
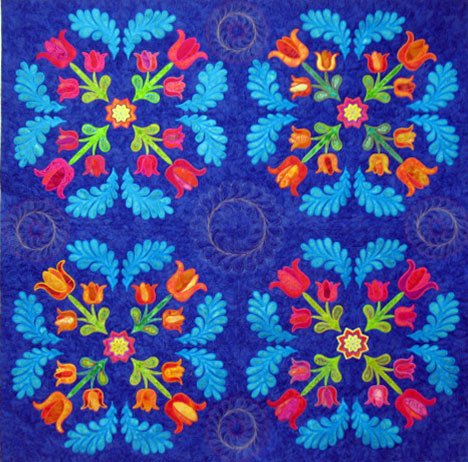
This quilted wall hanging proved to be a real pain in the you-know-what to quilt but now that it’s behind me, I have only good feelings about it. These are 22-inch blocks that are appliqued/embroidered in 9 hoopings. I had completed 3 of the 4 of them by late February and I made a mistake on the alignment of a pair of feathers on the 3rd one and intended to re-do that block. Those 3 quilt blocks were the only machine embroidered applique work that wasn’t stolen when my car was broken into last March. Because of the theft, I only had enough fabric left for 1 more block so I never got to re-do the misaligned block. That “flaw” has bothered me for months and now that it’s quilted, I have to say that I can’t find the misalignment! (I really don’t get that because it used to be glaringly obvious to me but now I genuinely can’t find it.) I’m really glad I didn’t waste the time to redo that block! (I guess that shows you we can be our own worst critics!)
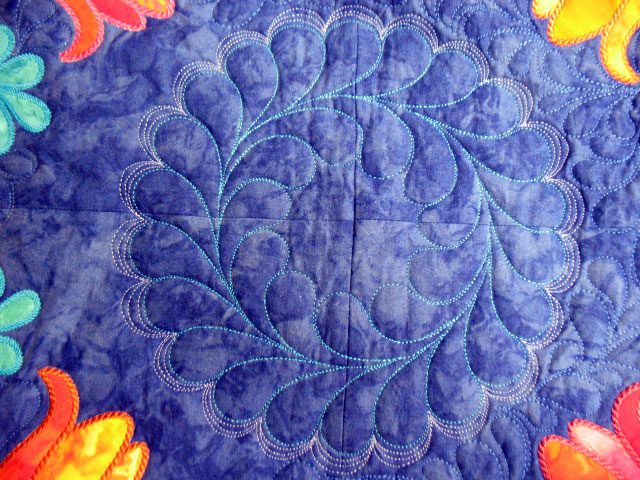
The quilting on this is not anything to write home about. I was afraid to do any “loud quilting” on it because the applique design struck me as fairly traditional, but the wreaths were just so darn boring without some kind of “dress-up.” Here’s a shot of the center wreath before any hyperquilting was added:
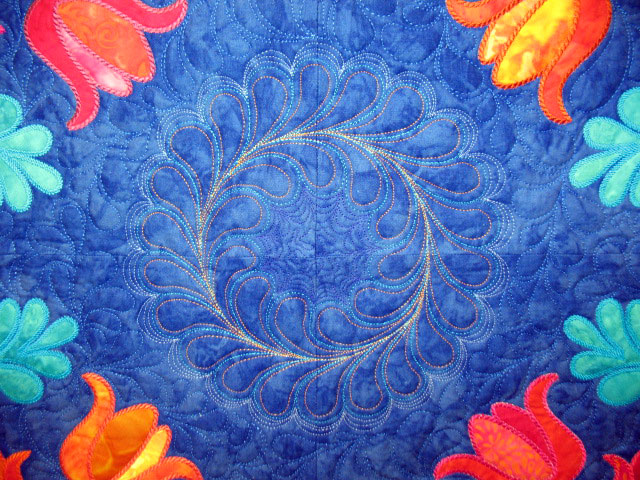
These fabric color/thread combos are not photographing well for me, but it really does look better with the hyperquilting added:
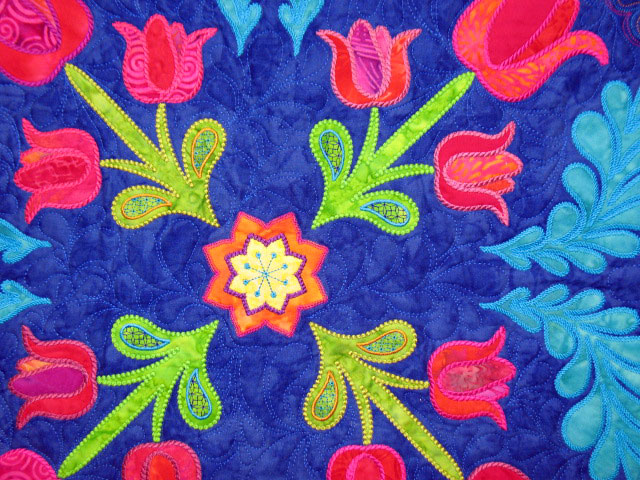
Here’s a shot of some of the background quilting. These aren’t feathers, just plumes stitched randomly to fill space:
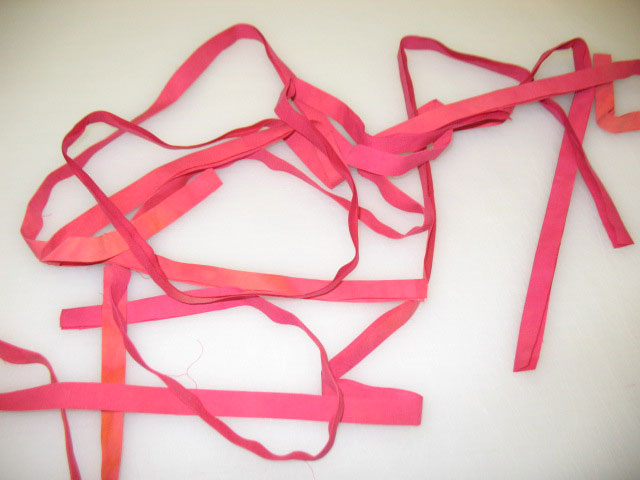
When I went to add the binding, I just didn’t have any binding fabrics on hand that did anything for the quilt. I also really like the red in the quilt and wanted to bring in one last pop of red. So, I decided to opt for adding a narrow “channel” of red just inside my binding. This technique is easy and besides adding a little “bling” to your binding, it’s a great thing to do on kids’ quilts because it creates another texture that will occupy them for hours as they run their fingers inside the channel. To make this, you’ll start by cutting (4) 1-inch strips that are the length (or just a bit longer) as all 4 sides of your quilt. Next, you’ll press them in half so you have these long skinny channels like in the photo below:
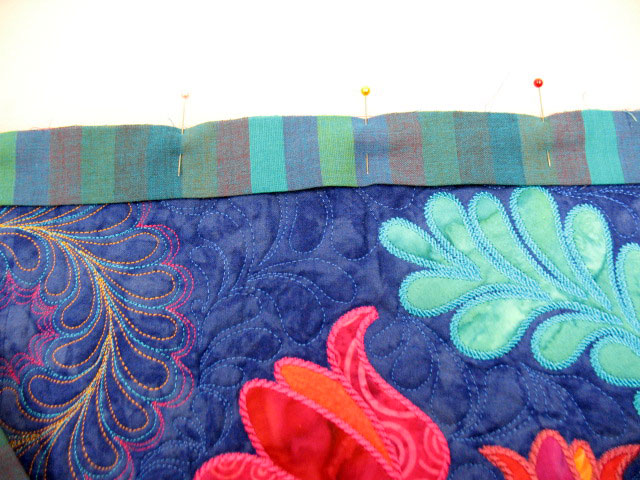
You’ll pin these edge strips (with folded side facing center of quilt) along 2 parallel sides of your quilt, then stitch them into place using a seam allowance that’s less than your binding seam allowance. (For example, I use a 3/8 in seam allowance to sew my binding on, so anything less than that is what I use to add these folded red strips.) Once done, trim them so they are the same length as the quilt and then repeat this process for the remaining 2 sides. You then pin your binding to the front side of your quilt as you normally would as shown below (the red strips are underneath the binding here so you can’t see them):
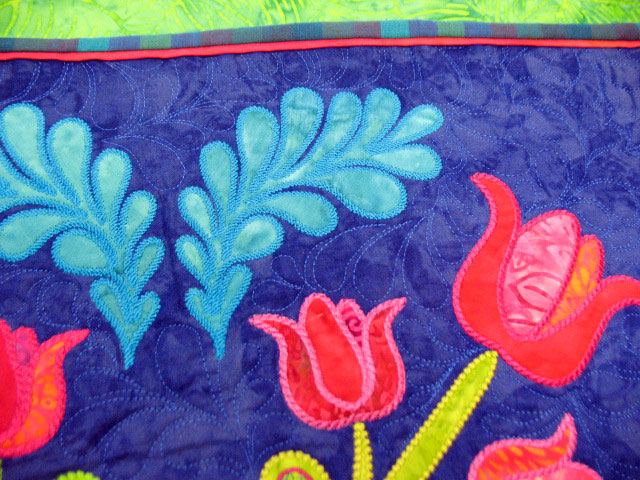
You sew on the binding by machine, then hand stitch it to the backside just as you normally would. Here is what that looks like once done:
But most of all, I’m glad to have a completed project before the end of the first week of the new year!
clomid discount
Filed under Site Updates.


Patsy – love the binding channel — and the quilt is stunning. Great idea to add the red to pull your beautiful colors out! WOW…
Karen
I am glad you can show photos, especially with your beautiful new quilt. I love the colors you used and the stitching really makes the quilt.
Debbie
The red binding channel really makes the quilt complete! A beautiful finish!
Patsy, yeah on getting the blog fixed! And yor quilt is gorgeous. A great lesson to the rest of us on being hypercritical. I certainly don’t see ant misalignment.
I have a question – do you always outline your applique shapes with monofilament before you start quilting? I am about to attempt my first FMQ, so any info would be appreciated.
beautiful quilt and quilting! i use the channeling technique frequently…really adds “pop”. thanks for sharing!!
Your wall quilt is astonishingly beautiful, and it had quite a journey to the finish line! I get your feeling about the “flaw,” but am glad to read that you went on anyway, because being a perfectionist can stop a person in [her] tracks, believe me. I found your videos on YouTube about free motion quilting, and they were so helpful and well done. Thank you.