Jan
29
13
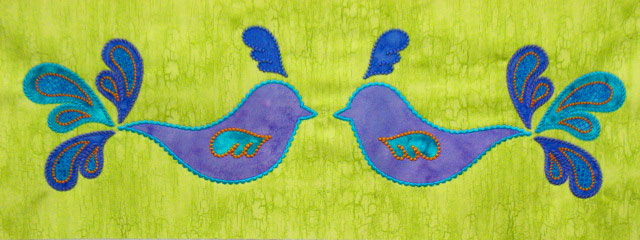
I got behind in posting because I was so busy that I wasn’t doing any sewing/quilting to blog about, but I’ve been sewing a lot the past week and a half. I kept putting off blogging because it seemed like writing a post was this huge task that loomed in front of me. Not sure why I thought it would take so much time/effort, but that’s why I’ve been suspiciously absent from my blog. The good news is I’ve been working on lots of stuff so I have a lot of projects to post about!
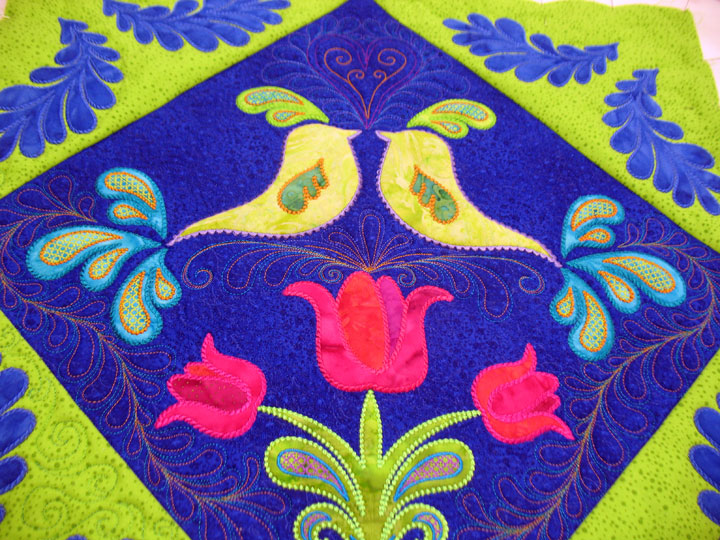
The downside of teaching is that you have to always be making samples. I feel like I’ve made 10 million bird block wall hangings but I’ve probably only made 6 or 7 so far. I just finished quilting one today:
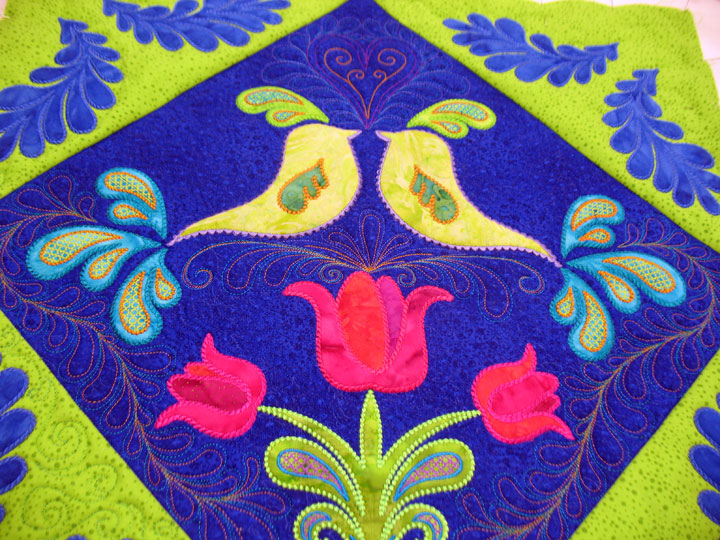
This one had 2 batting layers: the bottom batting was Fairfield’s bamboo/cotton blend and the top was Quilters Dream polyester. People ask me why one might do this and for me, it’s all about creating more texture with your quilted lines. The bamboo/cotton blend is wonderfully soft and has a lovely drape but the quilting comes out looking very flat. I don’t want to waste my stash of battings like these, so to use them up, I place them on the bottom layer and by adding a thin polyester batt on top, I know I’ll get a beautiful texture. These photos won’t show it, but this quilt came out with incredible 3-dimensional texture.
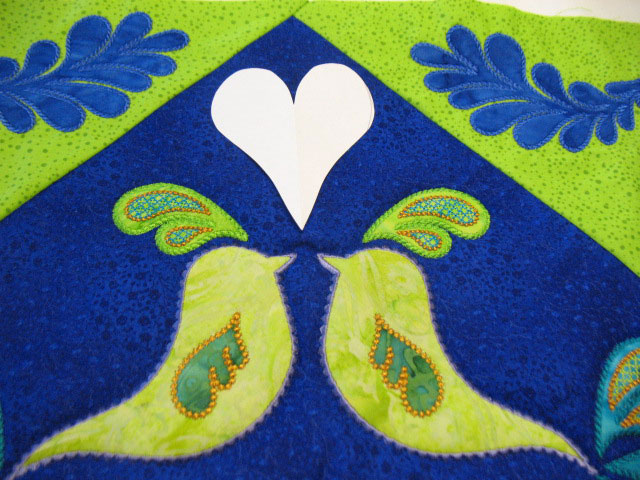
Like always, I first outlined all applique pieces in Monopoly Invisible Thread by Superior Threads. I love this thread! Next up, I wanted to fill some of the larger spaces with motifs that would help to visually “marry” these 2 lovebirds. I cut a heart out of a piece of scrap paper and placed it between the birds, repeatedly modifying the shape until the proportions gave me an outline that looked like it would work in this space:
I traced around the outer perimeter with a Sewline marker and then stitched the heart shape with dark blue thread. I also added an inner outline, which I’m finding is really important. If you quilt a shape and really want it to be noticed, inline or outline it to create a channel:
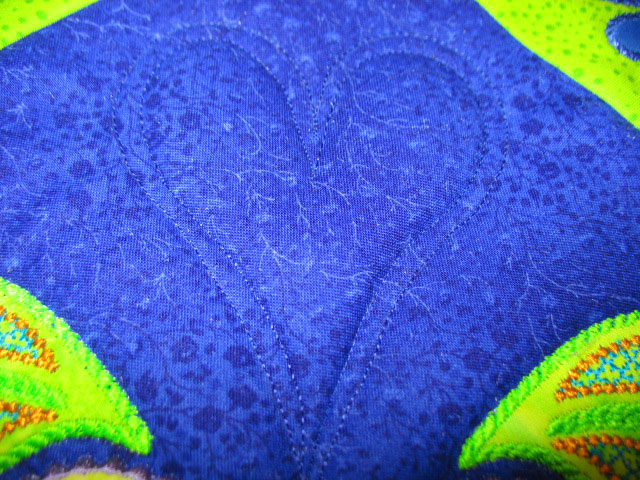
I wasn’t sure what I wanted to do with this heart, so I next moved to the area just below those lovebirds. Again, this is a spot that you can quilt with the goal of again tying these 2 birds together in the viewer’s eye, so I started with a small motif centered just below them:
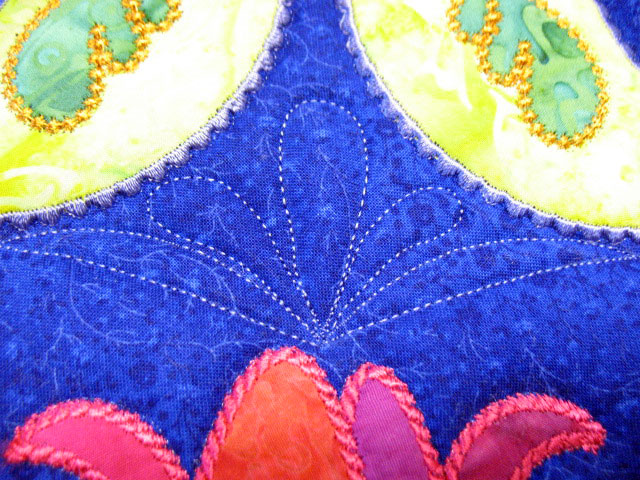
This really was a letdown, so I first went back in and hyperquilted the inside of this structure:
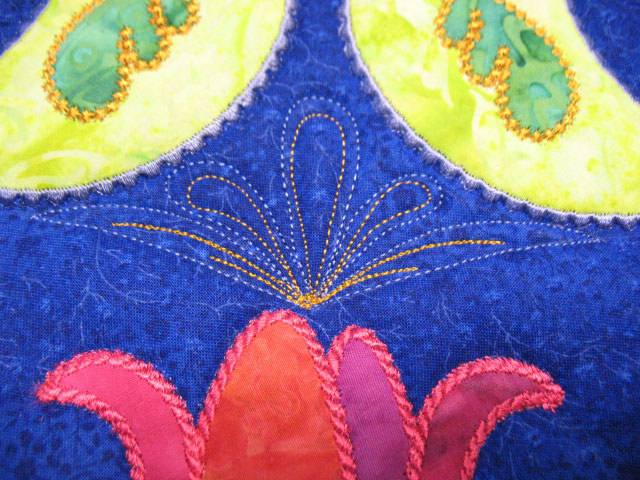
This looked better, but still wasn’t quite right, so I added a larger expanse to that “perch” that supported the birds:
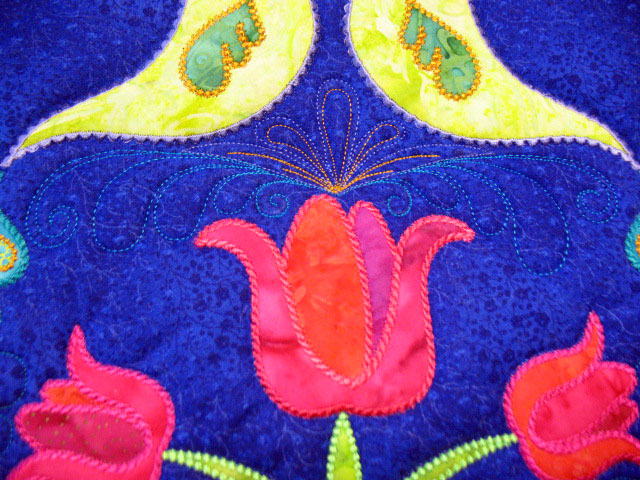
Now it was starting to look good to me, but of course, I had to get back in there and do some hyperquilting:
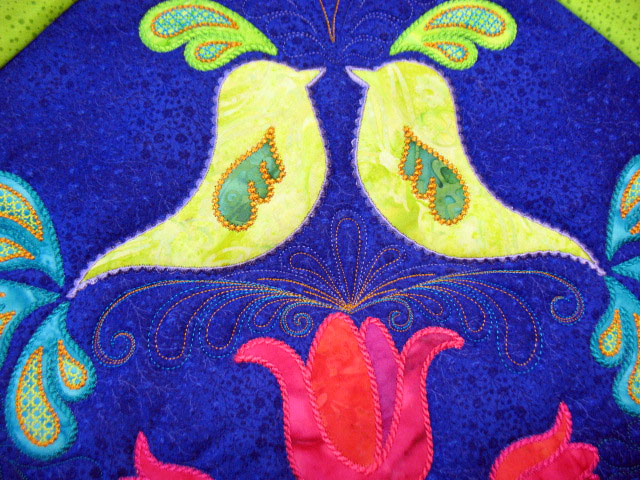
Oh yeah, baby! Now that’s a perch!
Next, I returned to that heart area and added plumes to the outside and some swirly stuff in the inside:
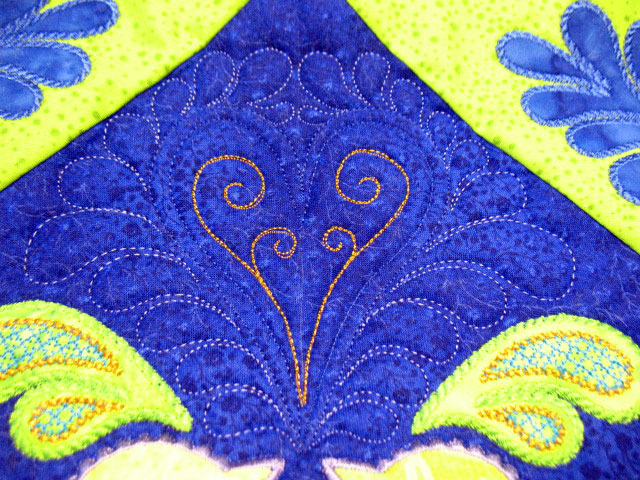
I quilted feathers emanating from the tail feather area of the appliqued birds and then quilted the background fabric in dark blue thread. You can’t see any of the background quilting on any of these photos but it made all the applique shapes really protrude out. (Sometimes using a double batting layer will give a trapunto-like effect.) It still wasn’t quite right, so I hyperquilted the plumes and re-stitched the heart lines in magenta thread so it would show up better. I did a swirl design in the green corner blocks and now all that is left is adding the binding!
And on to the next project!
online viagra sale
Filed under Machine Embroidered Applique.


Patsy — it’s beautiful! Your selection of thread and quilting design is just perfect!
Gorgeous quilting! Thank you for showing your thoughts through the design process – I find it most inspirational.
I love the colors and the stitching you use in your pieces, they are so stunning.
Debbie