Jun 25 13
Finished a Donation Quilt and a Great Feathered Wreath MEA Class
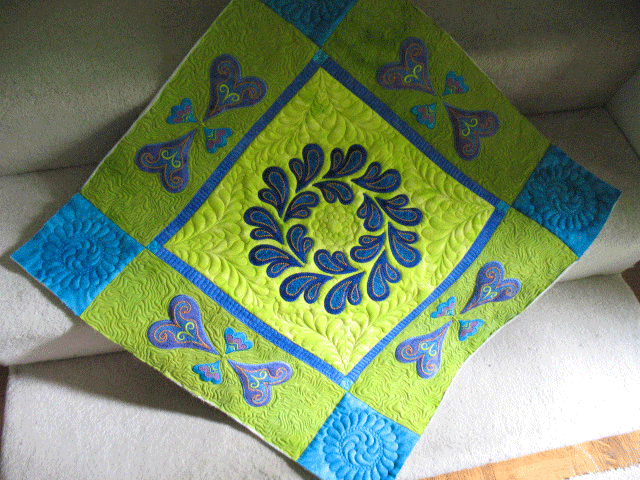
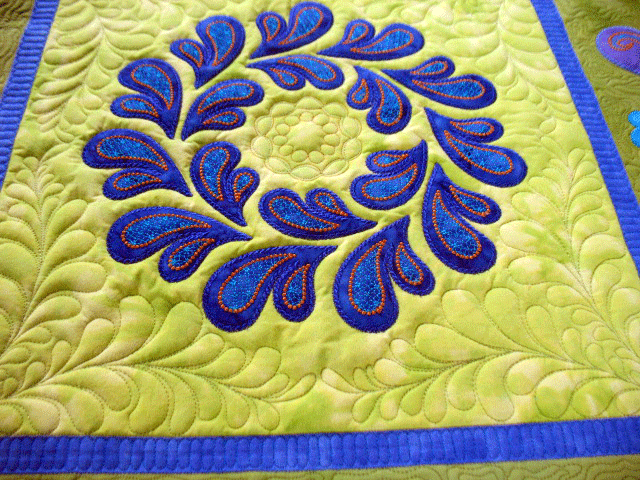
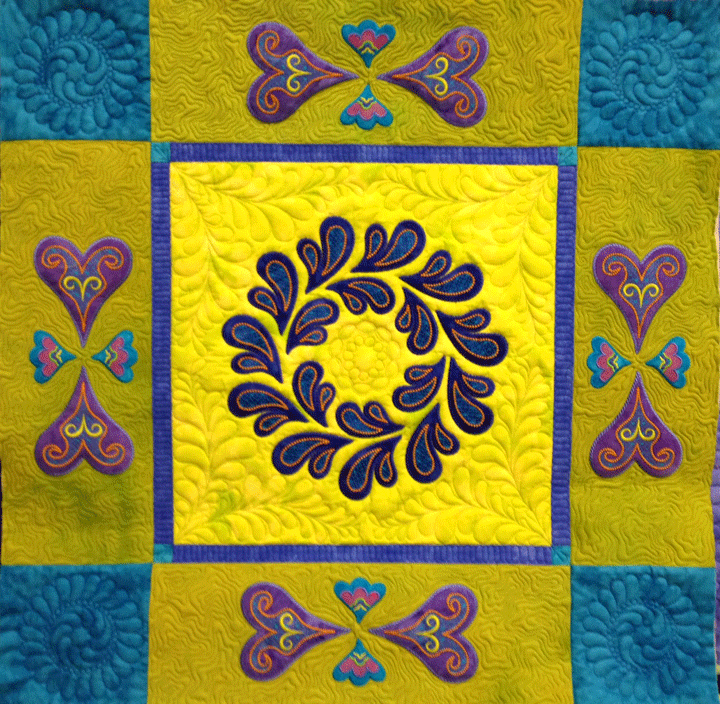 I finished a wall hanging last week that began life as a mistake when I accidentally made a medium size wreath applique block on a fabric square I had cut for a larger wreath. This was kind of a bummer because I had very little of that background fabric left and had clear plans for it. I ended up adding a couple borders and made a small wall hanging to donate to the Asheville Quilt Guild’s small quilt auction. I took this photo as it lay on the stairs because the texture from the quilting seemed to show as the light from the front windows hit it:
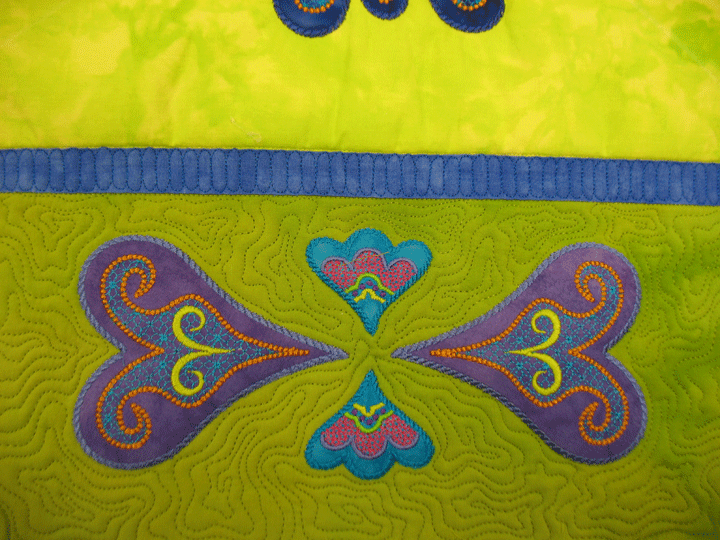
 I used 2 battings for this one. I think the top layer was silk and the bottom layer a low loft Quilters Dream Polyester and it has really rich texture because of it. Maybe TOO much texture! The wide border was quilted with the irregular swirl design and it kind of jumps out at you because there is so much texture:
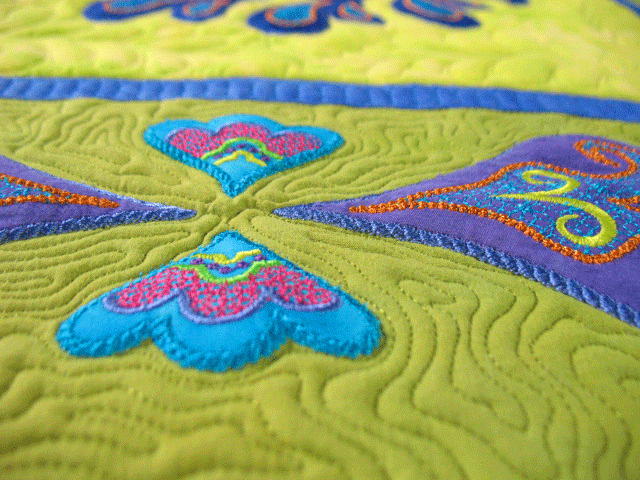
 There is no trapunto layer, but it kind of looks like there is because of the double batting. This tangential shot of the border zone shows it pretty well:
 I ended up tracing a portion of a stencil for the very center of the wreath. I used the inner 2 design circles off the stencil on the left:
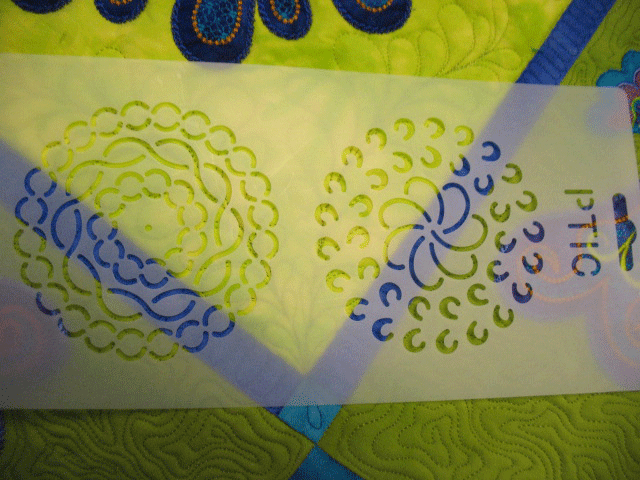 You can see the white lines for the inner section to be stitched in this shot:
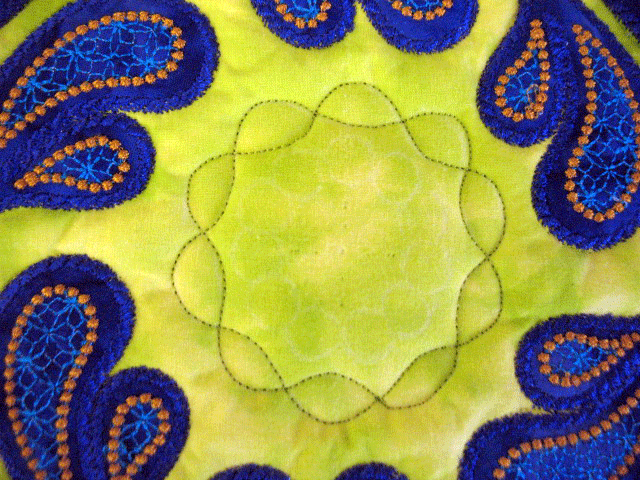 …and here the center-most ring has been stitched:
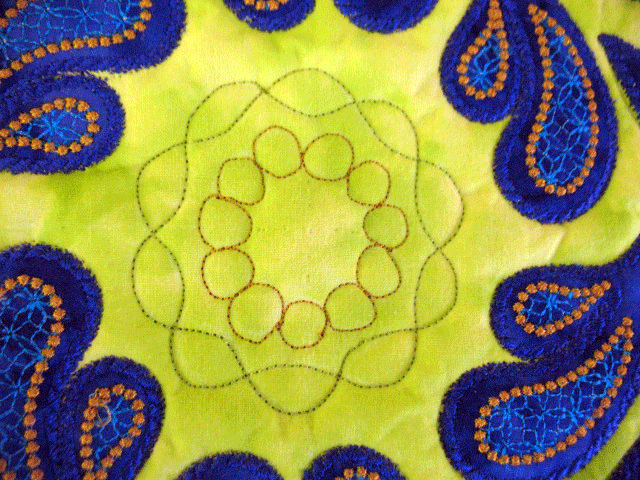 …and here it’s been outlined with another thread color:
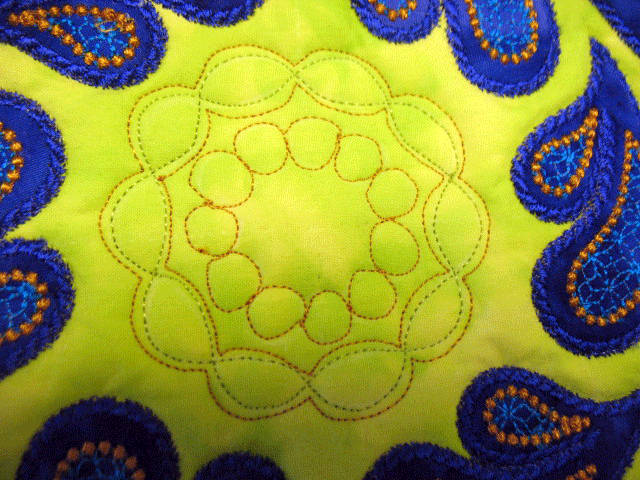 I divided up the outer wreath area into 8 sections and then stitched feathers to fill the space:
 On another note, we had a really fun feathered wreath machine embroidery applique at the warehouse last weekend. There were 8 students and each one made a very different wreath. Here are all of them on the design wall:
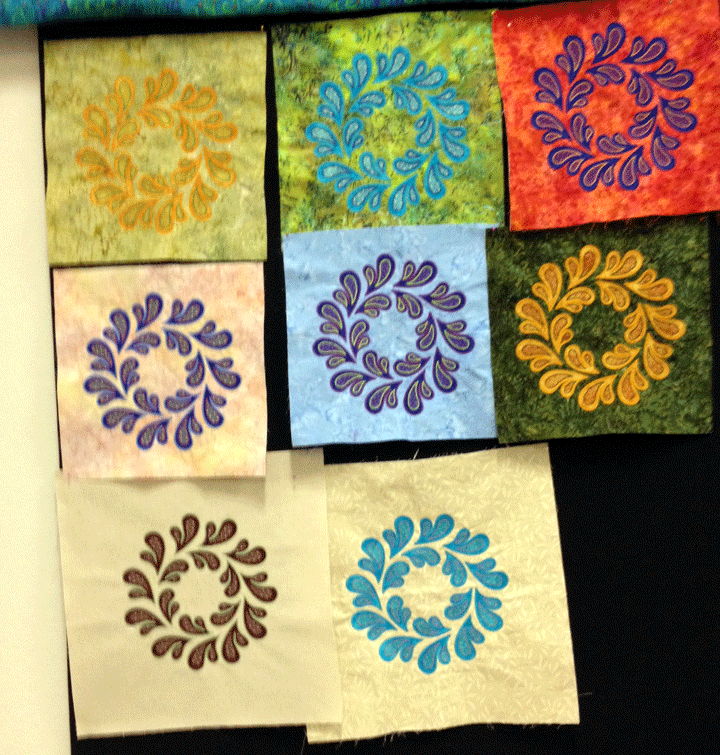 I used my phone camera and the pictures came out kind of blurry. I rushed to take closeups of each wreath and even though they looked good to me at the time, they’re even blurrier than the above photo, so they’re not really post-able. Every wreath came out great, though, and some of the students had never embroidered before in their lives! Way to go, you guys, and thanks for a fun class!


How do you get the rope looking effect around your appliqué pieces? It just looks so elegant! Is it from an embroidery machine? Thanks!
Hi Duane,
I WISH I could make that rope cabling stitch on my regular sewing machine but it’s done by the embroidery machine.
Patsy
I love the finished wall hanging! Thank you for a wonderful class, and I learned a new word here today – tangential!! LOL Your technique is so simple to use and provides such amazing and beautiful results. Everyone needs to do this!
It was a great class! Lots of fun! I am really proud of my first ever embroidery project. I learn a lot. Can’t wait for the next class. Thanks Patsy.
Patsy, my email isn’t working…a class the first wknd in Sept. is going to work best for MEG. Let me know if you can arrange it! -diane
Beautiful quilt and I love the work done by the class!!! Wish I lived closer to take classes from you!!!