Jan 28 14
Current Work
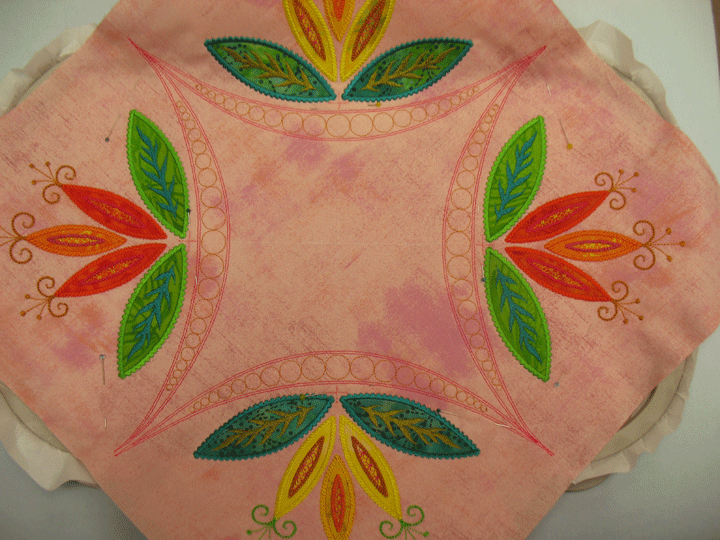
I’ve been playing with a water lily block for a few weeks now. This block is made from very basic shapes (a few of the leaf shapes from the Appli-K-Kutz Leaves 2 die and all were cut on my Sizzix Big Shot machine.) It began as this water lily “quartet” block that’s a 16-inch block with machine embroidery applique: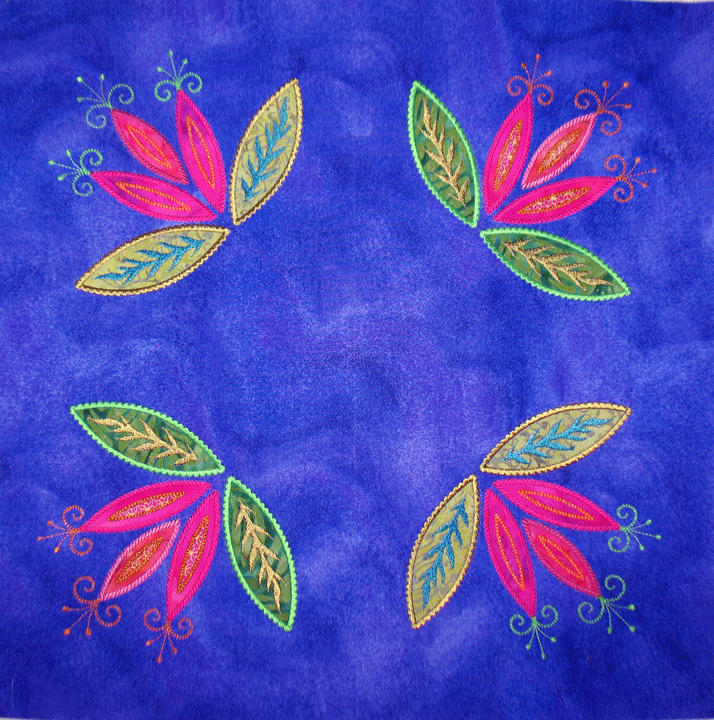 It was deliberately designed with a large empty space in the center so I could add something special in there. This central zone is what is taking awhile to perfect. What follows below is a design that can be quilted on the embroidery machine or merely used as an embroidery design. In my experiment that follows, I am completing this as a trapunto layer. Once the entire quilt is pieced and in the final quilt sandwich, I’ll stitch around the parts of this section with invisible thread and it will really pop out nicely. To start, the center design actually begins as the 4 water lilies are stitched. You can tell this in the photo below because there are now 4 crescent moon shapes just underneath the 4 water lilies:
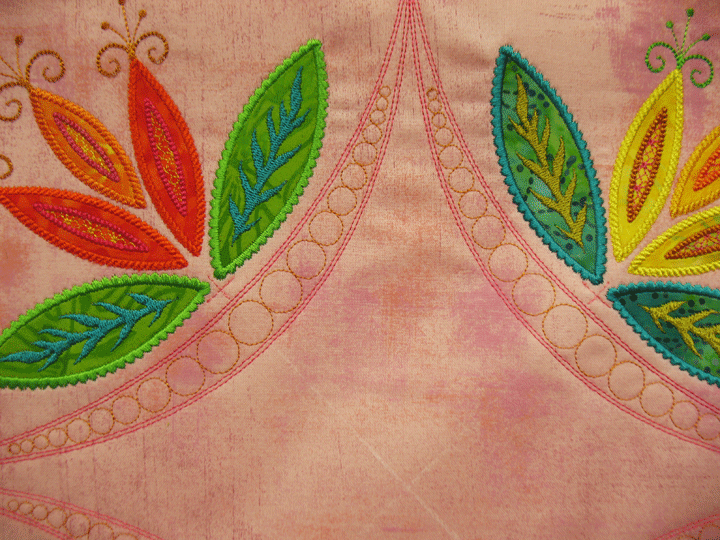
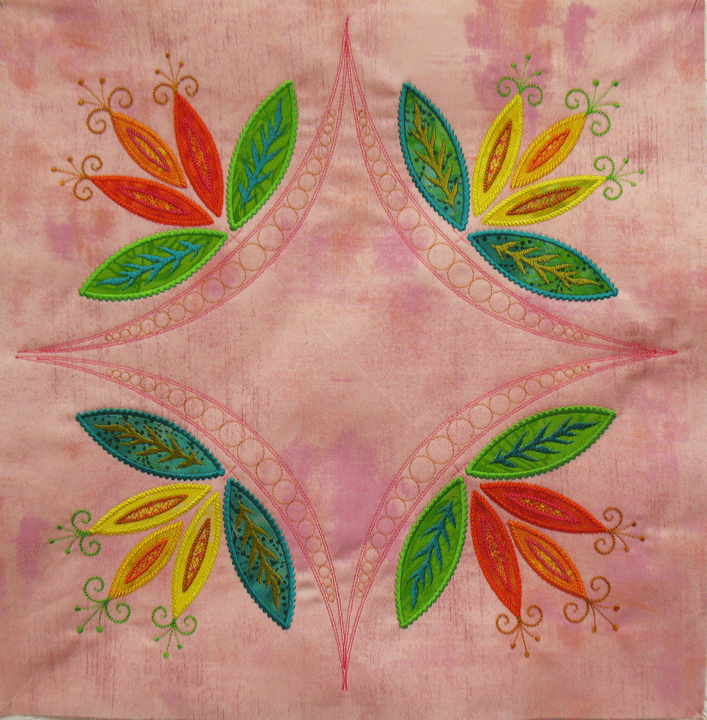 This is how that center looks in a semi-empty state. Here’s a close up of the stitching where you can see I stitched the pearls inside the channels in a different color. There’s no right or wrong way to do this color-wise; I just happen to like a lot of thread variety:
 To keep you oriented about how this works, look at the backside of the block at this stage. The areas of “white” on the back are stabilizer:
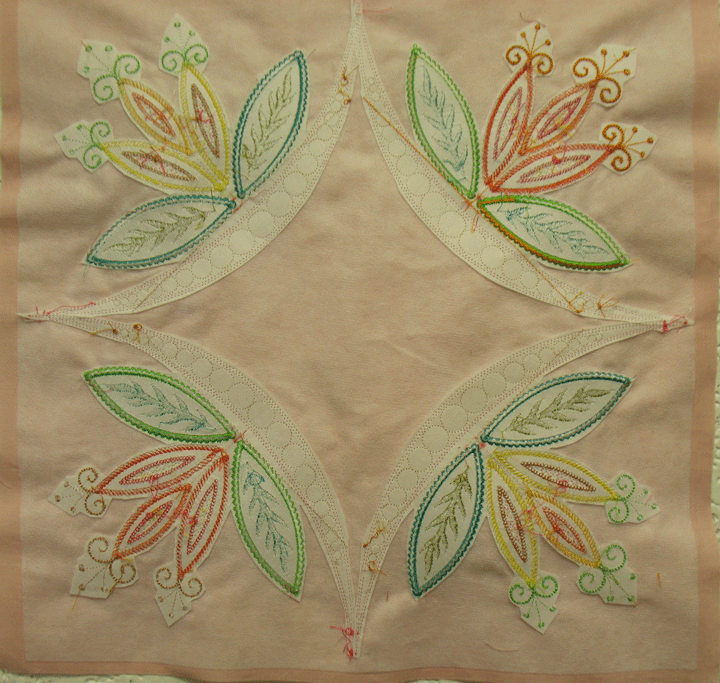 Next, I hoop up and stitch the next file and this just tells me how to orient my block on the stabilizer to achieve good placement for that center design. In this next shot, that block has merely been floated onto the hooped stabilizer with pins:
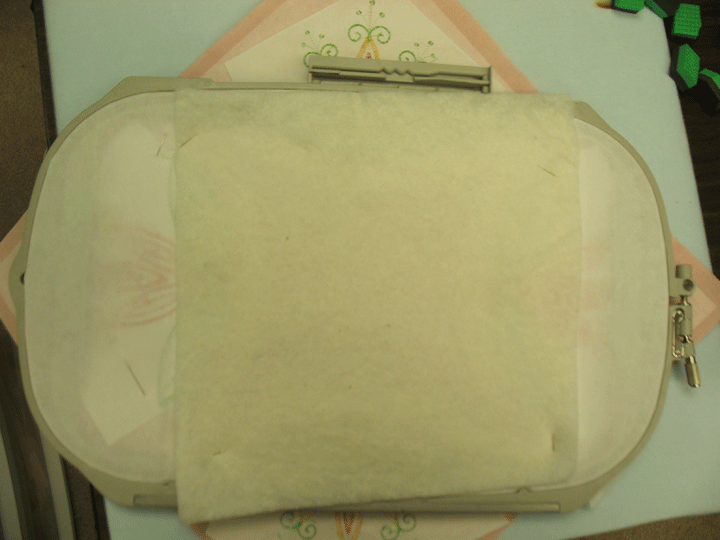
 There are many ways to do trapunto and the way I did it here was simply to pin a piece of scrap batting underneath the stabilizer. You can see that in this photo:
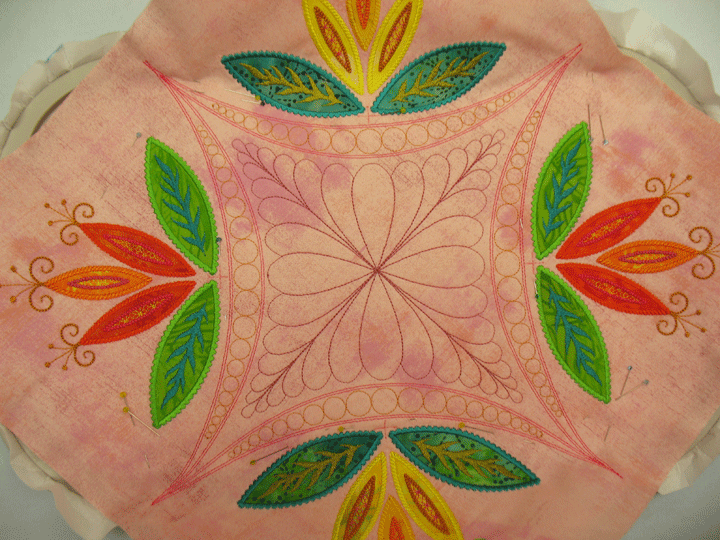
 I stitched out the next sequence and this creates a feather motif that fills the crescent outline. I did this in yet another shade of rose thread and I like that it kind of stands out more because of it:
 You could stop right here and this block would be cool, and this is what I really like about MEA, that you can pick and choose which sequences you want to keep or skip. Of course, I had to try the hyperquilted version, so I went back in with gold rayon thread and did that final sequence and here’s how it came out:
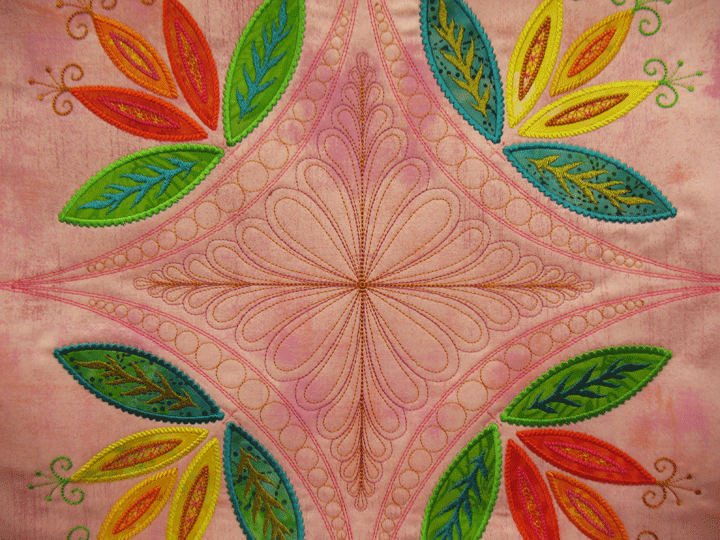 Love how this is coming out and all the options it creates. Stay tuned!


Oh my goodness Patsy… It makes me want to drop all of my free motion machines and buy and embroidery machine… Oh wait… a dream for another year… Seriously though, This is really spectacular ! Love, love, love it!
Nice. I am fascinated by the almost pastel background…new trend?
Just lovely – as always Patsy! 🙂