

Apr 19 14
A Tale of 2 Sides of a Tote Bag…and a Quilted Border Design

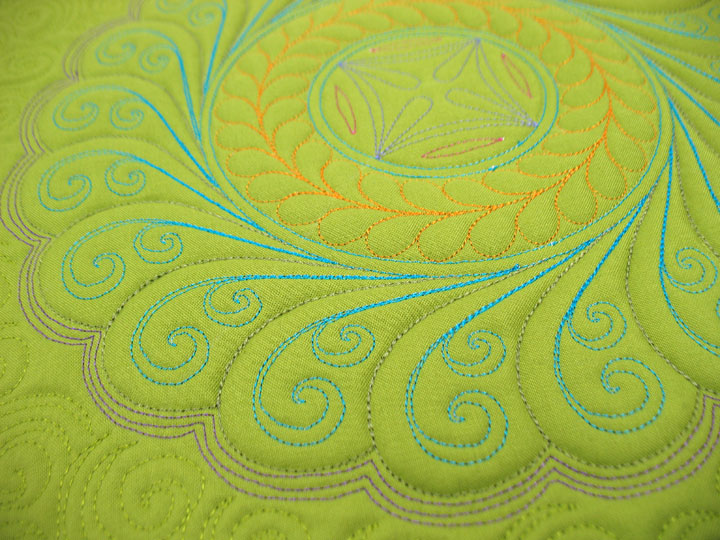
 I echo-outlined the wreath a few times with a dark blue polyester thread to give it more definition and also to add a halo of color surrounding it, then started my background quilting:
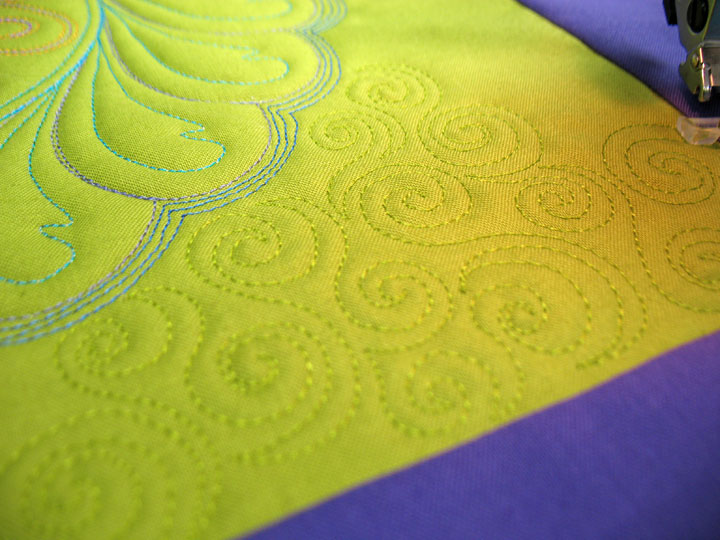 (That is a green polyester thread I’m using. Again, my personal preference is to use threads that have a bit of a sheen. This helps make your quilting “pop” a bit and is an easy way to add just a bit of flare to your quilted works.) Once done, I did my S-I-D quilting along seam lines with invisible thread and then went to create my border design. This is a really simple border and it adds a nice elegance to your quilt, so I’m going to outline how I do this:
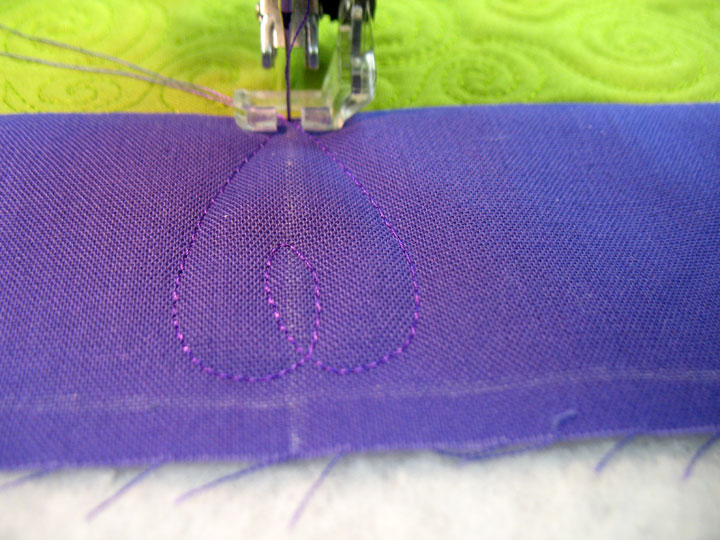
1. Using a temporary marker (i.e. soap sliver for me), mark a line at the center of each border and also a miter line at each corner.
2. Beginning at the center of one side, stitch a heart or a teardrop shape. the goal here is to create some type of symmetric shape that curves out toward its middle and then tapers at the base, as you need a shape like that to “play off” as you begin adding plumes on either side of it. In the photo below, you can see that I did a “loopy heart” or one where there’s a loop where the 2 heart “humps” join. Know that a plain heart will work just as well, I was just in a “loopy mood:”
(That is a green polyester thread I’m using. Again, my personal preference is to use threads that have a bit of a sheen. This helps make your quilting “pop” a bit and is an easy way to add just a bit of flare to your quilted works.) Once done, I did my S-I-D quilting along seam lines with invisible thread and then went to create my border design. This is a really simple border and it adds a nice elegance to your quilt, so I’m going to outline how I do this:
1. Using a temporary marker (i.e. soap sliver for me), mark a line at the center of each border and also a miter line at each corner.
2. Beginning at the center of one side, stitch a heart or a teardrop shape. the goal here is to create some type of symmetric shape that curves out toward its middle and then tapers at the base, as you need a shape like that to “play off” as you begin adding plumes on either side of it. In the photo below, you can see that I did a “loopy heart” or one where there’s a loop where the 2 heart “humps” join. Know that a plain heart will work just as well, I was just in a “loopy mood:”
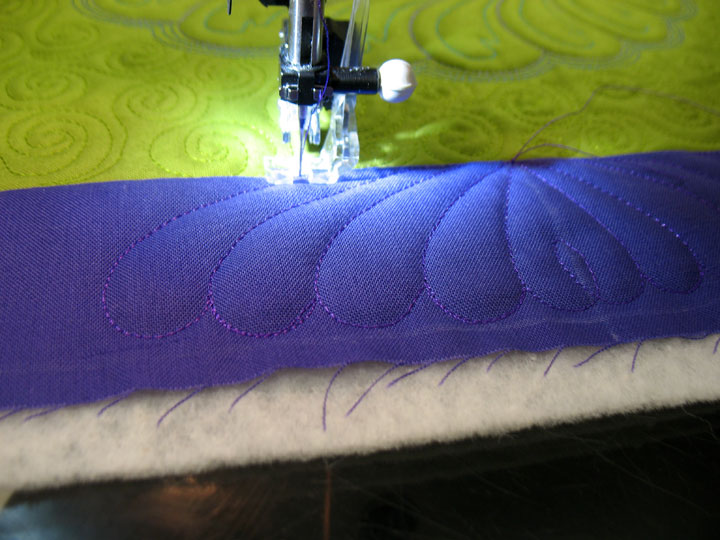
 The needle will be at the top, or point of the heart, and this is where you’ll begin to add the rest of the border design. I use that “bump-back” method of feathers when I stitch this and I begin on one side and sequentially add plume after plume until I reach the corner. Here’s a shot of one side once it’s done:
 (BTW, I forgot to mention that I also marked a temporary line 1/4 inch from the edge of the fabric. That is to keep me out of the area that will ultimately become binding.) Next, you do the exact same thing on the opposite side of the heart:
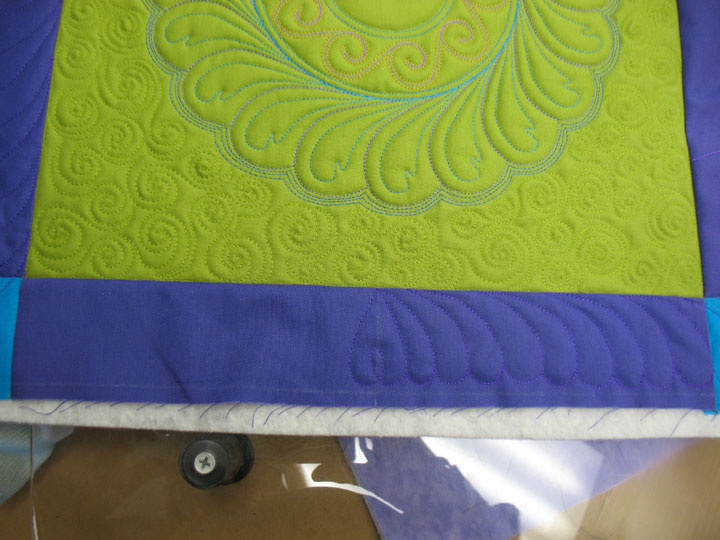
 You are going to do this on all 4 sides. When you get to the corners, use that miter line as the “kissing line,” or place where the plumes from 2 sides will come close to joining but won’t quite join. Here’s a closeup of a corner:
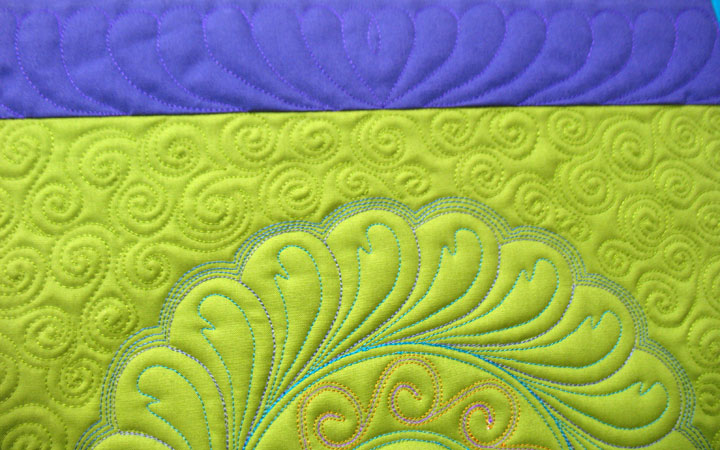
 …and here’s a better shot of the center block background quilting/border union:
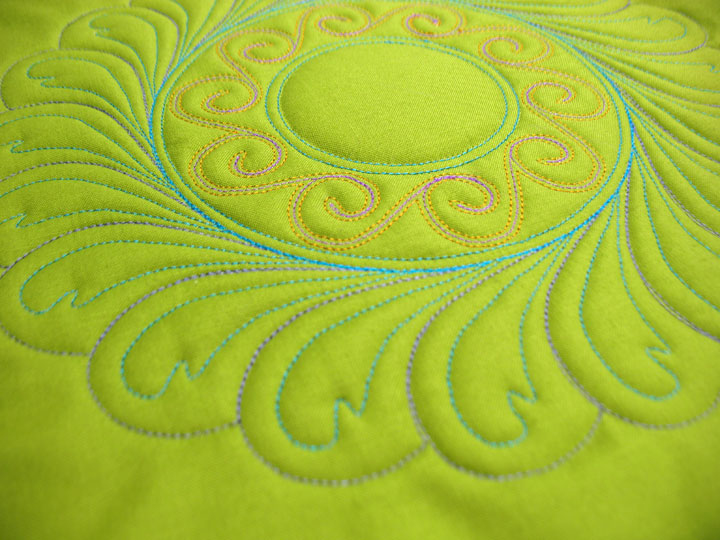
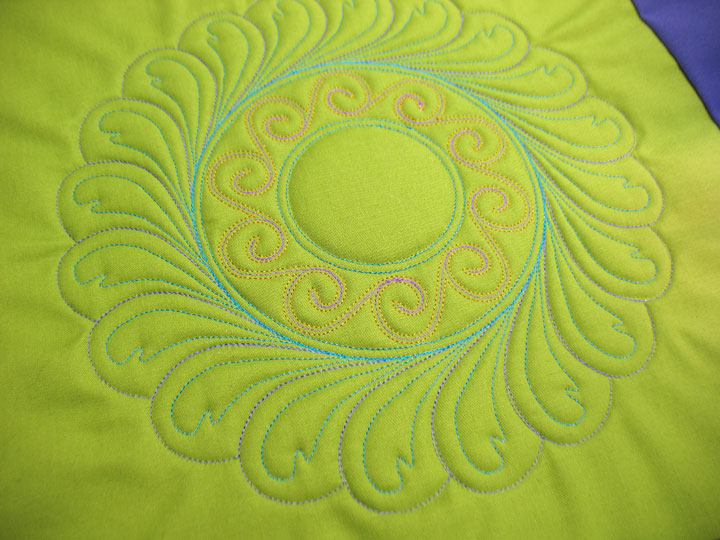
 The wreath for the opposite side of the tote is a little more complex; this one is one of my favorite wreath designs:
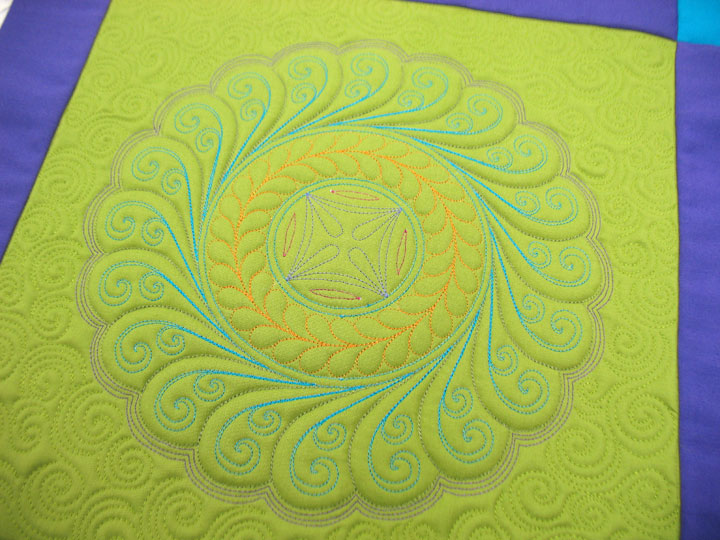
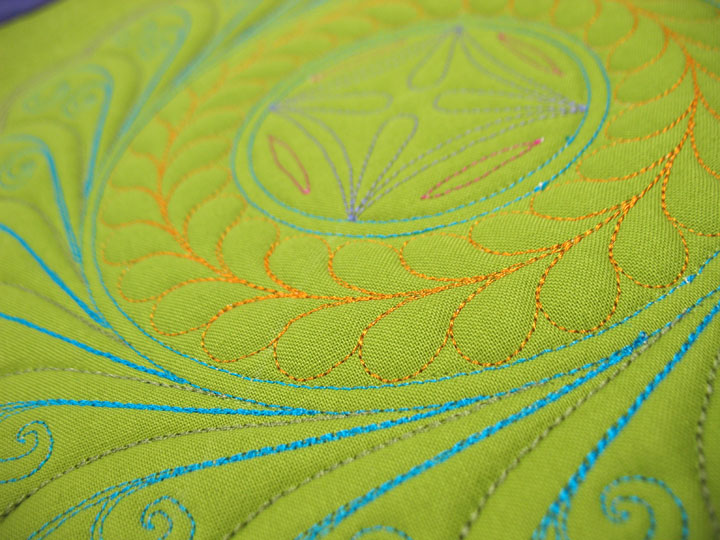 It’s very hard to capture the 3-D texture of these trapuntoed wreaths in still photos, so I’m not sure the whole point of this process is made clear here. I think it’s one of those things you have to see in person. I think what I’m going to do for the class is hand everyone a block with the wreath already stitched on it, so all he/she will have to do is define the zones with invisible thread. I think this could be a fun class…any thoughts?
I’d love to participate your class – if you ever come a bit closer to Finland 😉